To shoot with a prism or crystal ball, hold the glass right in front of your lens, open the aperture wide, and move it slowly until the refracted image looks sharp and the colours sit where you want them. With a ball, you get a small upside-down fisheye view of the scene inside the glass. With a prism, you get rainbow streaks and layered flare. Both work on any camera, and the whole thing takes about ten minutes once you know the three moves: get close, focus past the surface, and backlight the subject.
This is one of those techniques that looks impossible and is really just optics plus patience. If you have never tried it, read the whole thing, grab whatever clear glass is lying around your house, and do the first session on a table.
Table of Contents
- What You Need to Shoot With a Prism or Crystal Ball
- The camera and lens
- The glass
- Holders and light control
- Everyday subjects to practise with
- Free substitutes you already own
- Step-by-Step: How to Shoot With a Prism or Crystal Ball
- Step 1: Choose a Prism or Crystal Ball
- Step 2: Set Up the Subject Behind the Glass
- Step 3: Position the Light for Visible Refraction
- Step 4: Focus on the Intended Detail
- Step 5: Adjust Exposure and Capture the Effect
- Common Mistakes and How to Fix Them
- Tips for Better Prism and Crystal-Ball Photos
- Decide what to do about the upside-down image
- Use a black background and a bright subject
- Rotate instead of moving
- Try these subjects first
- Smartphones work fine
- Try video and light painting
- Keep the kit light
- Frequently Asked Questions
- Do you put the prism directly in front of the camera lens?
- Can I shoot a rainbow effect with a normal camera and a prism?
- What camera settings work best for photographing through a prism?
- Is a crystal ball easier to photograph than a prism?
- How do I keep the subject visible when using a crystal ball?
- What subjects look best through a prism or crystal ball?
- Conclusion
What You Need to Shoot With a Prism or Crystal Ball
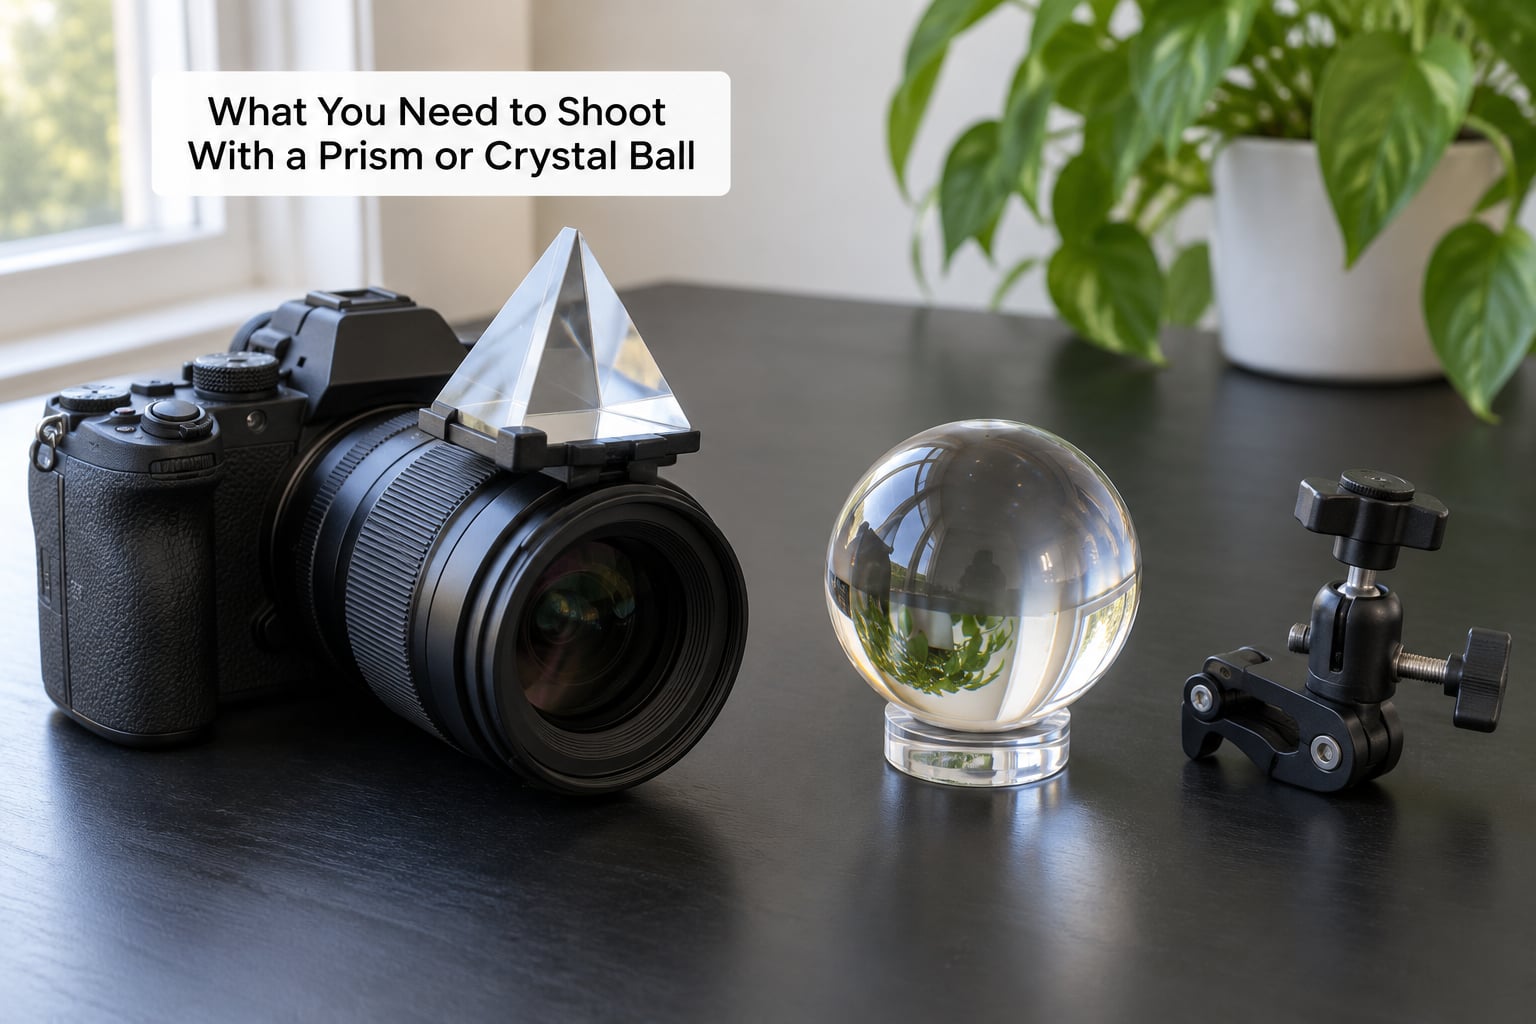
The short answer is a camera, a piece of clear glass, and a way to keep that glass from moving. Everything else is optional and costs nothing.
The camera and lens
Any camera works, including a phone. For the ball, a macro lens or a close-focusing telephoto is ideal because the refracted detail is tiny. A kit zoom still works, but you will be closer to the glass than feels comfortable. For the prism, a wide or normal prime is better, since the rainbow needs room in the frame.
The glass
A solid glass sphere, a faceted crystal ball, or a triangular prism. Bigger balls are easier to focus and heavier to carry. Optical-grade K9 glass and quartz both refract well, and the difference shows mainly in edge falloff and colour fringing.
Holders and light control
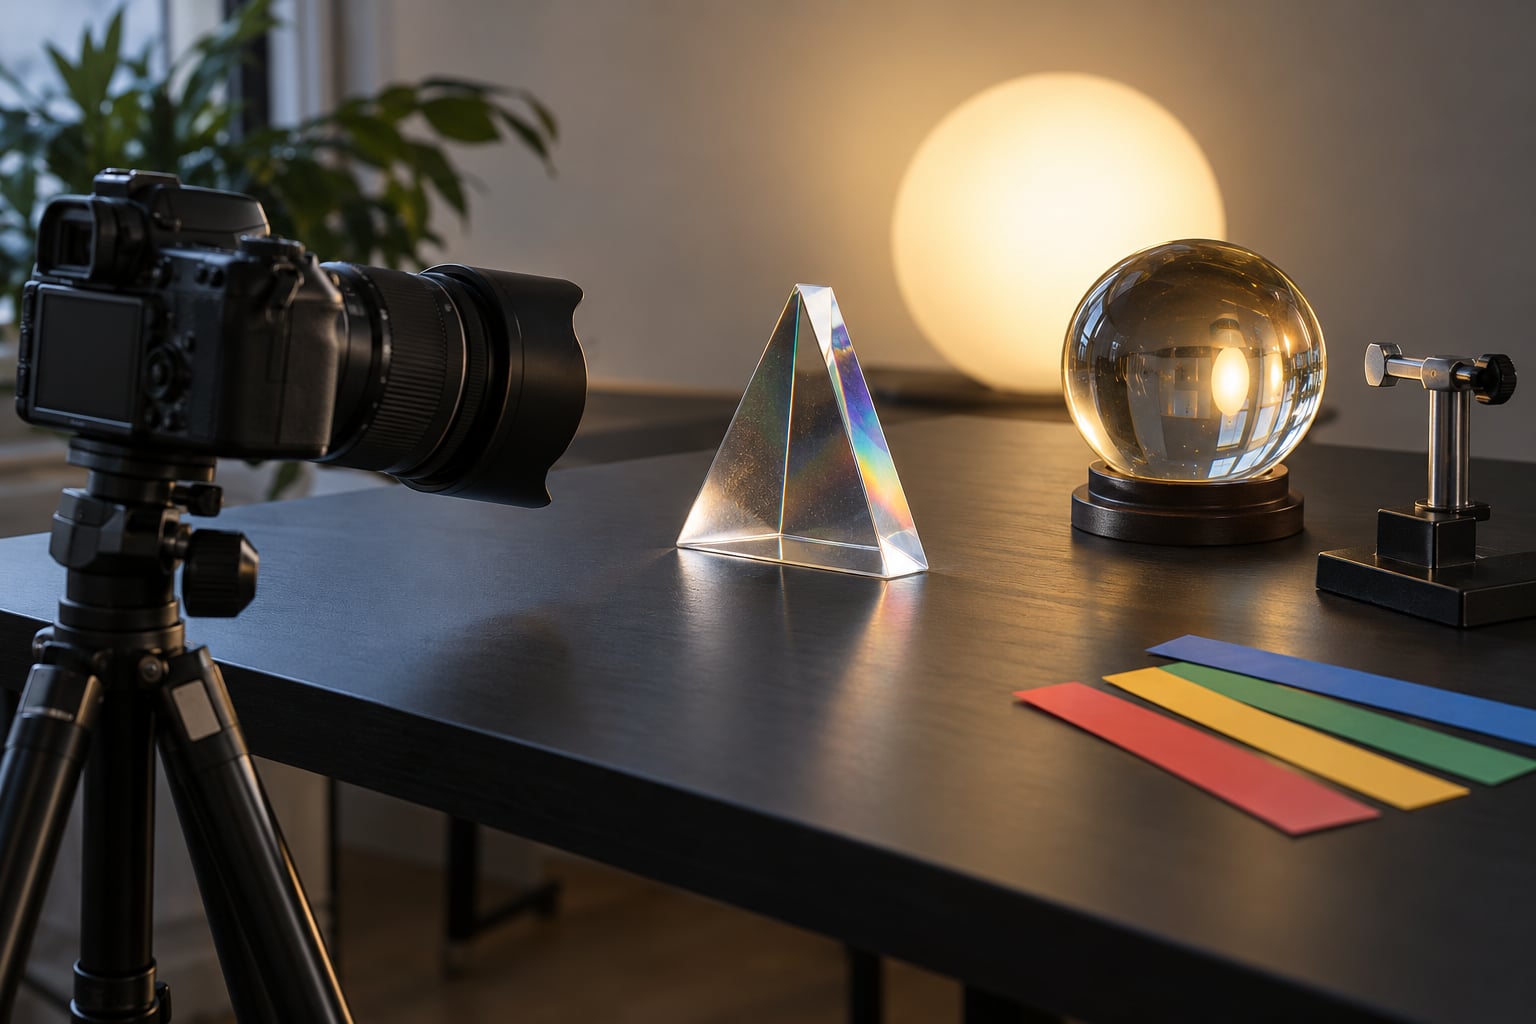
A small clamp, a ball stand, or a sock slipped over the tripod head all stop the ball rolling off a ledge. Black card or matte black paper behind your subject kills reflections. A small LED panel, a speedlight, or even a window does the lighting.
Everyday subjects to practise with
A water glass, a marble, a houseplant leaf, a candle, coloured paper strips, or a string of small battery lights. Keep them still and bright. Bright, simple subjects read better through glass than busy ones do.
Free substitutes you already own
A wine glass filled with water behaves like a rough sphere. A CD or DVD thrown on the ground gives fractured rainbow shards. A chandelier crystal, a glass marble, or a clear ice cube all produce some version of the effect. Nobody will be able to tell which you used in a finished frame, especially if you shoot a tight crop.
Step-by-Step: How to Shoot With a Prism or Crystal Ball
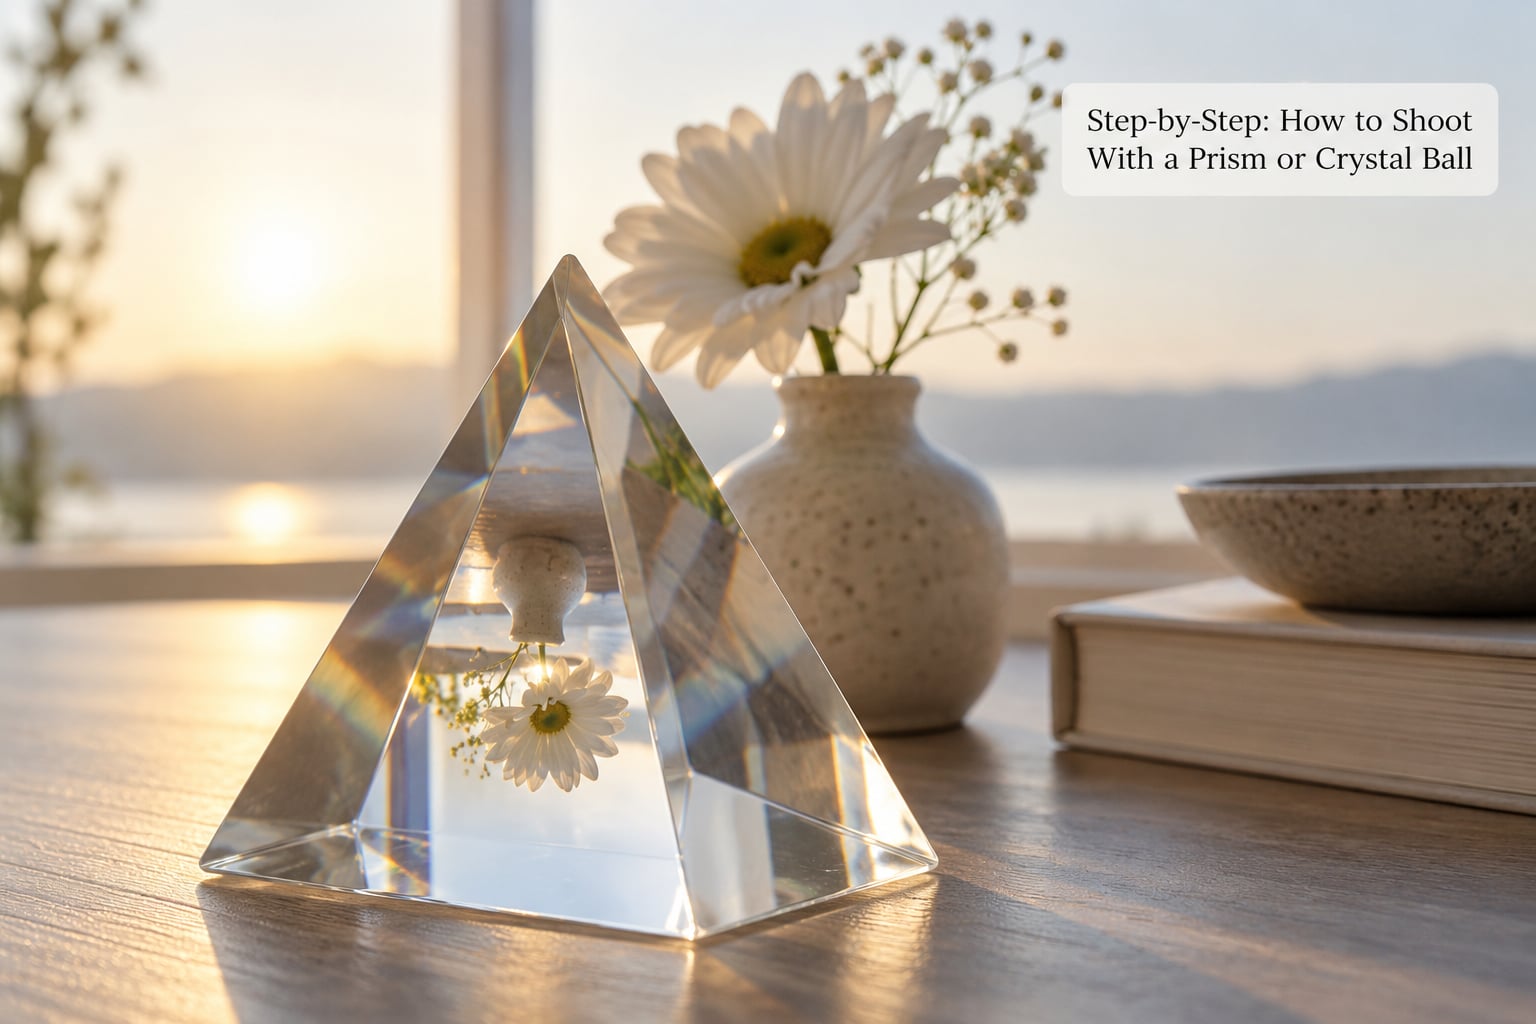
Set the glass between your camera and your subject, close enough that the ball or prism fills most of the frame. Focus on the refracted detail rather than on the surface of the glass, and put your strongest light behind or beside the subject so it glows through.
Step 1: Choose a Prism or Crystal Ball
A triangular prism splits white light into separated colours because each wavelength bends by a slightly different amount as it passes through the glass. Hold it near the lens, rotate it, and the rainbow sweeps across the frame while the rest of the image stays dark. That is the tool you want for portraits and abstract shots.
A faceted ball does something different. Each flat face acts as its own little lens, so you get multiple small inverted images and colour edges around them. A smooth sphere gives the cleanest, most familiar result: one sharp inverted fisheye scene floating in the middle of the frame.
Begin with a smooth sphere for your first session. It is forgiving, it is easy to focus, and the result is instantly recognisable. Move to a prism once you can place a subject and control the light.
Step 2: Set Up the Subject Behind the Glass
The ball behaves like an extremely wide lens pointed backward. It gathers nearly everything in front of it, including your own tripod legs, so positioning decides the frame. Stand with your subject between you and the background, then move closer to the glass until your subject fills the inside of the sphere instead of sitting tiny in the middle.
For a landscape, get your camera level with the ball so the horizon lands at roughly the three or nine o’clock position inside it rather than across the middle. For a portrait, put the subject slightly above the ball and shoot down a little.
What you do not want is a dark frame. If the scene behind the ball is brighter than the subject, the ball fills with glare and the subject disappears. Flag off anything brighter than your subject.
Step 3: Position the Light for Visible Refraction
Backlighting is the easiest way to make glass visible. Put the light behind or just behind and to the side of your subject, aim it into the glass, and let the ball or prism carry that brightness to the camera. A small panel with a diffuser works well. Hard window light works too, just watch the angle.
Side light gives you edges and shape. If the whole ball looks flat and milky, move the light around rather than adding more of it.
For rainbows, the light has to be strong and narrow. Sling or laser light, a bright small source, or direct sun through a window all produce cleaner spectral colours than a big soft box.
Step 4: Focus on the Intended Detail
This is where most first attempts fail. Beginners focus on the shiny surface of the ball, so the inverted scene inside never resolves and the whole image looks soft. The sharp plane for a sphere sits slightly behind its rear surface, not on the highlight you can see.
Switch to manual focus or use a single autofocus point, then zoom into live view at ten times magnification. Rack focus forward in tiny steps until the detail inside the ball snaps. Take a test shot and check it at full size on the camera screen, not on the back of the camera at arm’s length.
With a prism, focus on the subject through the glass rather than on the glass itself. You usually want the background soft and the rainbows sharp, so a wide aperture helps in both directions.
Step 5: Adjust Exposure and Capture the Effect
Glass absorbs light and bounces some of it away, so your meter will read the bright surface and underexpose the scene inside. Start around f/1.8 to f/2.8 for both modifiers, set ISO to whatever keeps your shutter above 1/125, and add positive exposure compensation until the refracted detail looks right. Check the histogram rather than the screen brightness.
Shoot RAW. The spectral edges along a prism throw colour fringes that RAW handles far better than a JPEG, and the dark glass corners recover cleanly.
Keep white balance on daylight or auto and leave the colour correction for later. Once the framing and focus are right, make several variations by rotating the prism a few degrees and by moving a step left or right. The effect changes more per degree of rotation than per adjustment of any other setting.
| Setting | Crystal ball | Prism |
|---|---|---|
| Aperture | f/1.8 to f/2.8 | f/1.4 to f/2.8 |
| Shutter speed | 1/125 or faster | 1/125 or faster |
| ISO | Whatever keeps the shutter above 1/125 | Whatever keeps the shutter above 1/125 |
| Focus mode | Manual, focused behind the rear surface | Manual or single-point AF on the subject |
| Glass distance | Close, filling most of the frame | Touching or just in front of the lens |
| Light | Backlight or soft side light | Hard backlight, narrow and bright |
| Background | Matte black card behind the ball | Dark room works best |
| Stabilisation | Tripod plus a ball stand or clamp | Hold close and brace against a wall |
Common Mistakes and How to Fix Them
Nearly every disappointing ball photo traces back to one of these six things.
| What you see | Why it happened | How to fix it |
|---|---|---|
| Soft or blurry interior | Focused on the surface of the glass | Rack focus forward past the rear surface using magnified live view |
| Muddy or dark image | Light loss through the glass plus a meter reading the bright surface | Add positive exposure compensation and add light behind the subject |
| No rainbow visible | Light too soft or too broad | Switch to a hard, narrow source behind the prism and rotate the glass |
| Flare washing the whole frame | Shooting straight into a bright source | Shift 10 to 20 degrees off the light or flag the source |
| Your tripod and feet visible | The ball is a very wide lens looking backward | Move the camera closer, raise it on the ball, or crop tighter |
| Ball rolls away mid-shoot | Placed on a slope or a ledge with wind | Use a clamp or a ball stand and keep a hand near it indoors |
| Smudges and dust in the refracted image | Fingerprints on the glass | Clean with a microfiber cloth before every session |
One safety note worth taking seriously. A glass ball is a genuine magnifying glass and has started indoor fires when left in direct sun, so never leave one near dry grass, paper, or a window ledge. Keep it off the edge of anything, watch it in wind, and do not shoot into the sun through a ball or prism without protecting your eyes.
Tips for Better Prism and Crystal-Ball Photos
Decide what to do about the upside-down image
Refraction flips the scene, and every sphere will show it. Embrace it, because an inverted world inside a ball is the whole point. Flip only the interior in post so the surroundings stay upright, using a mask or a soft brush rather than a straight rotation. Or shoot a reflection in the ball instead of a refracted image, which gives you a right-side-up mini scene with a soft glass frame around it.
Use a black background and a bright subject
Contrast is what makes glass read. Matte black card behind the ball, a bright colourful subject in front of it, and no stray reflections from the sky or your own face. Move your own body out of the reflection angles before you shoot, not after.
Rotate instead of moving
Small rotations change the whole frame with a ball or prism in a way that stepping sideways does not. Work in two or three degree increments and shoot a frame at each one. The rainbow moves across the face much faster than the refracted image does.
Try these subjects first
Flowers and leaves with a low sun behind them. A city skyline at blue hour with lit windows. Coloured strips or a string of small lights, centred in the middle of the ball. A portrait shot with the prism held just off the lens for a flare across the frame. Even a puddle or a bed of wet leaves works, because the reflections double the effect.
Smartphones work fine
Hold a prism flat against the phone’s rear camera with your fingertips at the edges, tap to focus, and lower exposure a little. Most phones have enough resolution to resolve the inverted scene inside a ball if you hold steady. Do it in low light rather than bright sun, since phone sensors struggle with the contrast that glass needs.
Try video and light painting
For video, shoot slightly wider than you think you need and rotate the ball through the shot, then crop in during editing. Light painting works too: put the ball on a stand, shine a flashlight or LED through it in the dark, and paint shapes onto the refracted surface. Long exposures make it forgiving.
Keep the kit light
The 60mm ball is easy to carry and works for tighter scenes. An 80mm ball is the practical middle ground. Anything above 100mm produces a bigger, cleaner refraction and a heavier bag, so it is worth saving for a shoot where you are committed.
Frequently Asked Questions
Do you put the prism directly in front of the camera lens?
Yes, a prism sits directly in front of the lens, held against the front element or just off it. Many photographers press it flat to the lens and rotate it slowly until the rainbow lands where they want it. Because most lenses have a threaded filter ring, do not force the glass against the mount. Just hold the prism close enough that it fills the frame, with your fingertips at the edges so they stay out of shot.
Can I shoot a rainbow effect with a normal camera and a prism?
Yes. A normal camera and a standard kit lens will produce a rainbow, as long as the light behind your subject is hard and bright. Soft window light or a large diffused panel gives you a milky wash rather than separated spectral colours. Move the light directly behind the subject, close the aperture down slightly, then rotate the prism a degree or two at a time until the colour streaks cross the frame.
What camera settings work best for photographing through a prism?
Start wide open, around f/1.8 to f/2.8, with the shutter held above 1/125 and the ISO raised to match. Switch to manual focus and focus on the subject through the glass rather than on the prism surface. Shoot RAW so colour fringes along the spectral edges can be cleaned up later. Because the glass absorbs light, expect to add positive exposure compensation until the frame looks right on the histogram.
Is a crystal ball easier to photograph than a prism?
Yes, a smooth crystal ball is the easier of the two for a first attempt. It gives one clean inverted scene that is forgiving of small focus errors, and you can see immediately whether the framing is right. A prism gives you more control but changes completely with every small rotation, so it rewards patience. Start with the ball to learn light and focus, then move to the prism.
How do I keep the subject visible when using a crystal ball?
Keep the subject brighter than anything behind it, because the ball gathers nearly everything in front of it. Move the camera closer to the glass so your subject fills the inside of the sphere rather than sitting tiny in the middle. Put matte black card behind the ball to kill glare, light your subject from behind or the side, and add exposure compensation because the glass loses light on the way through.
What subjects look best through a prism or crystal ball?
Bright, simple, high-contrast subjects work best. Try flowers and leaves with the sun behind them, a city skyline at blue hour with lit windows, coloured paper strips, a string of small battery lights, or a puddle reflecting the sky. Anything dark or busy disappears inside the glass. For prisms, portraits and abstract shapes give you cleaner rainbows because the background stays simple and the light stays directional.
Conclusion
Start with a clear triangular prism, a small subject backlit from behind, and manual focus set a touch past the glass. Get one sharp frame, then rotate the prism a few degrees at a time and shoot again. Ten minutes of that will teach you more about light than an hour of reading.