Learning how to shoot smoke bomb portraits safely comes down to control, not nerve. You pick a cool-burning grenade with a wire-pull ignition, keep the hot end pointed away from people, light it upwind of your subject, and shoot in manual mode at a fast shutter speed while the plume drifts past.
Ten minutes of preparation and one deliberate test release do more for a shoot than a dozen improvised attempts. The scene is still a pyrotechnic device that burns, stains and is regulated in most places, so the setup matters as much as the photograph.
Below is the workflow I walk clients through: the gear, the eight steps in order, the mistakes that waste a session, and what to check before anyone stands in front of the lens.
Table of Contents
- What You Need
- Step-by-Step: How to Shoot Smoke Bomb Portraits Safely
- Step 1: Plan the Scene and Assess the Location
- Step 2: Protect the Camera and Nearby Equipment
- Step 3: Set the Lighting Before Introducing Smoke
- Step 4: Test the Smoke Without a Subject in the Smoke
- Step 5: Direct the Subject and Start With Small Bursts
- Step 6: Focus and Capture the Decisive Frame
- Step 7: Make Controlled Adjustments Instead of Repeatedly Overexposing
- Step 8: Shut Down, Ventilate, and Check the Equipment
- Common Mistakes
- Frequently Asked Questions
- Can I use smoke bombs indoors for portrait photography?
- How much ventilation does a smoke bomb photo shoot need?
- How do I keep smoke residue off my camera and lens?
- What wind speed is too windy for smoke bomb photography?
- How many smoke bombs should I plan for a portrait session?
- When should I use a professional smoke generator instead of smoke bombs?
- Start With a Small, Controlled Test
What You Need
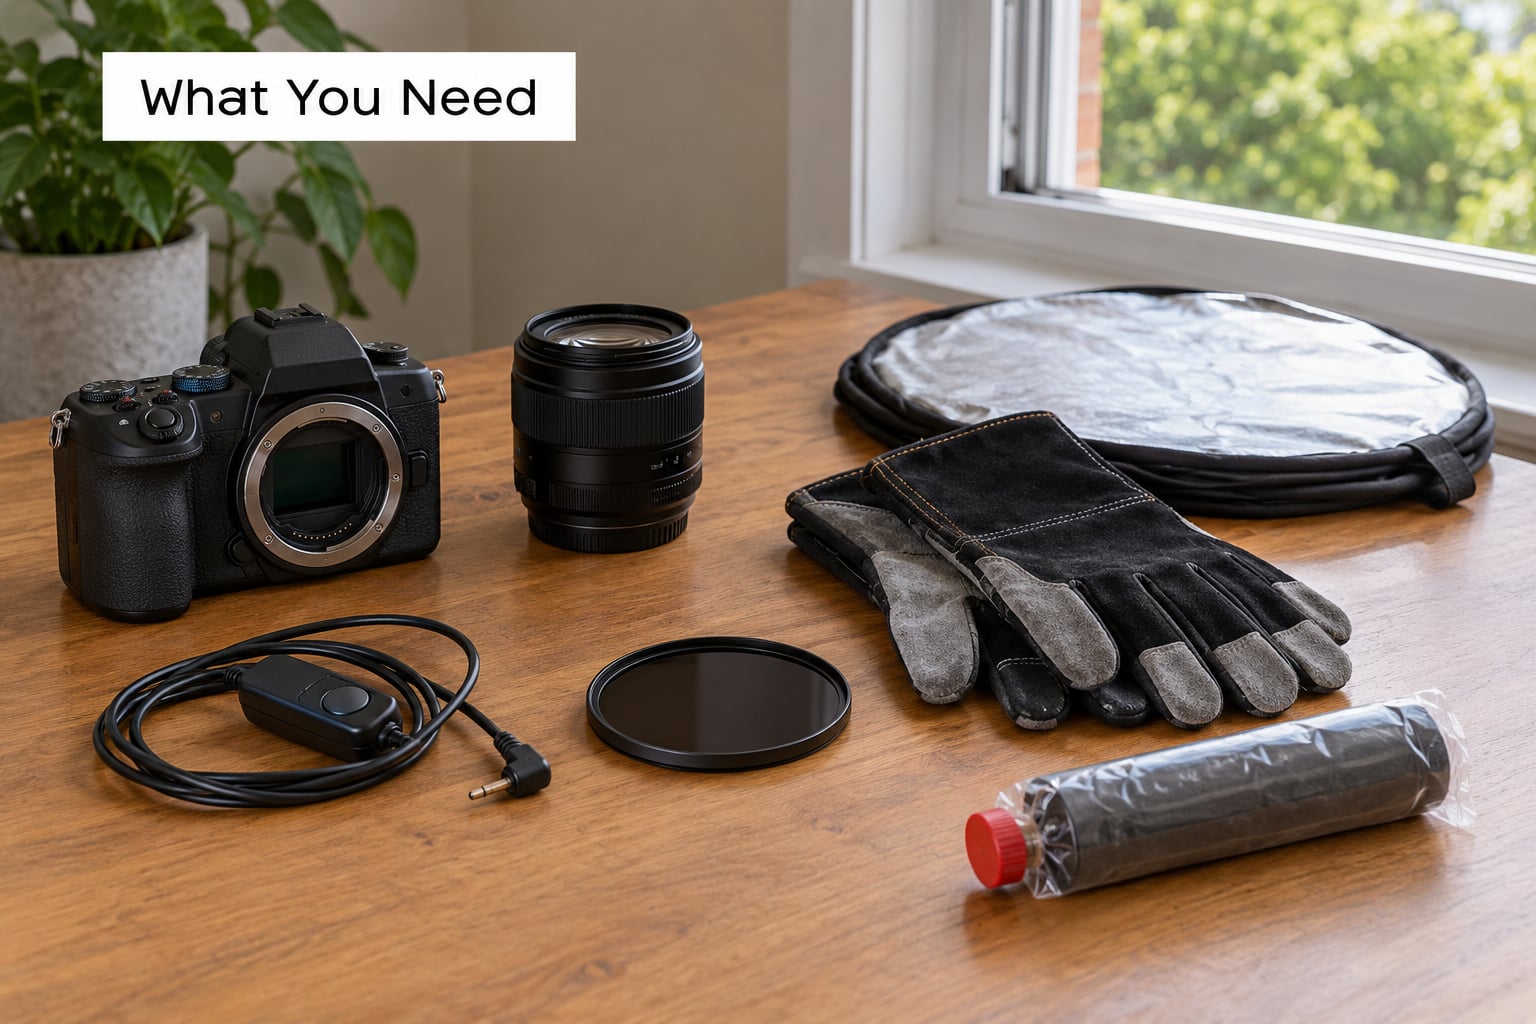
Most photographers already own half this list. The pieces people skip are the remote release and the gloves, and those are the two that keep a session comfortable.
- A camera with full manual control. Auto mode will chase the exposure every time smoke enters the frame, and you will lose the frame you needed.
- A tripod. Smoke is soft and slow, which means slow shutter speeds and a camera that cannot be hand held.
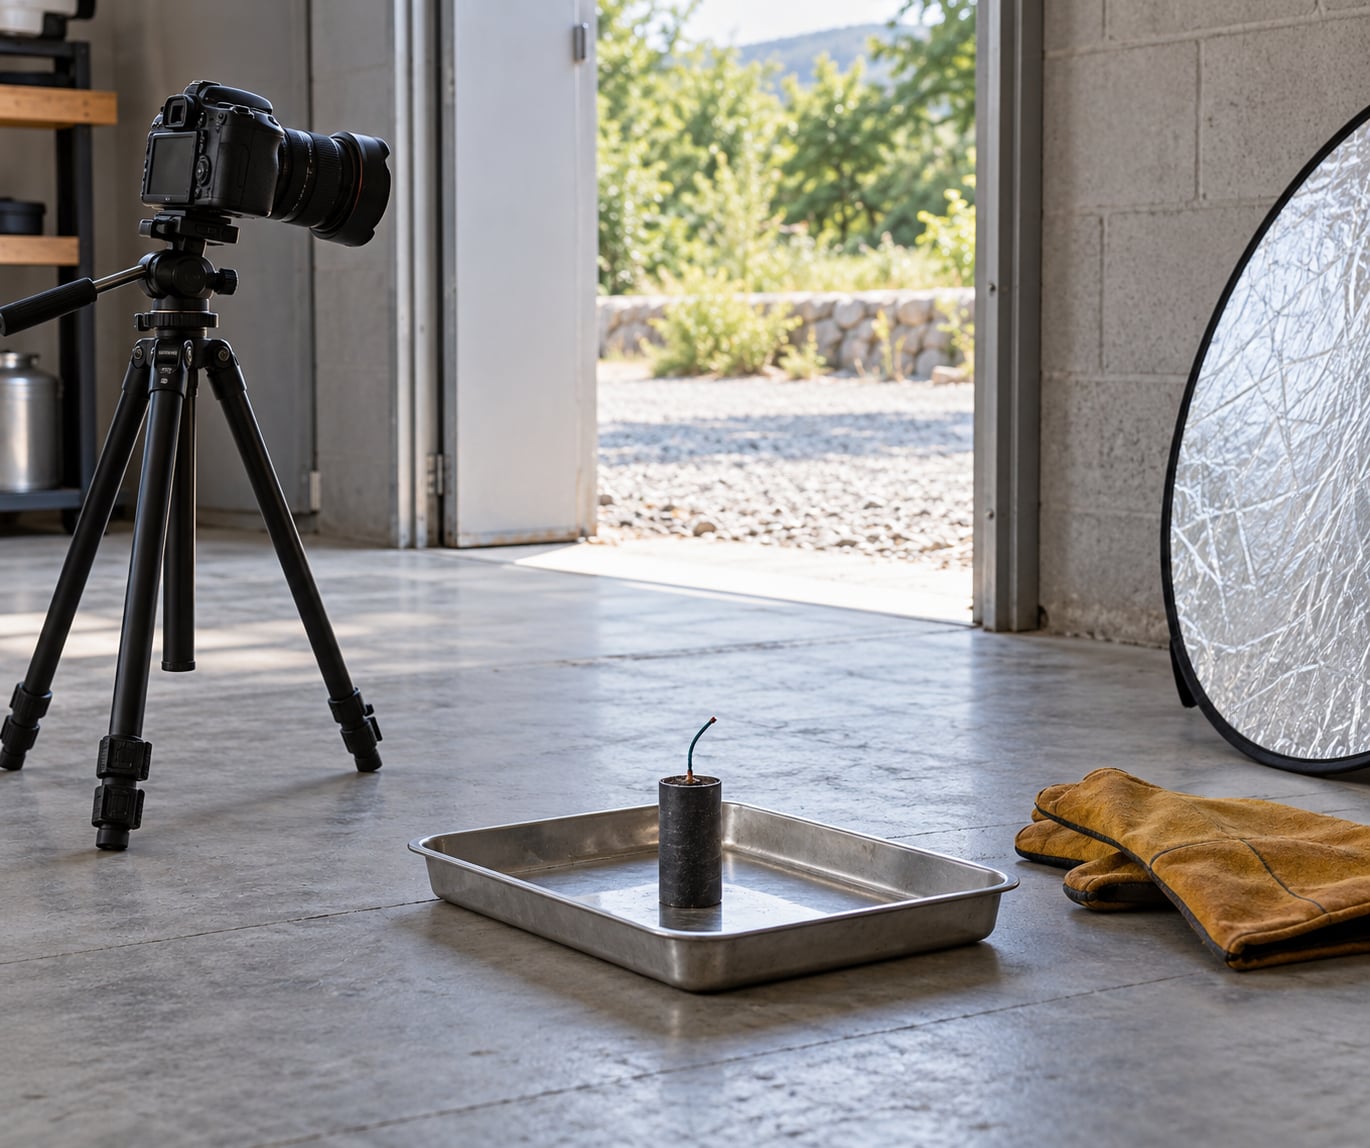
- A remote release or interval timer. Your hands stay near the camera, not on a hot grenade.
- A neutral-density filter. Daylight outdoors is bright enough that a wide aperture and slow shutter both need help.
- A reflector or a second light. You need to be able to add fill or backlight without leaving the frame.
- Heat-resistant gloves and eye protection. Gloves go on before ignition, not after the first spark.
- A fire-safe surface. A metal bucket or tray that a spent shell can land in, never dry grass, decking or paper.
- Plenty of fresh air. An open doorway, two open windows or an outdoor location. Smoke that cannot leave the room will not leave the model’s lungs either.
- Several tested grenades, plus extras. Burn times commonly land around 60 to 90 seconds, and duds happen. Bring roughly double what your shot list needs.
Step-by-Step: How to Shoot Smoke Bomb Portraits Safely
Step 1: Plan the Scene and Assess the Location
Start outdoors or in a space with real airflow, and walk the location before anything is lit. Look at the ceiling, the floor, the dry vegetation and anything within arm’s reach of where a grenade will sit.
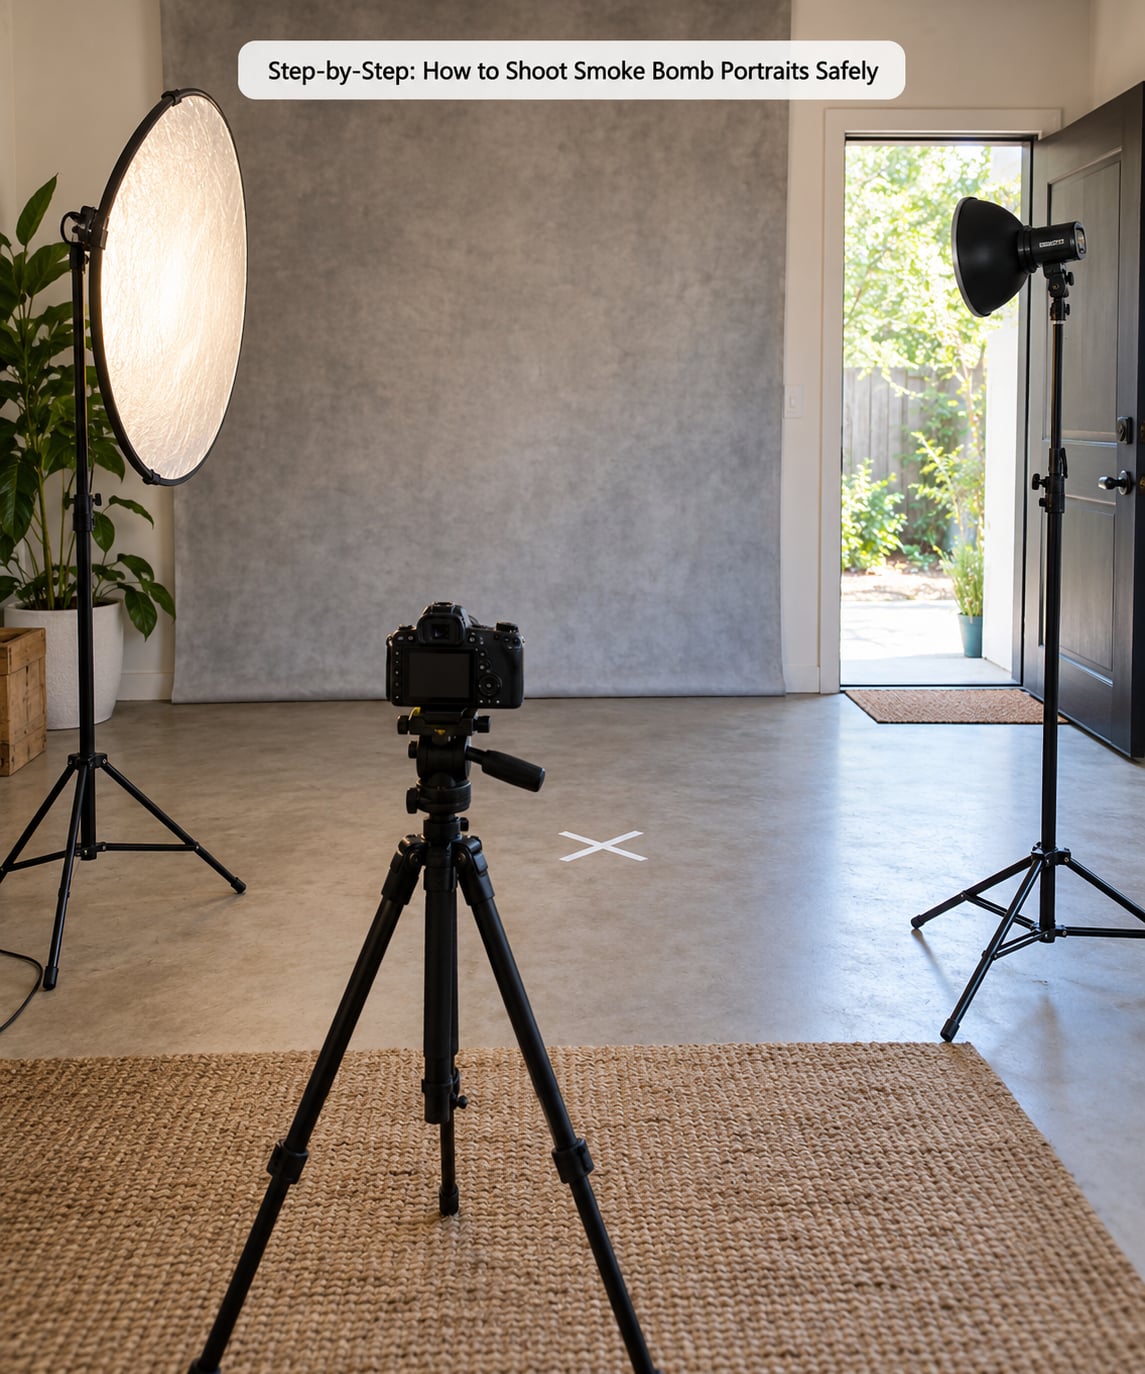
Decide the smoke’s travel direction before anyone moves. Light the device with the wind at your back so the plume blows past or behind your subject instead of into them, then mark the subject’s spot with tape so they know exactly where to stand.
You will know the location works when you can stand at your camera position, see your subject clearly, and watch air move through the space in one direction.
A short go or no-go check before ignition:
- Is the airflow strong enough that smoke clears within a minute?
- Is the floor free of dry grass, carpet and loose fabric?
- Is the ceiling clear, and are sprinklers and alarms uncovered?
- Are children, pets and bystanders outside the working area?
- Does the subject have no respiratory condition, and does everyone know the exit route?
- Do you have permission from the venue or landowner?
- Is the wind under roughly 10 to 15 mph?
- Is your camera positioned outside the densest part of the plume?
- Do you have a metal tray or bucket for spent shells?
- Does everyone know who calls the stop word?
Step 2: Protect the Camera and Nearby Equipment
Residue is the quiet way smoke sessions ruin gear. Solid particles and oily dye settle on the front element and the sensor glass, and the damage shows up weeks later as haze in every frame.
Keep the camera as far from the plume as you can while still getting the shot, and shoot through the front element rather than into it. If you need to be close, a reverse-lens or step-up ring keeps the filter and the front element out of the smoke path.
Never blow residue off a lens with a bulb or your breath. Leave the camera powered down until the air clears, then clean the glass the way the manufacturer recommends rather than picking at it.
You will know the camera is protected when you can frame the shot, watch the smoke shape, and still have half a metre between the lens and the densest colour.
Step 3: Set the Lighting Before Introducing Smoke
Get the light right first, because smoke makes exposure impossible to judge later. A clean test frame in clear air tells you what the settings do before the frame is full of colour.
Backlight or side-light the smoke with the source behind or at a right angle to the plume, and let it spill onto your subject’s face. A single off-camera flash bounced into the plume from behind usually beats a bare on-camera pop, which flattens everything it touches.
Meter for the subject’s face, not the smoke. Lock the settings, switch to manual focus on the near eye, and only then bring smoke into the space.
Step 4: Test the Smoke Without a Subject in the Smoke
Activate a grenade from arm’s length, outside the frame, and watch it before you ask anyone to stand anywhere. Note how fast the plume rises, how far it travels and how quickly it thins out.
That test tells you three things: whether the wind direction works, whether the density is thick enough for your background, and whether the room clears fast enough to keep shooting.
Throw the test frame away. Trying to force a look out of a test exposure is how people end up holding the device for a second burn to get a better take.
Step 5: Direct the Subject and Start With Small Bursts
Tell your subject before the first release what you will be doing, where the smoke will go and what your stop word is. Once the plume is up, they may not see or hear you clearly, so give cues early and keep them short.
Short, measured releases beat one long burn. Ask for a slow turn of the head, a slow step, or a pause at the mark, and give them time to reset before the next burst.
Keep the smoke off their face. If visibility drops, if anyone coughs, or if your subject says anything feels off, stop the sequence immediately and move them to fresh air.
Step 6: Focus and Capture the Decisive Frame
Focus on the near eye in manual focus before the smoke starts, then leave it alone. A plume is soft enough that autofocus will hunt the moment it enters the frame.
Work around 1/1000 s or faster when you want visible texture and trails in the smoke. Slower speeds render it as smooth mist, which is a valid look but a different one, so decide which you want before the first burst.
Watch the edges of the plume for negative space you can put your subject in, shoot short sequences rather than single frames, and check each burst for sharp eyes, readable smoke shape and separation from the background.
Step 7: Make Controlled Adjustments Instead of Repeatedly Overexposing
When a frame misses, change one variable at a time: smoke density, light position, camera angle, subject pose or background distance. Changing three at once teaches you nothing and burns through your grenades.
Give the room time to clear between trials so the next burst reads cleanly. Track how many releases you have used, because a client session on a limited budget runs out of smoke long before anyone runs out of ideas.
Step 8: Shut Down, Ventilate, and Check the Equipment
When the last frame is in, stop releasing smoke and move your subject to fresh air. Open every door and window you opened for the shoot and leave them open until you can see clearly across the space.
Let residue settle before touching anything. Spent shells hold heat for minutes, so drop them into a metal container with a handle and keep that container clear of anything flammable.
Follow the disposal instructions printed on the device, check the lens and body under angled light, and power the camera down entirely if residue is present. Clean now, not after the client has gone.
Common Mistakes
Almost every bad smoke session comes down to one of these. Each has a straightforward fix.
- Smoke in the wrong place. You ignored the wind. Watch a light piece of ribbon or a stray hair for a minute before lighting anything, and light the grenade with the wind behind you.
- Visibility collapsed. Too much smoke, released too close. Move the device further from the subject, shorten each burst and let the air clear fully between takes.
- Repeated large releases. Every extra release stains more gear, clothing and skin, and fills the room faster. Small bursts with a reset between them produce more usable frames.
- Focus on the background. The plume looked good so the camera locked onto it. Set focus on the near eye in manual and leave it there.
- A grimy front element. You put the lens downwind of the plume. Swap positions so the camera is not in the smoke’s path, and fit a filter you can remove and clean later.
- The subject standing somewhere unsafe. They were asked to hold the device, or stand on loose gravel near a spent shell. Tape a clear mark, keep the ground level and tidy, and let only the photographer handle the grenade.
- One fixed pose for the whole burn. Smoke portraits need movement to read well. Plan three or four different cues before you light anything so the burn is not wasted on a single posture.
- Nobody stopped when the room got hard to breathe in. It is not easier to breathe just because the effect looks good. Agree on a stop word first, and use it the first time someone mentions irritation, coughing or headache.
- No permission. Most public parks and many venues prohibit anything that burns, and word travels fast in a neighbourhood. Ask the landowner or venue in writing and check local rules before you buy anything.
Two more habits pay off. Keep children, pets and anyone with asthma or a respiratory condition well away from the working area for the whole session, not just the moment you are shooting. And check the label before you buy, because a burst grenade that fires from both ends looks nearly identical to a standard model and throws sparks from a direction you were not expecting.
Frequently Asked Questions
Can I use smoke bombs indoors for portrait photography?
Only in a space that behaves like an outdoor one. You need a large volume, an obvious flow of air through the room, and a way for the plume to leave rather than collect at ceiling height. A small studio with a single closed door will fill within seconds and put everyone in the plume. Many photographers build a plastic-sheet enclosure with open sides for this reason. If you cannot describe the airflow before you light anything, choose an outdoor location instead.
How much ventilation does a smoke bomb photo shoot need?
Enough that smoke visibly clears within about a minute of a release. Open doors on opposite sides of the space, or shoot outdoors with the wind behind you. Check the airflow before the session by watching a ribbon or a strand of hair for a minute. If smoke lingers at ceiling height or drifts back toward the camera position, the room is too closed and you need to move. Your subject should be able to stand in clean air at all times.
How do I keep smoke residue off my camera and lens?
Position the camera outside the densest part of the plume and shoot through the front element rather than into it. Fit a neutral-density or clear filter as the sacrificial layer, keep the lens capped or covered when you are not shooting, and never blow residue off with a bulb or your breath. Leave the body powered down until the air is clear, then follow the manufacturer’s cleaning steps. Under controlled use the film on the body needs no protection at all.
What wind speed is too windy for smoke bomb photography?
Around 10 to 15 mph is where most results fall apart. Light wind helps, because it pushes the plume into a readable shape, but stronger wind tears it apart and carries dye across the location. What matters is consistency: check before you light anything by watching a ribbon, and if it is streaming steadily rather than drifting, either wait for it to drop or shoot somewhere sheltered. Outdoors, moving the position is usually easier than fighting the air.
How many smoke bombs should I plan for a portrait session?
Plan for roughly double the number of releases you think you need, because duds are normal and burn times of about 60 to 90 seconds run out mid-sequence. A single-subject portrait session usually needs one working device plus three or four spares. For a group or a wider shot list, write a shot list with a time estimate per setup, then add 50 percent. Store spares sealed and cool, and never light a device to check whether it still works.
When should I use a professional smoke generator instead of smoke bombs?
Use a generator for indoor studio work, large groups, video or any session where you need more output than a handheld device provides. It gives you continuous, controllable smoke with no burning residue and far less staining, which matters when the model is wearing a white dress. The trade-off is setup time, a power source and a room that needs to clear properly afterwards. A generator does not remove the need for ventilation, fire-safe footing and a stop word.
Start With a Small, Controlled Test
If you only do one thing from this guide, make it the test release. Pick a location with obvious airflow, confirm the wind direction with a ribbon, set your light and your exposure in clear air, and then ignite one grenade at a safe distance with nobody in the frame.
Watch how the plume behaves, adjust the position and the density, and only then call your subject in for the real sequence. Ten minutes of that groundwork usually saves an hour of wasted grenades, retakes and stained clothes.