Learning how to photograph a car with a person comes down to balance: the car angled to show its shape, the person standing where the light reaches their face, and the whole frame free of clutter and reflections. Pick an open location, park the car at a three-quarter angle, place your subject beside the front fender or driver door, and shoot at f/2.8 to f/5.6 with a 35-85mm lens during golden hour or in open shade. The whole session takes 20 minutes once you have the sequence down.
Most car photo guides stop at the vehicle. That leaves out the harder half, because a stiff person beside a beautiful car reads as a stock photo no matter how good the paint looks. This guide covers both sides and the workflow in between. Updated for 2026.
Table of Contents
- What You Need
- Step-by-Step: How to Photograph a Car With a Person
- 1. Choose a Clean, Simple Location
- 2. Prepare the Car and Coordinate Clothing
- 3. Position the Car and Person
- 4. Use Light to Shape the Portrait
- 5. Set the Camera for a Sharp Result
- 6. Shoot Several Compositions
- 7. Review and Refine the Image
- Common Mistakes
- Frequently Asked Questions
- What is the best time of day to photograph a car with a person?
- How should I pose someone next to a car?
- What camera settings work best for a car and person portrait?
- How do I avoid reflections and fingerprints on the car?
- Can I photograph a car and person with a smartphone?
- What lens is best for car-and-person photography?
- Conclusion
What You Need
You can do this with a phone and a clean car. Everything else just makes it faster and easier to control.
- Camera: any interchangeable lens camera with a manual or aperture-priority mode. A phone in portrait or 2x mode works for a first attempt.
- Lens: a 35mm, 50mm or 85mm prime if you own one. A 24-70mm zoom covers everything from a wide environmental frame to a compressed side profile.
- Tripod: optional, but it lets me drop the camera to knee height for low angles without shaking.
- Cleaning kit: microfiber cloth, quick detailer spray and a small brush. Fingerprints on a door panel are visible from across a car park.
- Reflector or diffuser: a 5-in-1 reflector costs little and fills the shadow side of a face under open shade. A white bedsheet over the car works as a rough diffuser too.
- Clothing: one solid colour that does not appear on the car. Simple jeans, a plain jacket or a neutral coat read better than logos or busy patterns.
Skip the expensive lighting kit on your first outing. Open shade and a reflector handle almost every beginner situation.
Step-by-Step: How to Photograph a Car With a Person
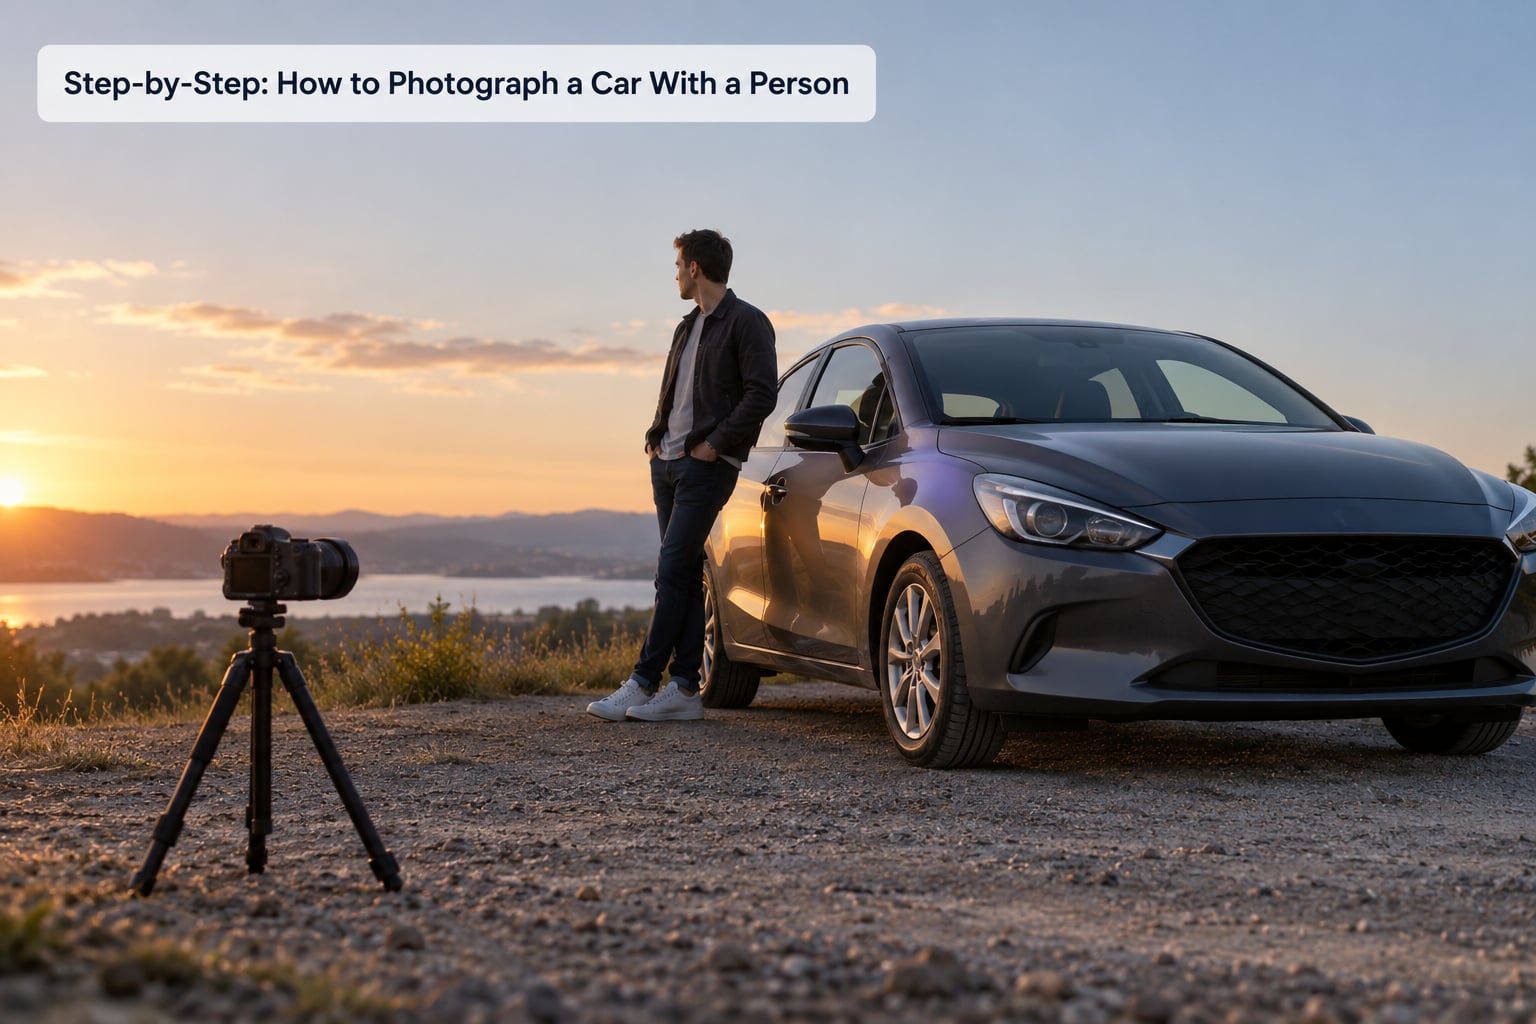
1. Choose a Clean, Simple Location
An empty forecourt, a quiet residential street at the weekend, a car park corner or an open industrial yard all work. Walk the spot first and check what sits behind the car from your shooting angle, because background clutter is the hardest thing to fix later.
Keep the person and photographer off the carriageway. If you need a road, use a closed lot or pull completely off the lane with hazards on. I also check the sun before unpacking: if it is directly behind the car, the paint will mirror your silhouette.
2. Prepare the Car and Coordinate Clothing
Wash the car, then wipe the glass, the door handles and the front bumper. Dust on a horizontal panel catches the sun and reads as haze in the finished image.
Look at the paint colour and pick clothing that either matches it deliberately or contrasts cleanly against it. Black car plus black jeans merges into one dark shape. Black car plus a light jacket gives the person a clean edge against the bodywork.
3. Position the Car and Person
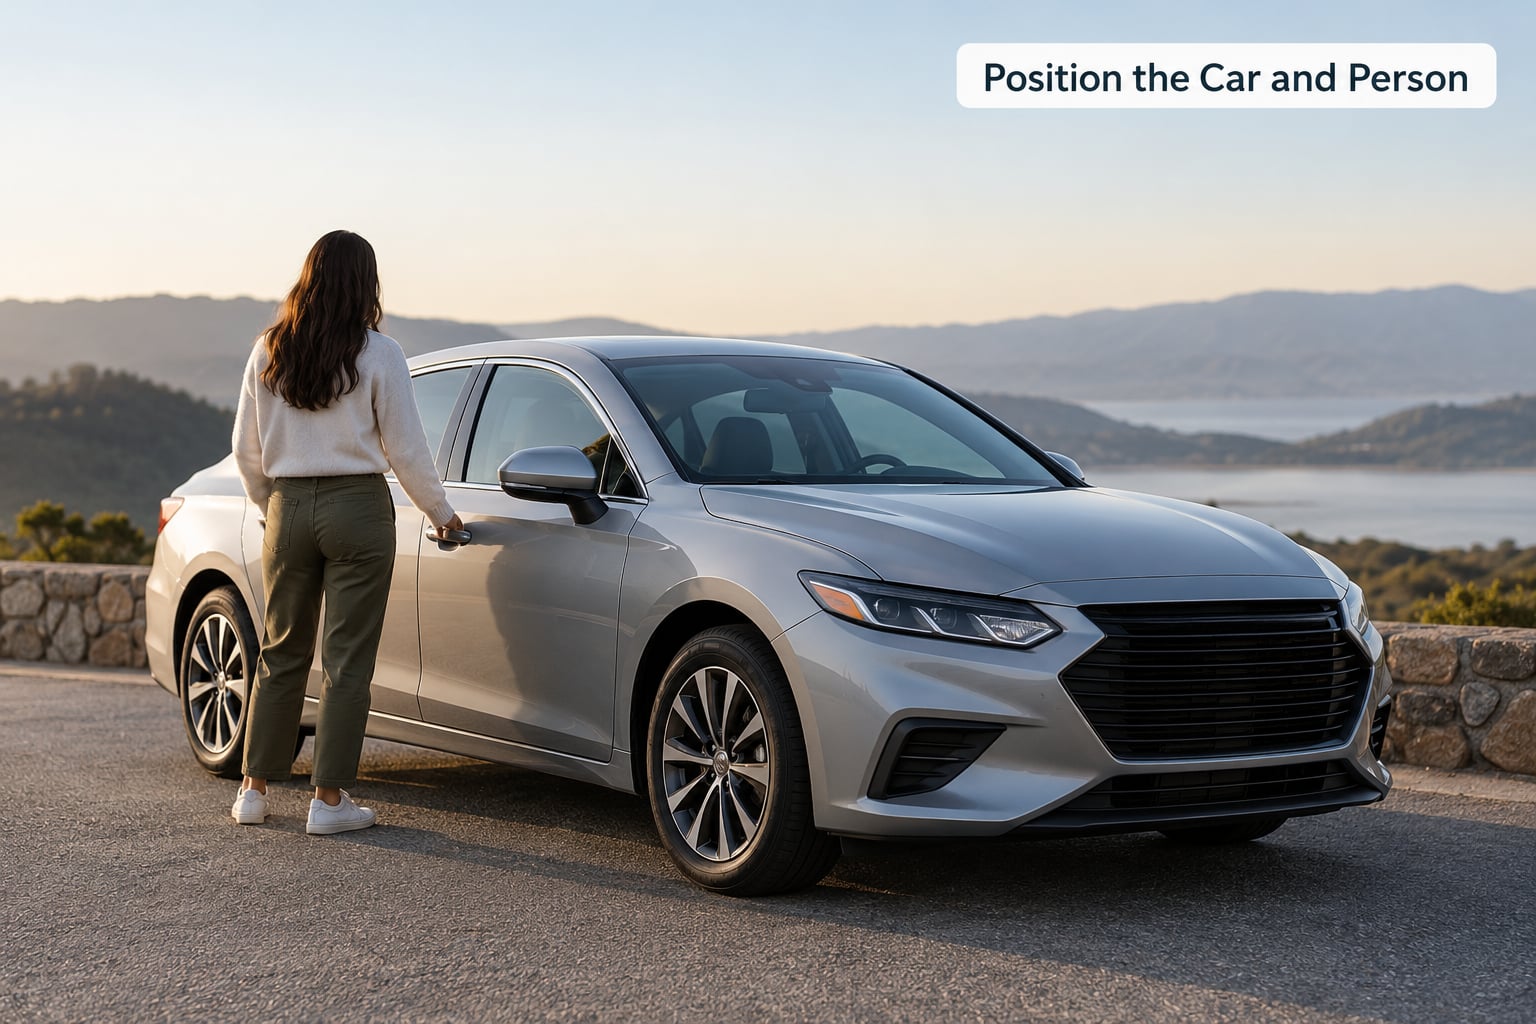
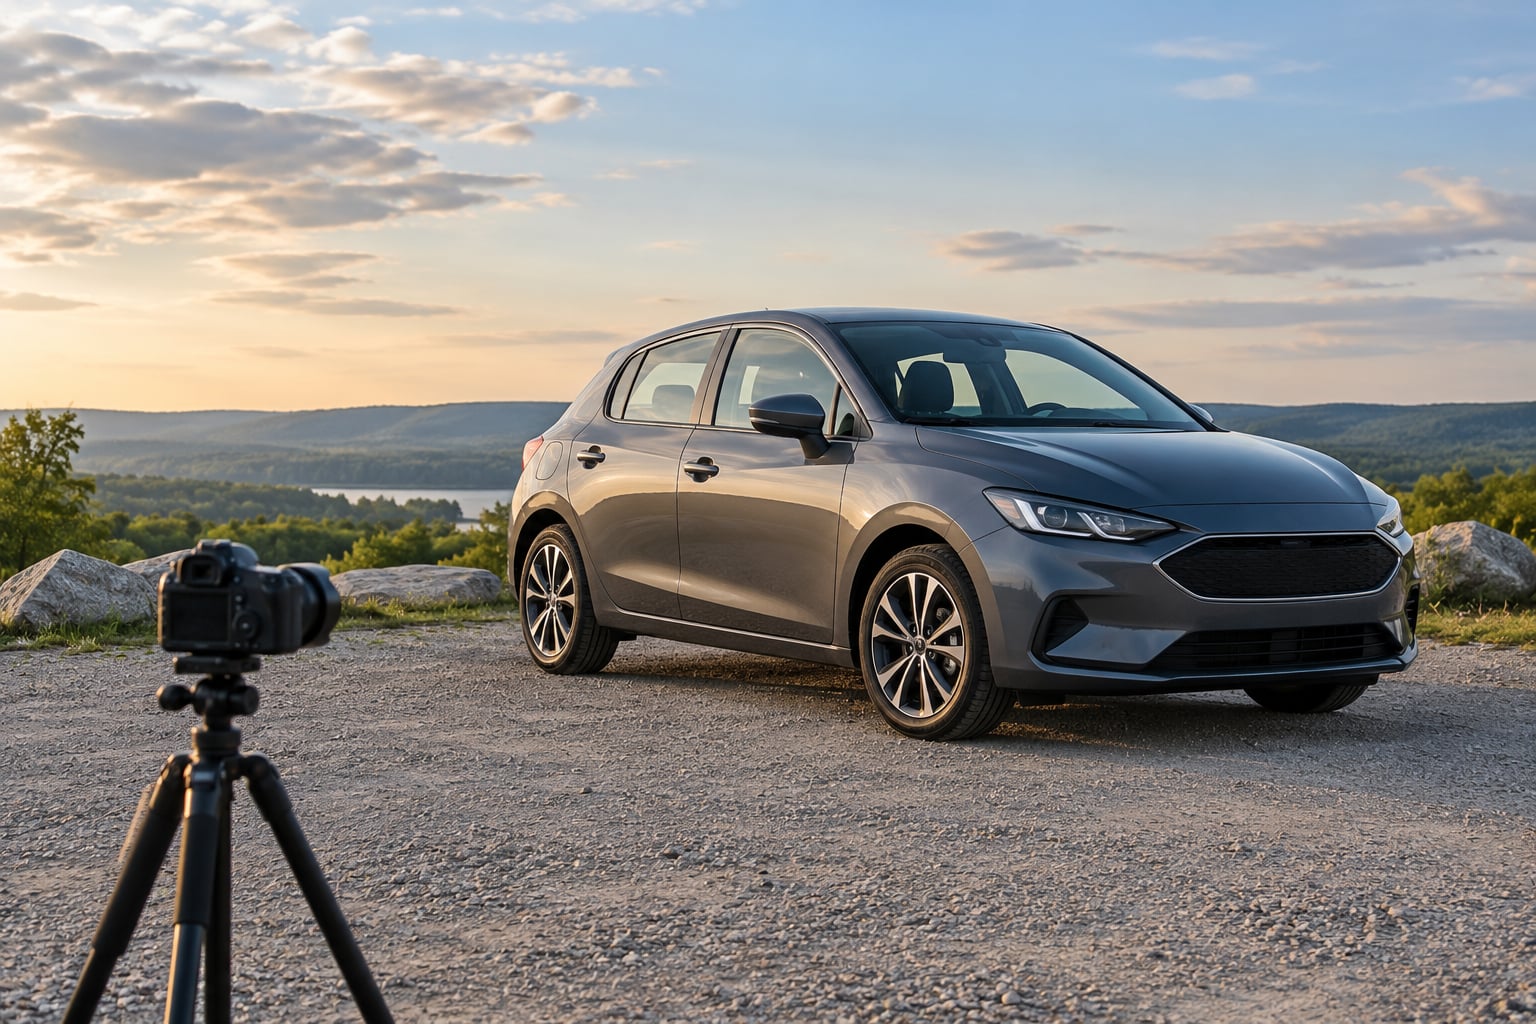
Angle the car about 30 to 45 degrees from the lens rather than side-on or square. That is the three-quarter view, and it shows the front, the flank and the roofline at once instead of flattening the car into a rectangle.
Have your subject stand beside the driver door or lean on the front fender, about a step and a half from the car. Turn their shoulders toward the light and let their face come back toward the camera. Hands work best when they have a job: keys, a jacket over the arm, or resting on the door frame.
Then check your own position. Walk to where you plan to stand and look at the panels. Move two steps sideways until your reflection disappears.
4. Use Light to Shape the Portrait
Three setups cover almost everything outdoors. With the sun behind you, the car and the face are both evenly lit and the paint keeps its colour, so this is the safest starting point. With the sun at a right angle to the car, the body panels go bright and the side facing you drops into shadow, which shows shape but needs a reflector on the face. With the sun behind the subject, you get a rim of light on the hair and shoulders, and you need to lift the exposure by a stop or more.
Cloudy days are friendlier than they look. An overcast sky acts like a giant softbox, reflections in the paint turn into smooth gradients instead of hard blobs, and skin tones stay even.
The one exposure rule worth memorising: dark paint needs a little less light, light paint needs a little more. Underexpose a black car by roughly half to one stop so the colour stays black instead of washing out to grey, and overexpose a white car by the same amount so it renders as white rather than blown-out paper. Most cameras let you dial that in with exposure compensation once you have framed the shot.
5. Set the Camera for a Sharp Result
A parked car and a mostly still subject means you are not chasing motion. Start here:
- Aperture: f/2.8 to f/4 for a blurred background and separated subject. Push to f/5.6 when you want the car and the person both sharp from front to back.
- Shutter speed: 1/250s or faster so a hand movement or a light breeze does not blur the frame.
- ISO: 100 to 400 in daylight. Raise it indoors or in a shaded car park rather than dragging the shutter down.
- Focal length: 35mm for a wide frame that shows the location, 50mm or 85mm for a tighter, flatter look.
- Focus: continuous autofocus on the eye or face, or single point placed on the near eye. Half-press to focus, then shoot.
- Metering: spot meter the face if the car and the person are several stops apart in brightness.
Most phones hold ISO and aperture fixed, so on a phone the exposure lever is the slider you drag up or down after tapping the face. Lock focus and exposure there, then step back.
6. Shoot Several Compositions
One pose rarely carries a set. Work through a repeatable list and you will have options before you have edited anything:
- Wide environmental frame showing the car, the person and the location.
- Medium frame with the person from the knee up, car filling the background.
- Low angle from knee height looking slightly up at the car and the subject.
- Three-quarter front with the person leading toward the car.
- Profile with the subject looking away from the lens, keys in hand.
- Detail frames on hands, wheels, badges and the reflection in the glass.
- Inside the car through an open window or door with the subject at the wheel.
- Walking shot: subject takes three steps toward the car, you shoot during the last one.
Keep the person moving between setups. Ask them to walk the length of the car, adjust a sleeve, or turn to look out at the landscape, then shoot while they settle. That kills the stiff posture faster than any amount of posing instruction.
7. Review and Refine the Image
Zoom in on the face first, then on the front wheel. If either is soft, the focus missed and a retake costs less than editing.
Next, check the background for anything that fights the subject: a bin, a sign, a bright patch of sky right behind the head. A small camera shift usually solves it. Look at the paint for your own reflection, your phone, or the shadow of your arm crossing the panel.
Finish in editing with a light crop to remove dead space, a small amount of contrast, and a pass on the colour of the paint so it matches what you remember. Resist heavy skin smoothing, since it makes the person look pasted onto the car.
Common Mistakes
Merging the person into the car. The subject and the bodywork share one tone and the shape disappears. Fix it by moving them a step further from the car and switching to clothing with a different value from the paint.
Light coming from behind you without checking the panels. You get a clean face and a mirror-finish reflection of yourself in the door. Walk to your shooting spot and look at the paint before you ask your subject to reset.
Harsh midday light. Squinting faces and hard-edged shadows under the brow and chin. Move to open shade, or wait for the sun to drop lower and work from the open side of the car.
Straight-on stances. Feet planted, arms at the sides, weight even on both legs. Ask for weight on one leg, front foot slightly turned out, and shoulders angled away from the lens.
Cropping at the joints. Cutting at the ankles or the elbows makes a frame look accidental. Crop just above the ankle or mid-thigh instead.
Metering for the car and losing the face. The camera exposes for the bright bodywork and the face goes dark. Spot meter the face or add a stop or two of fill with a reflector in front of the subject.
Shooting wide open with a slow shutter. f/1.8 at 1/30s gives a soft frame and a blurry person. Raise the shutter to 1/250s and let ISO take the lift.
Rushing the direction. Posing someone who is not comfortable produces a stiff result in two shots. Give two options instead of an order, and shoot between them.
Ignoring the etiquette. Sitting on a hood leaves marks on clear coat, and leaning against someone’s car without asking is a fast way to end a friendship. Ask first, keep shoes off the paint, and never pose on a car you do not own without the owner’s agreement.
Frequently Asked Questions
What is the best time of day to photograph a car with a person?
Late afternoon, roughly an hour before sunset, gives you warm directional light and long soft shadows. The sun sits low enough to rake across the body panels and show the shape of the car, while the angle is still gentle enough to light a face. Overcast midday also works well because the cloud cover softens reflections in the paint and keeps skin tones even.
How should I pose someone next to a car?
Put them beside the driver door or leaning on the front fender, about a step and a half from the bodywork. Turn their shoulders toward the light, bring the face back toward the lens, and give the hands a task such as holding keys or a jacket. Weight on one leg and a slightly turned front foot stop the frame reading as a passport photo.
What camera settings work best for a car and person portrait?
Start at f/2.8 to f/4 for a blurred background, or f/5.6 when you want the person and the whole car sharp. Keep the shutter at 1/250s or faster and ISO between 100 and 400 in daylight. Focus on the nearest eye, and spot meter the face if the paint is much brighter than the skin.
How do I avoid reflections and fingerprints on the car?
Clean the paint and glass with a microfiber cloth and detailer before you start, then wash your hands. Reflections come mostly from where you stand, so walk to your shooting position and look at the door panels before your subject settles. Moving a step or two sideways usually removes your own silhouette without changing the shot.
Can I photograph a car and person with a smartphone?
Yes. Use the 2x or portrait lens so you are not forced into an ultra-wide look that distorts the car and stretches the person at the frame edge. Tap the face to set focus and exposure, then drag the brightness slider down slightly on dark cars and up slightly on white ones. Low light is the limit, so shoot outdoors in daylight.
What lens is best for car-and-person photography?
A 24-70mm zoom covers the widest useful range, from a wide frame that shows the location down to a tighter side profile. A 35mm or 50mm prime gives cleaner background separation and a more natural look if you own one. An 85mm flattens the proportions nicely for portraits but you need more distance from the car.
Conclusion
On your next session, do four things in order. Find clean light with an uncluttered background. Park the car at a three-quarter angle. Place the person beside the driver door or front fender, with the light on their face and clothing that differs in tone from the paint. Then shoot one test frame and check focus and reflections before you change the pose at all.
Everything after that is repetition, and repetition is what makes the frames look effortless rather than posed.