To light curly hair, put a large soft source above and slightly to one side of your subject, then add a controlled rim from behind so the curls separate from the background. Direction, softness and contrast decide how a curl pattern reads, not the price of your gear.
Curls are the easiest texture to flatten and the easiest to make glow. They also punish soft, frontal light harder than almost any other portrait, because every strand catches a highlight somewhere and the whole head turns into one bright shape. The five-step workflow below gives you a repeatable starting point you can adjust by curl pattern and hair colour in about a minute.
Table of Contents
- What You Need
- Step-by-Step
- 1. Prepare and Separate the Curls
- 2. Position the Main Light for Curl Shape
- 3. Add Backlight or Rim Light
- 4. Control Fill and Background Contrast
- 5. Set Camera Settings and Check the Result
- Common Mistakes
- Frequently Asked Questions
- What is the best lighting setup for curly hair?
- How do you light dark curly hair without losing detail?
- Should I use a softbox or a bare light for curly hair?
- How do you separate curly hair from the background?
- Can I light curly hair with natural window light?
- How do I stop highlights from washing out the curl pattern?
- Conclusion
What You Need
Keep the kit short. Everything here is a category, not a specific model.
- A camera and a normal-to-short portrait lens. A 50mm or 85mm-equivalent focal length keeps perspective honest, and anything wider starts exaggerating the nearest curls. A prime or a standard zoom is fine.
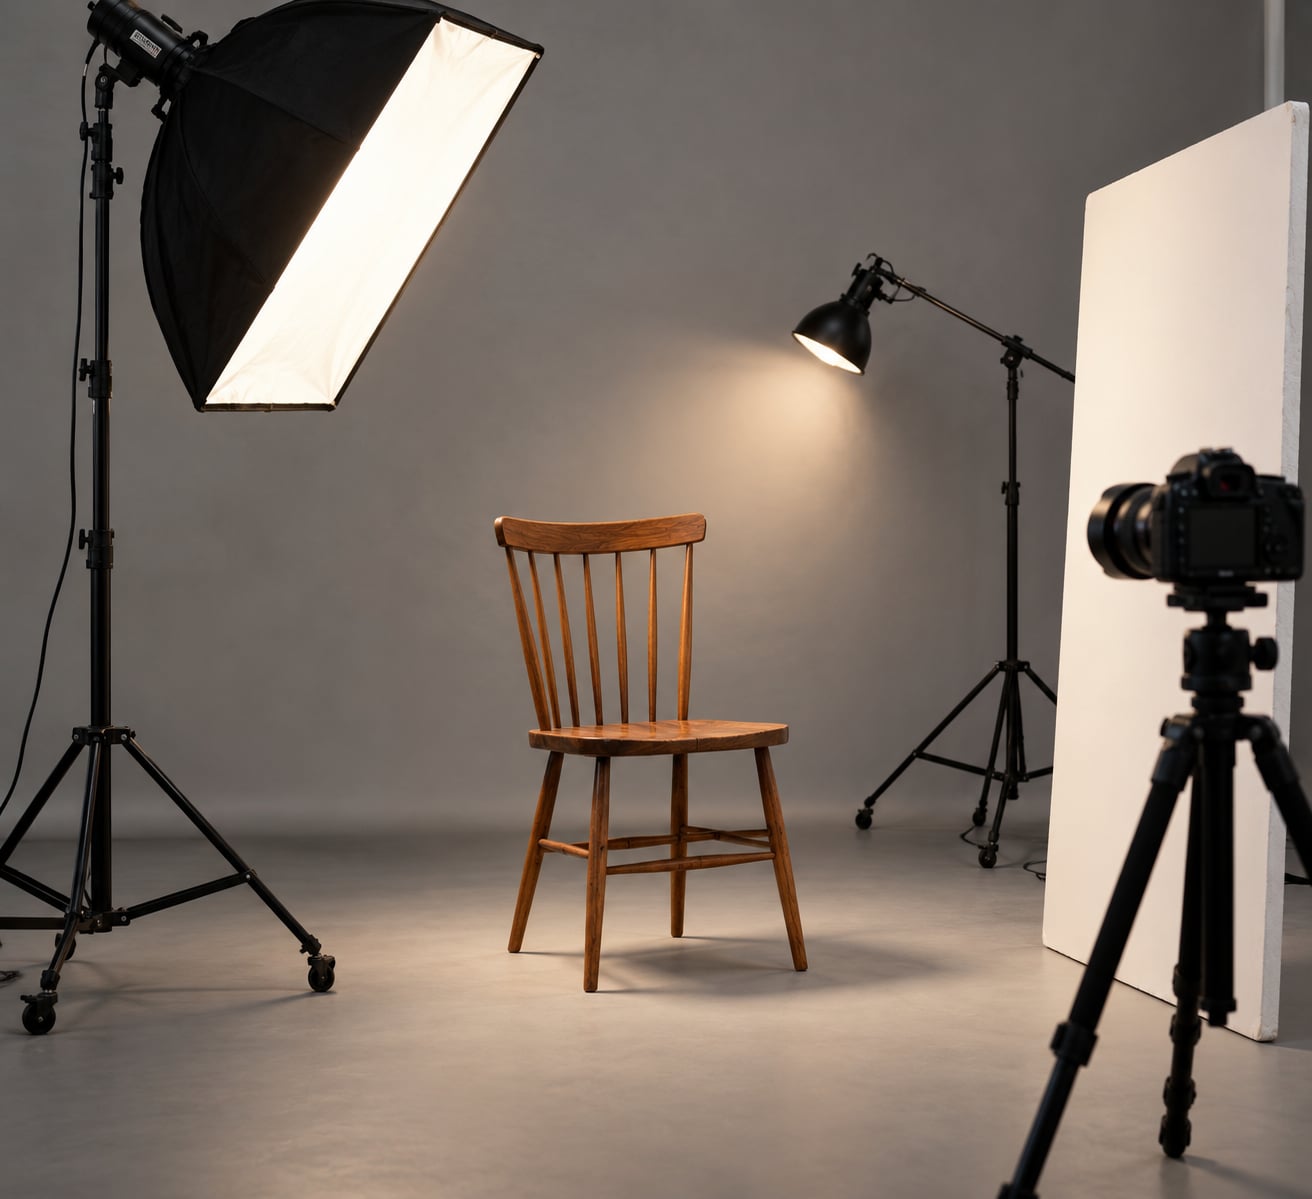
- One large soft source. A 90-120cm softbox, an umbrella, or a shoot-through with diffusion is your key. Size matters more than brand here: the bigger the source relative to your subject, the softer the shadow edge on the face.
- A second light for separation. A bare flash or a small reflector-style head gives you the rim. It can be far cheaper and far less powerful than the key.
- A white reflector or foam board, plus black foam core or a black cloth if you want negative fill.
- Two flags or cutters to keep the rim off the backdrop and off the lens.
- A hair tool for prep — a wide-tooth comb, a light leave-in, whatever you use to separate and define before the model sits down.
- Light stands and a tripod. A tripod keeps the test-shot comparison honest between adjustments.
Equipment quality matters less than four decisions: where the light points, how soft it is, how much contrast you allow, and where you set exposure. A cheap modifier with good placement beats an expensive one aimed straight down the barrel.
Step-by-Step
Five steps, in order. Prep the hair, shape with the key, separate with the rim, control fill, then set the camera and verify.
1. Prepare and Separate the Curls
Style and separate the curls before you switch anything on. Light, product-heavy styles flatten fast, and you want texture that survives the session rather than volume you have to fight. Scrunch out a few curls with a light gel or cream and leave the rest alone.
Avoid slicking everything flat with a heavy butter or gel. A smooth, compressed style has no ridges for the light to catch, so the portrait ends up looking like a helmet no matter how good your setup is. Loose separation is what gives the key light something to trace.
Then walk to the camera position and look at the silhouette. If the outer edge of the hair merges into the background from where the lens will be, you have found the problem before you spent any time on lights. Fix the shape now, not later.
2. Position the Main Light for Curl Shape
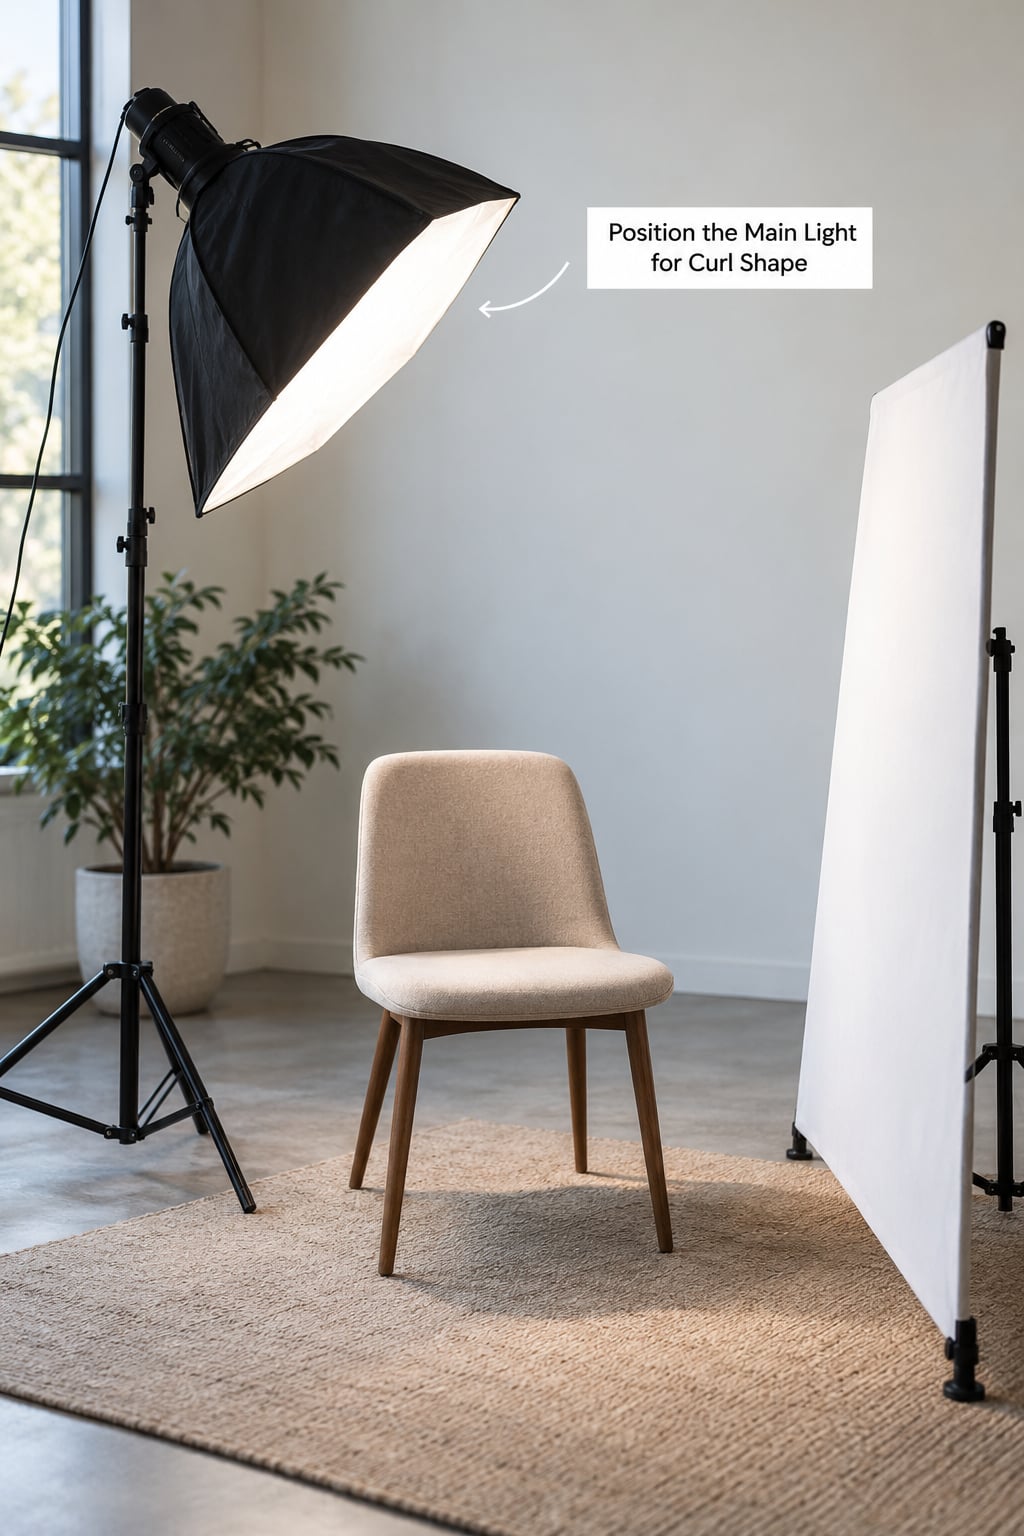
Place the key 30 to 45 degrees off the camera axis and slightly above eye level. Aim it down toward the top of the head and the face, not horizontally across the cheeks. That downward angle puts highlights along the outer curve of each curl, which is what reads as definition.
A pure side light is the clearest version of this idea: put the source at about 90 degrees to the lens, a little high. Half the face falls into soft shadow and every curl on the lit side gets a bright rim on its own edge. It is dramatic, and it is the fastest way to make texture obvious.
How do you know when the angle is wrong? Two signs. If the highlights disappear and the hair looks dull even though the face is correctly exposed, you have moved the light too far toward the camera axis. Rotate the source further around. If the shadows go hard-edged and the skin looks papery, you moved too close to the axis and lost the soft wrap.
Keep the source far enough away that the shadow edge stays soft. If the light is close, it acts small, and the transition from lit to unlit across the face becomes an obvious line.
3. Add Backlight or Rim Light
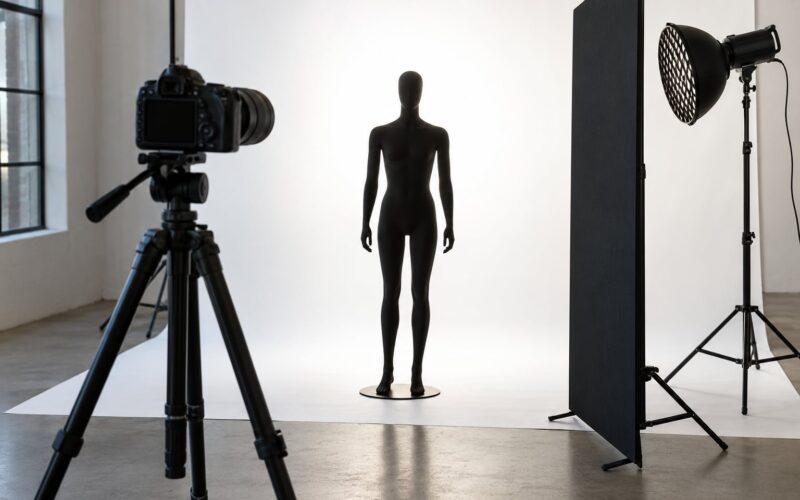
Put the second light behind and above the subject, aimed down at the back of the head. Start at roughly a quarter to a third of the key’s power, then judge by eye. On the histogram a good rim pushes the brightest hair a stop or so above the facial highlights without clipping.
Flags do most of the work here. Keep the rim off the backdrop, or you will light a hot spot behind the head instead of the hair. If you see a glowing patch on the background, the beam is too wide or too close to the wall.
Three failure signs to watch for. Too strong and the rim turns into a white outline that looks pasted on. Too narrow and you get a bright line on the crown with nothing on the sides. Aimed at the wrong spot and it lands on the shoulders and ear instead of the hair. Move the source up and slightly further behind for side coverage.
4. Control Fill and Background Contrast
Use the white reflector on the shadow side of the face to keep detail in there. Curl hair throws a lot of bounce into the shadow side on its own, so you often need less fill than you expect. Too much fill flattens exactly the dimension you built in step 2.
For more volume, go the other way: put a black board just off frame on the shadow side. Absorbing that light deepens the shadow side and makes the lit curls look rounder. It is the same trick with the opposite sign.
Background distance changes the read too. Farther away, the backdrop stays darker relative to the hair and the silhouette gets a stronger outline. Close and pale, and the curls blend in. If you cannot move the backdrop, use the flag to knock the backdrop down instead.
5. Set Camera Settings and Check the Result
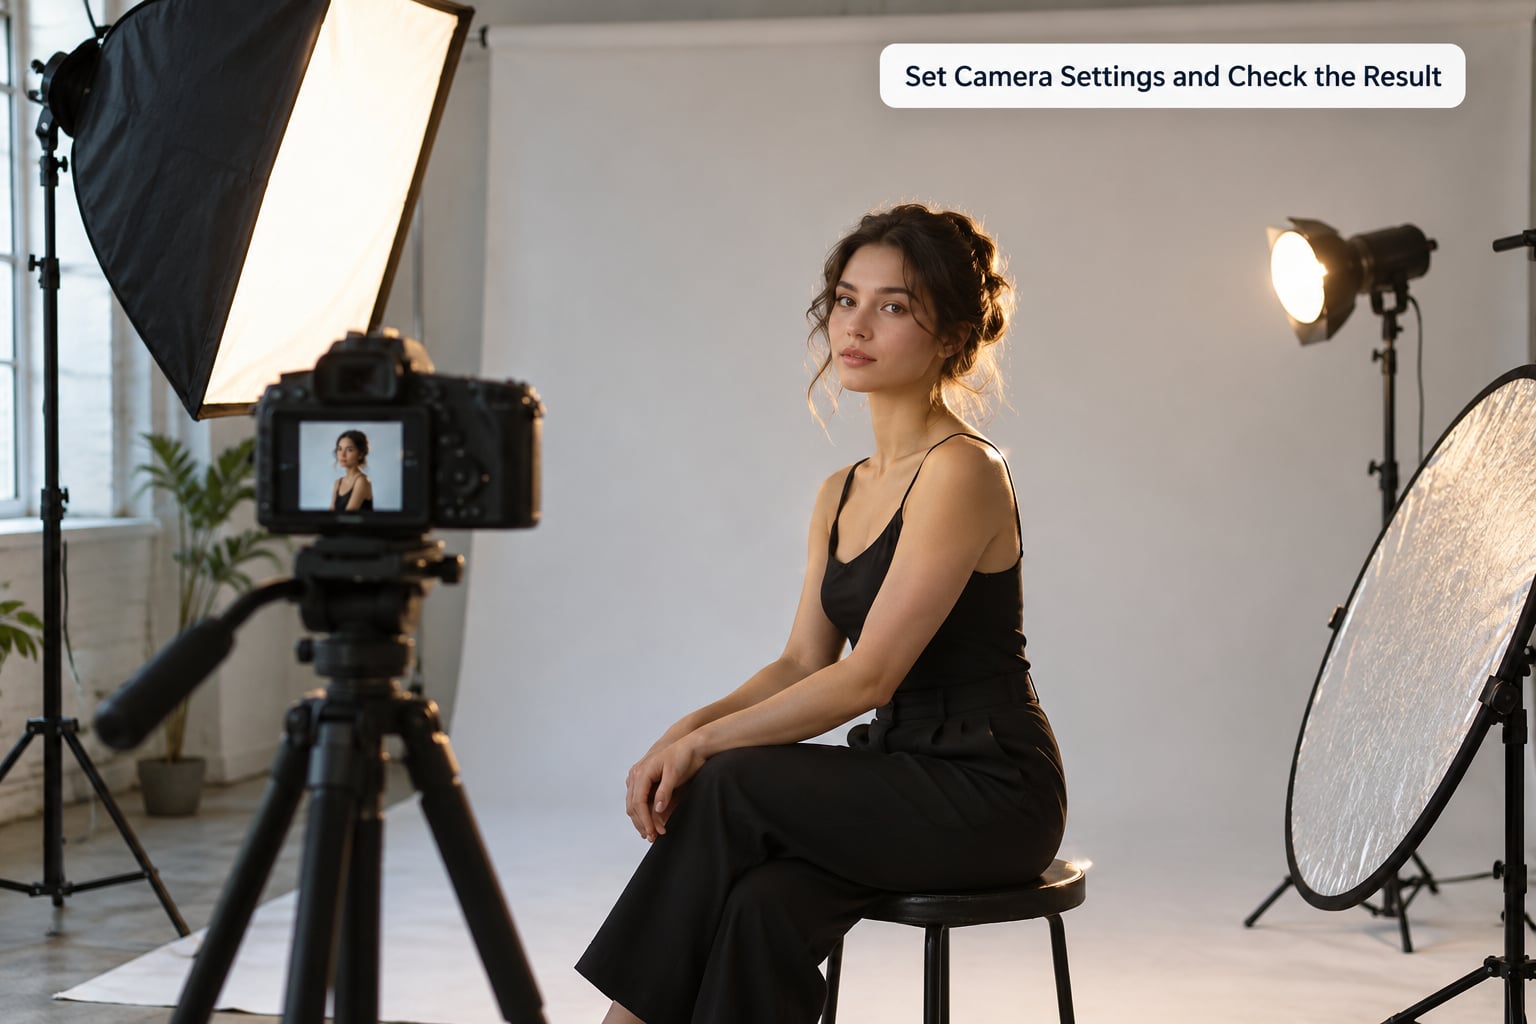
Shoot RAW. Start near 1/160 second at f/2.8 or f/4 with ISO set by flash and ambient light rather than by the ISO dial’s default. If the light is the only source, set exposure for the hair highlights and let the face fall where it falls, then lift the shadows.
Here is the test-shot checklist, in order. Take one frame and check:
- Highlights on the curls. Zoom to 100 percent and look at the brightest hair. Solid detail, not a blank white block.
- Shadow detail on the face. If the histogram has nothing left on the left side, add a little reflector fill.
- Background separation. Look at the outer edge of the hair, not the centre. That edge is what sells dimension.
- Face exposure against the hair. If the face is bright and the hair is dim, the key is aimed too low. Aim for the hair highlights to sit slightly above the skin.
Judge each frame at full magnification. The camera screen lies about highlight brightness, and the histogram only tells you where the pixels are, not whether they land where you wanted them.
Common Mistakes
Flat frontal light. A light on or near the camera axis fills every surface evenly and curls disappear. Move it 30 to 45 degrees off axis, above eye level.
Harsh direct light. A bare source close to the subject gives hard shadow edges and blown specular shine on the hair. Step back or add diffusion.
Rim light hidden behind the head. If it sits dead centre behind the subject, only the crown lights up and you lose the side edge. Raise it and push it further back.
Over-filled face. Two powerful lights at similar strength cancel the shape you built. Drop the fill until the shadow side keeps detail but stays visibly darker.
Washed-out pale curls. On light hair, the key alone can clip every ridge into one flat white shape. Lower the exposure a stop, or move the light further off axis so the highlights break into separate lines rather than a merged sheet.
Checking the hair from the wrong side. Hair that frames well from the lamp side can look shapeless from the lens. Check the silhouette from the camera position every time.
Two adjustments cover most hair types. Loose, wide curls take a slightly lower key angle so highlights run down the length of each curl. Tight coils and shorter patterns benefit from more elevation and a stronger rim, because the outer edge carries most of the shape. Very dark hair needs a brighter rim and a close check for clipping, since the highlight has nowhere to hide.
Frequently Asked Questions
What is the best lighting setup for curly hair?
A large soft key placed 30 to 45 degrees off the camera axis and above eye level, plus a lower-powered light behind and above the subject, gives the most reliable result. The key shapes the face and lays highlights along the outer curve of each curl. The back light separates the outer silhouette from the background. Add a white reflector on the shadow side only if the face is losing detail.
How do you light dark curly hair without losing detail?
Dark hair has less visible highlight to work with, so the separation light matters more. Keep the rim just above the brightest facial tones and check the histogram for clipping at full magnification. A cool or neutral white balance keeps the highlight from reading as grey. Avoid raising the key until the hair looks light, since dark hair lifts visually through the rim rather than the fill.
Should I use a softbox or a bare light for curly hair?
Use a softbox or diffused source for the key. Curls show every specular highlight on the surface, so a bare light creates hard-edged shine and distracting skin shadows. A bare or narrow head works well as the back light, where you want a small bright source and full control of spill. Flags matter more than the modifier brand in either position.
How do you separate curly hair from the background?
Place a light behind and above the subject, aimed at the back of the head, and flag it so it does not hit the backdrop. Move the subject further from the background if you can, or darken the background with a negative fill or flag. Check separation on the outer edge of the hair from the camera position, since that edge is what reads as shape.
Can I light curly hair with natural window light?
Yes, and it works well for soft, directional portraits. Put the subject about 45 degrees to the window rather than facing it, and keep the window as the key. Use a white reflector on the side away from the glass so the shadow side keeps detail. For separation, place a white wall or foam board behind the subject so daylight bounces back into the outer hair.
How do I stop highlights from washing out the curl pattern?
Zoom to 100 percent and expose for the brightest hair, not the average of the frame. If highlights merge into a flat white shape, lower the exposure a step and move the key further off the camera axis so the light wraps rather than sits flat. On pale hair, darkening the background also increases local contrast, which separates the outer curls without touching the light.
Conclusion
Start with one action: put your key above and slightly to one side of your subject, then add a flagged rim from behind and take a single test shot before touching anything else. Read that frame at full magnification and check the outer edge of the hair, the brightest highlights and the shadow side of the face.
That is the whole of how to light curly hair in practice. From there you adjust softness, contrast and highlight placement to suit the curl pattern and hair colour in front of you, one variable at a time.