To use a slow shutter for creative portraits, set the shutter somewhere between 1/30s and a couple of seconds, put the camera on a tripod, and decide deliberately what moves: the camera, the subject, or the background. Whatever should stay crisp, you lock in with flash at the end of the exposure or with a manual focus decision made before the shot. A beginner can get a usable frame in about half an hour of setup, and the technique gets easier fast.
The reason it works is simple physics. The sensor records everything that happens while the curtain is open, so any movement inside that window turns into a streak or a smear. Used carelessly that looks like a mistake; used with intent it becomes the only moving thing in a frame full of stillness.
Here is how I would teach it in a workshop: start with one technique, at dusk, with a willing subject and a flash, and shoot two hundred frames. That is far more useful than reading about six variations.
Table of Contents
- What You Need
- Step-by-Step: How to Use a Slow Shutter for Creative Portraits
- 1. Choose the Creative Blur Effect You Want
- 2. Set Up Your Camera for a Stable Exposure
- 3. Arrange Movement and Lighting
- 4. Focus on the Part That Must Stay Sharp
- 5. Take Repeated Frames and Refine the Result
- Common Mistakes and How to Fix Them
- Frequently Asked Questions
- What shutter speed is best for creative portrait blur?
- How do I keep my subject sharp when using a slow shutter?
- Can I use flash with a slow shutter for portraits?
- Is a tripod necessary for slow-shutter portrait photography?
- What aperture should I use for creative motion in portraits?
- How do I photograph a moving subject with intentional motion blur?
What You Need
Most of this list is stuff you may already own, and one item (an ND filter) you can skip entirely if you work at dusk or at night.
- A tripod. Any stable one with a ball head works. For a quick indoor test, a stack of books and a beanbag do the same job.
- A remote release or the two-second self-timer. Touching the shutter at 1/2s ruins the frame more often than any other mistake.
- A wide or normal lens. A 35mm or wider gives you room to move the camera during the exposure, and 50mm to 85mm compresses a portrait so the blur behind the subject reads as depth.
- A neutral density filter for daylight work. A fixed six-stop or ten-stop, or a variable ND, lets you hold 1/2s in full sun at f/5.6 and ISO 100. Some cameras also simulate ND in software, so check yours before buying glass.
- An external flash. Rear-curtain sync is the whole point of the shutter-drag look, and that setting lives in your camera menu, not in the flash.
- Something to move. A sheer scarf, a silk sleeve, a long piece of muslin on a stick, or simply a head turn timed by you.
- A dark or plain background so the blur reads as blur and not as clutter.
- Optional: an assistant and a small LED or reflector for shaping the face. Flash alone is fine to start.
Step-by-Step: How to Use a Slow Shutter for Creative Portraits
1. Choose the Creative Blur Effect You Want
Decide which of four moves you are making before you touch a dial, because each one has its own shutter range and its own way of keeping the important part sharp.
- Subtle motion blur. Between 1/15s and 1/4s the movement reads as a soft echo rather than a streak. This is the safest place to start and the easiest to sell to a nervous subject.
- Directional blur or panning. Same speed range, but you move the camera with the subject during the exposure so the background smears and the subject stays relatively legible.
- Subject motion plus flash. Between 1/4s and 2s with a flash firing at the end, the subject gets one sharp moment and the movement around it turns into trailing light.
- Sharp subject, moving background. The camera stays locked off and something behind or in front of the subject moves during the exposure: a curtain, a busy street, foliage in wind, or another person walking through.
Add a fifth if you want to be difficult: zoom burst, where you zoom the lens during the exposure and everything but the middle of the frame streaks outward.
2. Set Up Your Camera for a Stable Exposure
Switch to manual exposure. Shutter priority will fight you once a tripod and a filter are in the mix, and you need to change shutter speed by exact stops anyway.
Start at f/5.6 or f/8, ISO 100, and the shutter speed for your chosen effect. Meter for the ambient light at that speed first, then decide how bright you want the flash to sit against it. In daylight with a slow shutter you will almost always need an ND filter, otherwise f/22 and ISO 100 will not stop the highlights.
A few settings matter more than the numbers suggest. Turn image stabilization off when the camera is on a tripod, because the system fights your deliberate movement. Use the mechanical shutter or electronic front-curtain mode rather than the fully electronic shutter when anything is moving during the exposure, since a rolling readout bends motion into shapes that no preset can fix. If you are doing intentional camera movement, a high frame rate costs you nothing and multiplies your chances of catching a good gesture.
Fill in the rest of the exposure triangle from there: if the ambient reads too bright, stop down or add filter; if it reads too dark, open the aperture or raise ISO before you lengthen the shutter further.
3. Arrange Movement and Lighting
The arrangement does as much work as the settings. Put your subject two or three metres in front of a plain wall so the blur has somewhere clean to travel, and keep the camera side-on to the movement so you see the streak across the frame rather than towards it.
Give the subject one clear instruction with a clear start and a clear finish. Something like “hold still, then on three turn your head to the left and come back to me” produces usable motion far more often than “do something natural”, which mostly produces blinking.
Light the face with the flash on the camera or just off it at a slightly raised angle, then keep the ambient where you want the trails. Dusk is the friendliest window for this work because the ambient has fallen enough that a 1/2s exposure is easy and bright enough to still show colour. Outdoors you can also move the subject into a dark doorway or under an awning to create the contrast between a sharp flash-lit face and a dim environment that streaks when they move.
4. Focus on the Part That Must Stay Sharp
Autofocus will hunt at slow speeds, especially in dim light, so take focus away from the camera early. Set a single AF point on the nearest eye, focus, then switch to manual focus and do not touch the ring again for the rest of the set.
If you prefer, use back-button focusing so the AF-start button does the focusing instead of the shutter, then move to manual. On cameras with focus peaking, turn it on and pull focus until the eye edge lights up. For panning, prefocus on the spot your subject will occupy and hold that distance rather than tracking them.
For the sharp-subject-blurred-background version, focus on the subject and lock everything: tripod, manual focus, two-second timer. Any drift now is drift in the whole frame.
5. Take Repeated Frames and Refine the Result
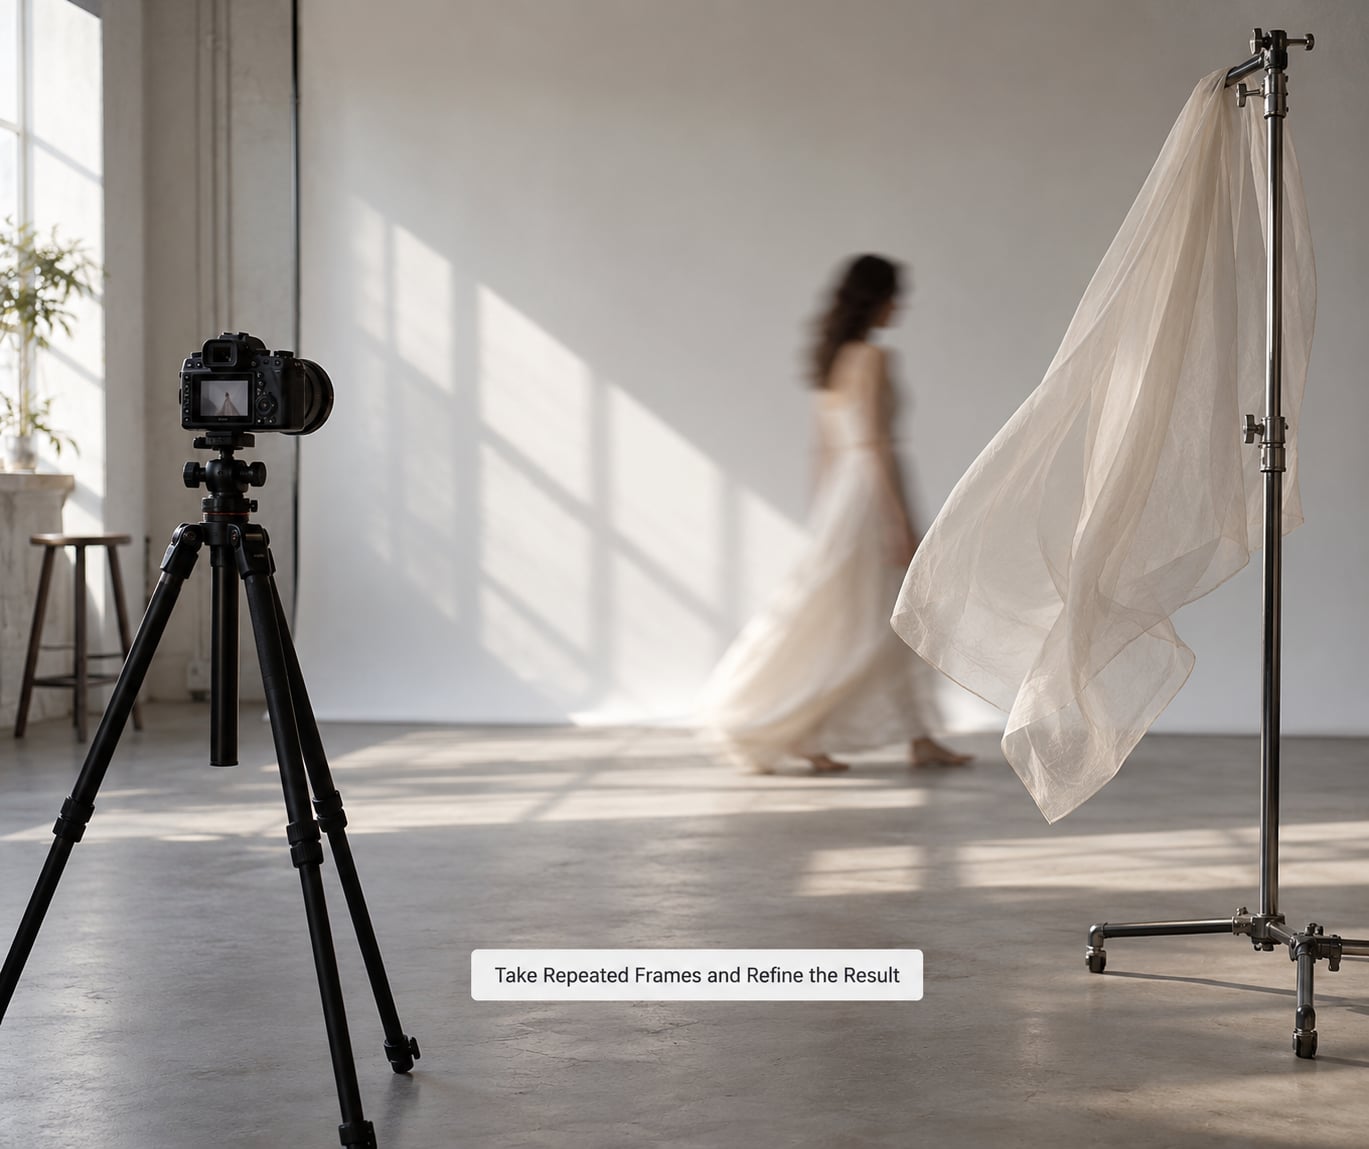
Treat the first exposure as a test, not a photograph. Fire a short burst, check the histogram for clipped ambient, look at the frame at full size, and check where the blur went.
Then adjust by whole stops. Too sharp means go one stop slower. The streaks cover the face and lost the subject means go one stop faster or turn the flash up. Blur in the wrong direction means change the angle between camera and movement, not the shutter speed.
Repeat until you can predict the result. That predictability is the actual skill, and it arrives faster when you shoot wide and zoom in rather than setting up for every single frame.
Common Mistakes and How to Fix Them
Everything is blurred, including the eyes. You either moved the camera or missed focus. Tripod it, use the timer or a release, drop ISO as far as your camera allows, and hold the shutter closer to 1/15s while you get the mechanics right.
Image stabilization is still on. Stabilization assumes handheld movement and tries to correct your deliberate blur. Switch it off on the tripod.
The frame is blown out in daylight. This is the single most common daylight failure. Add ND filter strength, stop the aperture down, or shoot at dusk. A six-stop filter is the usual minimum for 1/2s in bright sun at f/5.6.
The face is smeared by the flash, not frozen. Flash duration, not shutter speed, decides how sharp the flash-lit moment is. Turn the flash power down so the pulse is shorter, or lower the flash ISO, and the ambient trails stay while the face sharpens.
The light trails fall in front of the subject instead of behind. You are on front-curtain sync, where the flash fires at the start and the ambient continues over the top of it. Switch to rear-curtain, or second-curtain, sync in the flash menu.
Autofocus hunts or grabs the background. Use one AF point, then switch to manual. For self-portraits, set the focus distance to arm’s length from the tripod and walk into position.
The motion looks frantic instead of graceful. Slower movement over a longer exposure reads better than fast movement over a short one. Ask the subject to rotate rather than wave.
The background is busy. Simplify it, move further back with a longer lens, or move your position so the blur travels across a clean surface.
The flash runs hot or drains fast over a long session. Shoot in short bursts rather than continuous frames, and consider skipping flash entirely at dusk, where ambient-only shutter drag looks nearly as good.
Judging sharpness by eye at arm’s length. The reciprocal rule tells you when a camera will vibrate in your hands, and nothing about intent. Zoom to 100% on the back screen before you decide a frame failed.
Frequently Asked Questions
What shutter speed is best for creative portrait blur?
For a first attempt, start at 1/30s to 1/15s, which softens a hand or a sleeve without hiding the face. Push to 1/4s or 1/2s for trailing light with flash, and 1s to 2s when the subject stands still and only the camera moves. Above that, every source of light in the frame starts streaking.
How do I keep my subject sharp when using a slow shutter?
Use flash at the end of the exposure. Set rear-curtain sync, dial in an ambient exposure of 1/2s or longer, and the flash pulse freezes the subject for an instant while the ambient light smears around them. Alternatively, have the subject hold still during a shorter slow-shutter exposure and keep the moving element in the background.
Can I use flash with a slow shutter for portraits?
Yes, and it is the technique that makes shutter drag work. Most cameras allow sync at any shutter speed below the flash sync limit, usually 1/200s or 1/250s. Turn on rear-curtain sync in the flash menu, meter for the ambient at your slow shutter speed, then set flash power so the flash-lit moment lands a stop or two under the ambient.
Is a tripod necessary for slow-shutter portrait photography?
For anything that should stay sharp, yes, and a remote release or self-timer with it. Below 1/30s your own pulse will blur the whole frame. The exception is intentional camera movement, where blur is the point and a tripod is optional, though a tripod plus a slower shutter gives smoother, more deliberate streaks.
What aperture should I use for creative motion in portraits?
f/5.6 or f/8 is the useful range. Wide enough that two or three people at different depths all register, narrow enough to keep the background soft without turning the subject into a silhouette. In bright daylight with a long shutter, you will need to stop down and add ND filter strength to keep from overexposing.
How do I photograph a moving subject with intentional motion blur?
Prefocus with a single AF point, switch to manual focus, then decide what moves. For panning, rotate the camera with the subject at 1/15s to 1/30s so the background streaks and the subject stays readable. For subject motion, keep the camera locked off at 1/2s or slower and give your subject a clear start and finish so the blur curves instead of scrambling.
Start with the simplest version of how to use a slow shutter for creative portraits: tripod, manual mode, 1/4s, f/5.6, ISO 100, subject against a plain wall, one piece of fabric moved on your count. Get a clean frame there, then add flash with rear-curtain sync, and only then experiment with moving the camera. Each step stays predictable, which is what makes the fourth technique as easy to repeat as the first.