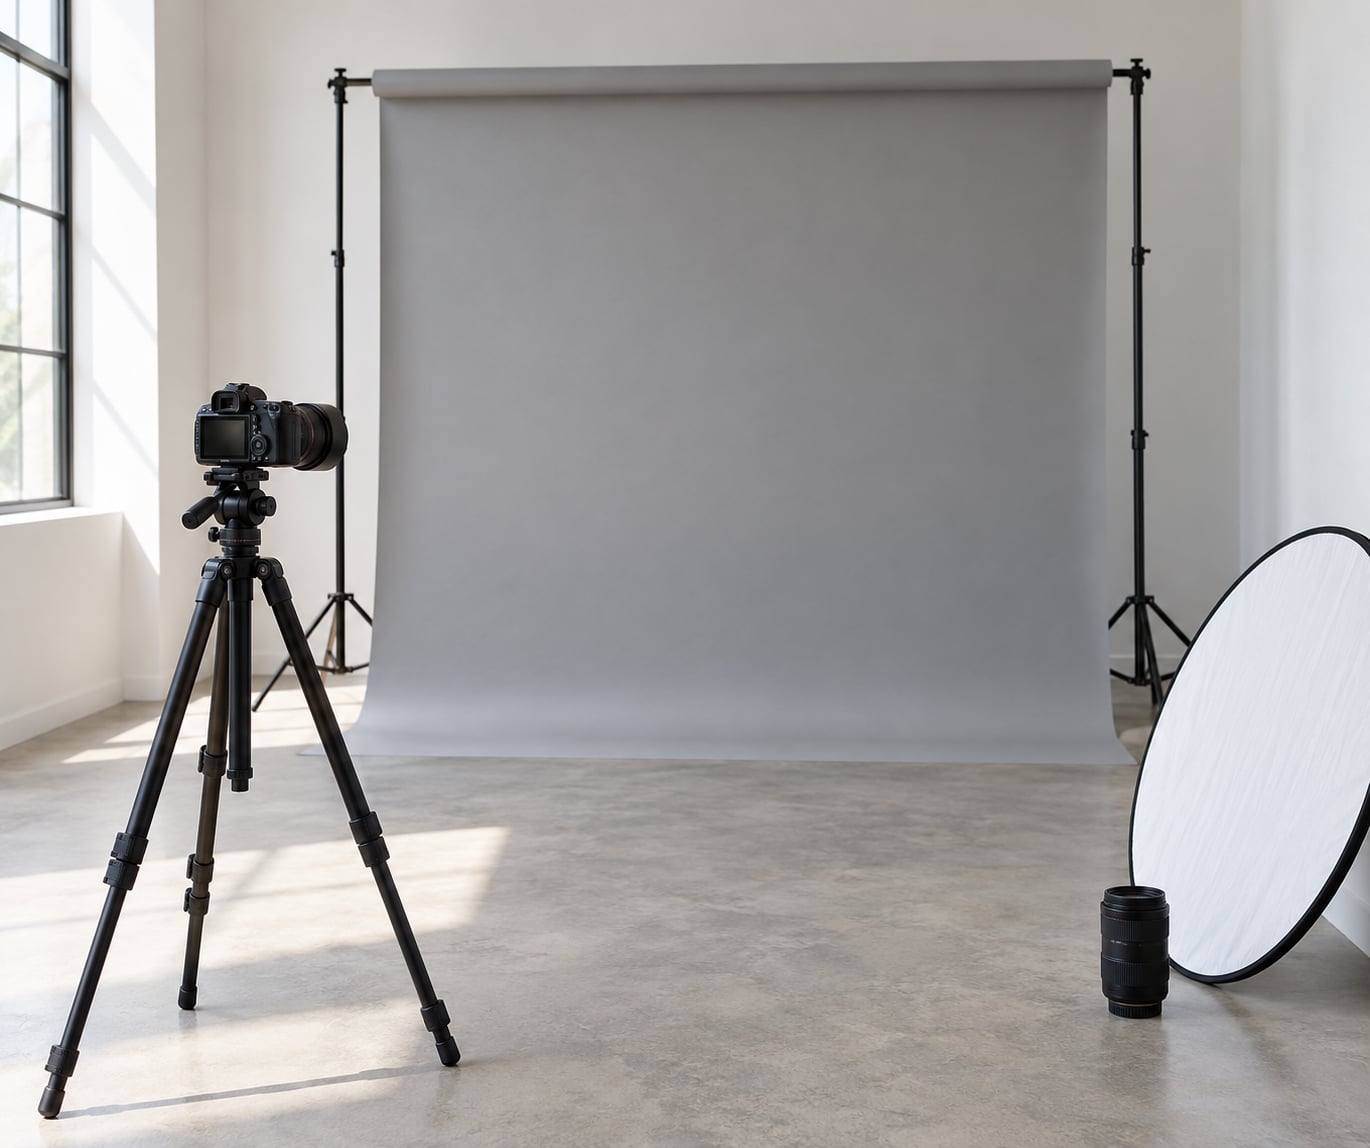
To declutter a background in camera, widen the aperture, push your subject further from whatever is behind them, and move yourself until nothing distracting sits where their head and shoulders land. Three levers do most of the work, and every one of them costs nothing but a few seconds of walking around.
The reason clutter is so damaging is not really about clutter. It is about hierarchy. The eye goes first to the brightest, highest-contrast or most saturated thing in the frame, so a lit doorway or a red fire extinguisher two metres behind your subject will beat your subject’s face every single time, no matter how well the portrait is lit.
Photography Life frames depth of field as a storytelling choice, and that idea matters here. Blur is one tool for controlling attention, not the only one, and a background can be clean without being soft. What follows is the order I work in when a location is fighting me: position first, then distance, then light, and only then the lens and the editing software.
Table of Contents
- What You Need
- Step-by-Step: How to Declutter a Background in Camera
- 1. Identify the Distracting Elements
- 2. Change Your Camera Position to Declutter a Background
- 3. Use Distance to Create a Cleaner Background
- 4. Reframe Around Simpler Areas
- 5. Control Light and Background Tone
- 6. Check Focus and Exposure Before Shooting
- Common Mistakes
- Frequently Asked Questions
- What f-stop makes the background blurry?
- Why is my background still distracting when I use a wide aperture?
- How do I get a clean background when I cannot move anything?
- What is the most flattering focal length for portrait photography?
- Does a phone camera give the same background blur as a real lens?
- Should I fix a cluttered background in camera or in editing?
- Conclusion
What You Need
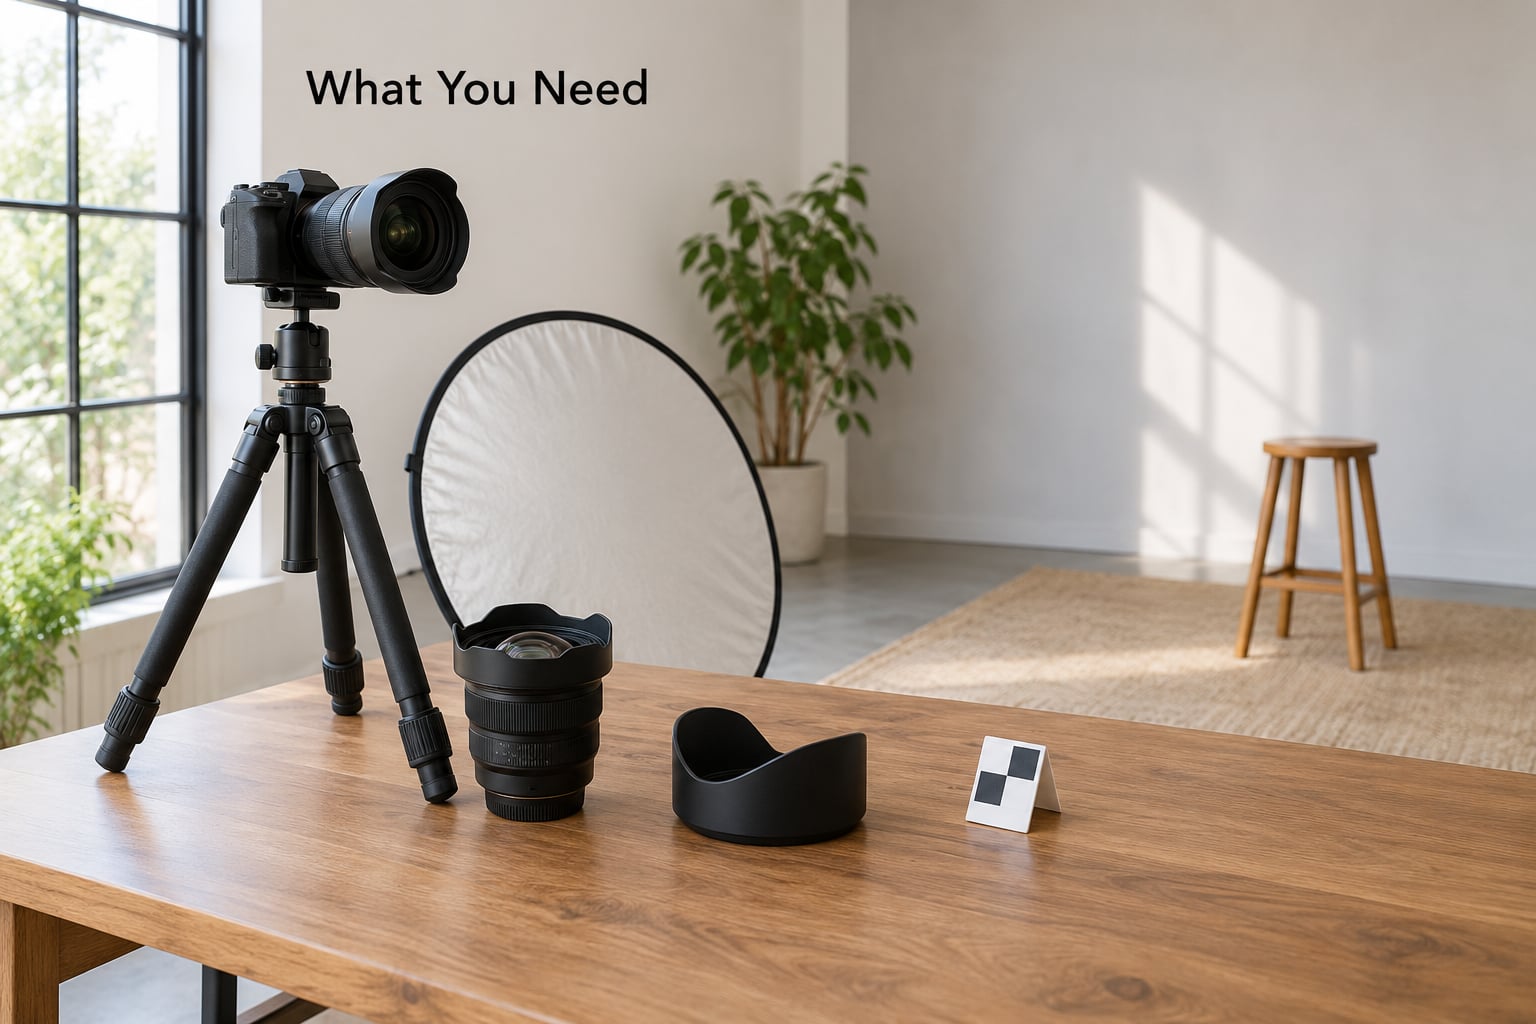
Almost all of this is optional, which matters if you are shooting with a kit lens or a phone.
- Any camera with manual aperture control. This is the only hard requirement. A phone in portrait mode qualifies, though you get less control over where the blur falls.
- A lens with a wide maximum aperture. A 50mm f/1.8 is the classic beginner pick, and f/2.8 is workable. You do not need f/1.2 to solve a cluttered background.
- A tripod, or a flat surface and a timer. Wide open apertures and slow shutters make camera shake obvious, so you need somewhere to rest the camera while you walk around.
- A reflector, white card or anything pale and flat. This is the cheapest background tool in the kit and it does two jobs at once: bounce light into the shadows and, held close to your subject, knock down a bright background.
- A step ladder or your own knees. Height changes what is behind the subject, and it is the move people forget. Shooting from lower often swaps a cluttered wall for clean open shade.
- Gaffer tape or floor tape. A strip of tape on the floor marking your subject’s spot saves you re-finding the position every time you step off to check the background.
- Optional: a plain backdrop. A grey card, a sheet of neutral fabric or a roll of seamless paper hung behind the subject makes even a messy room workable. This is the single fastest fix for indoor home portraits.
Step-by-Step: How to Declutter a Background in Camera
1. Identify the Distracting Elements
Before you touch a single setting, look at what is actually behind your subject and name the problem. A long checklist is less useful than four quick categories you can scan for in the viewfinder.
- Bright spots. Windows, sky gaps, bare bulbs, chrome, mirrors, a white wall in direct sun. Brightness wins attention before detail does.
- Mergers. A branch, a pole, a door frame or a railing that appears to touch or grow out of your subject’s head. Blur softens a merger; it does not remove it, because the eye still reads the shape.
- Readable text and faces. Signs, packaging, and stray passers-by. Text is uniquely distracting because humans read automatically.
- Competing colour and movement. A red door, a screen cycling colours, flags or traffic. Motion is the hardest of these to hide, since a blurred moving object still changes between frames.
Write down which categories you are dealing with. If it is bright spots, light is your fix. If it is mergers, position is your fix. Knowing which one it is saves you from setting f/1.4 when the problem was a street lamp.
2. Change Your Camera Position to Declutter a Background
Moving a few steps sideways changes the background far more than moving the subject, and your subject will not get tired of it. Walk left, walk right, then try standing higher on your toes or lower on your knees, taking a test frame each time.
Reviewers in photography critique communities keep giving the same blunt verdict: clutter in the background is a top-five complaint alongside composition and lack of depth of field, and the fix they reach for is always to reframe rather than to buy something. If the top of the frame is dead space, crop into it. A slightly tighter frame removes more distraction than any aperture setting.
Take one frame after each move. You are not wasting shutter counts at this stage; you are finding the position, and the position is the part most people skip. It is also the cheapest step in learning how to declutter a background in camera, since all it costs is a short walk across the floor.
3. Use Distance to Create a Cleaner Background
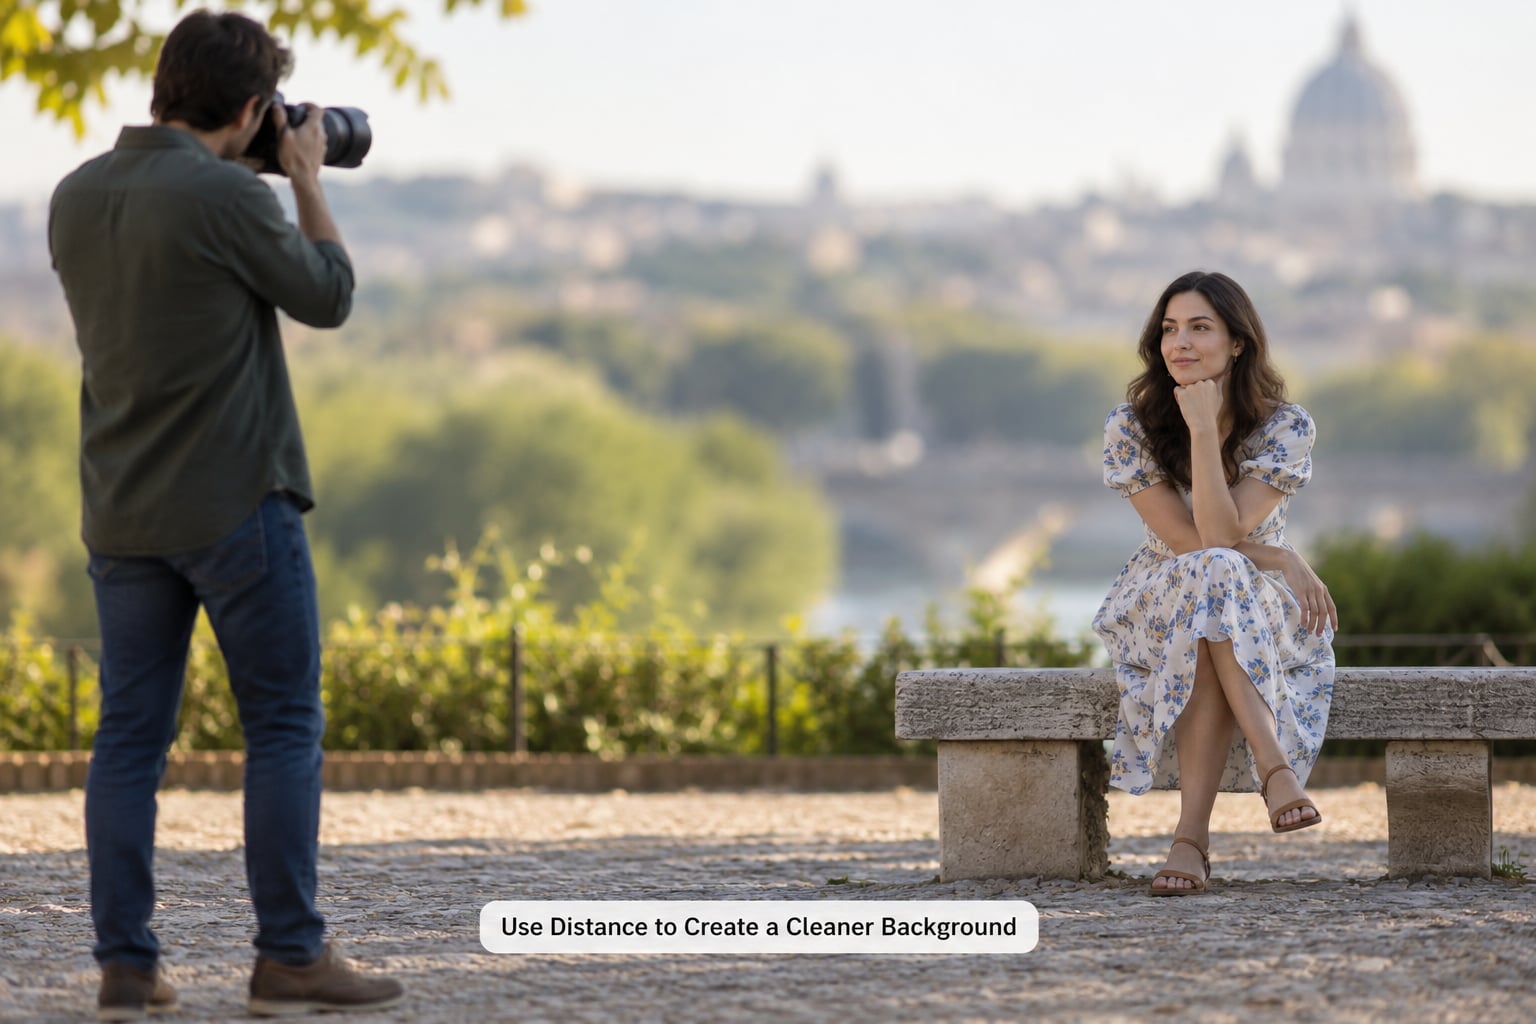
Background blur is driven by a ratio, not by one setting. What matters is the distance from the subject to the background compared with the distance from the subject to the camera. Push your subject three more feet from that cluttered wall and you have done more than widening the lens by a stop.
Shot from the same spot, moving the subject back from a wall at 3 feet to a wall at 12 feet while staying 8 feet away roughly quadruples that ratio, and the wall softens visibly even at the same f-number.
| F-number | Typical setup | Background result |
|---|---|---|
| f/1.4 to f/2.0 | 85-135mm, subject 6-10 ft away, background 20 ft+ behind | Background dissolves completely. Thin depth of field, so watch focus carefully and expect subject softness when anyone moves. |
| f/2.8 | 50-85mm, subject 6 ft away, background 12 ft behind | Clean separation for most rooms. Noticeably sharper edges on the background than f/1.8, which is often a good trade. |
| f/4 | 50mm, subject 8 ft away, background 10 ft behind | Mild softening only. Works when the background is plain in tone but not busy in detail. |
| f/5.6 to f/8 | Anything | Background essentially sharp. Decluttering now depends entirely on position and light, not blur. |
Longer focal lengths increase compression and narrow the depth of field at any given distance, which is why a 135mm from across a clearing beats a 35mm from the same clearing for hiding a busy background. Wide lenses force you close, and close means the ratio collapses.
That ratio is also why beginners with kit lenses get stuck. A 18-55mm at 18mm has to sit within a foot or two of your subject, so there is no room for distance. Zoom to 55mm, or step further back, and the whole problem loosens.
4. Reframe Around Simpler Areas
Every location has simpler areas than the one you are standing in. A plain section of wall, the shadowed side of a doorway, a hedge with no gaps, an empty stretch of sky, a corridor of trees with no cars in it. Move the subject a few steps sideways and the background writes itself.
Use the rule of thirds while you do it rather than centring the subject by habit, which leaves two equal piles of background competing on either side. Place the eyes near the upper third line, and leave headroom tight enough that you are not wasting the top third of the frame on empty ceiling.
Watch the edges of the frame too. Clutter sneaking in at the border is easy to miss on the camera screen and obvious once the image is full size.
5. Control Light and Background Tone
Blur only hides detail. Tone hides whole areas. Making the background darker or a stop brighter than your subject is often the fastest way to make clutter disappear, and it costs one reflector or one sheet of card.
Hold a reflector just out of frame near your subject to bounce soft light back into the shadows, then angle a black card or your coat on the opposite side to kill light spilling onto the background wall. Outdoors, put your subject in open shade with the sun behind you; the shaded wall behind them stays two or three stops darker than their lit face.
For indoors where you cannot move anything, hang a plain sheet or a grey card on a wall behind the subject. A white sheet bounces a soft, even light, a dark one drops the background into shadow, and both give you a blank canvas no amount of editing has to reconstruct.
6. Check Focus and Exposure Before Shooting
Run this short check before you fire a real sequence.
- Focus on the nearest eye with single-point autofocus, or use back-button focus once you are used to it.
- Confirm the aperture is wide enough for the result you planned, and that the shutter speed is fast enough to freeze movement.
- Watch the histogram or the highlights warning for blown-out patches. A clipped window behind your subject stays a bright blob no matter how soft it is.
- Check the background tone against your subject’s face. If they are the same brightness, the separation is weak.
- Leave a little margin around the subject’s head so that a slight position shift later does not clip them.
- Zoom in on the display and check the four edges of the frame for stray objects.
Two things ruin an otherwise clean shot at this stage. Blurrier subject: you opened up more than the light allows, so raise ISO or add light before opening further. Multiple subjects: at f/1.8 people standing half a step apart cannot both be sharp, so stop down to f/4 or f/5.6, line everyone up on the same plane, and focus where two of them touch.
If the background is still distracting after all of that, treat it as a lighting problem or a location problem rather than a lens problem. Blending into another background in editing almost never beats cropping tighter.
Common Mistakes
Assuming a wide aperture fixes everything. Blurred bright spots are still bright. A top comment in a popular photography forum thread makes exactly this point: shooting wide open at home is a fine way to hide clutter, and the commenters there point out the limit, that the soft background still fights the subject for attention. Fix the tone, not just the sharpness.
Putting your subject too close to the background. One foot of separation buys almost nothing. Ten feet changes the look completely, and indoors that usually means turning your back to the mess and shooting into the room.
Leaving too much empty space around the subject. Every extra inch of frame is another chance for clutter to appear. Fill the frame with the subject, then check whether you need to step back to fit them in.
Ignoring reflections. Mirrors, windows, glasses, screens and glossy paint reflect whatever is behind the camera, including you. Change your angle or move the mirror before you reach for editing software.
Editing out what you could have moved. Clone and healing tools need clean, consistent texture behind the patch, and cluttered backgrounds rarely have it. Ten seconds of walking around beats ten minutes of patching.
Buying a faster lens before trying position and distance. Aperture adds one stop, and one stop is rarely the difference between a clean frame and a busy one. Move the subject back first, then decide what lens you are missing.
One habit ties all of this together: shoot a single test frame after every change you make. It costs you a second and it is the difference between adjusting the background deliberately and hoping for the best.
Frequently Asked Questions
What f-stop makes the background blurry?
For portraits, f/1.8 to f/2.8 with your subject 6 to 10 feet from the camera and the background 15 feet or more behind them is the reliable range. Blur depends on the ratio of subject-to-background distance to subject-to-camera distance, so distance matters more than the number itself. If you need deeper blur, move your subject back or use a longer lens before opening up further.
Why is my background still distracting when I use a wide aperture?
Because blur removes detail, not brightness or contrast. A window, a bare bulb or a white wall in direct sun stays a bright shape even when fully out of focus, and the eye still finds it. Same with objects that appear to touch your subject’s head; a softened branch still reads as a branch. Fix those frames by changing the light on the background or by moving so the object is not there.
How do I get a clean background when I cannot move anything?
Control tone instead of detail. Hang a plain sheet, grey card or backdrop behind your subject and light it separately from your subject so it sits a stop or two darker. Outdoors, put the subject in open shade with the sun behind you. Indoors at home, a dark card on a stand behind the subject hides more than a lens setting can, and a wide aperture on top softens whatever is left.
What is the most flattering focal length for portrait photography?
Around 85mm on full frame, or about 56mm on a crop sensor, is the classic portrait range. It gives flattering proportions and it forces you to stand far enough away that subject-to-background distance does the work for you. Between 50mm and 135mm is a safe zone; below 35mm you will be close enough that the background ratio collapses.
Does a phone camera give the same background blur as a real lens?
Not quite. Phone portrait modes compute blur from a depth estimate rather than from optics, so edges around hair and shoulders can look cut out or smeared, and the blur can creep or miss when the subject moves. You can improve the result by moving the subject further from the wall, choosing a plainer angle and using the widest depth effect your phone offers.
Should I fix a cluttered background in camera or in editing?
In camera whenever you have the chance, because every fix you make later costs time and can leave artefacts. Crop tighter, darken the background with a subtle gradient, drop its saturation or blur it lightly in post as a fallback. Full object removal and AI background tools are last resorts: useful when the clutter is locked in the frame, but they take longer and rarely look as natural.
Conclusion
Start at the viewfinder, not in the bag. Look at what is behind your subject, decide whether the problem is brightness, shape or detail, and move yourself until the worst of it is gone. Only then reach for a wider aperture or a longer lens.
Distance is the lever people leave on the table, and it is free. Push the subject back from the wall, shoot a test frame, and repeat after every change. If you take one habit from this guide to how to declutter a background in camera, make it that test frame, and run through the same order again in 2026 when the kit changes.