The short version: put a section of warm string lights a few feet behind your subject, shoot wide open at f/1.8 to f/2.8, keep the shutter at 1/125 or faster handheld, and set white balance manually around 3000K so the bulbs stay warm. Learning how to shoot portraits with Christmas lights takes about twenty minutes of setup once you know the four moving parts: where the lights sit, how far the subject stands from them, where the camera is, and how long the exposure runs.
This is one of those techniques that looks like pure luck and is actually mostly arithmetic. The bulbs are small, bright point sources, and a fast lens turns any point source into a disc of blurred light. Once you understand that, the whole setup is a matter of pushing the background further away and opening the aperture wider.
It also works on a phone, a crop-sensor mirrorless body, or a fifteen-year-old DSLR, so nothing here depends on expensive gear.
Table of Contents
- What You Need
- Step-by-Step: How to Shoot Portraits With Christmas Lights
- Plan the Look and Choose the Lights
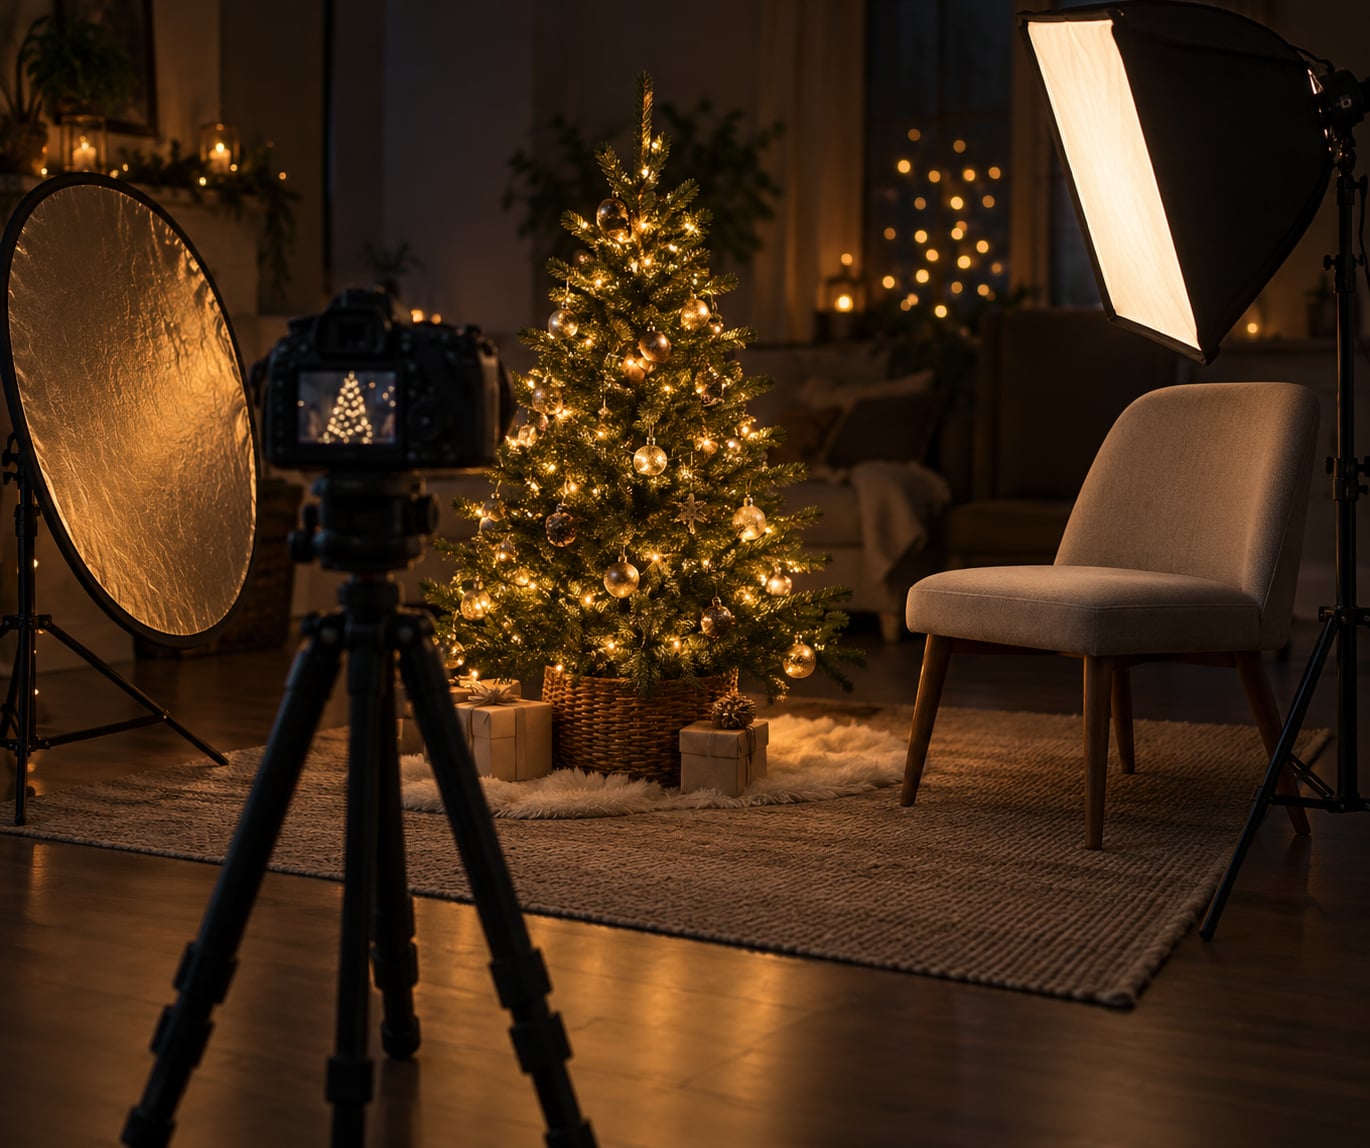
- Position the Lights Behind or Beside Your Subject
- Set Up the Camera for Low-Light Portraits
- Focus on the Nearest Eye
- Direct Simple Poses and Expressions
- Shoot a Controlled Variety of Exposures
- Common Mistakes and Quick Fixes
- Frequently Asked Questions
- What is the best lens for portraits with Christmas lights?
- Can I shoot portraits with Christmas lights during the day?
- How do I prevent Christmas lights from blowing out?
- What aperture is best for a Christmas-light portrait?
- How can I check string lights before a portrait session?
- Conclusion
What You Need
Keep this list short. Most of it you already own.
- A camera with manual mode. Any interchangeable lens camera, or a phone with a manual control app.
- A fast lens. A 50mm f/1.8 is the classic budget choice, an 85mm f/1.8 handles couples better, and a 35mm f/1.4 gives you room to work in tight rooms. Zoom lenses work, they just need a stop or two more light.
- Two or three strands of warm-white string lights. Warm white, not cool white. Cool bulbs render blue or green in a portrait and fight skin tones.
- A tripod. Essential indoors, optional outdoors if you are moving fast.
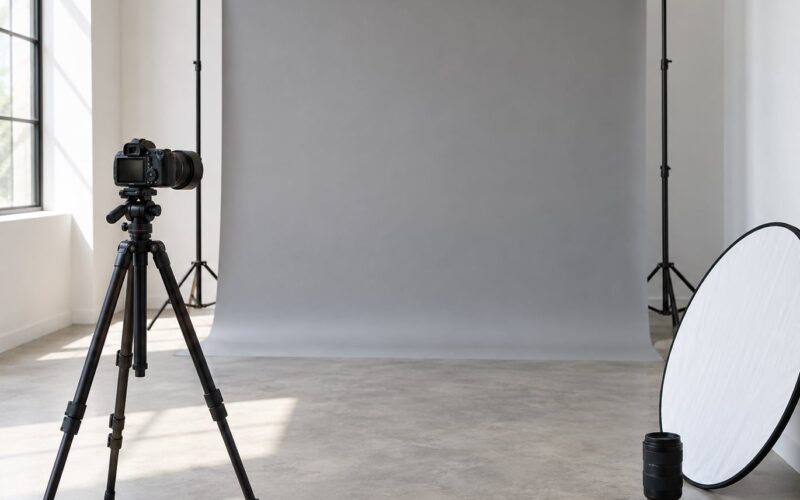
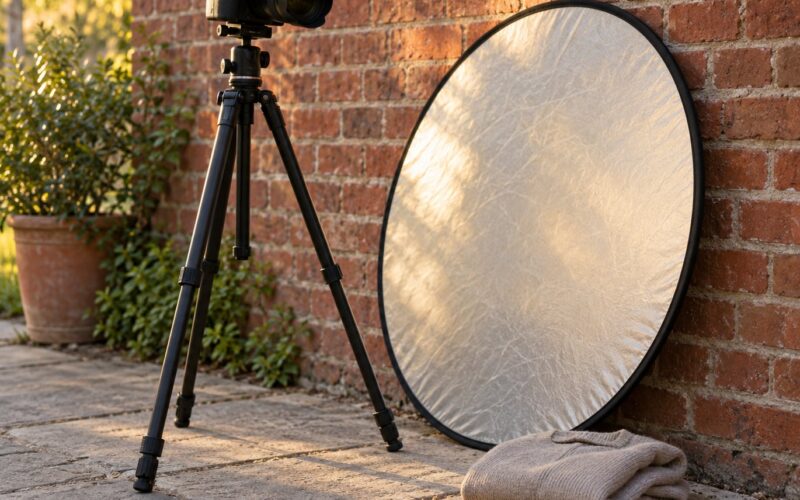
- A reflector or a plain white foam board. This fills the shadow side of a face without adding a second light.
- An optional speedlight. Only if you need to lift a face that is falling into darkness.
- Gaff tape and cable clips. More on this in a moment.
On safety, treat the lights like any other electrical load. Keep them off carpets and rugs, run cords along walls rather than across walkways, and check each strand before you hang it. If you are using a strand outdoors, use only outdoor-rated lights and keep connections dry. If a socket feels warm or smells burnt, stop using that strand.
Step-by-Step: How to Shoot Portraits With Christmas Lights
Plan the Look and Choose the Lights
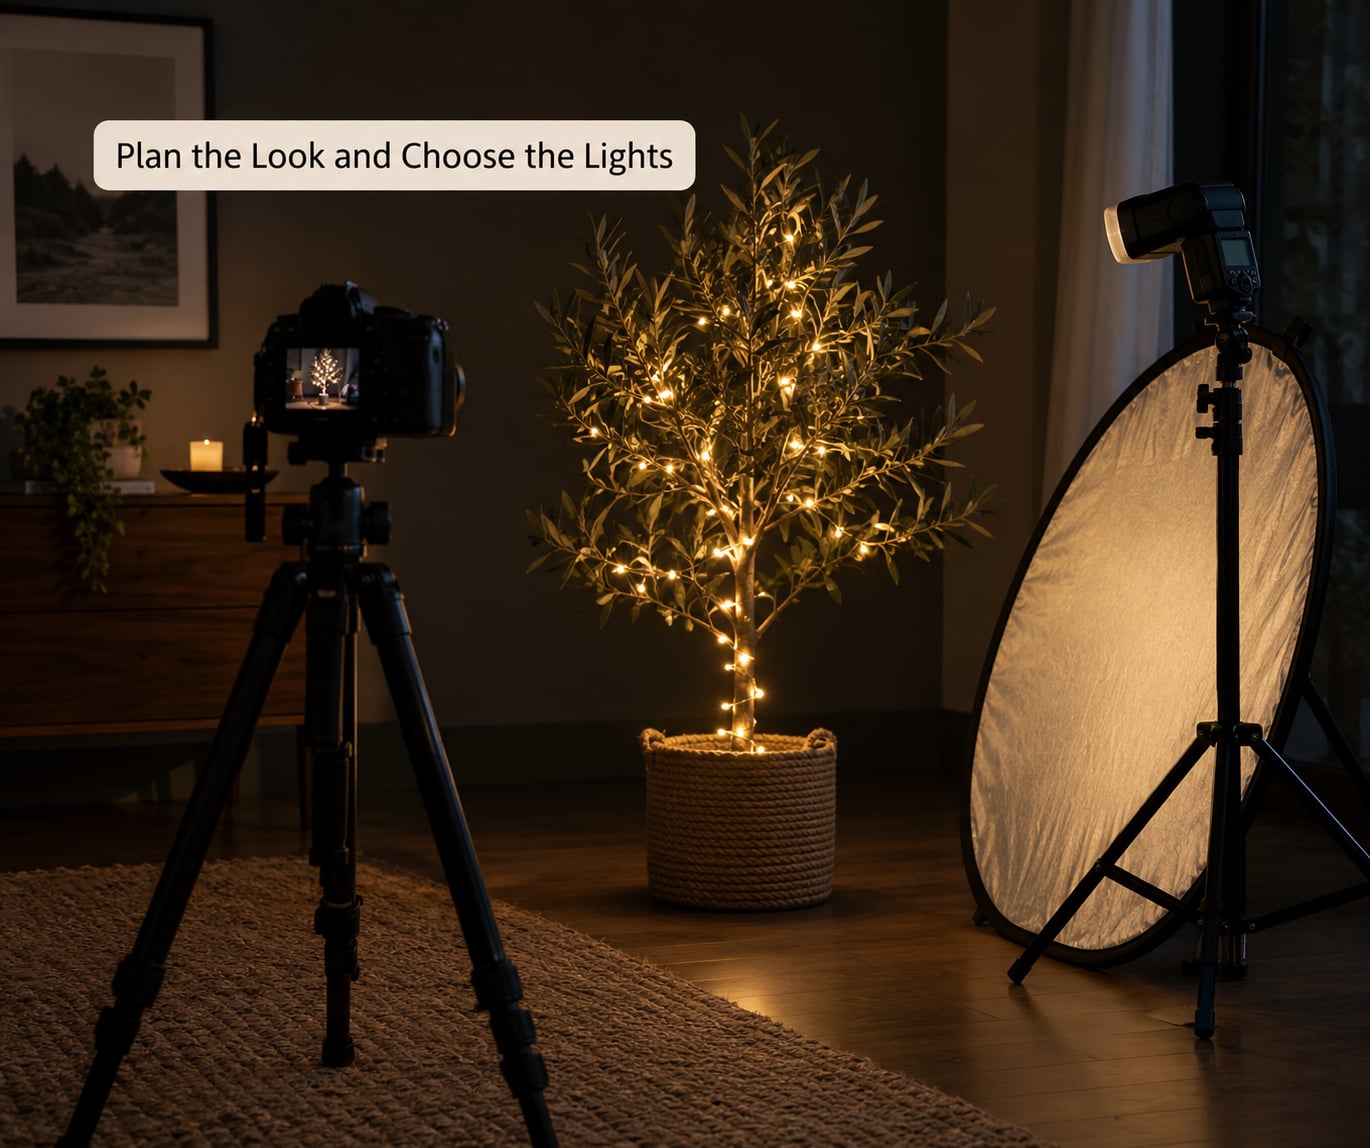
Decide what role the lights play before you hang anything. As the main light, they sit close to the subject and actually illuminate the face, which works at dusk but gets weak fast. As an accent, they sit behind and to one side, giving a rim of light along the hair and shoulder. As a background element, they sit well behind the subject purely to become blurred circles.
Most beginners do better with the third option plus a reflector. The face stays lit by whatever room light you have, and the lights do the pretty work.
Judge a strand before you commit to it. Does it look bright, warm, and evenly spaced? Are the individual bulbs distinct rather than one smeared blob? Can you separate it visually from the background, or does it disappear into a bright window?
Position the Lights Behind or Beside Your Subject
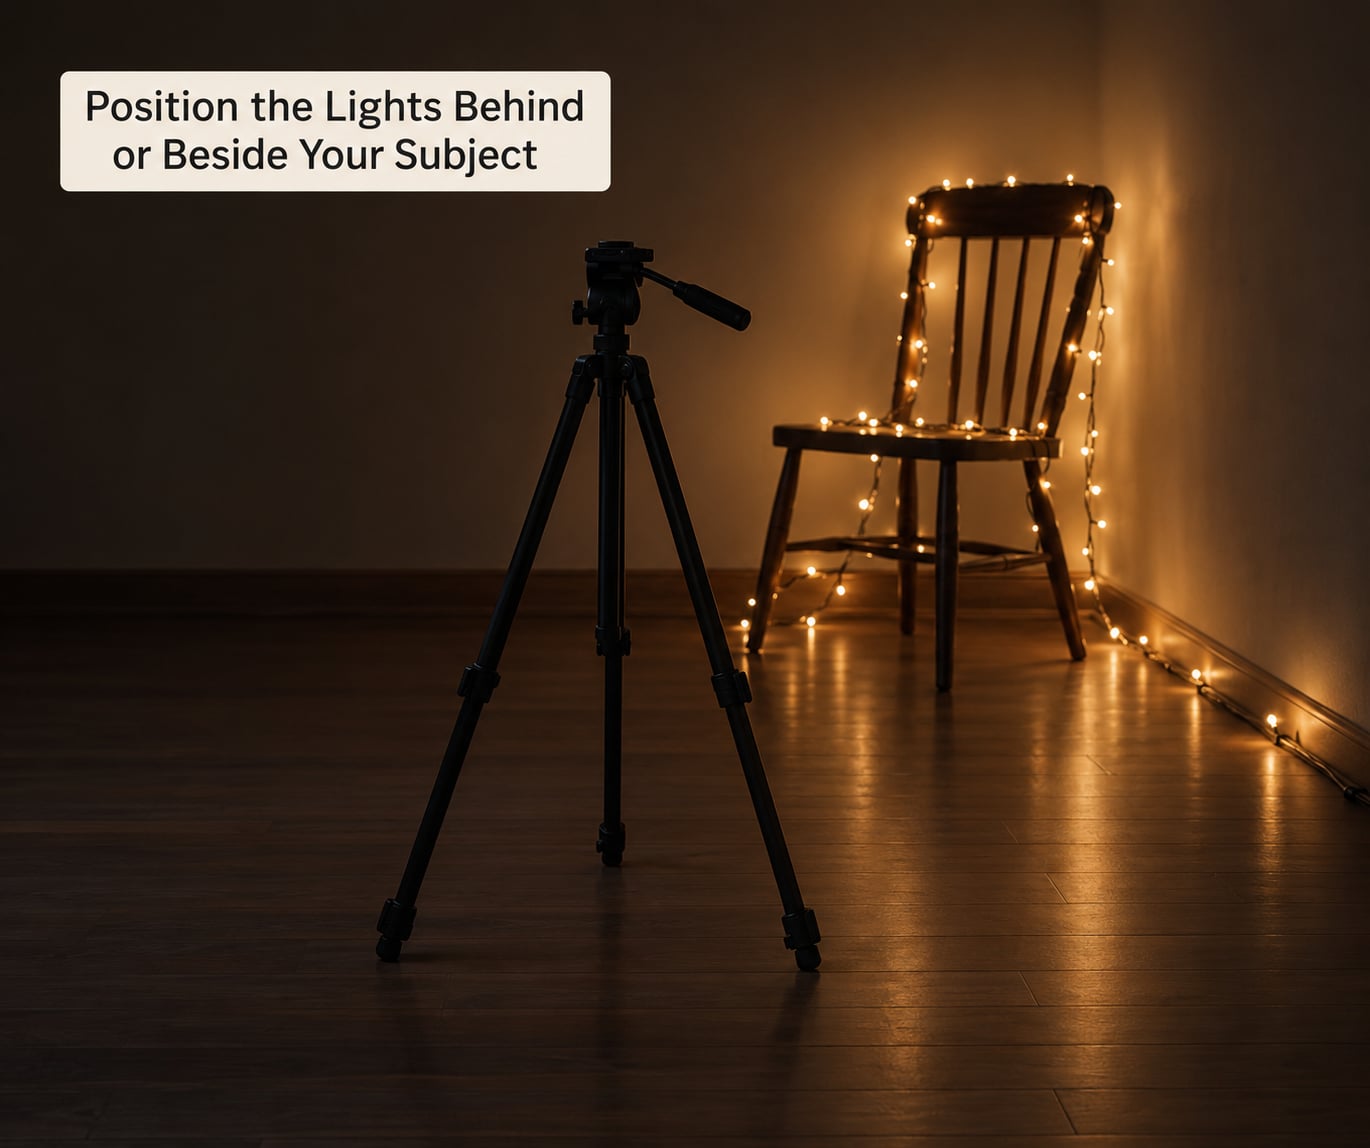
Backlighting means the lights go behind the subject, facing the camera, roughly level with the head or a little above. Side lighting puts them at ninety degrees to the subject, which is excellent for texture and shape. Front three-quarter lighting is the most forgiving: lights about forty-five degrees off the camera axis, which gives you a lit side of the face and a shadow side for the reflector to fill.
Distance matters more than any other placement decision. Put your subject four to six feet in front of the strand and the bulbs render as large soft discs. Move the strand back to fifteen feet and those same bulbs shrink to crisp pinpoints with visible starbursts.
Run the cords along the baseboard and secure them with one strip of tape every couple of feet. Tripping over a cable in a dark room during a session is how people break things.
The visual test takes five seconds: take one shot, zoom to 100 percent, and check three things. Are the highlights on the bulbs solid white, or are they pink-edged and stripped of detail? Is there spill hitting the backdrop where it should not? Is the face lit, and is there a shadow you can live with?
Set Up the Camera for Low-Light Portraits
Start in manual mode and dial in a baseline you can adjust from. Shoot RAW, because the bulbs will clip in almost any JPEG.
| Scenario | Aperture | Shutter | ISO | White balance |
|---|---|---|---|---|
| Indoors, tripod | f/1.8 | 1/125 | 800 | 3000K |
| Indoors, handheld | f/1.8 | 1/160 | 1600 | 3000K |
| Outdoors at a light display | f/2.0 | 1/125 | 3200 | 3400K |
| Twilight, environmental | f/2.8 | 1/100 | 640 | 4200K |
Keep the shutter at 1/125 or faster handheld. Below that, a person shifting weight or turning toward the light will smear, and that is the single most common reason holiday portraits look soft. Go slower only when the camera is on a tripod and the subject is holding still.
On aperture, wide open gives you the roundest, softest bokeh, but the plane of focus is so thin that only one eye is sharp. Stopping down to f/2.8 or f/4 sharpens both eyes and makes the background discs slightly less round, which honestly most people cannot see. Stopping past f/5.6 starts making every bulb a small star.
ISO is your exposure valve. Raise it until the face is exposed, then stop. Modern sensors handle 1600 to 3200 fine in colour, and a slightly grainy sharp portrait beats a clean blurry one every time.
White balance is where most auto settings fail. A camera hunting between bulbs of different warmth will give you three shots with three skin colours. Set it manually, and use a custom white balance from a grey card held near the face for accuracy. Outdoors near mixed displays, 3400 to 4200K keeps skin believable without making the bulbs turn blue.
Use exposure compensation on the bulbs, not on the face. Underexpose by half to a full stop until the bulbs show colour instead of white, then add fill light or a reflector to bring the face back up. That is the whole trick.
Focus on the Nearest Eye
Autofocus will happily lock onto a bright bulb behind your subject and hold there while the face goes soft. Fix it by using one-shot autofocus with a single point placed directly on the nearest eye, rather than a wide or zone area.
Zoom in at 100 percent and confirm the lashes and iris are sharp before you take a burst. If your camera struggles in the dark, switch to manual focus: focus once on the eye with the lights bright, switch to manual, and stay there. Add a dab of tape on the focus ring so it cannot drift.
Keep the camera at eye level. Shooting slightly down from above makes people look shorter and gives you a lot of forehead; shooting up from the floor is dramatic but rarely flattering at this light level.
Direct Simple Poses and Expressions
Turn the subject’s shoulders about forty-five degrees toward the lens and have them angle their face back toward the camera. That single rotation creates depth between the cheek and the background lights instead of a flat, symmetrical pose.
Ask for movement rather than poses. Have them walk slowly toward the lights, or shift weight from one foot to the other, and shoot while they are in motion. The frame where the face turns toward the string lights is usually the one you keep.
For couples, stand them shoulder to shoulder rather than facing each other, then have them turn their heads toward each other. It reads as intimate without the awkward forehead-to-forehead lean. Leave a small gap between bodies so the rim light can separate them.
For a close-up, have the subject rest their chin slightly forward and down, not up and back. That lengthens the neck and catches light in the eyes. A reflector held just below the chin will put a catchlight in each eye within seconds.
Shoot a Controlled Variety of Exposures
Take a bracketed sequence at your starting settings: three frames at one stop under, three at your baseline, three at one stop over. Most cameras do this with the exposure compensation dial held down, or with a two-second timer between shots so the bulb brightness does not flicker.
Vary the background deliberately between setups rather than randomly. Move the strand closer for bigger discs, further for pinpoints, and change which side of the frame the brightest cluster sits on.
A slower shutter on a tripod turns any movement into light trails, which can be a lovely touch on a blanket or a long sleeve. Keep the person still, use a two-second timer or a remote, and watch the streaks rather than the face.
Finally, read the histogram instead of trusting the screen. A bulb stack pressed hard against the right edge is clipped. Pull exposure down a third of a stop, take one more frame, and check again.
Common Mistakes and Quick Fixes
The bulbs are blown out into white blobs. Underexpose by a third to a full stop and add a reflector or speedlight on the face to compensate. If you are on a phone, hold the exposure slider down on the brightest bulb.
The shadows on the face go muddy. Move the strand up and further to the side rather than closer, and put the white foam board opposite the light. A shadow lifted a little reads as dimension; a shadow lifted a lot reads as grey.
Skin turns red or green. Mixed-colour strands are the cause. Shoot RAW and set a manual white balance instead of auto, or turn off the one strand with the odd colour.
The face is soft. Check the shutter speed first. If you are under 1/125 handheld, you have your answer. If the shutter is fine, the lens is probably focused on a bulb, so move the autofocus point onto the eye.
Light spills onto the backdrop. Flag the strand with black card or a dark towel, or turn the bulbs away from the wall and toward the subject.
Cords end up underfoot. Tape them down before the first frame, not after the first near miss. Ten seconds of taping saves the session.
Frames flicker in brightness. Mains-powered LEDs dim slightly on the refresh cycle, especially with rolling shutter. Shoot at a lower frame rate such as 5 fps, or use a two-second timer.
The subject looks stiff. Stop giving instructions after the first two shots. Keep talking, keep walking with them, and let the good frames happen between the posed ones.
Frequently Asked Questions
What is the best lens for portraits with Christmas lights?
A 50mm f/1.8 is the best first choice because it is cheap, light, and wide enough for a small room. An 85mm f/1.8 gives you softer backgrounds and more flattering compression for couples, but you need more distance between the subject and the lights. Any prime under f/2.8 will produce the round, creamy discs that make this look work.
Can I shoot portraits with Christmas lights during the day?
Yes, and dusk is better than full dark. During daylight the string lights are too weak to register as bright points, so they blend into the background. Start about twenty minutes before sunset, when the sky still gives you ambient light for the face while the bulbs already read as light sources.
How do I prevent Christmas lights from blowing out?
Underexpose deliberately and lift the face separately. Take a frame a stop or two below where the meter puts it, which keeps the bulbs coloured rather than pure white, then use a reflector or a dim speedlight to raise the exposure on the skin. Shooting RAW and pulling the highlights down in editing works as well.
What aperture is best for a Christmas-light portrait?
Start at f/1.8 for the softest, roundest background discs, then stop down to f/2.8 or f/4 if you need both eyes sharp. On a crop sensor, f/2 behaves like f/3.2 on a full frame, so compensate by opening up or raising ISO. Avoid going past f/5.6 or every bulb turns into a small star.
How can I check string lights before a portrait session?
Plug each strand in for several minutes before you leave and look for dim bulbs, flickering sections, or warm-to-cool colour shifts within one run. Test the strand in darkness, since a bulb that looks fine in a bright room can disappear at night. Replace any strand with a hot socket rather than working around it.
Conclusion
Everything in this guide reduces to four decisions: how far the lights sit behind your subject, how wide you open the lens, how fast the shutter runs, and how warm you set the white balance. Get those right and the pictures make themselves.
So start small. Turn off every other light in the room, hang one short strand a couple of feet behind your subject, put the camera on eye level focused on the nearest eye, and take a single test frame at f/1.8, 1/125, ISO 1600, white balance 3000K. Look at the histogram. Then take twenty more.