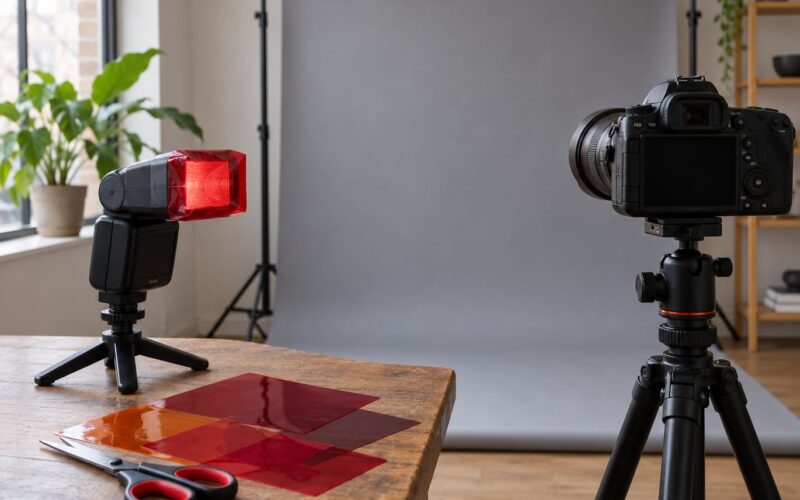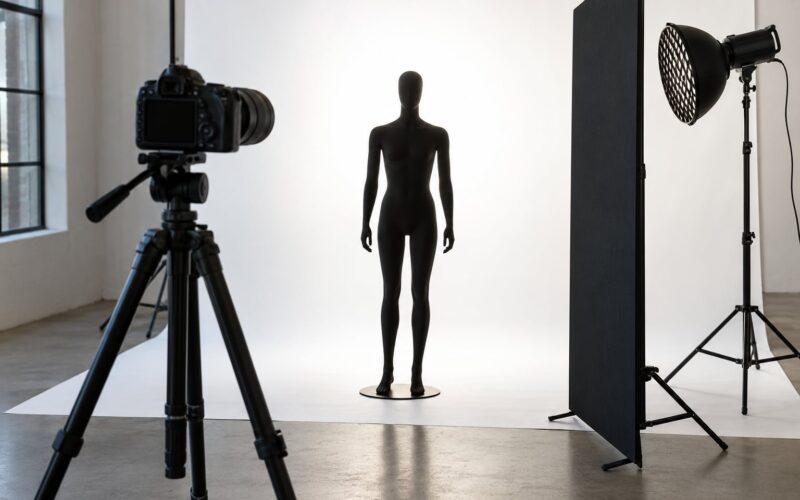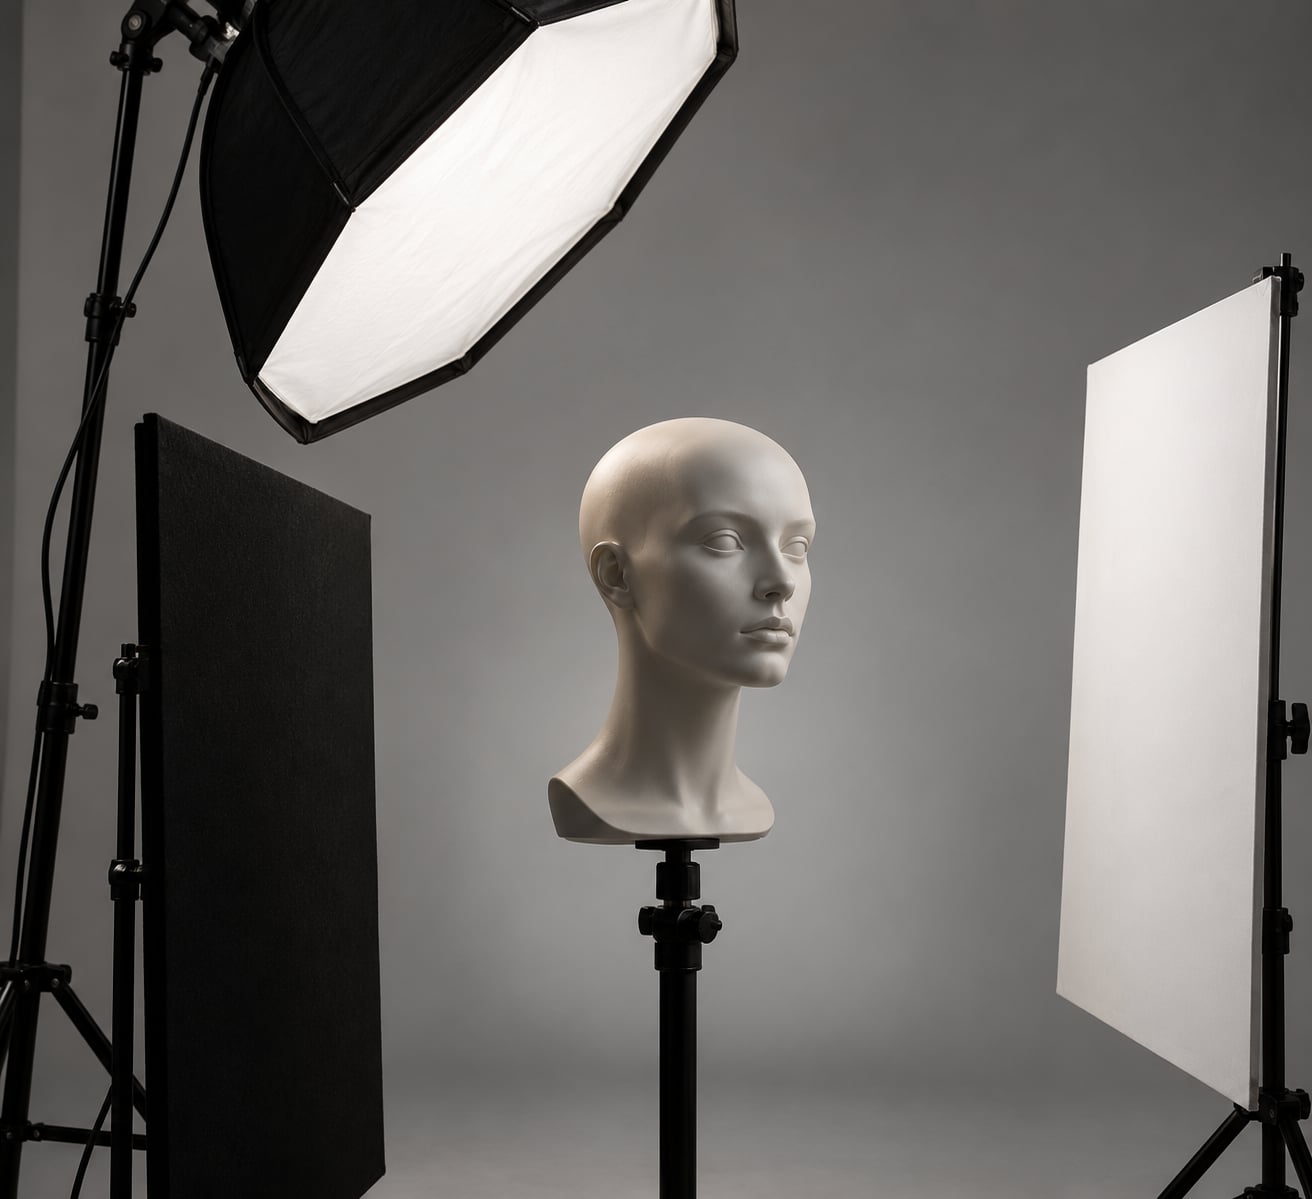
A bald head glares because bare scalp is smooth and slightly oily, so it reflects light like a curved mirror instead of scattering it. To fix it, you move your light off the camera axis, make it large, and put it high enough that the reflection slides off the crown entirely.
That is the whole trick in one line, and it works for anyone learning how to light bald heads without glare. Everything below is the detail: what to buy, where to stand, how to expose, and what to do when the shot is already taken and the shine is baked in.
It takes about fifteen minutes of setup to get a clean headshot, and the change is dramatic. Move one light ten degrees and the hotspot disappears.
Table of Contents
- What You Need
- Step-by-Step: How to Light Bald Heads Without Glare
- Step 1: Identify Where the Shine Comes From
- Step 2: Use a Large, Soft Light Source
- Step 3: Move the Light Off the Camera Axis — How to Light Bald Heads Without Glare
- Step 4: Control the Camera-to-Light Relationship
- Step 5: Shape the Highlight With Reflectors and Fill
- Step 6: Expose for Skin, Not the Brightest Highlight
- Step 7: Inspect and Refine from Multiple Angles
- Common Mistakes
- Harsh light straight on the forehead
- Adding a hair or rim light out of habit
- Applying oil or glossy skincare just before the shoot
- Positioning the camera near the light axis
- Underexposing the whole image to protect one highlight
- Post-production as the primary rescue
- Quick Tips for More Natural Head Shots
- Frequently Asked Questions
- Does a polarizing filter stop glare on bald heads?
- Should I overexpose a bald head to prevent shine?
- How do you photograph oily skin without distracting highlights?
- What is the best lighting angle for a bald-head portrait?
- How can I fix glare in a portrait after the photo is taken?
- Conclusion
What You Need
None of this requires expensive gear. You need a camera you can set exposure manually, one continuous light you can move freely, and something large and pale to soften what that light throws.
- A camera with manual or aperture-priority exposure. You need to hold the exposure steady while you change the light, otherwise every adjustment to the shine also changes the brightness of the face.
- A lens with a useful focal length. A short telephoto around 85mm keeps working distance comfortable and flatters the head. Wide lenses near the face exaggerate the curve of the skull and put the crown closer to the frame edge.
- One or two continuous lights. A strobe works too, but continuous light lets you see the highlight in the viewfinder as you move. For a bald subject that instant feedback saves a lot of guessing.
- A large, soft source. A softbox or umbrella roughly three feet wide is the single biggest lever in this whole guide. Bigger and closer means softer and broader.
- A white reflector and a black card or flag. These two cheap pieces of foam board handle contrast in both directions, which is how you stop the correction from flattening the face.
- A light stand. Height control is essential because the vertical position of the light decides where the reflection lands.
- Optional: a gobo or flag, and matte setting powder. The flag cuts stray light from the scalp. The powder reduces the shine before the camera ever sees it.
If you own nothing but one light and a window, you can still get most of the benefit. The geometry matters more than the equipment.
Step-by-Step: How to Light Bald Heads Without Glare
Glare is geometry, not equipment. It happens at one specific angle between the light, the forehead and the camera, so the fix is to change one of those three things and check the result.
Step 1: Identify Where the Shine Comes From
Ask the subject to wash their face and scalp with a gentle cleanser and pat it dry, then wait ten or fifteen minutes before you shoot. Skin that has just been moisturised or towel-dried holds water and oil on the surface, and both create a mirror.
Skip anything glossy in the ten minutes before the shoot. That means heavy moisturiser, gel, hair product around the sides, and silicone-based primers meant to make skin look luminous in daylight.
Then have the subject tilt their head forward a little and look up. Any bright patch you see on the crown is the reflection, and you now know exactly where it lives.
Step 2: Use a Large, Soft Light Source
Move your light closer to the subject and turn up the power. That combination, bigger apparent size plus more distance coverage, spreads the highlight over a wider area of the scalp so no single patch clips to white.
A small bare light gives you a hard-edged white dot. A three-foot softbox a few feet from the head gives you a broad, low-contrast sheen across the whole crown, which reads as skin rather than sweat.
The tradeoff is that a larger source also softens the shadow side of the face. Most people accept this easily, and a reflector fixes the rest in step five.
Raise the light above the subject’s head and aim it downward at about 45 degrees. That pushes the reflection up onto the top of the skull and past the camera, rather than back into the lens.
Step 3: Move the Light Off the Camera Axis — How to Light Bald Heads Without Glare
Put the main light roughly 30 to 45 degrees off the camera axis, then raise it above eye level. A reflection only reaches your lens when the light, the skin and the camera sit on a shared line, so breaking that line with a sideways move is what kills the hotspot.
This is the single most effective change and it takes about five seconds. A light at forty-five degrees to the side puts its reflection on the temple or the far curve of the skull, where it is either hidden by the turn of the head or far less noticeable.
The classic beginner mistake is lighting straight down the barrel of the lens. That is the one arrangement guaranteed to deliver the light’s reflection straight into the camera.
As a quick check, put yourself where the light is and look at the subject’s forehead. If you cannot see a bright reflection from there, the camera will not see one either.
Once the key is working, you can add lights back carefully. A two-light setup adds a reflector or a dimmer fill on the shadow side, placed low and close, and that is about it. A three-light setup puts the third light behind the subject, aimed at the backdrop rather than at the head, so it lifts the background and creates separation without ever touching the scalp.
The order matters. Get the key light right with nothing else in the room, then bring in one light at a time and re-check the forehead after each. Adding two lights at once makes it impossible to tell which one introduced the highlight.
Step 4: Control the Camera-to-Light Relationship
A rounded head changes its reflection every time either the subject or the camera moves, sometimes by a lot. Have the subject turn their chin a few degrees and the bright patch slides off the forehead and onto the side of the head.
Raise the camera to eye level or slightly above and shoot a head-and-shoulders frame. From below, you see a large expanse of crown, and any light on that crown reads as shine.
Keep the lens at or above the subject’s eye line and crop tighter. A high camera with a longer lens means the crown occupies less of the picture, so a small remaining highlight stops being the thing the viewer looks at first.
Check in live view at full size rather than on the small rear screen. Specular hotspots are easy to miss when the image is reduced.
Step 5: Shape the Highlight With Reflectors and Fill
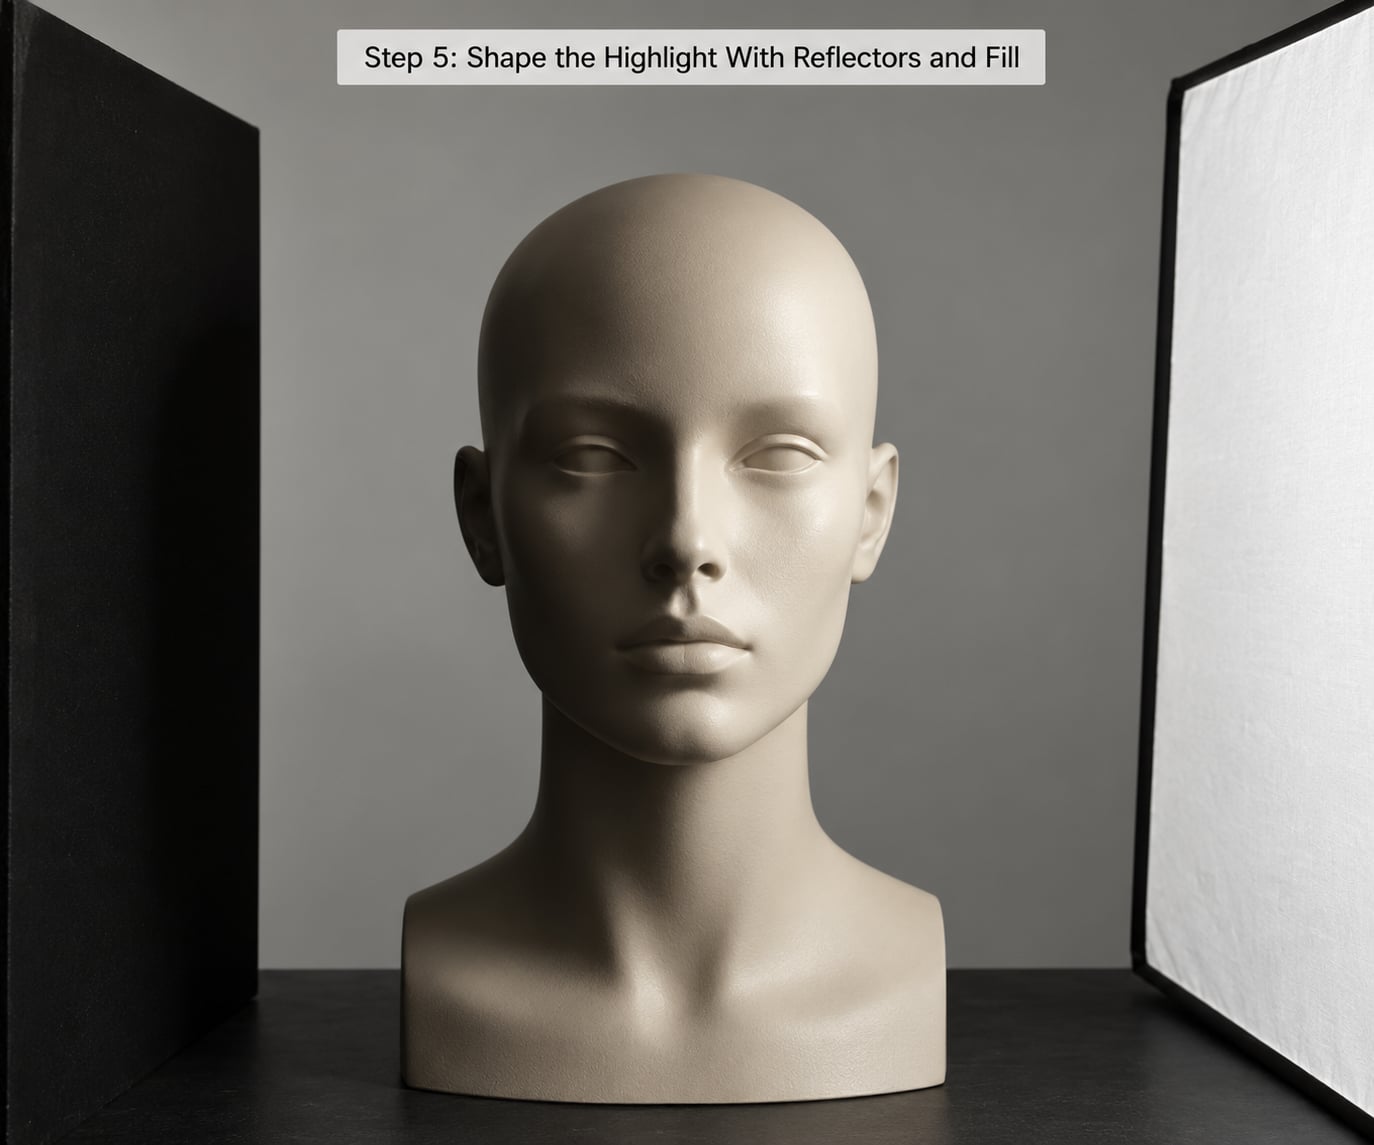
Place a white reflector on the shadow side of the face, close enough to fill the darkness without adding a second bright reflection source. Keep it lower than the key light so it lifts the jaw and cheek instead of bouncing back onto the crown.
Put a black card or flag on the opposite side when you want more contrast, or between the key light and the scalp when the crown is still catching stray light. Cutting spill is often more effective than trying to overpower the highlight.
Be careful with reflectors placed near the head. A white card at the same height as the main light becomes a second specular source, and you end up with two hot spots instead of one.
Aim for a lighting ratio somewhere near two to one between the lit and shadow sides of the face. A brighter ratio of three to one still works, but very high contrast makes the scalp the brightest thing in frame again.
Step 6: Expose for Skin, Not the Brightest Highlight
Set your exposure so the brightest acceptable skin highlight sits just below clipping. Turn on highlight warnings or watch the histogram, since a blown patch on a pale scalp is easy to miss at shooting size.
Shoot RAW. Clipped specular detail cannot be recovered reliably, because the sensor has already recorded white and there is no tonal information left to pull back.
Underexposing the whole frame to save one highlight is the wrong trade. It turns the eyes grey and the skin muddy, then you end up lifting shadows in post and discovering the highlight again.
Better to underexpose by a small, deliberate amount and recover the shadows. Portrait work usually starts around f/4 to f/5.6, which gives enough depth of field for a headshot without flattening the face entirely.
Step 7: Inspect and Refine from Multiple Angles
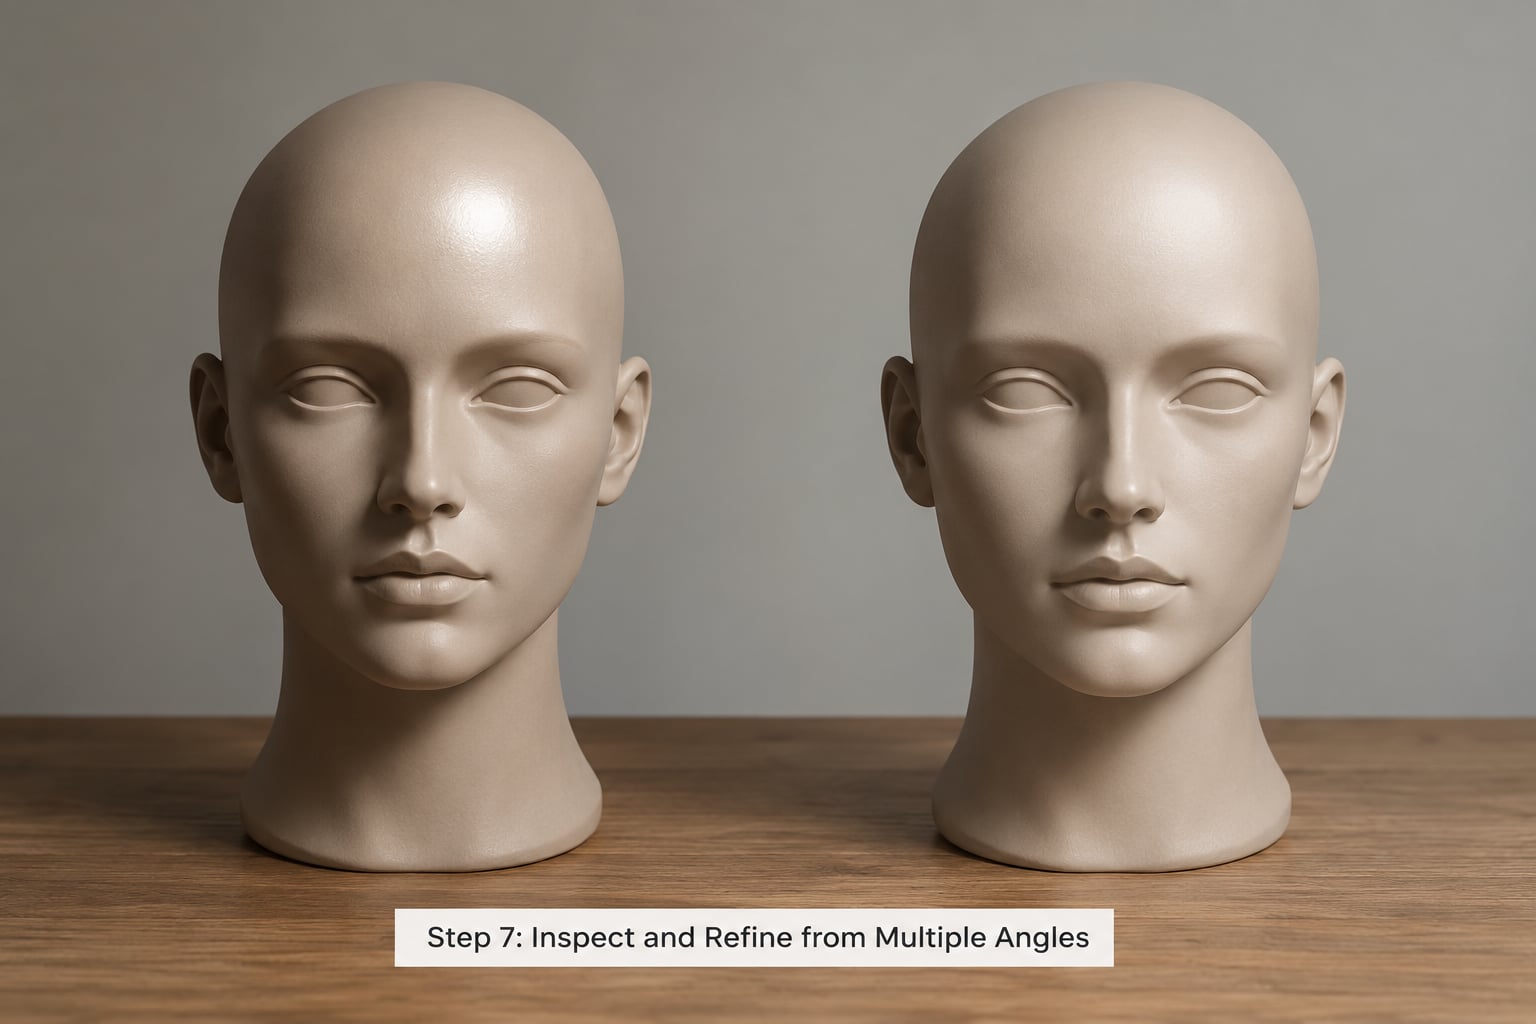
Zoom in on the forehead, the crown, both temples and the cheekbones at full magnification. Look for small clipped edges rather than overall brightness, because the eye reads a hard-edged little hotspot as glare while it reads a broad soft sheen as normal skin.
Rotate the subject five degrees or step the camera half a metre to one side and take another frame. The reflection moves a surprising amount for such a small adjustment, and one of the two frames will usually be clean.
Make the smallest change that worked rather than a dramatic one. Big moves reintroduce problems you already solved, such as new shadows under the brow or a flat look from too much fill.
Keep the best frames and compare them on a decent screen at normal brightness. Highlight problems hide on a bright laptop panel more often than readers expect.
Common Mistakes
Almost every problem in bald head portraits comes from one of six habits. Each has a specific correction.
Harsh light straight on the forehead
A bare flash or small soft head-on puts a hard white dot in the middle of the forehead. Fix: enlarge the source, move it 30 to 45 degrees off axis and put it above eye level.
Adding a hair or rim light out of habit
Rim lights separate a subject from the background by catching the edge of the hair. On a bald head there is no hair, so the same light lands on the curve of the scalp and creates exactly the glare you were trying to avoid. This is the most common error in the genre, and it shows up in studio setups where the rim light is added by habit.
Fix: if you need separation, place a background light behind the subject and aim it at the backdrop, not at the head. Or use a low-power kicker from below and behind at a shallow angle, so it grazes the shoulder line rather than the crown.
Applying oil or glossy skincare just before the shoot
Sebum and most moisturisers reflect light like a thin film of oil. Fix: cleanse, wait ten to fifteen minutes, then dust with matte setting powder. Powder is a temporary fix of roughly a few hours, so it works best applied after the subject’s own products have settled.
Positioning the camera near the light axis
When the camera and the main light sit close together, whatever the light reflects reaches the lens directly. Fix: separate them by at least 30 degrees, and move the camera to eye level or slightly above.
Underexposing the whole image to protect one highlight
Sacrificing the entire exposure for a patch of scalp leaves a flat, lifeless portrait. Fix: expose for the face, keep the highlight just under clipping, and remove any remaining hot spot by moving the light rather than by underexposing.
Post-production as the primary rescue
Dragging highlights down after the fact can leave a grey, chalky patch that draws more attention than the shine did. Fix: use a local mask to lower the highlight slightly and keep some texture, rather than flattening the area to a solid tone.
On video the problem behaves differently. Continuous light and auto-exposure will hunt as the subject moves, and the highlight can pulse with every subtle turn. Fix: manual exposure, manual white balance, and a larger light close in.
Ring lights are the worst case. A ring light sits exactly on the camera axis, so its reflection lands precisely where you do not want it. Move the ring light off to one side and angle it in, or replace it with a side-lit key and a separate fill.
Outdoors the sun cannot be moved, so the same mirror-angle rule applies to a much larger and hotter source. Put the subject in open shade with a wall, a building edge or a car above them, or position the sun slightly off-centre and behind the subject so the reflection travels away from the lens. Harsh midday sun on bare scalp clips fast and rarely recovers.
Quick Tips for More Natural Head Shots
A few refinements move a portrait from technically correct to flattering.
- Keep some texture. A completely flat scalp reads as a mannequin, so aim to reduce glare rather than erase every highlight.
- Keep bright reflections away from the hairline, where the eye reads them most strongly.
- Use graduated falloff so the crown sits slightly darker in tone than the face. A top of head brighter than the forehead pulls attention upward and away from the expression.
- Blend the top of the head into the background tone so the silhouette stops separating from the backdrop.
- Ask the subject first. Plenty of people are proud of being bald and enjoy a scalp that catches the light. Others find it uncomfortable. Two minutes of conversation beats guessing.
- Let skin texture survive editing. Real pores and tonal variation read as health; a blurred, even surface reads as plastic.
- Watch how sebum reads across skin tones. Darker skin often shows oil as a fine bright speckle before it shows as a single hotspot, so zoom in and check more often.
- If the subject is outside on a hot day, ask them to keep a clean towel nearby. A blot before each frame costs nothing.
Frequently Asked Questions
Does a polarizing filter stop glare on bald heads?
Only partly. A circular polarizer is built for reflections off flat glass and water, and scalp oil sits at odd angles across a curved head, so much of the highlight passes through unaffected. Cross-polarizing helps more: mount the filter and rotate it with the light source already polarised, which can cut the reflection further. It costs two stops of light and it will not remove a hard hotspot, so treat it as a bonus after you have fixed the geometry.
Should I overexpose a bald head to prevent shine?
No. Overexposing a shiny scalp clips the highlight to pure white and gives you no tonal information to recover later. Expose so the brightest acceptable skin highlight sits just below clipping, ideally with RAW capture. If the crown is still blowing out, change the light rather than the exposure, because moving the light removes the problem at the source.
How do you photograph oily skin without distracting highlights?
Combine three things. Start with matte preparation: cleanse, wait ten to fifteen minutes, then apply a translucent matte setting powder. Next use a large, soft source close to the subject so the reflection spreads rather than concentrating. Finally keep the main light 30 to 45 degrees off the camera axis and above eye level, so no single hot spot reaches the lens.
What is the best lighting angle for a bald-head portrait?
Roughly 30 to 45 degrees off the camera axis and above eye level is the most reliable starting point. That position breaks the mirror line between light, forehead and lens, so the reflection travels to the temple instead of the lens. Add distance from a large soft source and raise the camera to eye level, and how to light bald heads without glare becomes mostly a matter of small adjustments.
How can I fix glare in a portrait after the photo is taken?
If the highlight is not clipped, use a local adjustment mask on the crown, lower highlights and whites slightly, and keep some texture so the area does not turn grey. If it is clipped to pure white, no amount of recovery will restore detail; you can only make it less obvious. Mask it darker and blend it toward the background tone, then shoot RAW next time and fix the light.
Conclusion
Bald head glare comes down to one relationship between the light, the forehead and the camera, and once you see that, most of it solves itself. If you remember nothing else about how to light bald heads without glare, remember this order: start with a large soft light above the subject and off to one side by 30 to 45 degrees, inspect the forehead in live view, then adjust light height, camera angle, fill and exposure in that sequence. Skip the hair light entirely, and keep matte powder in the kit.