How to shoot portraits at night with street lights comes down to three moves: put your subject under a lamp, put yourself between that lamp and your subject, then expose for the face while protecting the bulb. Start in manual at f/1.8, 1/125s and ISO 3200, then adjust until the skin looks right. Budget 30 to 45 minutes for your first session, most of it spent walking and looking, not shooting.
I shot my first street light portraits with a borrowed 35mm lens and a camera that struggled above ISO 3200. What worked was never a setting I read somewhere. It was standing closer to the lamp than felt necessary, tilting the subject’s chin up a few degrees toward the bulb, and taking a dozen frames instead of one. This is the version of that evening I’d hand a beginner.
Table of Contents
- What You Need
- Step-by-Step: How to Shoot Portraits at Night with Street Lights
- 1. Scout the Location and Find a Suitable Street Light
- 2. Set the Camera for the Available Light
- 3. Position the Subject Relative to the Light
- 4. Focus on the Nearest Eye
- 5. Balance the Background and Ambient Exposure
- 6. Direct the Pose and Capture a Short Series
- 7. Review, Edit, and Protect the Images
- Common Mistakes and Quick Fixes
- Frequently Asked Questions
- What are the best camera settings for taking nighttime portraits?
- Can you shoot good portraits at night with a smartphone?
- Does shooting a portrait in the rain at night work?
- Do I need a tripod for night portraits?
- How do you keep night portrait images sharp without a tripod?
- Conclusion
What You Need
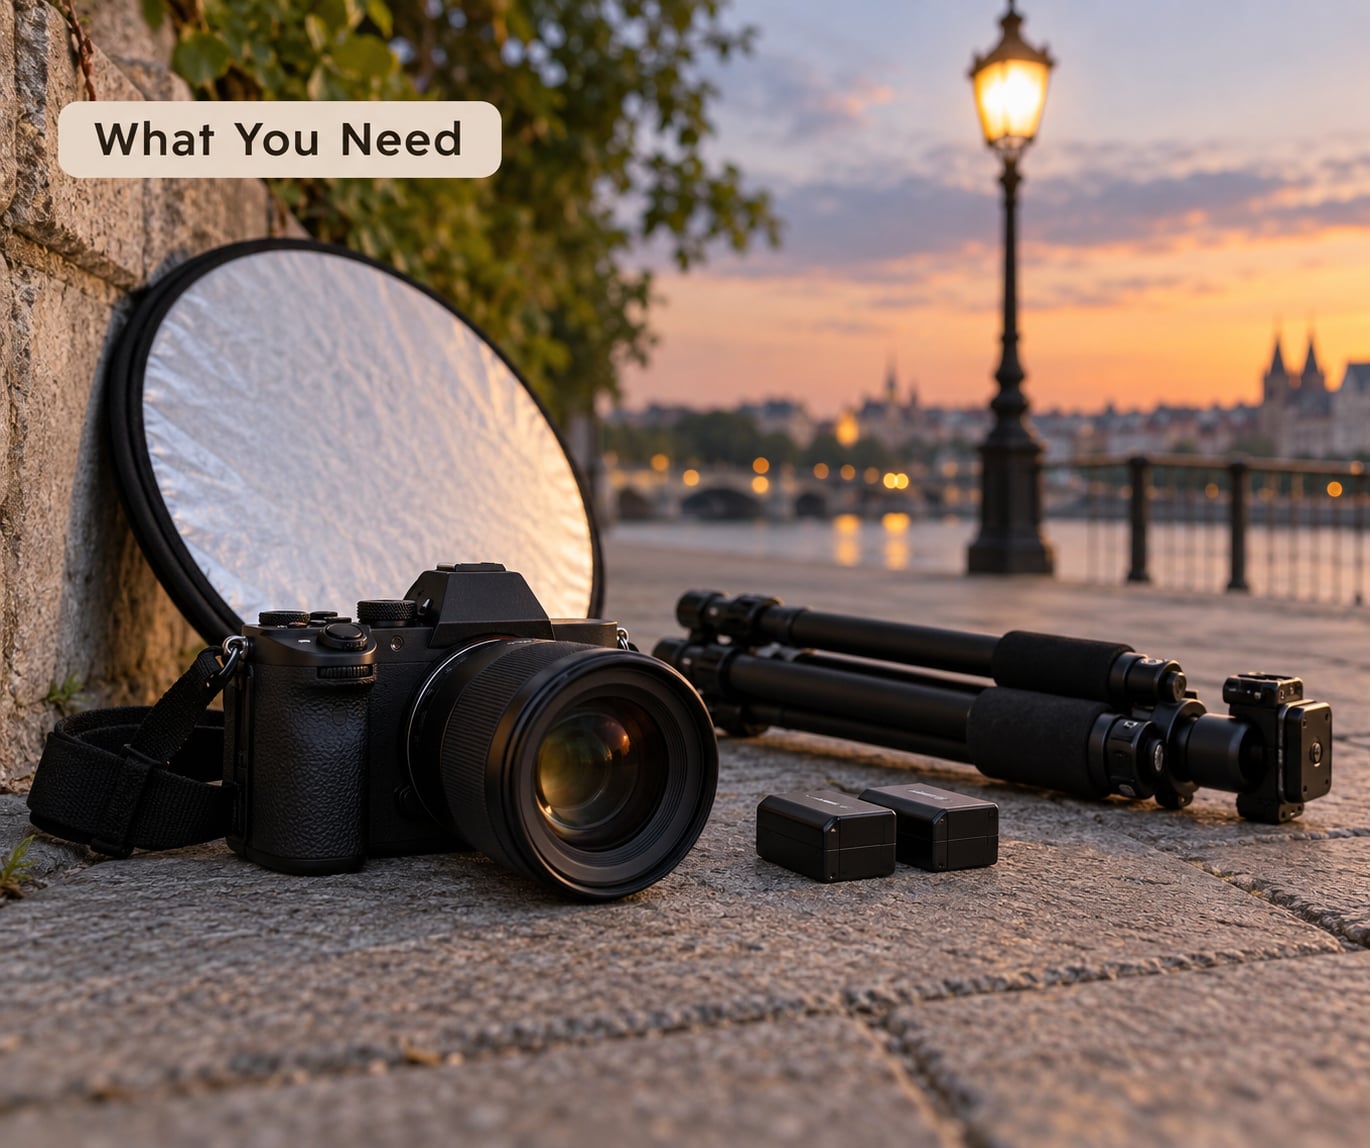
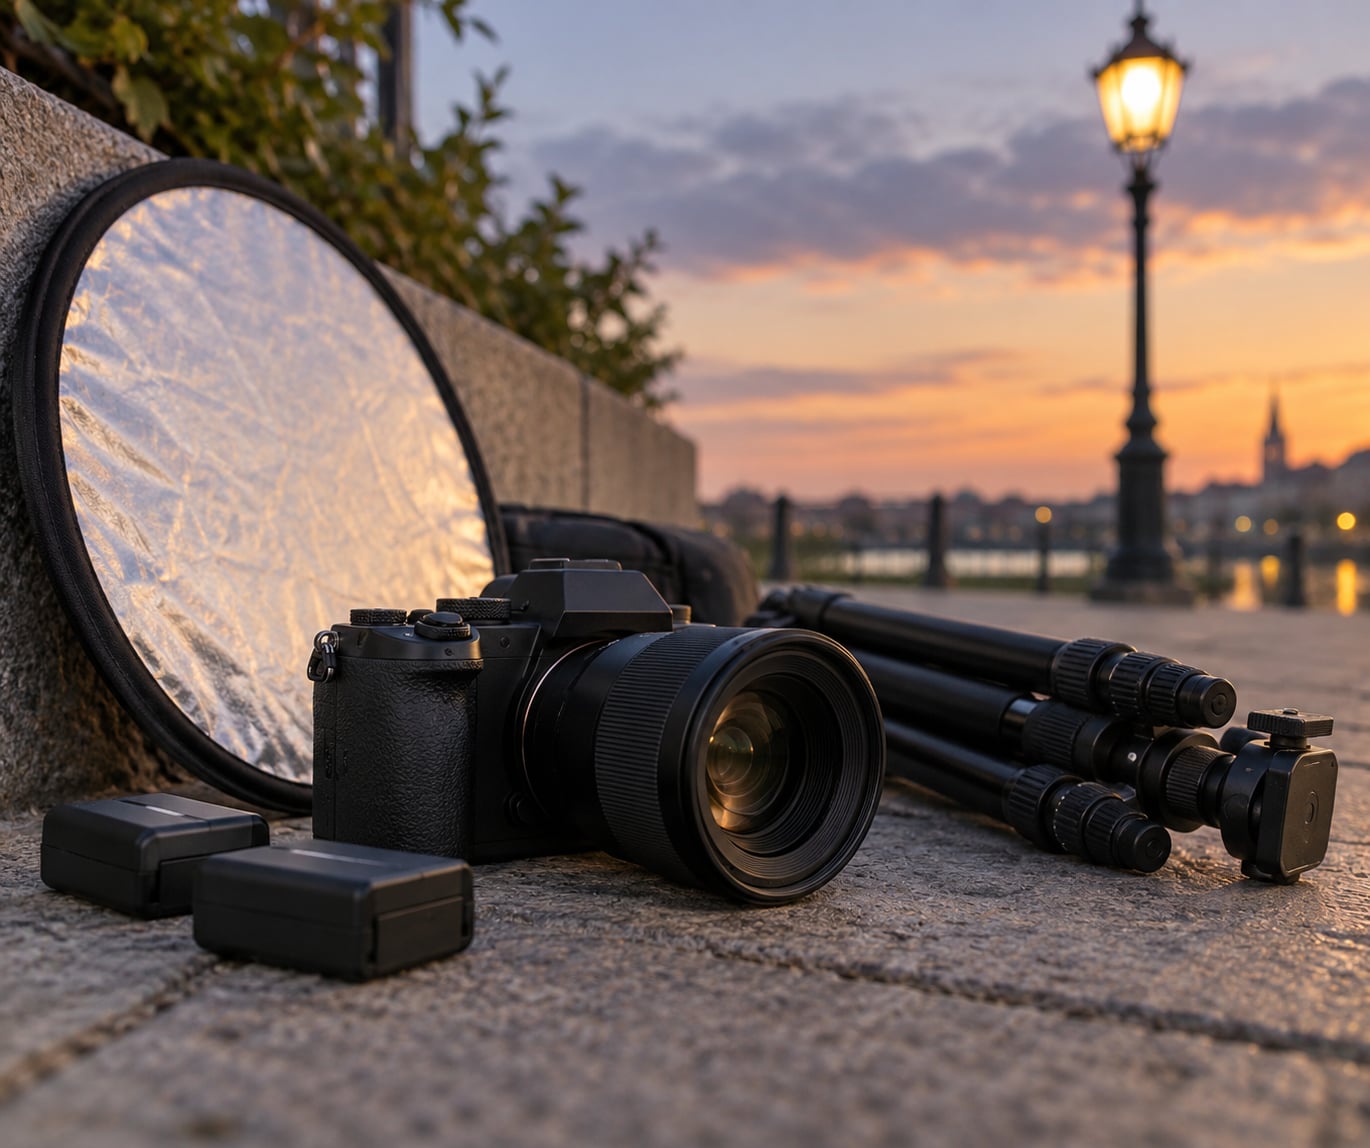
A fast lens matters more than anything else on this list. An f/1.8 or f/2.8 prime gathers several times more light than a kit zoom at the same shutter speed, and that headroom is the difference between ISO 1600 and ISO 12800. Any camera with a manual mode and a hot shoe will do the job, and a phone with a manual or Night mode works too.
A tripod is optional. For a standing portrait at 1/125s, stabilisation turned on, and elbows tucked, a tripod mostly gets in the way of moving around. Bring one only if you plan to sit the subject down, work with long exposures, or shoot mostly landscapes and street scenes rather than faces.
A small reflector is the cheapest upgrade in this whole setup. A 30 cm round or collapsible reflector held low and opposite the lamp lifts the shadow side of the face for a fraction of what a flash costs. It also lets you back the exposure down slightly without the face going muddy.
A dedicated light is optional too. If the lamp overhead is weak or badly placed, a small LED panel or off-camera flash bounced into a wall from low and camera-left will fix the setup faster than walking to a better street. Treat it as a backup plan rather than the default.
Carry spare batteries, because cold air and video or live view drain them faster than you expect, and a permission mindset for strangers. A phone with a flashlight is worth having for the walk between locations.
Step-by-Step: How to Shoot Portraits at Night with Street Lights
1. Scout the Location and Find a Suitable Street Light
Walk the block first, without the camera out, and judge the light by what it does to a face rather than how bright it looks. Stand where you plan to shoot, look up at the bulb, and check three things: the colour of the light, where it falls on a face, and what sits behind your subject.
Colour varies more than most beginners expect. Old sodium vapour lamps skew orange, many newer municipal fixtures are cool white LED, and plenty of blocks have both plus the blue spill of a shopfront or a phone screen. Mixed lighting is the hardest case for white balance, so pick a spot where one source dominates the subject’s face.
Direction is what separates a good frame from a bad one. A lamp mounted on a pole or a tall wall throws light down and slightly forward, which puts eye sockets and the underside of the nose in shadow when your subject stands directly beneath it. A lamp on a lower bracket, or one with a shade that spills forward, is easier to work with. Position matters too: you want an area where the light reaches the pavement, with foot traffic that does not cut straight through your subject’s spot.
Last check, the background. Look behind your planned subject position for a bin bag, a hedge, a sign that will sit exactly on their ear, or a passerby who will keep drifting through. Moving ten steps usually solves this faster than editing.
2. Set the Camera for the Available Light
Set the mode, the three numbers and the white balance before your subject arrives, then adjust. Here is the starter point I start from every time, and how to bend it.
| Situation | Aperture | Shutter speed | ISO | Mode |
|---|---|---|---|---|
| Subject standing still, handheld | f/1.8 to f/2.8 | 1/125s or faster | ISO 1600 to 3200 | Manual or Aperture Priority |
| Leaning, turning or talking | f/2.8 | 1/60s | ISO 3200 to 6400 | Manual |
| Subject seated or tripod braced | f/2.8 to f/4 | 1/15s or slower | ISO 400 to 1600 | Manual |
| Bright lamp, dark face | Widen to f/1.8 | 1/200s | ISO 3200 | Exposure compensation -1EV if needed |
Work in Aperture Priority while you learn, so you pick the aperture and ISO and let the camera guess the shutter, then check that its guess is at least 1/125s. Switch to full manual once the settings start feeling predictable, because night scenes fool auto exposure more often than not: it reads a dark street, opens up, and hands you a blurry frame.
Shoot RAW. Recovering a blown bulb or pulling colour out of a noisy shadow is not possible in a JPEG, and the orange cast correction in step 7 needs the raw channel data.
Set white balance manually rather than leaving it on auto. Leave it automatic and the camera will try to neutralise the sodium orange in one frame and not the next as you move, which gives you a set of frames that are impossible to grade as a sequence. Pick a preset close to the light, or a custom value around 3000K for sodium and 4200K to 4500K for cool LED, then fine-tune later.
Turn on highlight warnings or the histogram if your camera shows them. The bulb in frame will clip long before the face does, so this is how you know whether you have room to brighten the subject.
If you are shooting on a phone, tap and hold on the face to lock exposure and focus, then drag the brightness slider down a stop or so. Night mode stacks several frames, which is fine for a still subject holding a pose and unusable for anyone breathing normally.
3. Position the Subject Relative to the Light
This is the move that turns night street light portrait photography from a snapshot into a photograph. Put your subject at the edge of the pool of light rather than in the middle of it, angled slightly away from the bulb, and then step into position between the lamp and them.
The distance between your subject and the lamp sets how hard the light is. Two steps under the bulb gives you flat, top-down, nose-shadow light. Four steps out, with the lamp behind and to one side of your camera, gives you a defined key light and a shadow side you can fill with a reflector. Most good environmental night portraits sit somewhere in the middle of that range.
Angle matters as much as distance. Turn your subject a few degrees away from the lamp and the light wraps the near cheek while leaving the far side in shadow, which reads as shape rather than flatness. Facing them straight into the bulb gives you symmetrical, in-the-eye light that looks flatter and, on some lamps, puts the bulb’s reflection straight into their eyes.
Give your subject a small step of distance from the lamp pole so the pole does not grow out of their shoulder, and keep them from standing where the light falls off sharply, since that produces a lit forehead and a black chin.
4. Focus on the Nearest Eye
Dim light makes autofocus hunt, and hunting wastes the frames you cannot spare at high ISO. Take control of it.
- Switch to single-point AF or a small zone rather than wide or auto-area tracking, so the camera is not choosing among a dozen dark shapes.
- Switch to continuous or servo AF for a moving subject, single-shot AF for someone holding a pose.
- Place the point on the nearest eye, on the iris rather than the eyelid, and confirm it with a half-press before you commit.
- If AF will not lock, focus manually on something at the same distance first, then switch to manual with the lens set to that distance and move together.
- Turn stabilisation off when you shoot on a tripod with a long lens, and leave it on when you shoot handheld.
Zoom to 200% on the playback screen and check the eye before you change the pose. A sharp, grainy frame beats a clean, soft one every time at night, and the grain is recoverable in post while the blur is not.
For a side-facing pose, focus on the eye closest to the camera. For a full profile, the lit edge of the near eye is the only place the autofocus system has enough contrast to grab, so aim there.
5. Balance the Background and Ambient Exposure
Meter for the face, not for the scene. Switch to spot metering or centre-weighted metering, put the spot on the subject’s cheek, and the camera will stop trying to average the dark street into underexposure. If your camera only offers evaluative metering, dial in negative exposure compensation, typically around -1EV, and check the histogram.
Then decide what you want the background to do. Distant street lights, shop windows and headlights turn into round bokeh discs at f/1.8 and f/2.8, and that texture is free atmosphere, so keep points of light in frame rather than framing them all out.
Watch the bulb itself. If it is blowing to a white blob with no shape, that is normal and often desirable, but if you want the lamp readable in the shot you will need to expose for it and lift the face in post from a reflector instead. You cannot do both at once on most sensors, so choose before the subject arrives.
Rain helps here. Wet pavement doubles the effective light by reflecting the lamp downward, and reflections of passing headlights give you background movement you cannot fake. Just watch where your subject stands, since a puddle behind them becomes a mirror straight into their eyes if they are standing at the wrong height.
6. Direct the Pose and Capture a Short Series
Overhead light punishes a neutral expression. Under a lamp most people squint, raise their chin to follow the light and shade their own eyes, so give them something specific to do instead of asking them to relax.
Ask them to turn their chin up and slightly toward the lamp, which drops the shadow under the jaw and opens the eye sockets. Then ask them to look just past the camera or at a fixed point off to one side; a straight stare into the lens under hard top light reads as a mugshot. A hand in a pocket, a shoulder turned toward the lamp, or a small step toward the light all break the flatness.
Shoot a short series while your subject holds one position, three to eight frames rather than one. At these shutter speeds you will get the odd blink or a half-moved foot, and a short series means one good frame rather than a coin flip.
Watch the preview and decide what to change: too dark means widen the aperture or add fill, too contrasty means move your subject closer to the lamp axis or bring out the reflector, a busy background means shifting one step sideways. When a setup fights you for more than a few minutes, move. Night light changes every fifty metres and so does its colour.
7. Review, Edit, and Protect the Images
Correcting the street light colour cast is a three-step job. First, open the RAW file and set the white balance using the grey card or the eyedropper on a neutral area in the frame, a piece of grey concrete or a white shirt, rather than on skin, since skin is never neutral. Second, drop the temperature until the grey is grey; the orange usually falls away on its own once the temperature is right. Third, if a green or magenta cast remains, use the tint slider to clean it up.
Then pull the exposure back slightly to recover the bulb, lift the shadows on the face in small amounts, and apply noise reduction to the luminance channel only, keeping the colour noise where it is because chroma smoothing turns skin waxy. Add a touch of contrast and pull the orange saturation down in the highlights a few points. Black and white is a legitimate answer to a noisy frame, and grain reads as texture rather than as a defect.
Finish by checking the histogram for clipping in the lamp, then copy the raw files to a second drive or drive home before you clear the card. Night work is easy to repeat but hard to reproduce, and there is no second pass at a face in that exact spot.
Common Mistakes and Quick Fixes
The lamp is a white blob and the face looks flat. Both are usually the same problem, meter being dragged toward the bright background. Switch to spot metering on the cheek, add -1EV, and hold the reflector low on the shadow side.
The face is too dark to work with. Do not reach for a higher ISO first. Move your subject two steps closer to the lamp, open the aperture to the widest setting, and only then raise ISO.
Everything is orange, or the frames are all different colours. Set white balance manually before you start and shoot RAW, then grade to a grey card in post.
Frames come out soft. Check the cause at 200% zoom first: bright points smeared sideways means hand shake, so raise the shutter speed or brace the camera; a sharp face and sharp edges but soft eyes means missed focus, so switch to single-point AF on the eye.
Autofocus hunts and never locks. Give it more light, a small focus area, and a high-contrast target, or switch to manual and set the distance yourself.
The background fights the subject. Change your angle by ten degrees or move your subject a step. Cropping in post does not remove a bin bag that is already too close behind the head.
Eye sockets, nose and chin go dark. The lamp is too close overhead. Move the subject out from under it, tilt the chin up toward the light, and fill the shadow side with a reflector or white card.
You feel unsafe or the subject does. Stay in well-lit, populated places, keep your phone in your hand, tell a companion where you are, and ask before you photograph anyone, especially after dark. Work from public land, and be clear about what you are doing and why.
Frequently Asked Questions
What are the best camera settings for taking nighttime portraits?
Start at the widest aperture your lens offers, usually f/1.8 or f/2.8, with a shutter speed of 1/125s or faster and ISO between 1600 and 3200. Shoot in manual once you know your starting numbers, use spot metering on the face with about -1EV, and set white balance manually to match the lamp rather than leaving it on auto.
Can you shoot good portraits at night with a smartphone?
Yes, especially close to a bright lamp where there is enough light for the sensor. Tap and hold on the face to lock exposure and focus, lower the brightness a stop to protect the bulb, and use Night mode only for a subject who can hold still, since it stacks frames and softens anything that moves. RAW and manual controls help further where the phone supports them.
Does shooting a portrait in the rain at night work?
Rain usually helps. Wet pavement reflects the street lamp back up, effectively doubling the light you have, and it adds background texture and colour you cannot fake. Watch for reflections landing directly in your subject’s eyes and keep a cloth on the front element, since drops soften everything they cover. A light shower is often better than heavy rain for keeping the frame clean.
Do I need a tripod for night portraits?
Not for a standing portrait. At 1/125s with image stabilisation on and your elbows tucked, handheld is usually sharp enough. A tripod earns its weight when you sit the subject down, shoot at 1/15s or slower for a blurred background, or work through a long exposure to lift the street behind them. Turn stabilisation off when the camera is on a tripod with a longer lens.
How do you keep night portrait images sharp without a tripod?
Raise the shutter speed first, then open the aperture, and only then raise ISO. Brace yourself: lean on a wall or a light pole, tuck your elbows into your ribs, breathe out before the shot and use the viewfinder rather than the live view screen. If you are still at 1/60s, ask the subject to hold a pose instead of moving, and check your results at 200% zoom for hand shake.
Conclusion
Start with the light, not the camera. Find a lamp whose glow falls on the pavement in a direction you like, put your subject at the edge of that pool with their chin tipped toward it, stand between them and the bulb, and set f/1.8 at 1/125s and ISO 3200. Check the histogram, focus on the nearest eye, and shoot a short series before you move a single step. Everything else on this list is a correction for a decision you already made at the start of the setup.