Luminosity masks let you adjust only the bright parts, only the dark parts, or only the midtones of a photo, and they do it without painted edges. To learn how to use luminosity masks in Photoshop, build the mask from the Channels panel, drop it on an adjustment layer, then refine it with a soft brush. The whole core workflow takes about ten minutes once you have done it twice.
It is one of those techniques that looks like more work than it is, mostly because most tutorials hand you eighteen pre-built masks and never explain what any of them select. Here is the short version: a luminosity mask is a greyscale copy of your image where white means “adjust this” and black means “leave it alone”. Everything else is detail.
Table of Contents
- What You Need
- Layers, adjustment layers and layer masks
- The Channels panel versus Select and Mask
- The plugin route, and when it earns its place
- One shortcut worth knowing before you start
- Recording the masks as a Photoshop action
- Step-by-Step: How to Use Luminosity Masks
- Open and Prepare Your Image
- Create a Luminosity Mask From the Channels Panel
- Add the Adjustment Layer
- Refine the Mask Edges
- Use Luminosity Masks for Dodge and Burn
- Build More Precise Masks and Blend Results
- Review and Export the Finished Edit
- Common Mistakes
- Troubleshooting Masks in Difficult Images
- Frequently Asked Questions
- What is a luminosity mask?
- How do I create a luminosity mask in Photoshop step by step?
- Why does Photoshop say no more than 50% of pixels are selected?
- Should I invert a luminosity mask?
- How do I avoid halos and visible mask edges?
- Where can I find luminosity masks in Lightroom or other editors?
- Conclusion
What You Need
You need a Photoshop document with your image on a single Background layer, the Channels panel, and a soft round brush. That is genuinely it for the native workflow.
Layers, adjustment layers and layer masks
Make sure you are working non-destructively. Keep the original pixels untouched, put your Curves or Levels work on adjustment layers, and control where each adjustment lands with its layer mask.
If you shoot RAW, convert the background to a smart object before you start. That gives you 16-bit processing per channel instead of 8-bit, which matters a lot here: 8-bit gives you 256 tonal steps per channel, so gradient masks band and blended shadows show blotchy patches.
Photographers keep asking whether all this is really necessary in Photoshop. Often it is not. A flat landscape that only needs half a stop of shadow lift is a slider job in Lightroom.
Luminosity masks earn their keep in three situations: the image has detail sitting in a blown highlight or a crushed shadow, you are blending bracketed frames, or you want to dodge and burn across tone without a single brush stroke. If none of those apply, stay in the sliders and save yourself the time.
The Channels panel versus Select and Mask
The Channels panel builds a mask straight from the brightness data in your file. Select and Mask (Select, then Select and Mask) is the tool for cleaning up hard edges around an object you have already isolated, and its feather, shift-edge and refine controls are not what create a tonal mask.
They solve different problems. Use Channels for tone, Select and Mask for edges.
The plugin route, and when it earns its place
Panels such as Easy Panel, Raya Pro, Lumenzia and TK Panels create the whole set of bright, dark and midtone masks in one click. That is a real time saver once you already understand what each mask selects.
Skip them on your first pass. If you can build Brights 1 by hand, you will never be lost again, and you will not spend money solving a problem you do not have yet. The versions shipping as of 2026 are still one-click mask generators underneath, so learning the manual method ages better than the panel does.
One shortcut worth knowing before you start
If you only need a single tonal mask, there is a 30-second route that bypasses the Channels panel entirely. Add a new empty layer above your image, fill it with 50% grey, then choose Image > Apply Image and set the layer to RGB, 16-bit, with Multiply blend mode. The layer turns into a soft brightness map you can invert, fill, or refine.
Recording the masks as a Photoshop action
Once you have built Brights 1 and Darks 1 by hand, save the steps as an action so you never repeat them. Open the Actions panel, click the New Action icon, name it Luminosity Masks, and record. Build one bright channel and one dark channel, then stop recording.
Future images run it with one click and land on the same mask names, so your adjustment layers stack in a predictable order. Combine it with a Batch command and you have masks across a whole shoot folder.
It is worth keeping the recorded action for masks only, not for the adjustment layers. Adjustments need to be judged per image, and a baked-in action cannot judge them for you.
Step-by-Step: How to Use Luminosity Masks
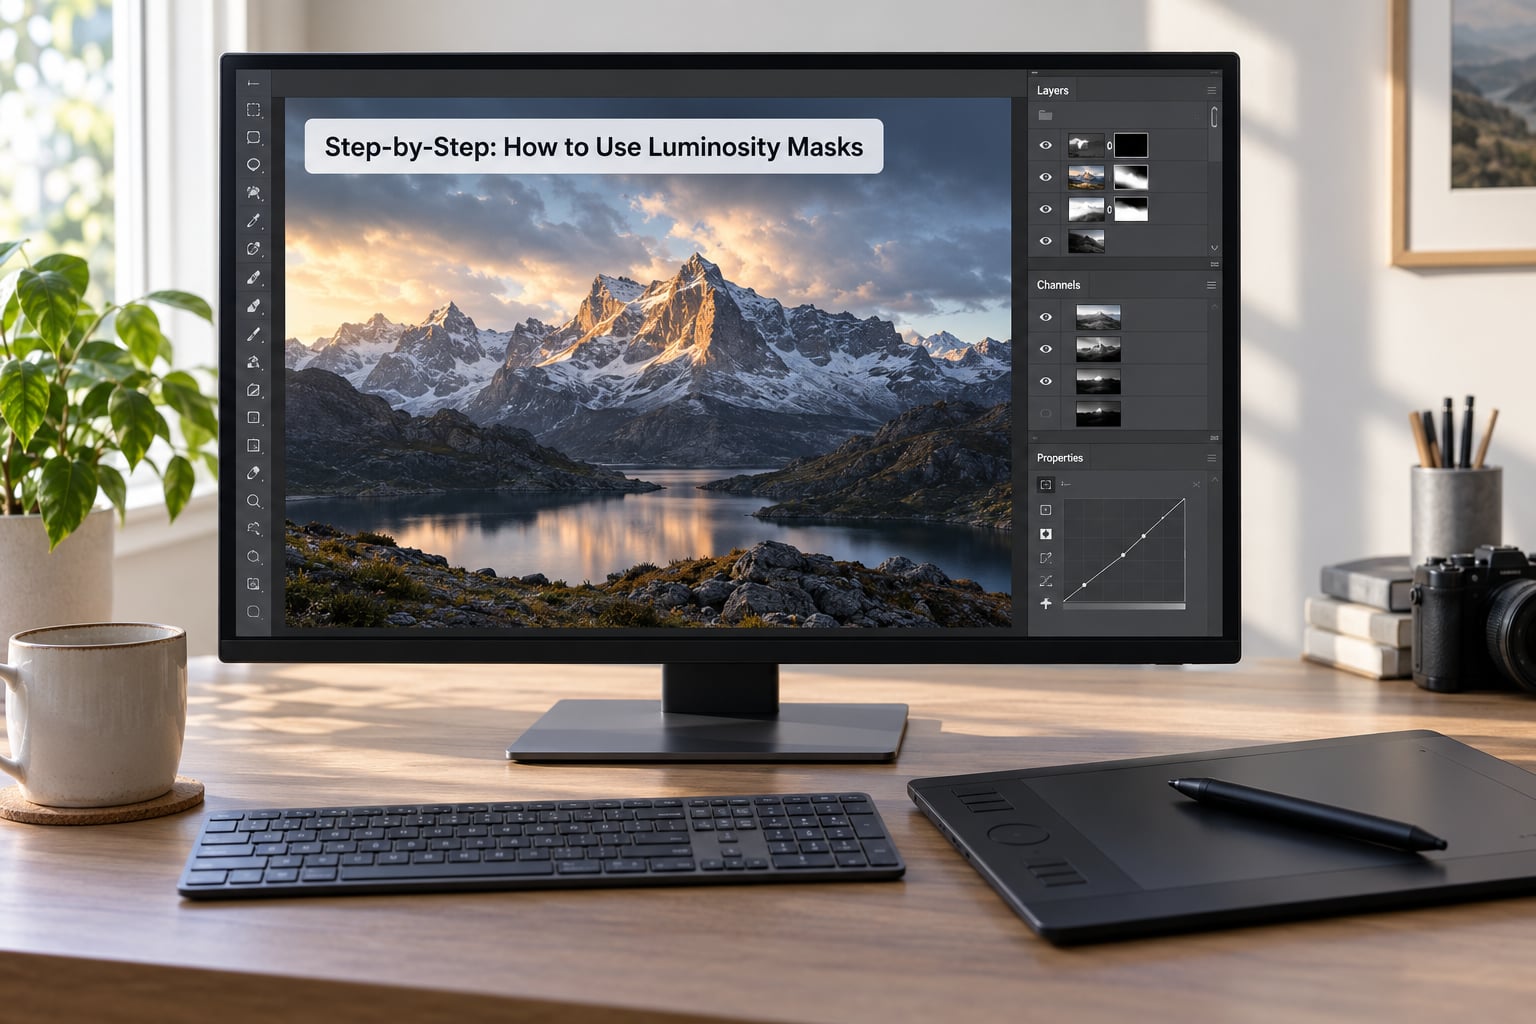
Open and Prepare Your Image
Open your photograph, then right-click the Background layer and choose Convert to Smart Object if it came from a RAW file. Duplicate it with Ctrl/Cmd+J so the original stays intact underneath.
How you know the preparation worked: the duplicate sits above the original with the same name plus “copy”, and the whole thing can be undone in one step. Any time an edit feels irreversible, stop and go back to this point.
Create a Luminosity Mask From the Channels Panel
Open the Channels panel with Ctrl+2 (Windows) or Cmd+2 (Mac). You will see RGB plus separate Red, Green and Blue channels.
Build the first mask like this:
- Click the RGB composite channel so all three are highlighted. If only one is selected, click it again to add the others.
- Hold Alt+Ctrl+Shift (Windows) or Option+Command+Shift (Mac) and click the darkest part of your image. Bright areas stay black.
- The selection loads with marching ants around the brightest regions.
- Click the New Channel icon at the bottom of the panel, then double-click the new channel, name it “Brights 1”, and click OK.
- Repeat with a slightly less dark click point to get Brights 2, Brights 3 and so on. Each level reaches a little further down the tonal range.
For darks, load the RGB channel normally with Ctrl+click or Cmd+click on the bright areas, or invert with Ctrl+Shift+I / Cmd+Shift+I and save the channel as “Darks 1”.
Midtones are the fiddly ones. Press Ctrl+A / Cmd+A to select everything, then Alt+click (Option+click) the Brights 1 and Darks 1 channel thumbnails to subtract them. Save the result as “Midtones 1”.
| Shortcut | Action |
|---|---|
| Ctrl+2 / Cmd+2 | Open the Channels panel |
| Ctrl+3 / Cmd+3 | Open the Layers panel |
| Ctrl+click / Cmd+click | Load a channel as a selection |
| Alt+Ctrl+Shift+click / Option+Cmd+Shift+click | Load only the highlights |
| Ctrl+Shift+I / Cmd+Shift+I | Invert the selection |
| Ctrl+A / Cmd+A | Select all for midtone subtraction |
| Alt+click / Option+click a mask thumbnail | Select the mask instead of the layer |
| Backslash key () | Toggle the mask view on and off |
The backslash shortcut is the one to remember. It flips between the image and a black-and-white view of the mask, so you can see exactly what your brush is doing.
Which channel you click matters less than people think, but it is not random either. The composite RGB channel is the default and works for most photographs. If your scene has a strong colour cast, look at the individual channels and use the one where the subject separates from its surroundings most cleanly.
Build one mask, then stop and look at it. Newcomers often build all six levels before checking anything, then cannot tell which one to use. Brights 1 is the tightest highlight range, Brights 6 reaches down into the midtones, and each dark level reaches a little further up. Four or six masks cover essentially every real edit.
Add the Adjustment Layer
With your selection still active, add a new adjustment layer with the mask icon held down. Choose Curves for anything subtle, Levels when you want to move the black and white points, and Brightness/Contrast only for a quick, obvious shift.
Photoshop asks whether to create a new layer mask or reveal the one already on the adjustment. Choose the new layer mask, and your tonal selection appears on it as a soft greyscale gradient.
You know the mask landed correctly when the thumbnail is mostly black with a soft white glow in exactly the tonal range you clicked. If the thumbnail is flat white or flat black, the selection did not load.
Adjustment layers beat painting directly on pixels here because the mask is non-destructive, editable after the fact, and can be repositioned or inverted with one click.
Refine the Mask Edges
Photoshop’s channel masks have hard selection edges at the cutoff point, which is where halos come from. Two things fix it.
First, if the mask is already on the layer, use Select > Modify > Feather with a radius of 3 to 8 pixels, confirm, and the transition softens. This works best when done to the selection before the mask is created.
Second, refine by hand. Hold Alt/Option and click the layer mask thumbnail so you are painting on the mask, not the image. Set a soft round brush to 25% flow and no hardness.
White reveals the adjustment, black conceals it, and grey applies it partially. That is the entire mental model, and once it clicks you stop thinking about it.
Use Luminosity Masks for Dodge and Burn
Dodge and burn is where tone-based masking earns its keep, because you can lighten the highlights and darken the shadows in one pass without a single painted edge.
Add a Curves adjustment on top, make a small upward bend near the top of the curve for dodge, and use Brights 1 as the mask so only the bright areas move. Duplicate that layer, drag the duplicate below the image, flip it with Ctrl+I / Cmd+I, bend the curve the other way, and mask it with Darks 1. Now dodge affects highlights and burn affects shadows.
Keep the bends small. Roughly 10 to 15 on the curve handle is plenty, and I check the result by squinting at the thumbnail in the Layers panel.
Build More Precise Masks and Blend Results
Real images rarely fit one tonal range, which is where most of the value of luminosity masks comes from. When a mask is too broad, hold Ctrl+Alt+Shift (Cmd+Option+Shift on Mac) and drag in the image to intersect two masks, giving you a narrower tonal window. Ctrl+Alt+drag subtracts instead.
Use the brush to carve exceptions: paint black where a window highlight falls inside your Brights 1 range, paint white where a face sits inside your Darks 1 range.
| What you are fixing | Mask to load | Adjustment layer |
|---|---|---|
| Blown sky with detail left in it | Brights 1, refined with black | Curves, pulling the top handle down |
| Crushed foreground shadows | Darks 1, refined with white | Curves or Levels, lifting the black point |
| Flat midtones that need separation | Midtones 1 | Levels or a Black and White adjustment |
| Blending two bracketed exposures | A mask built from the middle frame | Curves on each layer, opacity to taste |
| Dodge and burn | Brights 1 for dodge, Darks 1 for burn | Two Curves layers on either side of the image |
That fourth row matters. Building a blend mask from the same frame you are blending produces muddy, flat results, because the mask reinforces the same errors. Photoshop can do this for you: load a middle-bracket frame as a channel through the Channels panel menu, then use it as the mask.
Working through a real blend makes the logic clearer. Say your bracketed set runs from a frame that holds the sky detail to one that opens up the foreground shadows. Stack all three frames as separate layers, align them, and set the top layer’s opacity to 50% over the middle one.
Then add a layer mask to the top layer. Painting white reveals the correctly exposed sky, painting black lets the darker frame’s foreground through. Load a midtone mask to start so the transition begins away from the hardest edges, then brush along the horizon with a soft brush at low flow.
Speed matters here: hold Alt and drag between the mask thumbnail and the layer thumbnail to jump between editing the mask and the image. That single shortcut, combined with the backslash key for the black-and-white view, removes almost all of the clicking that normally makes masking feel slow.
Check your work at 100% zoom and then zoom back out. If you can see the mask, the edit is too strong.
Review and Export the Finished Edit
Toggle the duplicate layer’s visibility with the eye icon to compare before and after. Fix anything that went too far directly on the adjustment layer, never by flattening.
Merge down your adjustment layers into the duplicate only when the file is getting slow, and flatten just once at the very end if you need it for export. Save a PSD with layers intact, then export a JPEG or TIFF at your delivery size.
Common Mistakes
Almost every “luminosity mask is not working” complaint traces back to one of these. Work down the list in order.
- The mask thumbnail is deselected. If you cannot paint on the mask, it is almost always deselected rather than selected. Click the mask thumbnail once so it has a white border. A visible marching-ants selection also gets disabled the moment you paint on a layer.
- You are painting on the image, not the mask. Hold Alt/Option and click the mask thumbnail first. Without that click your brush changes the pixels directly, which produces the muddy, awful-looking result people describe in forum threads.
- White reveals and black conceals feels backwards. It is correct. On a layer mask, white shows the layer, black hides it, grey blends. If your adjustment is showing in the wrong areas, hold Ctrl+I / Cmd+I to invert, or press backslash to check you are not viewing a mask that is effectively all white.
- The 50% selection warning. When you build midtones by selecting all and subtracting brights and darks, Photoshop reports that no more than 50% of pixels are selected. That is not an error. Midtones really are the smaller portion of most images.
- Harsh edges and halos. Feather the selection before converting it to a mask, or brush the transition at 25% flow. Hard selection cutoffs around hair and ridgelines are the single most common giveaway of an amateur blend.
- Adjustments that are too strong. Zoom out to fit the whole image on screen before every adjustment. Zoomed in at 100% your eye compensates for contrast you have added.
- File size and speed. Building the full set of channels roughly doubles the file. Readers have reported a 23 MB RAW reaching 333 MB once all channels are saved. Create only the four to six masks you actually use.
- Skipping the before-and-after check. Toggle the base layer off and on, then walk away and come back. You will spot problems your eyes missed in the moment.
Troubleshooting Masks in Difficult Images
Hair and fur are the hardest case, because a selection cannot follow individual strands. Load the tightest mask you can, intersect it with a hand-painted selection made with a large soft brush at low flow, then refine the mask by hand at 25% flow.
With deep shadows, invert your thinking: Darks 1 barely touches the deepest blacks, so Darks 3 or 4 may be what you need. With low-contrast images, the channels look flat because there is little tonal separation to divide, so add contrast with a Curves adjustment before building the masks.
Strong colour casts change which channel separates highlights best. Red, Green and Blue channels each emphasise different colours, so check all three and pick the one where your subject separates from the background most cleanly.
Frequently Asked Questions
What is a luminosity mask?
A luminosity mask is a greyscale copy of your image’s brightness values, stored as an alpha channel or a layer mask. White areas of the mask receive the adjustment, black areas are protected, and grey applies it partially. Because it is built from tone rather than drawn by hand, its edges follow the natural falloff of light, so you get no painted brush strokes.
How do I create a luminosity mask in Photoshop step by step?
Open the Channels panel, click the RGB channel, then Alt+Ctrl+Shift-click the darkest part of the image on Windows or Option+Command+Shift-click on Mac. That loads only the highlights as a selection. Click the New Channel icon, double-click it, name it Brights 1, and click OK. With the selection still active, add an adjustment layer and choose the new layer mask option.
Why does Photoshop say no more than 50% of pixels are selected?
This message appears when you build a midtone mask by selecting everything and then subtracting your bright and dark masks. Photoshop is warning that less than half the image is still selected. It is informational, not an error. Midtones genuinely are the smallest tonal range in most photographs, so the mask you just created is correct.
Should I invert a luminosity mask?
Only when your adjustment is landing on the wrong areas. If you loaded Brights 1 but wanted to lift the shadows, press Ctrl+I on Windows or Cmd+I on Mac. A quicker check is the backslash key, which shows the mask as black and white so you can see which parts are white. Remember that white reveals the layer and black conceals it.
How do I avoid halos and visible mask edges?
Two fixes. Feather the selection before you create the mask with Select, Modify, Feather, using a radius between 3 and 8 pixels. Then refine by hand with a soft round brush at 25% flow, Alt-clicking the mask thumbnail first so you paint on the mask. Hard selection cutoffs along hair, ridgelines and horizons are what create most visible halos.
Where can I find luminosity masks in Lightroom or other editors?
Lightroom Classic does not have native luminosity masks. It offers tone range masks inside local adjustment brushes, which approximate the idea but only within the painted area. Affinity Photo has built-in luminosity mask panels and does not restrict you to 8-bit or 16-bit like older Photoshop versions. Photopea, a free browser editor, supports channels and layer masks directly.
Conclusion
Start with one adjustment today. Duplicate your base layer, open the Channels panel with Ctrl+2, load Brights 1 with an Alt+Ctrl+Shift-click, and add a small Curves adjustment. Then Alt-click the mask and refine at 25% flow.
Once that one move feels natural, add Darks 1 and Midtones 1 and you have everything most edits need.