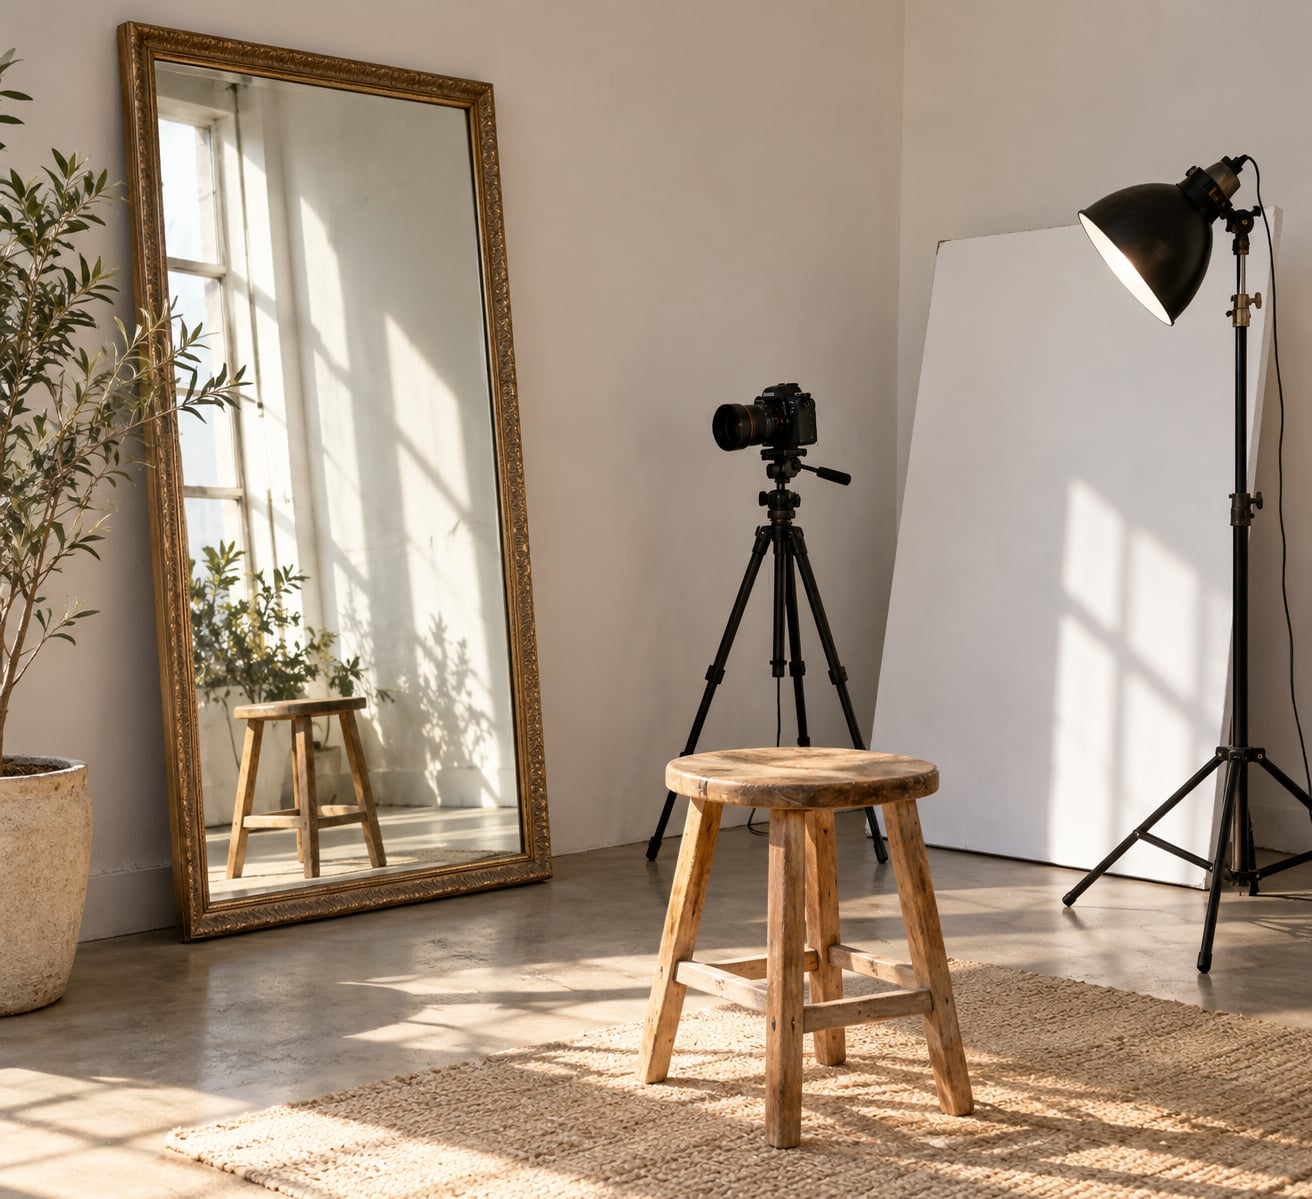
Learning how to use mirrors in portrait photography is mostly a matter of moving light rather than adding it. A mirror has no bulb behind it, so it can only take light you already have and send it somewhere you choose. That makes it the cheapest lighting tool in any building, and a genuinely capable one for lifting shadows, building catch lights, adding rim light, or bouncing a key light around a corner.
The technique takes about fifteen minutes to learn and about a week to stop fighting. Most beginners lose the shot in one of two ways: they point the mirror straight at the lens and end up with glare and a picture of themselves, or they prop it too close and hand the subject a set of hard little shadows.
What follows is the workflow I actually use, including the geometry, the distances, and the exposure settings that go with each result. Updated for 2026.
Table of Contents
- What You Need
- Step-by-Step
- 1. Choose the mirror effect before you arrange the set
- 2. Choose a mirror and control the room
- 3. Position the subject and photographer together
- 4. Use mirrors to shape or redirect light
- 5. Direct posing and expressions around the reflection
- 6. Set exposure, focus, and depth of field
- 7. Check the reflection before pressing the shutter
- 8. Shoot variations and edit with restraint
- Common Mistakes
- Frequently Asked Questions
- How do I photograph a person in front of a mirror without showing the camera?
- What is the best lighting setup for portraits using a mirror?
- Can a mirror be used to bounce light in portrait photography?
- Should I focus on the subject or the reflection in a mirror portrait?
- How do I avoid glare and unwanted reflections in a mirror?
- What poses work best for mirror photography?
- Conclusion
What You Need
You need very little. Most of this list is things you already own, which is why mirror portraits are so popular with solo shooters and people working on no budget at all.
- A camera you can shoot wide open or stopped down two stops. Any interchangeable lens camera does the job. A phone with a portrait mode is genuinely capable here too, because the geometry does the work, not the sensor.
- A normal or short telephoto lens. 35mm to 85mm on full frame keeps the relationship between you, the subject, and the mirror manageable. Wider lenses exaggerate the mirror and make alignment harder.
- At least one flat mirror. A full-length leaning mirror, a large bathroom mirror, or a small vanity mirror all work. Size changes softness and coverage, not the principle.
- Something to hold the mirror steady. A clamp, a shelf edge, masking tape, a foam board, a bookshelf, or a stand. If you have one hand on the camera, the mirror has to hold itself.
- A diffuser surface for softening. A white bedsheet, a shower curtain, a large piece of white foam board, or a pale wall. You will use this constantly, because a bare mirror produces hard specular light.
- Optional: a flash or small strobe. Not needed in daylight, but a mirror becomes far more powerful once you control the source hitting it rather than relying on the sun.
One piece of housekeeping before you start: check the room for other reflective surfaces. A window, a polished floor, a phone screen, and an oven door all bounce light back at you, and they are the usual reason a portrait looks flatter than the setup should give.
Step-by-Step
1. Choose the mirror effect before you arrange the set
Decide what role the mirror is playing before you move anything, because each one demands a different position. The four options cover most mirror portraits: the mirror as a visible part of the frame, the mirror as a light source off camera, the mirror creating symmetry, and the mirror adding apparent space to a tight room.
A visible reflection is the hardest and the most striking. You are composing two subjects at once, the person and their image, and the image is usually sharper and paler than the person because it sits on a flat plane with nothing in front of it.
When the mirror is off camera doing lighting work, composition is normal and the mirror never appears. That is the version that rescues a bad location fastest, and it is the one most beginners should learn first.
How it worked is easy to check after each frame: if the mirror is in the shot, the reflection tells you what the room looks like from your side. If it is out of the shot, you are checking the shadows on the subject’s face instead.
2. Choose a mirror and control the room
Pick the mirror for the size of the light you need, not for how decorative it is. A large mirror close to the subject behaves like a broad source and fills a whole shadow side. A small mirror close in produces a tight, bright patch that can look like a hotspot rather than fill.
Surface type matters too. Silvered glass gives the brightest, hardest, most neutral reflection. Acrylic mirror is dimmer, slightly softer, and lighter to carry, which makes it the better choice indoors. Antiqued or tinted glass rolls off the highlights and adds a warm or muted quality, useful for hiding a blown window or softening a face.
Clean the mirror before every shoot. Dust, fingerprint smears, and water spots are invisible to you and obvious to the camera, and they show up as small bright specks exactly where the eye goes.
Control the room by controlling what the mirror can see. Face the reflective side toward the light source and away from dark corners, doorways, and your own position. If you can see a bright window in the glass when you stand behind the camera, every frame will include a bright window.
3. Position the subject and photographer together
Camera, subject, and mirror form a straight line when you want the reflection centred behind your subject. Step back until the subject’s reflection sits directly behind them in the frame, then move left or right in small increments to open the gap between the two images.
Where you stand decides whether you appear. When the mirror is roughly opposite your subject, the geometry can put your reflection in the glass. Moving a few steps off the axis, or raising or lowering the camera, usually clears it without changing the shot.
For lighting-only work, position the mirror just off the camera axis rather than directly behind it. Straight on, the mirror returns light down the lens and you get glare and flat facial texture. Offset it 30 to 45 degrees and the fill stays directional.
If the room feels small, put the mirror behind your subject at an angle so the reflection appears to extend the space. It reads as depth instantly, and it works with a single small mirror where a wide lens alone would distort the face.
4. Use mirrors to shape or redirect light
Light arriving at a mirror leaves at the same angle it arrived. Light coming in at 45 degrees leaves at 45 degrees on the other side, which is the whole trick: move the mirror and the reflected beam moves with it. A mirror does not create light, so it only works where a source already exists.
That law is the reason mirrors redirect rather than fill. Hold the mirror opposite the shadow side of the face, opposite your key light, and the shadow lifts without you touching the key. Angle it from below and the underside of the nose and chin fills in. Place it behind your subject at a low angle and you get rim or hair light along the shoulders.
For a catch light, put the mirror low and slightly in front of your subject, angled back up toward the face. The reflection of the sky or window becomes a small bright shape in both eyes, and you can control its size by controlling your distance rather than by moving lights.
Watch the two limits. A specular reflection of the sun in the mirror can clip badly and can heat your subject if the bounce is concentrated. And a mirror angled close and square to the source returns a hard beam that looks like a small flash, which is the main reason people assume mirrors are unusable as fill.
Softening comes from two moves only: increase the distance between mirror and subject, or bounce the mirror’s reflection off a pale wall or a white sheet before it reaches your subject. The second one turns hard light into soft, broad light in a single step, and it is the trick that finally convinces people a mirror can work as fill.
5. Direct posing and expressions around the reflection
Give the subject a job other than smiling. Looking at their own reflection, touching the glass, adjusting hair, or walking slowly past it all produce natural expressions, because the pose has a purpose.
Give them a clear eye-line away from the mirror too, so the frames where they look at the camera still read well. A portrait built entirely on the reflection is beautiful once and then it is over, so alternate between looking at the mirror and looking at you.
Use negative space deliberately. When the reflection sits directly behind the subject the frame splits in two and gets busy, so offset it and leave a quiet edge for the eye to rest on.
Hands are the other half of a mirror portrait. A hand flat against the glass is a strong graphic shape, but the reflection doubles it, so check that the doubled hand does not land right on the face.
6. Set exposure, focus, and depth of field
Meter for the reflection or the subject depending on which one carries the image, then protect the brightest highlight on the mirror with a slightly darker exposure. Clip on the glass is unrecoverable, and the mirror is the most likely place in the frame to blow out.
Your aperture choice decides how much of the reflection survives. At f/2.8 the reflected image often softens behind the subject while the face stays sharp, which reads as depth. Stop down to f/5.6 or f/8 and both planes sharpen, which reads as symmetry. Neither is wrong, they just tell different stories.
A common starting point outdoors in open shade is 1/250s, f/2.8, ISO 100. In bright midday sun near a window, 1/500s, f/4, ISO 100 with the mirror bounce acting as fill will keep the highlights intact.
Focus on the subject’s near eye when the mirror is off camera doing lighting work. When the reflection is the subject, focus on the reflection’s eyes, which means focusing past your subject by however far the glass sits behind them.
7. Check the reflection before pressing the shutter
Run this quick check before every frame, because mirror portraits fail in predictable ways and all of them are visible in the viewfinder.
- Is your own reflection anywhere in the glass?
- Is the sun or a window reflecting straight into the lens?
- Are the highlights on the mirror’s surface clipping?
- Does the reflection sit behind your subject’s face, or offset from it?
- Do the eyes have a catch light, and does it match the mood of the frame?
- Does the image tell the story you set out to tell, or just show a mirror?
That last question is the one people skip, and it is the difference between a mirror portrait and a photo of a mirror.
8. Shoot variations and edit with restraint
Treat the first arrangement as a starting point. Move a step closer, a step further, change the angle by 15 degrees, then move the mirror 20 percent closer to fill the shadows more. Change one variable at a time or you will not know what fixed the frame.
Bracket a few frames at slightly different exposures when the mirror is catching a bright reflection. Recovering a clipped glass highlight in software rarely works, but keeping the shadow detail you might need later is free.
In editing, clean dust and smudges, straighten verticals, and match the reflection’s brightness to the room. Do not flatten the reflection to match the subject, because that single move removes the depth the whole technique was built to create.
Common Mistakes
Shooting square into a reflective surface. Fire straight at a mirror or a mirrored wall and the light returns down your lens axis as glare. Move off axis by 30 to 45 degrees and the problem disappears.
Appearing in the glass. The classic mirror-portrait failure. Step off the camera-subject-mirror axis, or change camera height until your reflection leaves the frame.
Trusting the mirror to be soft. A mirror returns a specular reflection, so it produces harder light than a fabric reflector of the same size. Fix it by moving the mirror further away or bouncing its reflection off a white wall or sheet before it reaches the subject.
Propping the mirror too close. Close means a small apparent source and hard, dark edges. Push it back until the lit area covers the whole shadow side, not just the cheek nearest the mirror.
Overfilling the shadows. Mirror fill is easy to overdo because it feels dimmer to your eye than it is. If the face goes flat, pull the mirror away or angle it lower until the shadow returns.
Ignoring reflections from everything else. Windows, glossy paint, polished floors, tablet screens, and jewellery all bounce. Scan the whole frame for bright rectangles, not just the mirror you brought.
Losing the subject to the reflection. When the reflected image lands right behind the head, the frame splits and neither half wins. Offset the mirror a few degrees until the two separate cleanly.
Making the effect too obvious. If the mirror dominates and the person disappears, scale it back. A mirror behind a shoulder at low angle gives you the depth cue without turning the portrait into a trick shot.
Expecting mirrors to add light in a dark room. This is the misconception that trips up almost everybody who searches for mirror tips. Because a mirror only redirects existing light, it cannot rescue a room with no source. Bring a flash or a small panel and the mirror becomes powerful again.
Two habits help more than anything else. Take one frame before you move anything, so you know what the mirror changed. And shoot your mirrors with the sun behind the subject or at a low angle, because a mirror pointed at open sky gives you the softest and most useful bounce you will ever find outdoors.
Frequently Asked Questions
How do I photograph a person in front of a mirror without showing the camera?
Stand off the axis that runs from the camera through your subject to the mirror, then move left or right until your reflection is out of frame. Raising or lowering the camera works too. Keep the mirror angled away from the lens by 30 to 45 degrees, since a square-on angle returns light straight back at you as glare and often drags your reflection into the shot.
What is the best lighting setup for portraits using a mirror?
One source plus one mirror. Put your key light at roughly 45 degrees to your subject, then place the mirror opposite the shadow side at a similar distance from the face. For softer fill, bounce the mirror off a white wall or sheet first. Watch the highlights on the glass, since a mirror clips brighter than most other surfaces in the frame.
Can a mirror be used to bounce light in portrait photography?
Yes, and that is the main thing it does. Light striking a mirror leaves at the same angle it arrived, so a mirror at 45 degrees sends a beam around a corner or into a shadowed side of a room that receives no direct light. Because it redirects rather than generates, a mirror only works where a source already exists, such as a window or an off-camera flash.
Should I focus on the subject or the reflection in a mirror portrait?
Focus on the eyes of whichever one carries the story. For a mirror used as off-camera fill, focus on the subject’s near eye as usual. When the reflection is the subject, focus on its eyes, which means focusing past your subject by however far the glass sits behind them. Use f/2.8 to let the other plane soften, or f/5.6 to keep both sharp.
How do I avoid glare and unwanted reflections in a mirror?
Angle the mirror so it is not aimed at your lens, keep the sun or a bright window out of its face, and remove other reflective surfaces from the shot. Clean the glass first, because dust and smudges read as bright specks. Expose for the highlights on the mirror rather than the room, since clipped reflections cannot be recovered in editing.
What poses work best for mirror photography?
Poses that give the subject something to do work best: looking at their own reflection, touching the glass, adjusting hair, or walking slowly past it. Alternate with frames where they look at the camera so the set has options. Offset the reflection from the subject’s body rather than centring it, and keep hands away from the face since the reflection doubles them.
Conclusion
Start with the simplest version: put one mirror opposite the shadow side of your subject’s face, angled 30 to 45 degrees off your camera axis, and move it back far enough to cover the whole shadow rather than just the cheek. Take one frame with the mirror there and one without, and you will see in a minute what the bounce is doing.
Everything else in mirror portrait photography is variation on that geometry. Push the mirror behind the subject for rim light, drop it low for catch lights, bounce it off a pale wall when it gets too harsh, or bring it into the frame and let the reflection carry the story. Treat the placement as deliberate rather than accidental, and the mirror stops being an object in the room and becomes the cheapest light modifier you own.