A double exposure is one photograph containing two separate images, exposed onto the same frame. To shoot one in camera, you meter and shoot your first subject, change the scene without moving the camera, then shoot again while the camera blends both frames into a single file. Set the camera to Manual, use a tripod, and dial roughly one stop less light into each frame, or the combined shot comes out blown out.
Beginners can learn how to shoot double exposures in camera in about twenty minutes per image, and the whole thing costs nothing beyond a tripod. Most mirrorless and DSLR bodies from the last decade have a multiple exposure menu option, and any 35mm camera with a multiple exposure lever will do the same thing mechanically.
Table of Contents
- What You Need
- Camera setup: menu path by brand
- Step-by-Step
- Step 1: Choose two images with strong shapes
- Step 2: Set up your camera for the first exposure
- Step 3: Take and develop the first exposure
- Step 4: Frame the second exposure without moving the camera
- Step 5: Adjust exposure and capture the second image
- Step 6: Review and fine-tune the result
- Which blend mode should you use?
- Doing it on film, and on a phone
- Common mistakes
- Frequently Asked Questions
- What cameras allow double exposure?
- How much should I underexpose each frame?
- Can I do a double exposure on my iPhone?
- Do both images have to be taken in the same place?
- Do I need to shoot RAW or can I use JPEG?
- Does the order of the two exposures matter?
- What to do first
What You Need
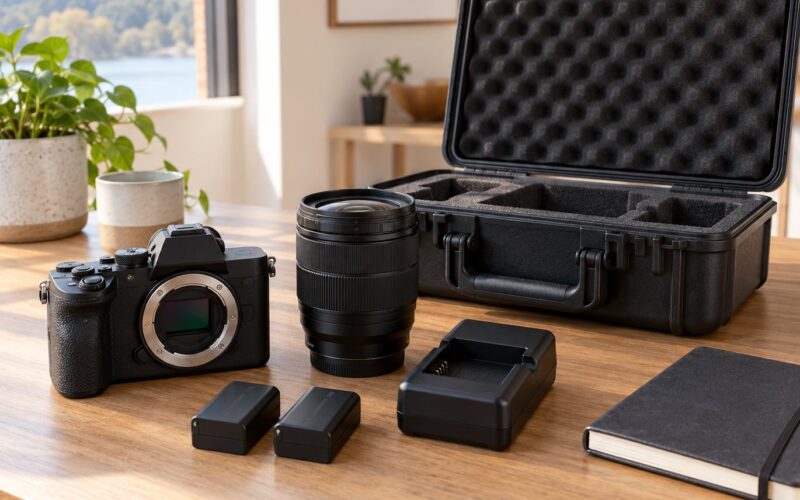
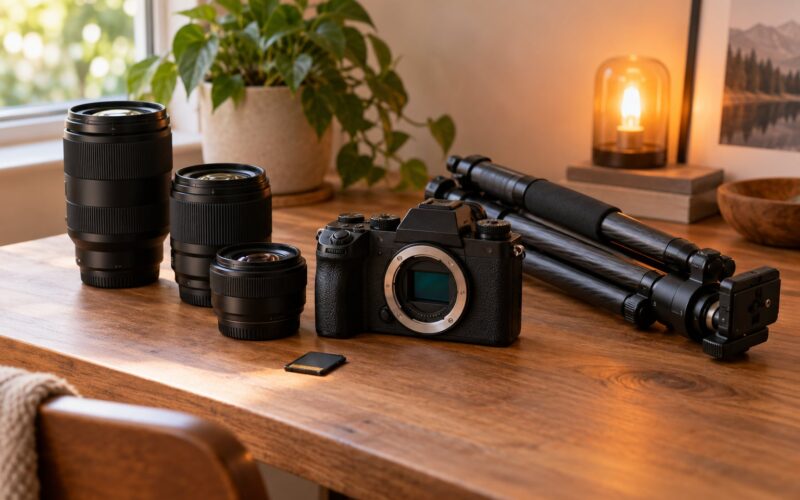
You need four things: manual exposure control, a way to keep the camera completely still, two subjects with strong shapes, and a decision about how much light each frame gets.
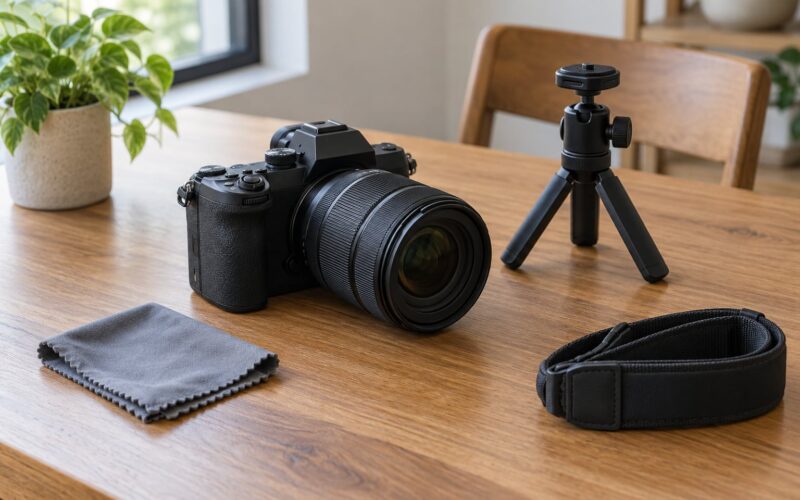
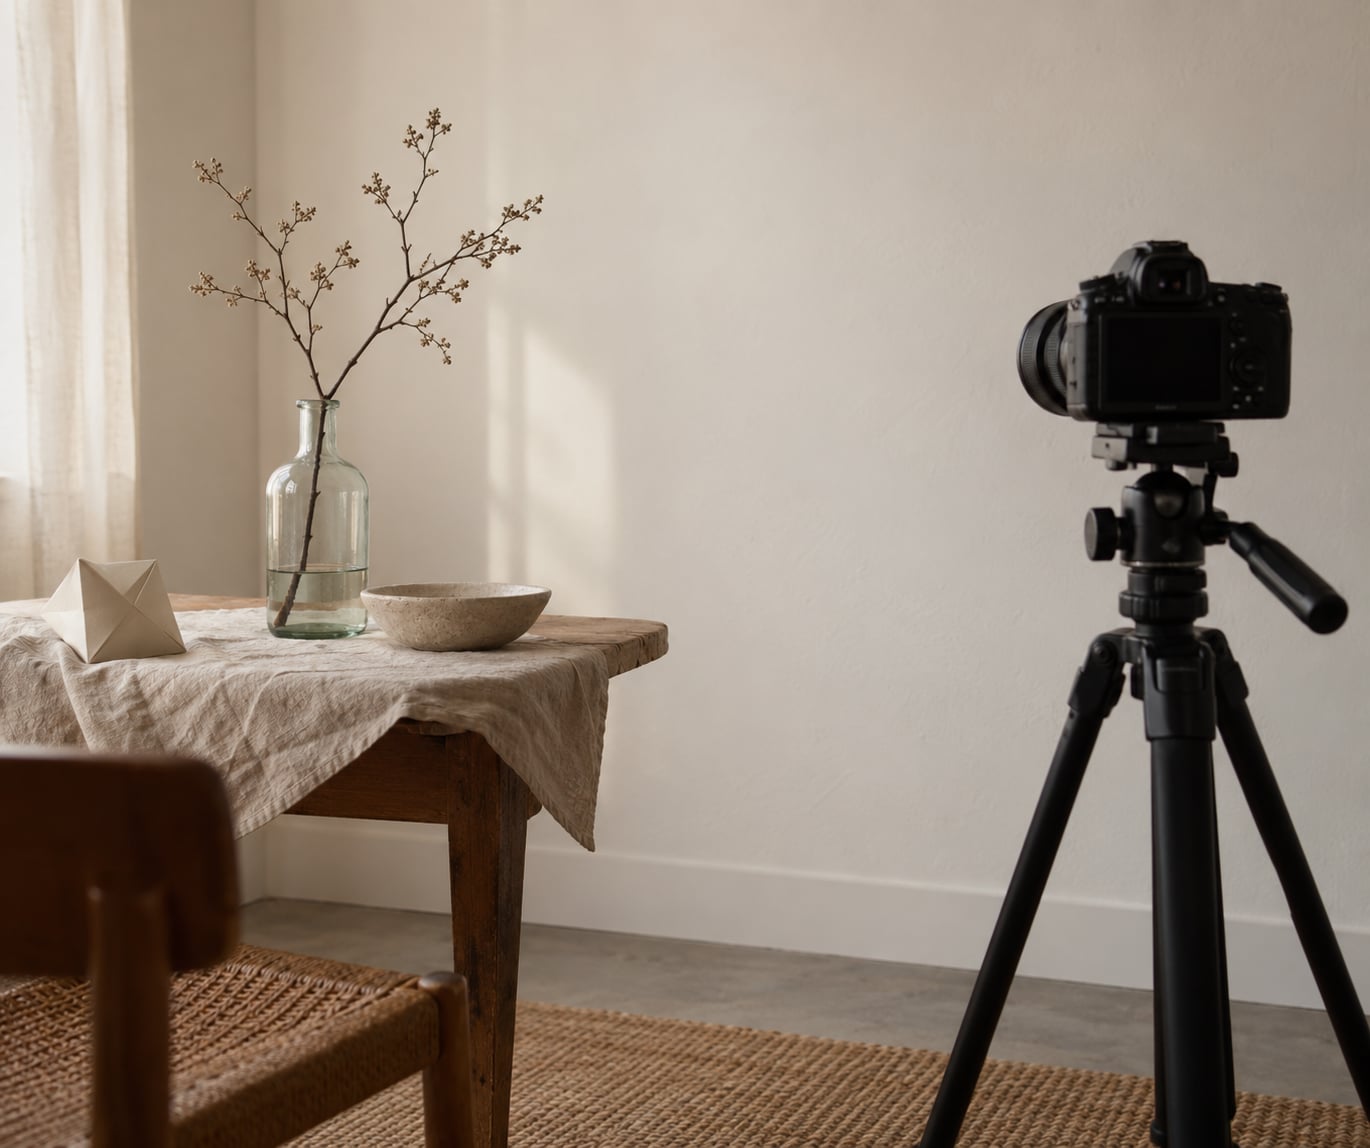
A tripod is the single most important item. Every second the camera shifts between the two frames shows up as a soft, doubled edge in the final image. A solid surface and a delayed shutter release work in a pinch, but a tripod with a cable or two-second timer lets you walk away from the camera to set the second subject.
Manual exposure. Auto mode meters each frame independently, so a bright second subject will expose correctly and blow out the first frame underneath it. Manual mode, or aperture priority with fixed exposure compensation, keeps both frames identical in brightness. My rule is that if you can switch to M, do that.
Two subjects that read as shapes. A silhouette with clean edges, a tree branch, a hand against a window, a bare stem with fine twigs. Skip busy mid-tone textures for your first attempt, because they fight each other and you get mud.
Optional but helpful: a low ISO and RAW capture. At ISO 64 or 100 there is less noise to compete with the faint second frame. Shooting RAW matters if your camera lets you choose, because a JPEG double exposure is baked at the moment of capture with no recovery for blown highlights.
A dedicated double exposure or multiple exposure mode is helpful, not required. Every current digital camera blends frames by calculation in the image processor, and the mode setting mainly chooses how the two are combined. Without it, you can still layer two exposures in software afterward, though that is a different workflow with different limits.
Camera setup: menu path by brand
Menu wording shifts between models and firmware generations, so treat these as the correct folders rather than exact button presses, then confirm in your camera manual.
- Canon: Shooting menu > Multiple exposure > Enable, then set the number of shots. Canon also offers a continuous mode that keeps capturing until you stop, and exposure compensation is adjusted per shot inside the same menu.
- Nikon: Photo Shooting menu > Multiple exposure > ON (series), then choose two-frame multiple exposure. Set the second-frame exposure compensation in the same submenu.
- Sony: MENU > Shooting > Multiple Exposure, though some bodies nest it under Interval Shoot Functions. Overlap priority controls how the frames stack, and per-shot exposure compensation is available.
- Fujifilm: MENU > SHOT > Multiple Exposure, then pick Additive, Average, Lighten or Darken. Additive is the film-simulation default, so switch it if you want softer blending.
- Panasonic and Lumix: MENU > Photo Mode menu > Multiple Exposure. The blending options closely match the Fujifilm set.
- Pentax: MENU > (Shoot) > Multiple Exposure, with direct exposure compensation per frame, which is useful for silhouette work.
- 35mm film: no menu at all. Use the multiple exposure lever, or hold the rewind crank at the ready position. Check your manual, because on some bodies the lever is combined with the frame counter.
Step-by-Step
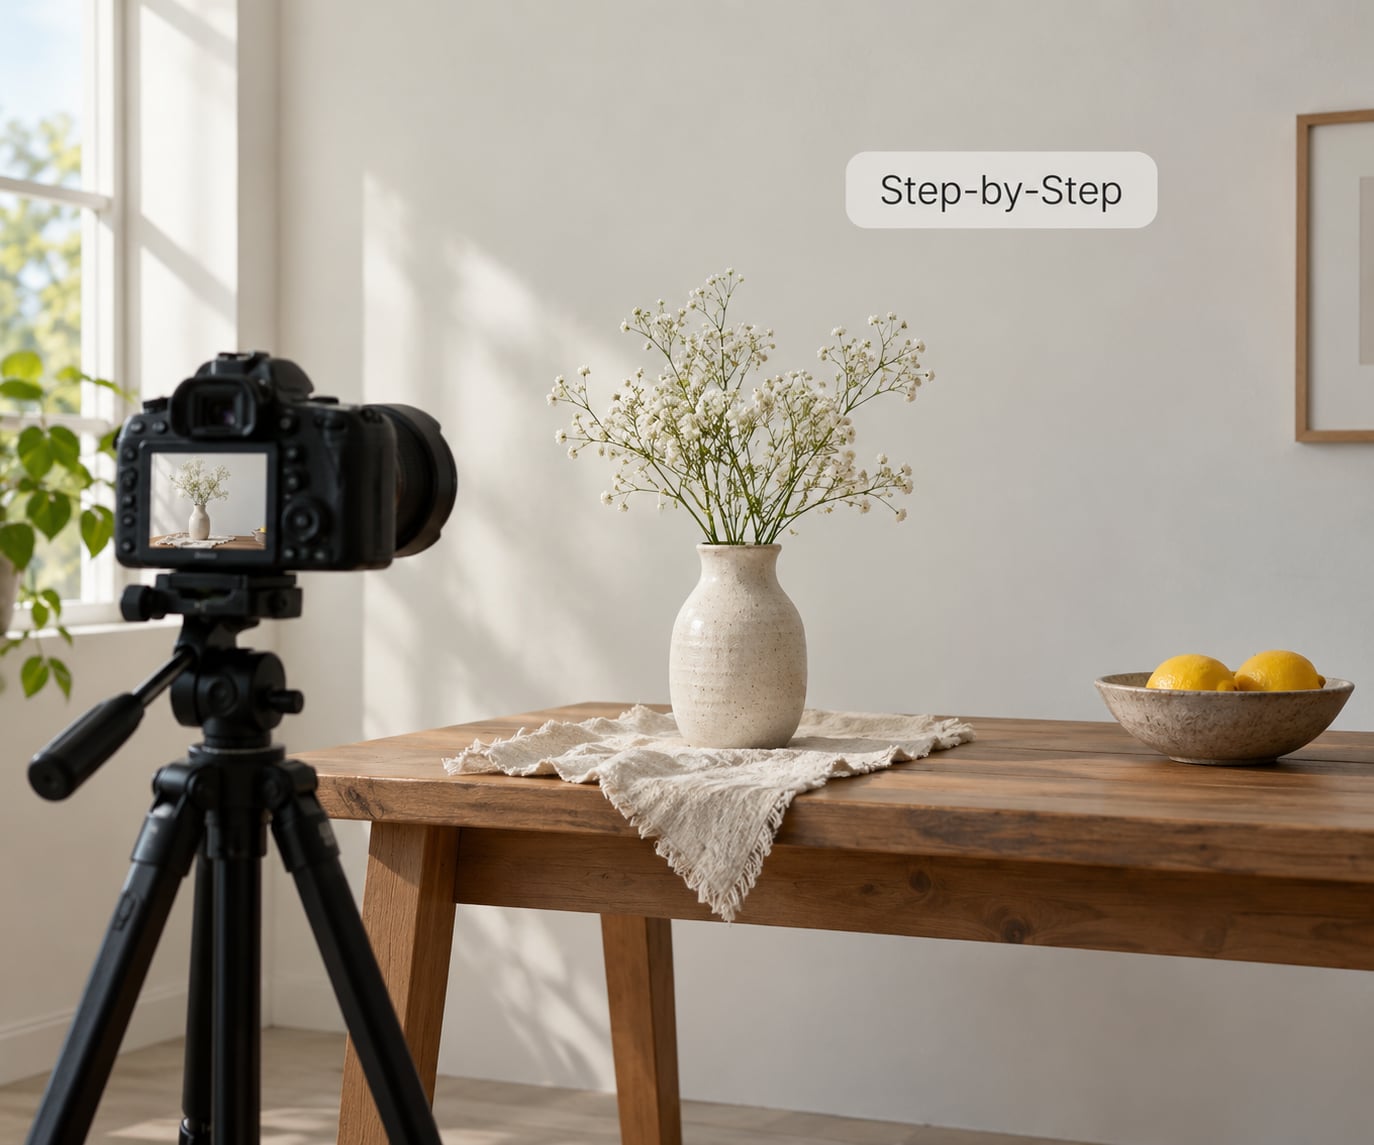
Here is the full procedure. Six steps, and the first two are where most beginners lose the frame.
Step 1: Choose two images with strong shapes
Pick one main subject and one secondary subject before you touch the camera, and check that their silhouettes stay recognizable where they overlap.
Contrast is what separates the two images. A background shot that is deliberately overexposed by two stops bleaches to near-white, and it accepts almost no information from the frame underneath it, which is why a silhouette over a bright sky reads so cleanly. An underexposed subject frame still carries detail in its dark areas, so it layers visibly.
Give each shape room. If both subjects occupy the same corner, you lose both. Put the subject on one side of the frame, the texture or landscape on the other, and let them share the middle sparingly.
Step 2: Set up your camera for the first exposure
Mount the camera, switch to Manual, set the lowest native ISO, and set a shutter speed and aperture that expose your brighter element correctly.
Aperture around f/8 gives enough depth of field that a second subject a few feet behind the first stays acceptably sharp. Shutter speed is whatever your meter says for that aperture on the brighter shot. Do not change either of these between frames.
Set the image quality to RAW plus JPEG if your body offers it, and decide now how many frames to capture. Some cameras let you save each individual exposure to the card as well as the combined image, which is useful for learning but fills a card surprisingly fast. Turn on the electronic level or the viewfinder grid before you shoot.
Step 3: Take and develop the first exposure
Focus on your subject, shoot once, and then leave everything exactly as it is. That is the whole step.
On digital cameras, the first frame sits in memory waiting for the second. On film, the frame you just exposed is waiting on the take-up spool for a second pass through the gate. Either way, resist the urge to adjust anything now.
Lens handling matters on mirrorless and live-view cameras because the sensor is exposed while you compose. If you change lenses, block the mount opening with your palm the whole time so no light leaks onto the sensor.
Step 4: Frame the second exposure without moving the camera
This is the step that decides whether your double exposure looks intentional. Do not touch the tripod, the camera height or the angle. You may change the subject, the background, or both.
For alignment on a digital camera, memorize where the first subject sits in the frame, then use live view with the grid on to place the second subject in exactly the same screen position. Some people photograph the first frame with their phone as a reference, but take the phone out before the second exposure, because a reflective screen in front of your second subject will show up in the frame.
If you must move the camera, do it after the first frame is captured and treat it as a deliberate compositional choice. Moving a few inches and reframing is a legitimate technique. Nudging the tripod and putting the same leaf 3 mm out of place is not.
Step 5: Adjust exposure and capture the second image
The amount of light you dial out is the decision that separates a clean composite from a white blob. Think of the two frames as sharing a single correct exposure.
A practical starting point is one stop less per frame. If your meter says 1/500 second for the brighter element, shoot each frame at 1/1000 second, and accept that the composite comes out about one stop darker than a single frame of the brighter scene would be.
For the classic silhouette effect, the two frames are not balanced. Underexpose the subject by two to three stops so it becomes a dark shape, and overexpose the background by about two stops so it bleaches white. Darkroom and film guides usually recommend at least two stops of separation on each side for a reason: digital has no highlight roll-off to rescue a frame that clips. Those numbers are starting points, not rules. Check the histogram on the rear screen and adjust.
If your camera lets you set exposure compensation separately for each frame, use it. Otherwise change the shutter speed between frames and change nothing else.
Step 6: Review and fine-tune the result
Look at the combined frame on the rear screen with fresh eyes, then judge it against four things: alignment, contrast, sharpness and subject separation.
Alignment means both shapes land where you intended. Contrast means one element is clearly readable against the other rather than both sitting in the same mid-tone grey. Sharpness is mostly a function of whether either subject moved during its exposure. Separation means you can still tell what you were looking at.
Most first results need one variable changed, not five. If it is too bright, give each frame another half stop less light. If both shapes are muddy, switch the blend mode from Additive to Average. If an edge is doubled, your tripod moved, and the only fix is repeating the shot more carefully.
Which blend mode should you use?
The blend mode decides how the camera combines two frames, and it matters more than most people expect.
- Additive adds the brightness of both frames together. Use it for silhouettes and high-contrast subjects. It fails on two dark subjects, which combine into a muddy grey frame.
- Average averages the brightness of the two frames. Use it for two mid-tone subjects, texture over a portrait, or as the safest default for a beginner.
- Brighten (Lighten) keeps the lighter of the two frames at each pixel. Use it to overlay a subject onto a bright background without darkening it.
- Darken keeps the darker of the two frames at each pixel. Use it to add a dark silhouette or a night cityscape over a bright scene.
If you are not sure, use Average. It is the least likely to blow out and the easiest to predict.
Doing it on film, and on a phone
On a film camera with a multiple exposure lever, hold the lever, fire the shutter, move the lever again, and fire a second time without advancing the film. Some cameras disengage the advance gearing so the frame counter no longer increments, which is expected on some bodies but a mechanical fault on others. If the counter stalls and the lever will not move, stop forcing it and check the manual for that model.
On cameras without a lever, the usual workaround is to hold the rewind crank at its tension position, fire the shutter, then release it before advancing the film. The crank stops the sprocket from pulling the film past the gate, so the same frame gets hit twice.
On a phone, iPhones can layer exposures in the Shortcuts app with a blend image action, and some third-party apps do the whole thing in one tap. Android phones vary by manufacturer, so check whether your camera app has a multiple exposure or long exposure option first. The photographic result is close to identical; the difference is that you see the preview immediately instead of waiting for a scan.
Common mistakes
Almost every failed beginner double exposure falls into one of these buckets, and each has a straightforward fix.
- Both frames metered normally, so the result is blown out. This is the most common problem by a wide margin. Fix: cut one stop from each frame, then another half stop if the histogram still clips.
- The two shapes overlap into mush. Both subjects sit in mid-tones with similar brightness, so the blend has nothing to hold onto. Fix: darken one subject by two stops or switch to the Darken blend mode.
- Additive mode fails on two dark subjects. Adding two underexposed frames can still land below the black point and produce a flat, illegible image. Fix: brighten one frame by roughly two stops or use Average.
- Silhouettes that are hard to read. Fine details like hair, fur and twigs disappear. Fix: place the subject against a plain background with strong contrast and expose the background to near-white.
- Camera movement between frames. A hand-held camera produces doubled edges. Fix: tripod, two-second timer or remote release, and check the ground is level.
- The second subject moved during its exposure. People and leaves in wind blur. Fix: use a faster shutter speed in the second frame and lower ISO to compensate, or ask your subject to hold still for the two seconds the timer needs.
- Blown highlights on a JPEG with no recovery. Fix: shoot RAW so the composite is built from raw files, and check the histogram before you walk away from the camera.
- Expecting a film result on a digital body. Film self-corrects through reciprocity and highlight roll-off; digital does not. Fix: meter more carefully and accept a slightly darker composite than instinct suggests.
- Confusing the in-camera mode with a post-processing overlay. Blending two files in an editor gives you masks, opacity control and the ability to erase parts of the second layer. In camera, you get exactly two frames with no erasing. Fix: know which result you need before you set up.
One more that catches people out: order does matter slightly in practice, even though the arithmetic says it should not. Film photographers argue about it endlessly, and the honest answer is that it depends on which frame you underexpose more. Shoot the darker, more contrasty frame first if you have a preference, then evaluate.
Frequently Asked Questions
What cameras allow double exposure?
Any mirrorless or DSLR body with a multiple exposure option in the shooting menu can combine two or more exposures into one file, and that covers most current models from Canon, Nikon, Sony, Fujifilm, Panasonic and Pentax. On 35mm film, a multiple exposure lever does the same job mechanically, and bodies without one can use the rewind-crank trick.
How much should I underexpose each frame?
Start about one stop under a normal meter reading for each frame, so a metered 1/500 second becomes 1/1000 second per frame. For the classic silhouette look the frames are deliberately uneven: underexpose the subject by two to three stops and overexpose the background by about two. Check the histogram rather than trusting the numbers.
Can I do a double exposure on my iPhone?
Yes, though not usually inside the stock camera app. The Shortcuts app has a blend image action that combines two photos with an adjustable opacity slider, and several third-party apps shoot and blend in one step. The result is close to what you get on a dedicated camera, and you gain an instant preview.
Do both images have to be taken in the same place?
Not for the in-camera technique. The camera blends two frames of the same composition, so both exposures need the same framing, even if they happen minutes or weeks apart. If your subjects really are in different places, that is a post-processing job: blend the two files in an editor where you can scale and mask each layer.
Do I need to shoot RAW or can I use JPEG?
RAW gives you noticeably more room because the composite is built from raw files and you can recover some highlight detail in editing. JPEG is combined and compressed at the moment you press the shutter, so a blown highlight is permanently blown. Either works for a first attempt; RAW once you are refining a look you want to keep.
Does the order of the two exposures matter?
Mathematically the blended result should be identical either way, so in theory it does not. In practice it can, because one frame is usually darker and more contrasty than the other. Shoot your darker, higher-contrast frame first if you have a preference, then look at the result and reverse it next time if you disagree.
What to do first
Mount the camera, switch to Manual, pick a bright background and a dark subject, and shoot one frame at one stop under. Check the histogram before you shoot the second frame, and stop adjusting once one shape reads clearly against the other.
Getting comfortable with how to shoot double exposures in camera is mostly about light control. The blending itself is handled by the camera once you leave it in Manual and keep it still.