To shoot jumping photos sharply, set a shutter speed of at least 1/1000 sec, switch autofocus to continuous (AF-C / AI Servo), and fire a short burst as the subject reaches the top of the jump. Everything else is a fix for one of three problems: subject motion, camera shake, or a missed focus.
Most blurry jump shots aren’t bad luck. They’re a focus miss at the apex, a shutter speed that was quietly set to 1/125, or a camera that wobbled while you held your breath. Diagnose which one you’re getting and the fix takes about ten seconds.
Table of Contents
- What You Need
- Step-by-Step: How to Shoot Jumping Photos Sharply
- 1. Choose a location with enough space and light
- 2. Set a shutter speed that freezes the motion
- 3. Use continuous autofocus and back-button focusing
- 4. Time the jump and capture the strongest moment
- 5. Shoot in burst mode and refine the best frame
- 6. Stabilize the camera and keep the framing consistent
- 7. Review sharpness and adjust one variable at a time
- Common Mistakes
- Frequently Asked Questions
- What shutter speed do I need to shoot jumping photos sharply?
- Should I use continuous autofocus when photographing a person jumping?
- How many frames should I capture during a jump?
- Can I take sharp jumping photos with a phone camera?
- What is the best autofocus point for a jumping portrait?
- How can I freeze motion when the light is not bright enough for a fast shutter speed?
What You Need

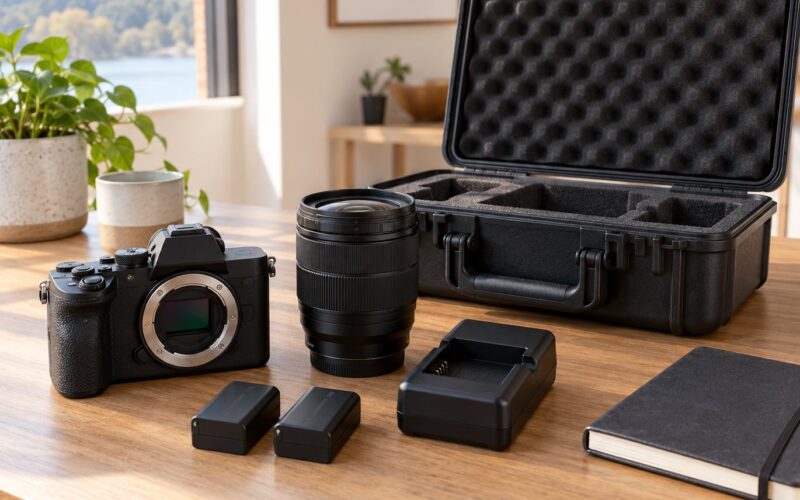
Any camera can do this. The tool that matters most is a lens that focuses quickly, because a jump changes distance faster than most kits can follow. A 70-200mm f/2.8 or a 50mm f/1.8 both handle it well, and a zoom gives you framing flexibility at a party.
Phones are genuinely capable here. Recent iPhones and Android flagships hit 1/2000 sec or faster in good light, and burst capture is one tap. What you give up is autofocus tracking reliability and control over aperture, so composition and lighting matter more.
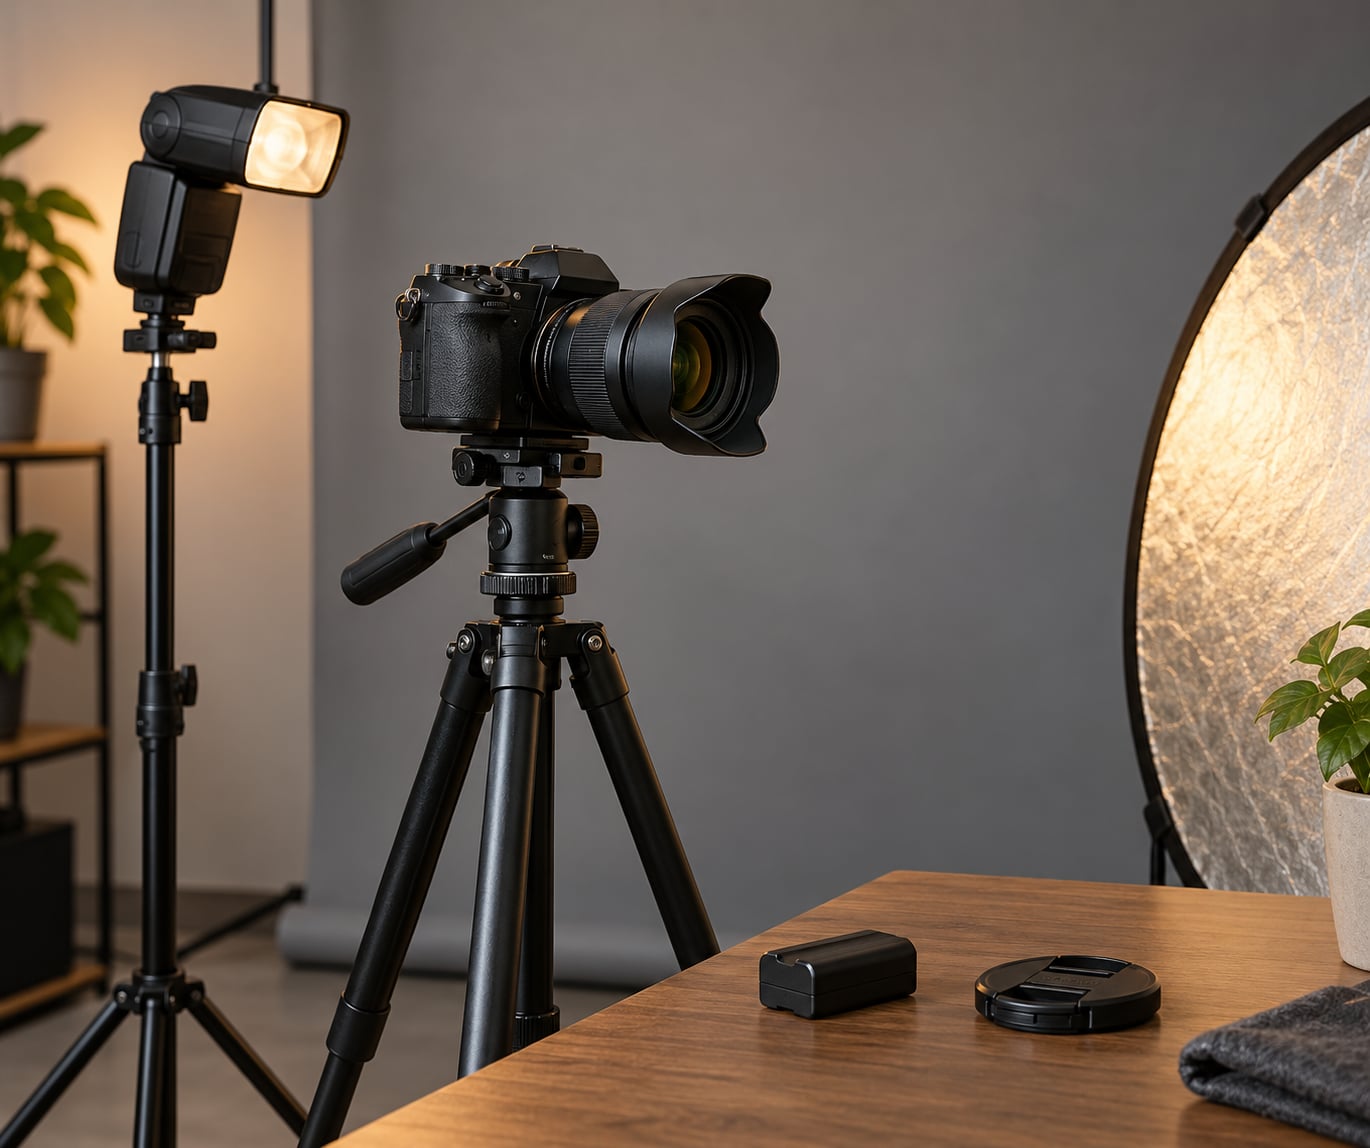
For light, aim for open shade or a bright overcast day outdoors. Indoors, a single continuous or speedlight bounced off a wall or ceiling gives you both the exposure and the flash duration you need to stop movement. Bring a spare battery too. Long bursts on a cold morning drain a camera faster than you’d expect.
On the subject side, tell them exactly what you want: one jump from a marked spot, landing facing you, arms loose. A child who knows the shot is coming will give you the same jump five times in a row, which is the whole ballgame when the decisive frame lasts about 0.2 seconds.
Step-by-Step: How to Shoot Jumping Photos Sharply
1. Choose a location with enough space and light
Walk the jump line yourself first. You want a clear run-up, a landing area the subject can commit to, and no branches, wires or furniture directly behind where they’ll be airborne.
Then check what sits behind them from your shooting angle. A jump photographed against a busy hedge gives you a sharp subject and a distracting frame. Move two steps sideways and the background becomes simple. It costs nothing and it removes the thing you cannot fix in editing.
For the light, keep it behind or beside you. Backlight is pretty until the subject’s face goes dark and Auto ISO climbs to where the shadows get noisy. Overcast sky is the easiest freeze-motion light there is because it’s bright and even.
2. Set a shutter speed that freezes the motion
A jumping subject moves mostly toward and away from the camera, which is far easier to freeze than movement across the frame. That’s why the speed you need depends on the direction of travel, not just the size of the jump.
| Movement | Starting shutter speed | Notes |
|---|---|---|
| Walking toward camera | 1/250 sec | Depth of field does most of the work |
| Child running toward camera | 1/500 sec | Raise ISO rather than slowing down |
| Straight-up jump, small | 1/500 sec | Peak is the slowest point of the jump |
| Straight-up jump, full power | 1/1000 sec | The safe default for most jumps |
| Jump with a spin or twist | 1/1600 sec | Rotation adds side-to-side speed |
| Trampoline, long exposure panning | 1/125 sec | Intentional blur on a second pass |
| Dog agility, fast directional | 1/1000-1/1600 sec | Pre-focus the obstacle |
A jump straight at the lens can occasionally hold at 1/125 sec, but that is the exception rather than the rule. The moment the movement goes diagonal, 1/500 sec and faster stops being optional. Trust the table for your first attempts.
Set Auto ISO with a minimum shutter speed around 1/1000 sec if your camera offers it. That way the camera raises sensitivity to protect the shutter speed instead of silently dropping it. If it doesn’t offer that option, set the shutter speed manually and let Auto ISO handle the rest.
3. Use continuous autofocus and back-button focusing
Single-servo autofocus locks when it hits focus and then stops. During a jump that’s the wrong behaviour, because the subject keeps changing distance after the lock. Use continuous AF, called AF-C on Sony, Nikon and Canon, and AI Servo on Canon.
| Focus mode | What it does | Where it fails on jumps |
|---|---|---|
| AF-S / Single AF | Locks on focus | Distance changes during the jump, subject drifts soft |
| AF-C / AI Servo | Adjusts continuously | Background is closer, so it grabs that instead |
| Eye AF / subject detection | Tracks eyes, faces or bodies | Loses the eye when the head tilts back at the apex |
Set Eye AF or human subject detection if your camera has it, with a small zone rather than full-frame tracking. Full-frame tracking locks onto whatever is biggest in the frame, and at the apex of a jump that is sometimes the tree behind your subject.
Back-button focus is the upgrade worth making. Move focus start from the shutter button to the AF-ON button on the back of the grip. Your index finger stays on the shutter for bursts, and your thumb runs autofocus, so focusing and shooting stop fighting each other.
4. Time the jump and capture the strongest moment
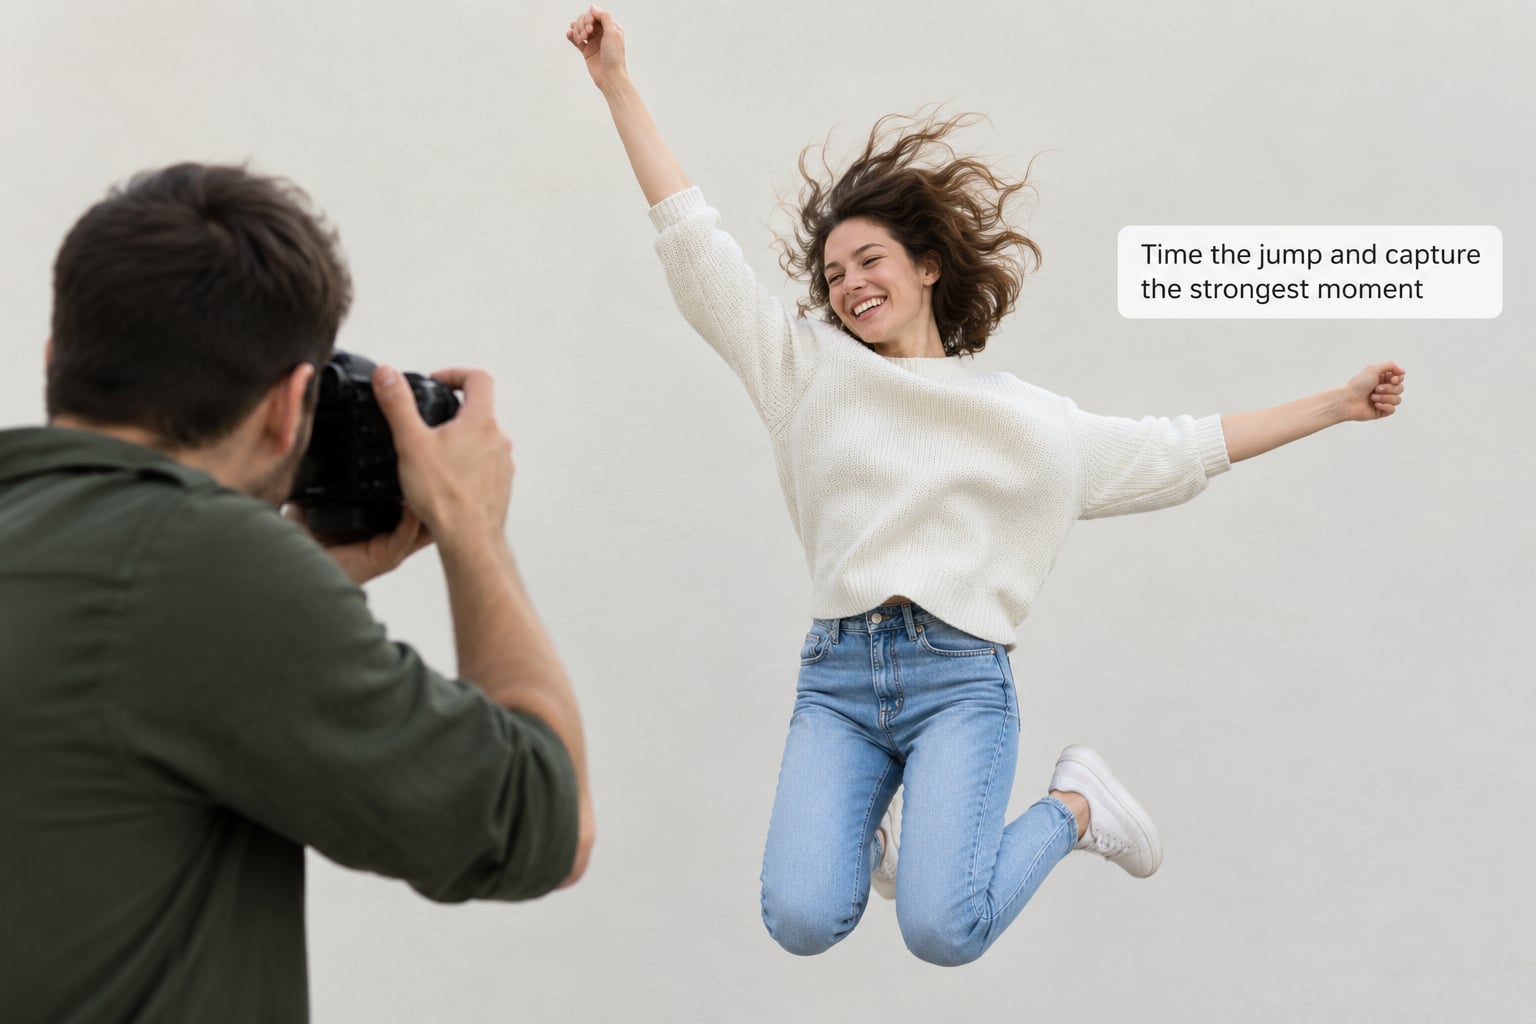
A jump has a rhythm: crouch and load (about half a second), launch, then the apex where everything slows down, then the landing. The apex is the money frame, but it’s also where autofocus struggles most, because the subject stops approaching the camera and the background behind them starts competing.
Stand about four or five meters back and aim at the chest rather than the head. When the subject jumps toward you the body grows, and framing the upper body means you don’t clip the feet or lose the face when they rise.
Give the count before every attempt. “Ready, set, jump” with a consistent pause teaches a repeatable rhythm, and repeatable timing is what makes the sharp frame repeatable too.
5. Shoot in burst mode and refine the best frame
Don’t hold the button for four seconds. Most cameras shoot 10, 20 or 40 frames per second, and the full buffer empties in about a second, after which the frame rate collapses and the buffer fills. A short burst of 8-10 frames covers the whole jump.
Start firing as the subject’s foot leaves the ground and stop as they land. That gives you roughly 0.3 seconds of frames, which is 10-12 shots at 30 fps, and it means every frame is from the jump instead of padding with standing poses.
Then pick. Look for the frame with the clearest eyes, separated limbs and a readable expression, not simply the one at the exact apex. Shooting a longer burst and keeping the sharpest frame is also a legitimate way to rescue shots taken at slower shutter speeds.
6. Stabilize the camera and keep the framing consistent
Two shakes are happening at once: yours and the subject’s. Your half needs a shutter speed roughly as fast as the reciprocal of your focal length, so 1/200 sec on a 200mm lens. Anything slower and lens stabilization is trying to hold still a frame that’s already full of movement.
Stand with your feet apart, elbows in, and the camera braced against your chest or your cheek. Breathe out at the top of the exhale. A monopod works well if you’re on uneven ground or shooting long lenses, and a tripod is fine if the subject’s jump path is fixed and marked.
Keep the framing identical between attempts. If your subject lands 30 cm further left every time because they’re reaching for you, move your feet, not the subject, and you’ll waste fewer frames.
7. Review sharpness and adjust one variable at a time
Zoom to 100% on a jump photo and name the blur. Three types show up, and each one points at a different control.
| Blur type | What it looks like at 100% | What to change |
|---|---|---|
| Subject motion blur | Edges smear in the direction of travel, background is crisp | Raise shutter speed, or raise ISO to afford it |
| Camera shake | Whole frame is soft, nothing in focus including background | Stabilize, shoot faster, brace the camera |
| Focus error | Background is sharp, subject is soft | Use AF-C plus eye detection, check the focus point placement |
Change one thing, take another jump, compare. Beginners often change ISO, aperture and shutter speed at once and then can’t tell which one fixed it. Separating subject motion from camera movement before deciding what to adjust is the same discipline, whether you’re diagnosing a jump or a race car.
If exposure is the problem, open the aperture first and raise ISO second. A noisy sharp photo beats a clean blurred one every time for this kind of shot.
Common Mistakes
Shooting in single-servo autofocus. The focus locks, then the subject moves and the frame goes soft. Switch to AF-C with eye detection, and use back-button focus so focusing and firing don’t share a button.
Trusting the camera’s shutter speed. In aperture priority with Auto ISO on some cameras, the shutter will drop below what you expect in low light. Check the actual value on the screen before the first jump, or set shutter speed manually.
Holding the burst for the entire jump. Twenty frames of setup, then a stalled buffer when the interesting part happens. Fire from takeoff to landing and let go.
Framing on empty space. If the subject fills only a third of the frame and jumps toward you, you’ll crop in and lose resolution and depth of field. Move closer, or use a longer lens and step back.
Ignoring what’s behind them. Bright windows, white fences and broken branches behind a jumping subject are the fastest way to a confusing frame. Move your shooting position until the background simplifies.
Depending on stabilization alone. In-body stabilization reduces your camera shake. It does nothing about the subject moving through the frame, and on some cameras it interacts oddly with fast panning.
Two situations need their own approach. Indoors after dark, a fast shutter speed leaves you with no light at all; bounce a speedlight off a wall or ceiling and the flash duration becomes the thing freezing the motion, not the shutter speed. And on phones, the electronic sensor reads the frame top to bottom, so a vertical jump photographed at a slow setting bends the subject into a curve. Faster shutter speeds or the phone’s sports mode reduce it.
If you want the blur instead of fighting it, pan with the movement at around 1/30 to 1/60 sec and start moving your camera before the subject reaches the frame. That technique, more common in motorsport photography, turns a jump into a streak with one sharp point.
Frequently Asked Questions
What shutter speed do I need to shoot jumping photos sharply?
Start at 1/1000 sec for a full-power jump, then go to 1/1600 sec if the subject spins or moves diagonally. A small jump moving straight toward the camera can hold at 1/500 sec, and walking toward the lens is fine at 1/250 sec. Set Auto ISO with a minimum shutter speed of 1/1000 sec so the camera raises sensitivity instead of dropping your shutter speed.
Should I use continuous autofocus when photographing a person jumping?
Yes. Continuous autofocus, labelled AF-C or AI Servo depending on the brand, adjusts as the subject changes distance during the jump. Single-servo locks focus at the moment you press and then drifts as they rise toward you. Add eye detection if your camera has it, and use a small tracking zone so it does not jump to the background at the apex.
How many frames should I capture during a jump?
Eight to twelve frames is plenty. A jump from takeoff to landing lasts roughly 0.3 seconds, so a short burst at 10 or 20 frames per second covers the whole movement without filling the buffer. Start firing as the foot leaves the ground and stop as the subject lands, then pick the frame with the clearest eyes and separated limbs.
Can I take sharp jumping photos with a phone camera?
Yes, especially outdoors in daylight where recent phones reach 1/2000 sec or faster. Use the burst or high-speed action mode rather than single shots, and clean the lens first. Expect less reliable subject tracking than a dedicated camera, and avoid slow shutter speeds in bright vertical light because the electronic sensor bends the subject. A tripod or stable surface helps.
What is the best autofocus point for a jumping portrait?
Track the upper body or face, and set the point slightly above centre since the subject rises as they jump. Eye autofocus works for the middle of the jump but can lose the eye when the head tilts back at the top, so keep your subject’s chin level. On a jumping dog, use a single centre point on the chest rather than eye detection.
How can I freeze motion when the light is not bright enough for a fast shutter speed?
Use flash. A speedlight fires for a few thousandths of a second, and that flash duration freezes movement regardless of the shutter speed you set for exposure. Bounce it off a wall or ceiling indoors to soften the light, or use continuous flash with high-speed sync outdoors so ambient light fills the shadows. Raise ISO as a last resort before slowing the shutter.
Start with this: 1/1000 sec, AF-C with eye detection, f/2.8 or wider, Auto ISO, and an 8-10 frame burst fired from takeoff to landing. Take ten jumps like that and review at 100% before changing anything. If the subject is soft but the background is sharp, it’s focus. If everything is soft, it’s your hands. If the subject smears sideways, it’s the shutter speed.