To shoot a portrait against a brick wall, stand your subject three to six feet in front of it, work in open shade, open the aperture to f/2.8 or wider, and expose so the brick sits about a stop darker than skin. The texture is the reason the shot works at all. The mortar grid only starts competing with the face when the light direction and the framing are careless.
Budget about 15 to 20 minutes, most of it spent walking along the wall before anyone poses. There is no gear in this guide that costs anything, and a phone can do most of it. What matters is that you understand how brick behaves as a surface, because it is warm, patterned, and about two stops brighter than skin when the sun hits it.
Here is the workflow I use, in five steps, followed by the mistakes that ruin the shot most often.
Table of Contents
- What You Need
- How to Shoot a Portrait Against a Brick Wall, Step by Step
- 1. Choose a Brick Wall with a Clean Background
- 2. Plan the Light and Camera Position
- 3. Choose Settings That Preserve Brick Detail
- 4. Direct the Pose and Create Separation
- 5. Review, Refine, and Edit the Portrait
- Common Mistakes
- Frequently Asked Questions
- What is the best time to shoot a portrait against a brick wall?
- What camera settings work best for a brick-wall portrait?
- Should the brick wall be in focus in the photograph?
- How do I avoid harsh shadows when posing against a brick wall?
- Can I take a good brick-wall portrait with a smartphone?
- Conclusion
What You Need

Start with the camera you already own. Any mirrorless or DSLR body with a prime lens will do the job, and a phone with a 2x telephoto lens is genuinely capable here because the wall gives you texture that survives a small sensor.
- A camera with a prime lens. On full frame, an 85mm is the sweet spot; on APS-C, shoot around 50mm. Anything wider than 35mm on full frame puts a lot of perspective stretch on the face when the subject leans toward the lens.
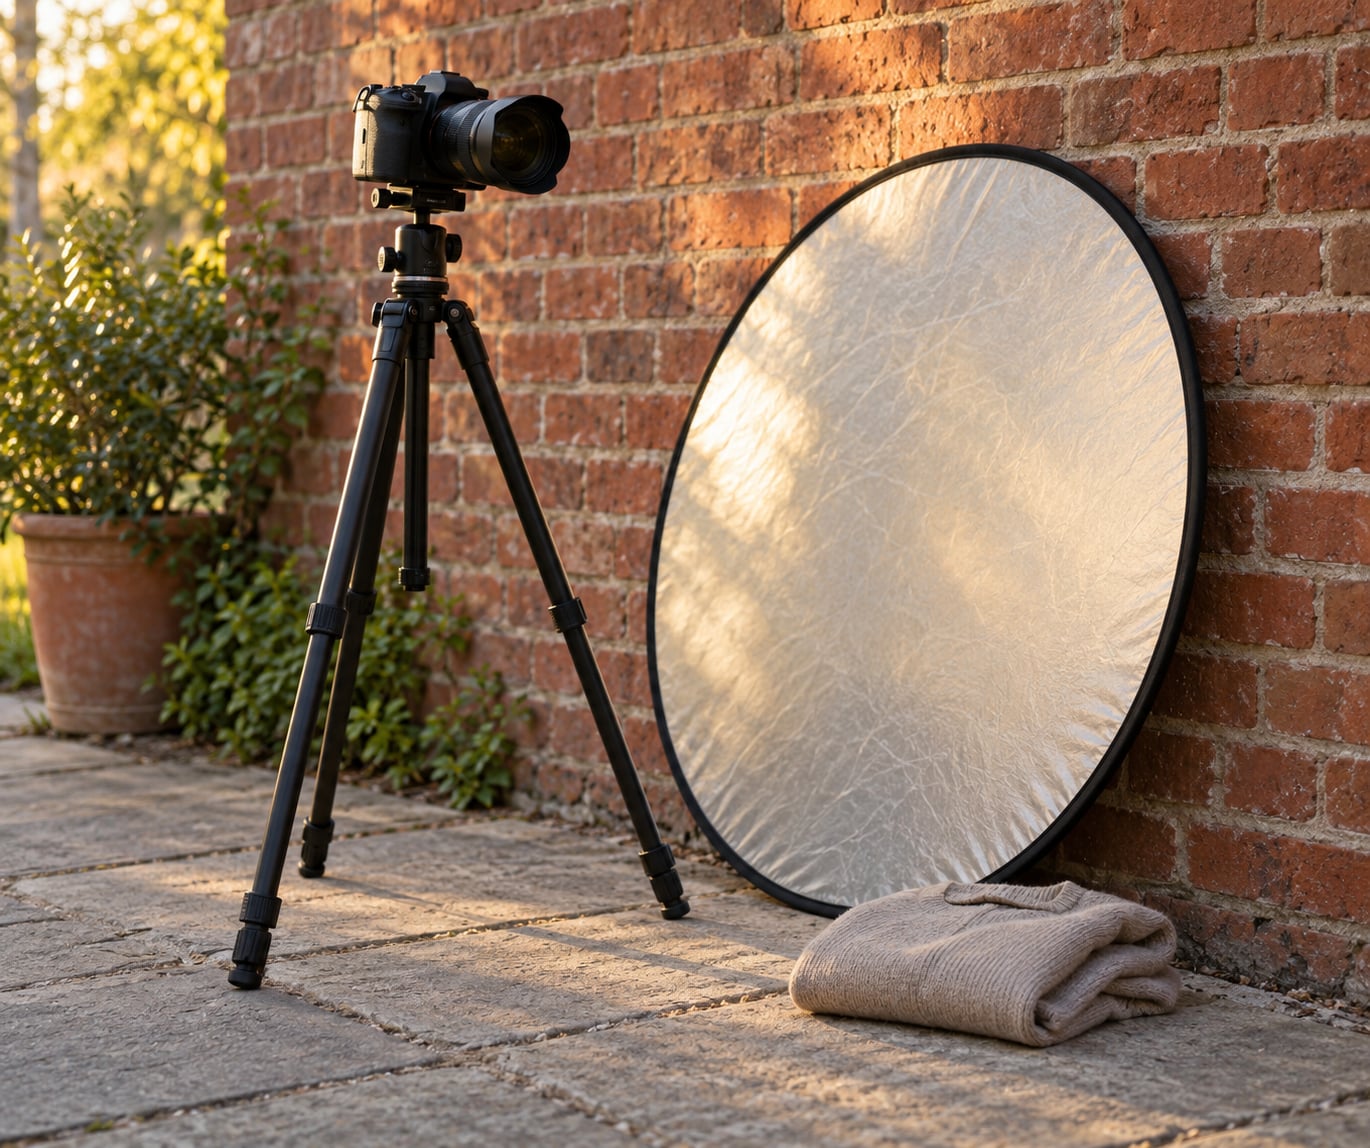
- A 5-in-1 collapsible reflector. The white side is your fill light and it costs very little. Silver is brighter but less forgiving on skin, and the black side doubles as a flag when the sun is behind your subject.
- A tripod, only for the shots where you walk away to use a speedlight or place a reflector yourself. Handheld is fine if your subject is mostly still.
- A speedlight, optional. This is the one piece of gear that unlocks the technique other photographers get excited about: sticking the flash between the subject and the wall to paint a shaped patch of light onto the brick behind them.
- Clothing that is not the same colour as the wall. On red brick, cool blues, greens and cream read well; avoid another warm red, which makes both the clothing and the skin look muddy. On white or painted brick, warm tones pop.
- A clean section of wall and a cloth or stiff brush if you have permission to wipe it down.
Shoot RAW if your camera allows it. Brick is a rough, high-contrast surface and RAW gives you the latitude to pull a blown brick highlight back without taking the skin with it.
How to Shoot a Portrait Against a Brick Wall, Step by Step
The order matters. Scouting, light and distance come before posing, and posing comes before you touch the camera settings, because a pose can change how much of the wall sits behind the face.
1. Choose a Brick Wall with a Clean Background
Walk the wall before you call anyone over. Look for the things that will pull the eye away from your subject: mortar lines that line up awkwardly behind a head, patched or mismatched bricks, damp stains, moss in the joints, an outdoor tap, a vent, cables running along it, old signage or a faded paint job. A brick wall that looks characterful from ten feet away often has one ugly square foot in the exact place you planned to stand.
Frame around what you cannot fix. Move your intended spot 20 inches along the wall and the stain falls outside the frame, or raise the camera to a portrait orientation so the problem brick sits below the crop. Change your spot before you change anything else.
Check a few practical things while you are there. Most brick buildings are private property, so ask the owner or the management company before you set up a tripod in a doorway. Check the mortar for loose sections before anyone leans against it. Rain darkens brick and makes it slippery, and the wall holds cold long after the air warms up.
Finally, note which direction the wall faces. A south-facing wall in the northern hemisphere is in flat light for most of the day, which is usually the easiest brick to shoot. A wall in full afternoon sun is harder but far more dramatic if you time it right.
2. Plan the Light and Camera Position
Decide what kind of light you have before you decide where the subject stands. The condition table below is the whole decision in one place.
| Condition | What to do | What to avoid |
|---|---|---|
| Open shade | Put the subject 4 to 6 feet off the wall, fill from camera side with a white reflector, expose for skin. | Nothing much. This is the condition to hunt for. |
| Overcast | Shoot anywhere, open up the aperture, add a speedlight at low power if the light is flat enough to look lifeless. | Wall and face landing on the same flat brightness. |
| Low sun, early or late | Put the sun behind you or at 45 degrees, keep the subject off the wall, let the wall fall into shadow for contrast. | Side light on the face at full strength, which digs in every line. |
| Harsh midday sun | Find the shadow of a building, an overhang or a doorway and work inside it. If that is not possible, wait or move. | Shooting into it. Expect hard shadow lines across the face and the brick. |
| Backlit subject | Meter for the subject and add fill from a reflector or flash, or expose for the bright brick and let the subject go dark for a silhouette. | Trusting the built-in meter, which will blow the brick and underexpose the face. |
Position the camera so the wall stays behind the subject, not beside them. Stand close enough that your frame contains wall and nothing else, then back up and use the longer focal length. This is the standard fix for unflattering perspective: the distortion comes from your shooting distance, not from the lens itself, so moving back on a 50mm produces the same look as a 100mm from where you were standing.
Check the shadows before you shoot. Walk your subject into their own shadow and look at the wall. A hat brim, a balcony railing or a downpipe that happens to be behind them will draw a hard line across the wall that no amount of editing removes convincingly.
3. Choose Settings That Preserve Brick Detail
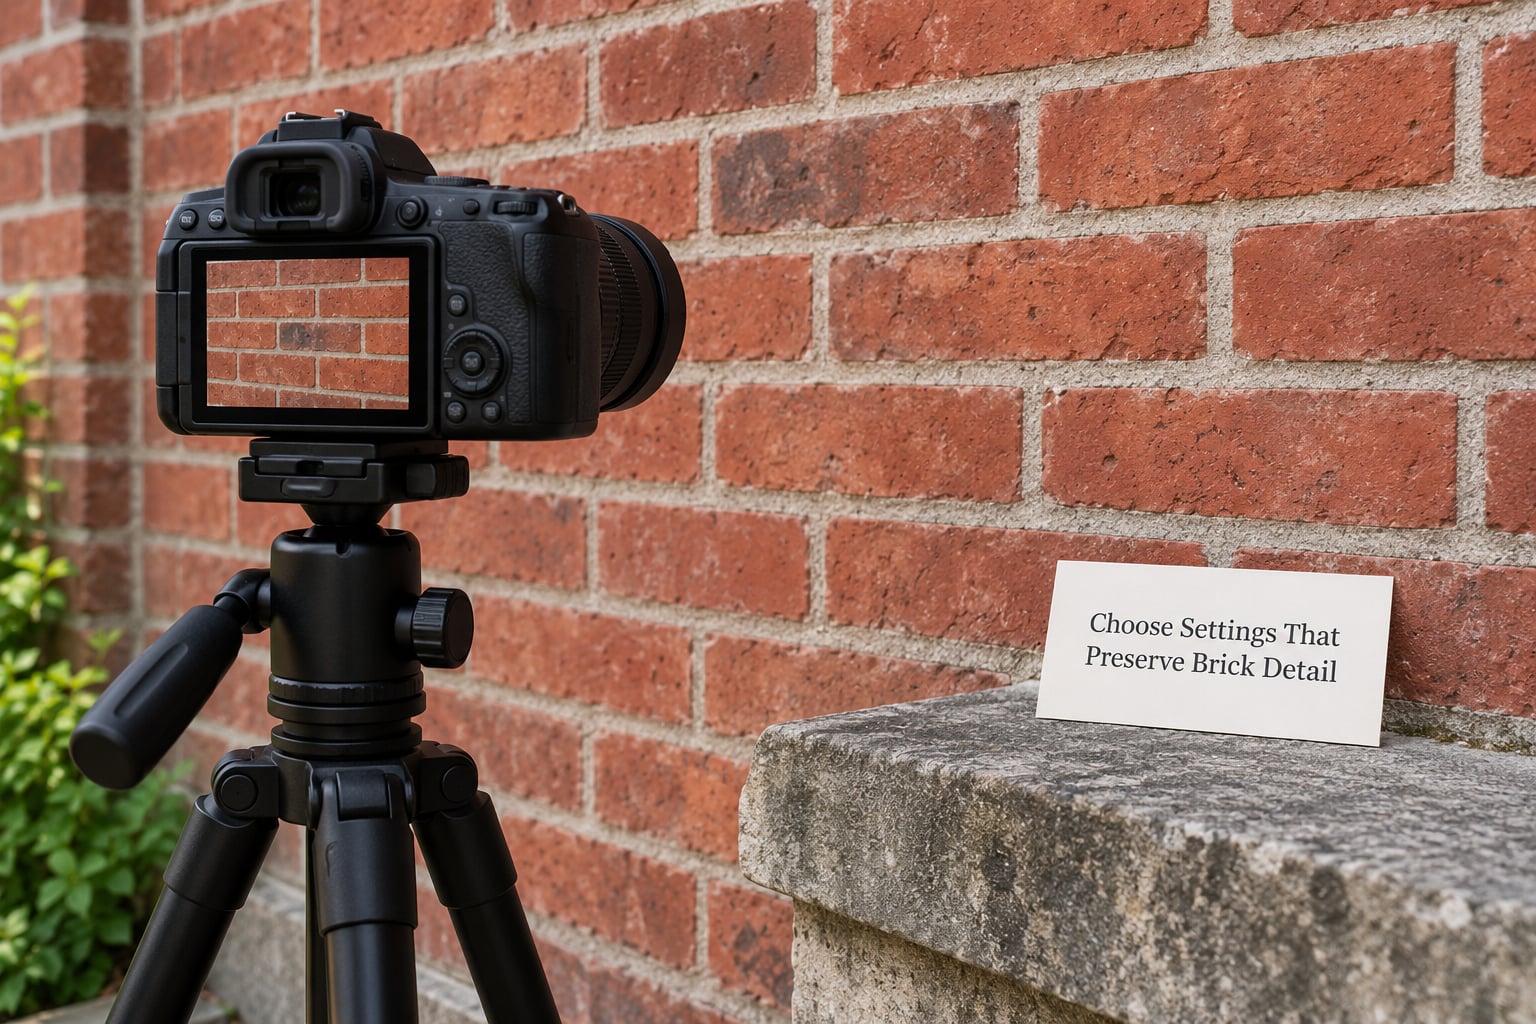
Portraits outdoors have a narrow set of settings that work, and they are not the ones the camera picks by itself. Use the following as a starting point and adjust for the light.
| Setting | Starting value | Why |
|---|---|---|
| Shutter speed | 1/125s | Fast enough to freeze a head turn and small body movement, and safely above the 1/85s focal-length rule at longer lenses. |
| Aperture | f/2.8 | Wide enough to soften the mortar grid into a pattern and separate your subject from the wall. |
| ISO | 100 to 400 in shade | Open shade is roughly like heavy overcast, so ISO rarely climbs much before the light drops. |
| Focal length | 85mm full frame, about 50mm APS-C | Keeps perspective natural and compresses the wall behind the subject. |
| Autofocus | Continuous AF with eye detection, single point as backup | People move, and a portrait made while the focus hunts is gone. |
| Exposure compensation | -1/3 to -2/3 EV | Holds the pale mortar and light brick below clipping so you keep the texture in the edit. |
Watch the histogram and the highlight warnings rather than the brightness of the rear screen. Bright sunlit red brick clips before skin does, and once a mortar line is pure white there is no texture in it any more. That is the difference between a brick wall that reads as a wall and one that reads as an orange smudge behind the head.
Shoot a test frame at f/2.8 and one at f/4, then compare. That single comparison answers the question portrait photographers argue about most: how much brick detail do you actually want? More on that in the step below.
4. Direct the Pose and Create Separation
The mortar grid is the one background pattern that regularly fights a face, because its horizontal lines run across the eyes and mouth. Two habits fix most of it. Turn the subject’s body about 30 degrees away from the camera so they are not square to it, and put their head slightly off centre so no mortar course runs dead straight through the eyes.
Then vary the arms. A hand in a pocket, one hand at the back of the neck, or hands resting on the wall all break the grid and give the pose a shape. Leaning into the wall works well, so long as the subject is angled and not flat against it.
Distance is the other lever, and it is more powerful than most people realise.
| Subject-to-wall distance | How the brick texture reads | Best for |
|---|---|---|
| About 1 foot | Bricks go huge and go soft fast at f/2.8; the wall reads as colour and blur. | Dramatic, tight frames where the wall is only a colour field. |
| About 3 feet | Texture is clearly legible but softened. Faces start to merge with warm brick. | Head and shoulders, or a couple standing together. |
| About 6 feet | Brick reads as a repeating pattern with visible detail, and the subject holds clear of it. | Environmental portraits and senior sessions. |
So how do you decide whether to blur the background or keep the texture? Here is the rule I use, and it is the one photographers keep asking about. If the wall has interesting detail, colour variation or damage, keep it readable and manage it through light. If the wall is flat and repeating, blur it until it becomes a pattern. Trying to keep a flat grid sharp almost always loses, because the grid ends up as sharp as the face and the eye cannot tell which one to look at.
Keep the face turned toward the light even when the body is turned away. That single piece of direction keeps the eyes alive and the skin from going flat, and it costs nothing to fix.
5. Review, Refine, and Edit the Portrait
Check every frame at 100 percent before you show anyone. Look at the near eye for focus, then look at the brightest mortar line in the frame and see whether it is still holding texture. If it is not, drop exposure by a third of a stop and shoot again; recovering a clipped highlight in software is never as good as not clipping it.
When something is wrong, move before you edit. A patch of hard sunlight on the cheek is fixed by shifting your subject half a step. A cable running through the frame is fixed by moving the camera 20 inches. Editing is the last step, not the first one.
Keep the edit restrained. Pull down the bright brick highlights a little so the wall sits behind the subject in brightness, warm the whites slightly so the brick colour reads as brick rather than grey, and dodge the face a touch if it has gone flat in shade. Remove or darken distracting mortar intersections near the head only if they genuinely pull the eye. Skin is the subject; the wall is context.
If you want the wall to do more work, put a speedlight between the subject and the brick, aimed at the wall with the head covered by a small diffuser or a bare card to keep the edges soft. It creates a shaped patch of light behind them and turns a flat background into something you designed.
Common Mistakes
These eight account for nearly every unusable brick-wall frame I have shot or reviewed.
- Shooting in harsh midday sun. The fix is to find shade: a doorway, an overhang, the shadow of the building across the street. If there is none, move to another wall or come back later.
- Shooting too close with a wide lens. Move back and zoom in. Perspective problems come from distance, not from focal length.
- Letting the mortar grid sit sharp behind the face. Turn the body, offset the head, or stop down less: open the aperture so the pattern softens.
- Standing the subject flat against the wall. Step them three to six feet out. The wall then sits behind them rather than pressing against them.
- Underexposing everything to save the brick. Expose for skin and let the wall fall a stop or so darker. Dark brick still holds texture; blown brick holds nothing.
- Leaving the wall brighter than the face. The eye goes to the brightest thing in frame. Expose for the subject, or flag the wall down with a reflector or flag if you have one.
- Picking a wall without inspecting it. Walk it first. Satellite cables, old paint and a single black stain are the usual culprits.
- Trusting the meter in bright sun. Check the histogram and the highlight warning. Sunlit brick clips before skin does, and the clipped mortar is unrecoverable.
Two smaller ones worth knowing. Avoid clothing the same colour as the wall, since warm red brick makes warm red clothing look flat and pushes skin toward sallow. And get permission before you set up on a private building, which takes one sentence and saves the whole session.
Frequently Asked Questions
What is the best time to shoot a portrait against a brick wall?
Open shade on an overcast day is the easiest and most forgiving condition, because the texture reads evenly and shadows stay soft. Failing that, shoot in early morning or the last hour before sunset with the sun behind you or at 45 degrees, which keeps the wall from flaring out. Midday sun on bare brick is the hardest condition to rescue, so treat it as a reason to pick a different wall.
What camera settings work best for a brick-wall portrait?
Start at 1/125s, f/2.8, ISO 100 to 400, and an 85mm lens on full frame or about 50mm on APS-C. Use continuous autofocus with eye detection, shoot RAW, and apply around -1/3 EV so bright mortar lines hold their texture. Check the histogram after every frame, because sunlit brick clips before skin does and clipped brick cannot be recovered in editing.
Should the brick wall be in focus in the photograph?
It depends on what is on the wall. Keep the texture readable when the brick has colour variation, damage or character, and manage it with light. Blur it deliberately when the wall is flat and repeating, because a sharp repeating grid competes with the face. If you are unsure, shoot one frame at f/2.8 and one at f/4 and compare them at full size on the camera screen.
How do I avoid harsh shadows when posing against a brick wall?
Work in open shade, put the sun behind you or at 45 degrees, and fill the shadows with a white reflector on the camera side. Watch the wall as well as the face: a hat brim, railing or downpipe behind the subject throws a hard line across the brick that no amount of editing fixes cleanly. If the wall is already in full sun, move the subject into a doorway or an overhang.
Can I take a good brick-wall portrait with a smartphone?
Yes. Use the 2x telephoto lens rather than the wide one, because the wall gives you plenty of background and you do not need extra width. Tap the face to lock focus and exposure, then drag exposure down slightly so the bright brick keeps its texture. Stand the subject further off the wall than feels natural, and shoot in portrait mode for the extra blur.
Conclusion
Find a clean section of wall first, put your subject in open shade three to six feet off the brick, and take one test frame at 1/125s and f/2.8 before you adjust anything. That single frame will tell you whether the texture helps or fights the face, and the pose and the settings follow from what you see in it.