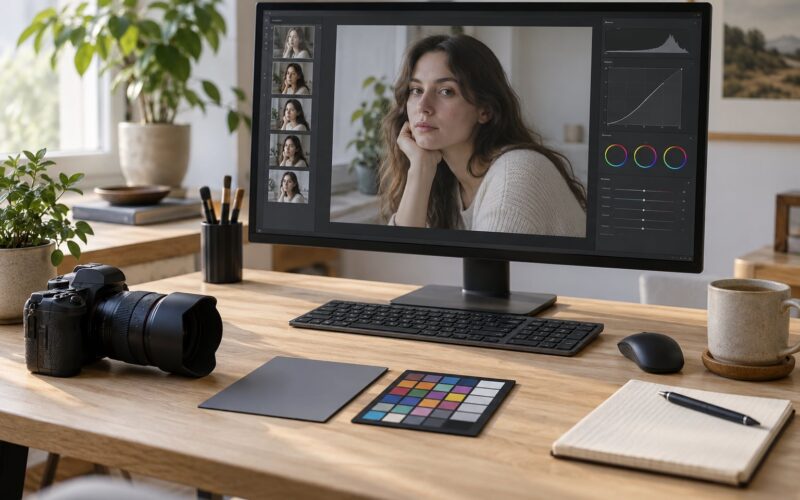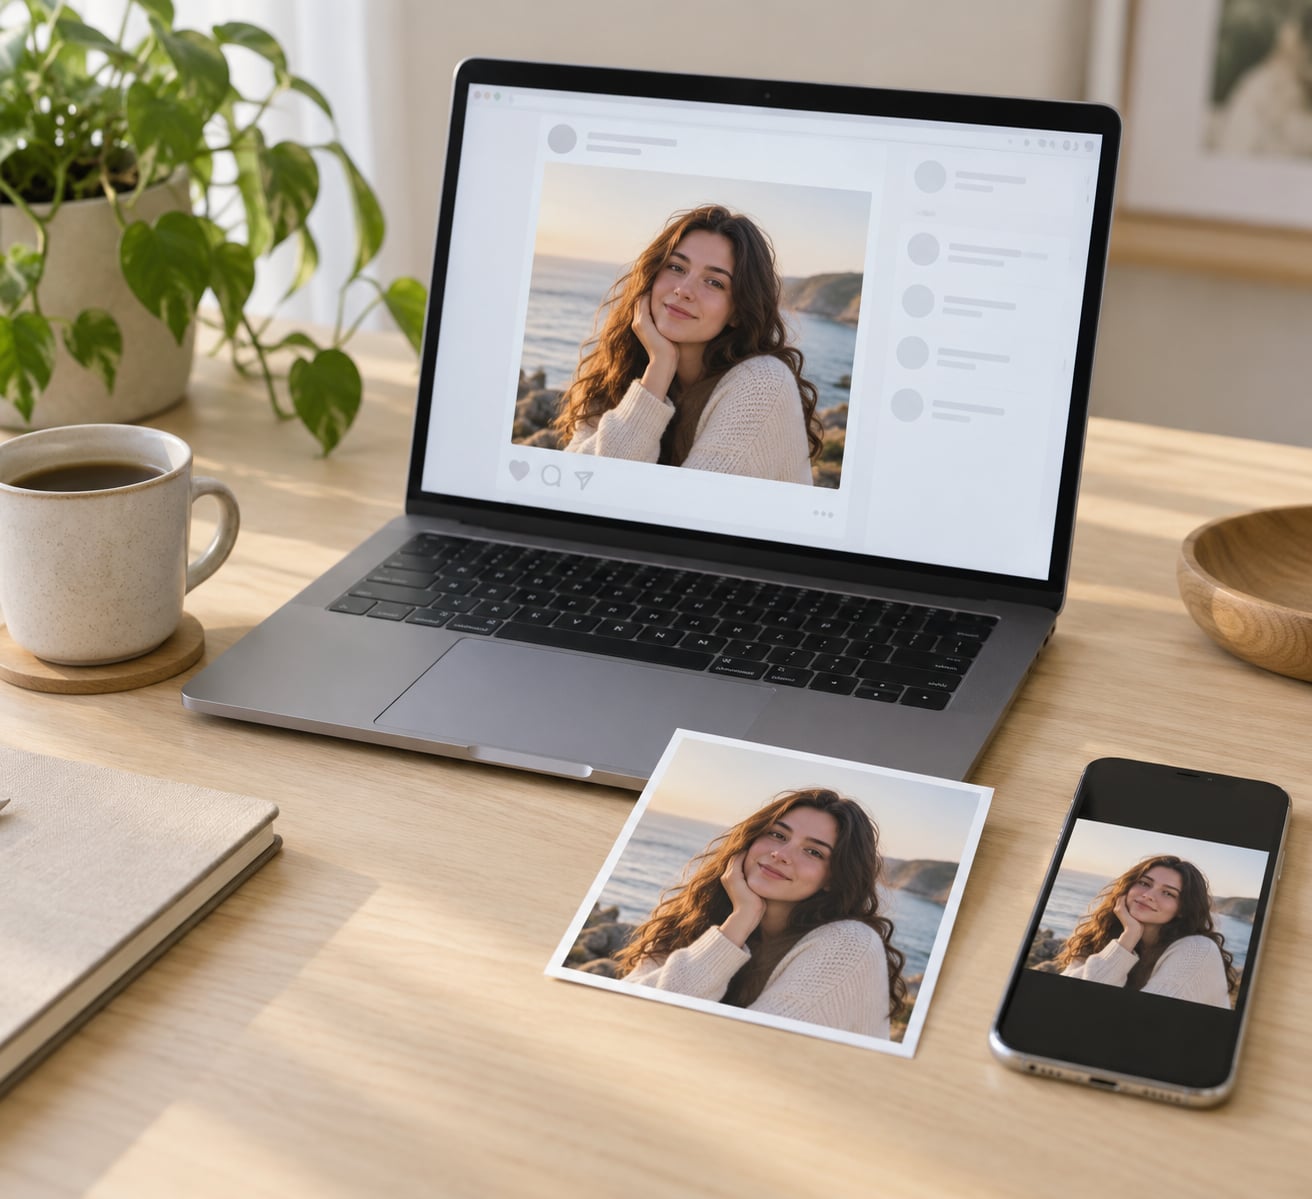
Exporting photos for Instagram without losing quality comes down to five settings: 1080 x 1350 pixels, a 4:5 aspect ratio, JPEG format, sRGB color space, and a JPEG quality of 90-95%. Turn on the in-app toggle called Upload at Highest Quality, keep the file under about 8 MB, and Instagram has very little left to strip when it re-encodes your image.
That is the honest version. Instagram re-compresses every single upload, no matter which account tier you pay for or which device you send it from. Nobody has found a way around that. What you can control is how much damage the re-encode does, and that is almost entirely decided in the export dialog.
This guide walks through the whole workflow, from picking an aspect ratio to the last check before you hit post. I have included a master settings table, a menu-by-menu Lightroom Classic walkthrough, iPhone and Android upload paths, and an honest answer to why half the internet tells you to export at 100% quality while the other half says 75%.
Last updated October 2026. Instagram moves its settings around between app versions, so check the menu path against your own app.
Table of Contents
- What You Need
- Step-by-Step
- 1. Choose the Right Instagram Format
- 2. Resize Without Over-Sharpening
- Lightroom Classic: menu by menu
- 3. Export in the Best File Format
- 4. Match Color and Resolution Settings
- 5. Control Compression and File Size
- 6. Check the Final Image Before Posting
- Common Mistakes
- Uploading full-resolution camera files
- Exporting in Adobe RGB
- Turning output sharpening up to high
- Using PNG for photographs
- Uploading a screenshot
- Forgetting Upload at Highest Quality
- Sending the file through a messaging app first
- Leaving HDR display settings on with an iPhone
- Frequently Asked Questions
- Should I export in 4K or 1080 for Instagram?
- Is PNG or JPEG higher quality for Instagram?
- What are the best export settings for Instagram using Lightroom?
- Why is Instagram making my pictures look grainy?
- How do I turn on Upload at Highest Quality?
- How do I download my own Instagram photos at full quality?
- Conclusion
What You Need
You do not need a new camera, a new computer, or a paid plugin. You need the original file, an editor that can set exact pixel dimensions, and ten minutes of settings work that you only have to do once if you save it as a preset.
Before you open anything, write these six settings down. This is the same list I keep pinned above my desk, and it is the whole answer in under twenty words per line:
- Portrait feed post: 1080 x 1350 pixels, 4:5 ratio
- Square feed post: 1080 x 1080 pixels, 1:1 ratio
- Landscape feed post: 1080 x 566 pixels, roughly 1.91:1
- Stories and Reels: 1080 x 1920 pixels, 9:16 ratio
- File format: JPEG, color space sRGB, quality 90-95%
- File size: comfortably under 8 MB, Upload at Highest Quality switched on
What you need to have open, concretely:
- The original file, untouched. If you shot RAW, work from the RAW so the export is a fresh encode rather than a re-encode of an already compressed JPEG.
- An editor with a size control. Lightroom Classic, Lightroom CC, Photoshop, Capture One, Snapseed, Canva, or your phone’s native editor all do this. What varies is the menu path, not the numbers.
- The Instagram app on the phone you will upload from. The highest-quality toggle lives in the app, not in your editor, and it resets to default after some installs and updates.
- A second look at the post on a phone screen. Your laptop is brighter and sharper than any feed, so a photo that looks perfect on a display is not proof of anything.
One thing worth knowing before you start. PPI and DPI have no effect here. Those settings exist for print, where physical size and viewing distance matter. Instagram decides how large your image is by the number of pixels, and a screen has no idea what inches are. Set the pixel dimensions and ignore the rest.
Step-by-Step
Here is how to export photos for Instagram without losing quality, in the order that actually matters: choose the format, resize to the right pixel dimensions, pick the file format, match the color space, control compression and file size, then inspect the result. Do the steps in that sequence and each one is quick.
1. Choose the Right Instagram Format
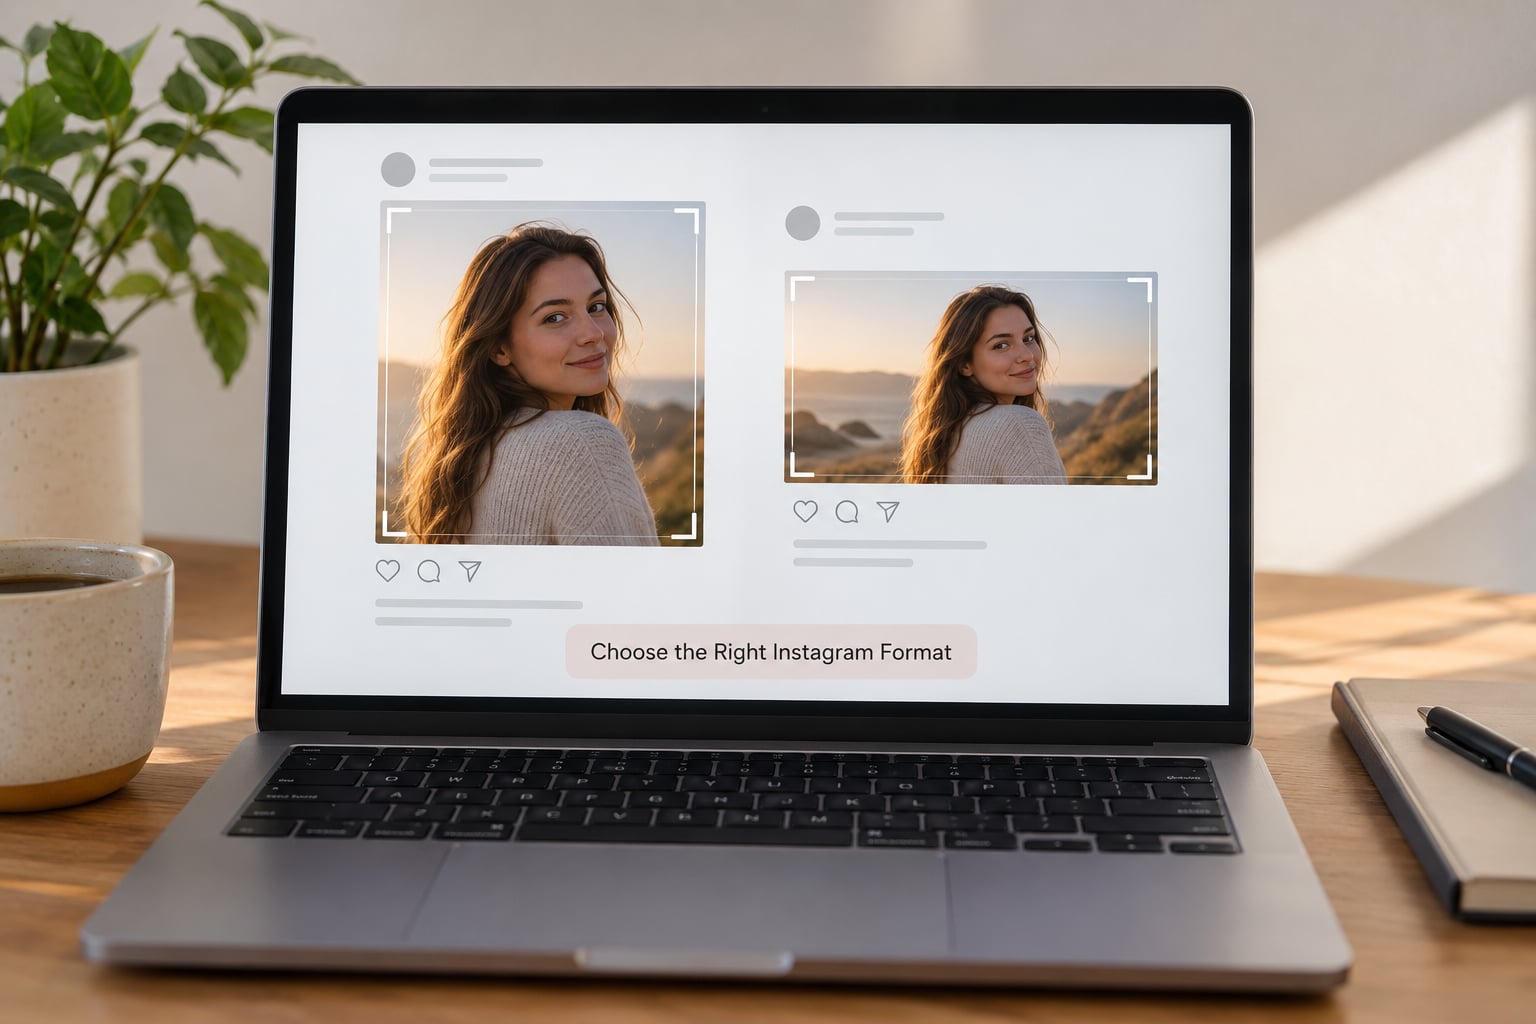
Use 4:5 for anything you want to take up screen space in the feed. A portrait post at 1080 x 1350 fills the widest amount of a phone screen that Instagram allows, and wider usually means people stop scrolling. Use 1:1 when the composition is already square or when you are building a grid where everything needs to line up. Use 9:16 for Stories, Reels, and anything full screen.
The mistake people make is uploading a 3:2 or 4:3 frame and letting Instagram crop it for them. When the app does the cropping, it crops after downscaling, so you lose edge detail and you have no control over which part survives. If you have ever seen a portrait post with an awkwardly cut-off head and blamed Instagram, that is usually what happened.
| Instagram format | Pixel dimensions | Aspect ratio | JPEG quality | Notes |
|---|---|---|---|---|
| Portrait feed post | 1080 x 1350 | 4:5 | 90-95% | Takes the most screen space. Best default for most posts. |
| Square feed post | 1080 x 1080 | 1:1 | 90-95% | Only 4.2 megapixels. Crop carefully or faces get clipped. |
| Landscape feed post | 1080 x 566 | 1.91:1 | 90-95% | Very short vertically. Avoid horizons near the top and bottom edge. |
| Stories and Reels | 1080 x 1920 | 9:16 | 90-95% | Keep text and faces clear of the top and bottom 250 pixels, where the UI sits. |
| Carousel | Match every panel | Same ratio for all | 90-95% | Mixed ratios get letterboxed. Export all panels to one size. |
One note on carousels. If you mix a 4:5 panel and a 1:1 panel in the same carousel, Instagram pads the square one with blank bars. Export every panel to the same ratio and the whole set will look deliberate when someone swipes through it.
2. Resize Without Over-Sharpening
Set the long edge to 1350 pixels for a portrait post, 1080 for square, and 1920 for Stories. Resampling method matters less than people think, but bicubic smoother or Lanczos is a better starting point than nearest neighbor, which produces jagged edges on anything with a diagonal in it.
Now the part that quietly ruins a lot of photos. Output sharpening should be low. If your editor has an output sharpening amount slider, set it to the lowest value, or 20 to 40 on a scale that runs to 100. High output sharpening looks great in your editor and turns into bright halos along rooflines, eyelashes, and fence posts once Instagram re-encodes the file, because the sharpening creates high-frequency detail that the compression then smears and exaggerates.
This is the single most common complaint from photographers posting to the platform. Fine detail in grass, leaves, hair, and fabric is the first thing to go soft, and a pre-sharpened file makes that worse, not better.
Lightroom Classic: menu by menu
Lightroom is the tool most people mean when they ask about Instagram export settings, so here is the exact path. Select your images in the Grid view, then press Ctrl+Shift+E on Windows or Cmd+Shift+E on Mac, or go to File, Export, Export As. The Export As dialog is the one you want, not the older Export dialog, because Export As gives you a place to name and save your settings.
Set these fields and leave everything else alone:
- Export As: the top file name field, set to JPEG and a .jpg extension.
- File Settings: set Image Sizing to Pixel Dimensions, not Long Edge, so you control the long edge and the short edge together.
- Image Sizing: enter 1350 px for the long edge on a portrait post, 1080 for a square, 1920 for Stories. Do not enable Fit Within, and do not enter both dimensions unless you want the exact 1080 x 1350 lock.
- Quality: set the Format to JPEG and the Quality slider to 90-95. Leave Minimum Size blank.
- Color Management: leave Embed Color Profile sRGB, and if your image is in Adobe RGB, convert it to sRGB in the convert to sRGB dropdown rather than leaving it tagged as Adobe RGB.
- Metadata: set All Metadata to Minimal. Instagram strips metadata on upload anyway, so there is no reason to carry it.
- Effects: set Sharpen to Off if you want output sharpening off entirely, or leave Sharpen On and drop the Amount to the bottom of the slider.
Click the Add button in the bottom left corner to save that combination as a preset with a name like Instagram Portrait 4-5. Next time you need it, it is one click in the left-hand preset panel instead of eight decisions. Set up once per format and you never think about it again, which is the entire point of an export preset.
Other editors work the same way with different labels. In Photoshop, use Image, Image Size, make sure Constrain Proportions is on, set the width to 1080 or the height to 1920 as needed, and export with File, Export As, JPEG, then set Quality to High and the quality slider to 12 out of 12, which lands around 95%. In Snapseed, use Tune Image, then Details, set Structure to 0 and Sharpening to 20 or less. In Canva, set the canvas to the exact pixel size from the table, download as JPG standard, and leave it at standard quality rather than choosing the compressed option.
3. Export in the Best File Format
Use JPEG for photographs. It is the only format Instagram accepts for still photos without converting it, and every professional recommendation lands in the same place for a reason: JPEG gets you a small file that holds the detail Instagram is going to show, and the re-encode step costs you less when the input is already in the same format family.
PNG is the wrong choice for photos, despite it being technically lossless. Here is the catch that gets left out of most guides: Instagram converts uploaded PNGs to JPEG for the feed anyway. You get a large file, you get no benefit from the lossless compression, and the re-encode still happens. PNG earns its place on graphics with flat color, text, and transparency. If you are posting a logo or a designed quote card, use PNG. If you are posting a photograph, use JPEG.
HEIF and HEIC, which is what your iPhone shoots by default, are a special case. Instagram can read them, but there is no universal guarantee of how it handles them across the app, the web uploader, and third-party scheduling tools. Converting to JPEG on the way out removes a variable. Do that in Lightroom with Format set to JPEG, in an image editor with Save As, or on iPhone through Settings, Camera, Formats, Most Compatible, which changes capture to JPEG and HDR to the older-style rendering.
Progressive versus baseline is worth a sentence. Baseline JPEGs load top to bottom and are what every app handles without thinking. Progressive JPEGs load in passes and are marginally better for large web images, but there is no reason to choose them for an Instagram upload.
4. Match Color and Resolution Settings
Export in sRGB. That is not a preference, it is a requirement. Instagram converts everything to sRGB on upload, and if you tagged your file as Adobe RGB the conversion shifts your colors, usually in the shadows and saturated blues, and the result looks dull or muddy in the feed even though the file was perfect in your editor.
The fix takes about ten seconds. In Lightroom, the Convert to sRGB option under Color Management handles it during export. In Photoshop, Image, Mode, RGB Color, Convert to Profile, sRGB IEC61966-2.1. In Canva and Snapseed the output is already sRGB, so there is nothing to change.
On iPhone there is a second, sneakier cause of dull photos. If you shot in HDR, the feed can apply its own tone mapping to the uploaded file and flatten the contrast. On the phone, open Settings, Camera, Formats, and switch on Disable Display of HDR Media. Your photos get a slightly flatter look on your own screen and a far more predictable look after upload.
On bit depth, the short answer is do not worry about it. Instagram works in 8-bit JPEG, so a 16-bit TIFF gives you nothing at the end of the chain. The only place bit depth pays off is if you export a PNG for a graphic with smooth gradients, where banding is visible.
5. Control Compression and File Size
Instagram re-encodes uploads at roughly 70-75% JPEG quality. One travel photography guide measured a 1.6 MB upload coming back at around 125 KB, a reduction of about thirteen times. You cannot stop that step, so the goal is to hand the app an image that gives it as little to work with as possible.
Here is the setting that helps most and the one most people never find. On iPhone, open Instagram, tap your profile picture in the top right, open the menu, go to Settings, Account, Data Usage and Media Quality, and switch on Upload at Highest Quality. On Android the path is the same: profile picture, Settings, Account, Data Usage and Media Quality, Upload at Highest Quality.
On Android, look one level deeper for Data Saver. With Data Saver active, Android restricts background data and can override your highest-quality preference without telling you. Turning Data Saver off is part of the fix. Both paths shift around between app versions, so if the option is not where this article says it is, search the in-app settings for the words quality rather than assuming the toggle is gone.
Now the question that generates more bad advice than any other. Why does one source say 100% quality, another say 90-95%, and a third say 75-85%?
All three are answering different questions. At 100% you are preserving every scrap of your master file, which matters if you plan to print or archive that export, but it also produces a big file that Instagram downsamples hard. At 90-95% you are at the point where the JPEG is visually indistinguishable from the original, and the file lands in the range where Instagram does the least aggressive reduction. At 75-85% you are deliberately making the file smaller, and that advice comes from people posting over cellular data or batching dozens of images.
For Instagram on a normal connection, 90-95% is the number to use. It is not a compromise. It is the quality level where the lossy compression of your export and the lossy compression of the upload overlap instead of compounding.
Keep the file comfortably under 8 MB. Here is the counter-intuitive part: uploading a huge 6000-pixel file does not give Instagram more to work with, it gives it more to throw away. Instagram downsamples before it re-encodes, so an oversized file gets downscaled first, and the resampling is where the softness and grain you are trying to avoid come from.
One more trap. If you share the file through WhatsApp, iMessage, or email and then download it and upload that copy, you have added a second lossy compression to the chain before Instagram ever sees it. Always upload from the original export, straight from the app or a desktop browser uploader.
6. Check the Final Image Before Posting
Put the exported file on a phone screen, not a laptop. Look at it at normal viewing distance and check four things: is it sharp, are the colors the ones you edited, is the crop clean, and is the exposure still right.
Sharpness means no halos along high-contrast edges and no crunchy texture in foliage. If you see bright fringes around a roofline, your output sharpening was too high. Colors mean comparing the exported file against your editor, not against your memory of the scene. Crop means checking that nothing important sits within about 60 pixels of an edge, because the grid preview crops differently from the post itself.
For a grid that has to look coherent, check your new post’s grid thumbnail before you post it. Instagram crops square previews from the center, so a 4:5 post with an important subject in the top and bottom fifths can look wrong in the grid even when the post itself looks fine. Tap the profile grid view and zoom in before committing.
Write the caption and add your alt text before the upload, not after. Adding text in the app is where people rush, and it has nothing to do with image quality, but it is part of the same workflow and it is easier to do once rather than twice.
Common Mistakes
Most photos that look bad on Instagram are not being crushed by Instagram. They were exported in a way that left nothing for the re-encode to keep, and the problem was baked in before the upload started. Here are the ones I see over and over, with the correction for each.
Uploading full-resolution camera files
A 45-megapixel RAW converted straight to a 6000-pixel JPEG gets downsampled before it is re-encoded, and that resampling is the softness you are seeing. Fix: resize to 1080 x 1350 in the export, never after.
Exporting in Adobe RGB
The colors shift because Instagram converts to sRGB on upload. Fix: convert to sRGB during export, before saving, so you are checking the actual output colors in your editor.
Turning output sharpening up to high
It looks crisp locally and turns into halos after re-encoding. Fix: drop the sharpening amount to the bottom of the scale, or set it to 20 to 40 out of 100.
Using PNG for photographs
You get a large file, no benefit from the lossless compression, and Instagram converts it to JPEG regardless. Fix: JPEG for photos, PNG only for graphics with text, flat color, or transparency.
Uploading a screenshot
A screenshot of a photo is already a downscaled, re-encoded, re-compressed version of the original, and the screenshot itself is usually captured at device resolution rather than full size. Fix: upload the original exported file every time.
Forgetting Upload at Highest Quality
This is the default for many accounts and it quietly caps quality. Fix: check the Data Usage and Media Quality settings before your next post, and recheck after app updates.
Sending the file through a messaging app first
Every messaging app compresses what you send. Fix: upload the export directly from the phone or a desktop browser uploader.
Leaving HDR display settings on with an iPhone
The feed tone maps the file again and flattens contrast. Fix: Settings, Camera, Formats, Disable Display of HDR Media.
Frequently Asked Questions
Should I export in 4K or 1080 for Instagram?
Export at 1080 pixels on the short edge, not 4K. Instagram downscales every upload to its display dimensions before re-encoding it, so a 3840-pixel file is thrown away after being resampled, and resampling is where softness and grain come from. For a portrait feed post, 1080 x 1350 is the standard. Upload higher only if you are archiving the file for print or a client gallery, not for the feed.
Is PNG or JPEG higher quality for Instagram?
JPEG is the right choice for photographs, and it is not a quality compromise here. Instagram converts uploaded PNG files to JPEG for the feed anyway, so you carry a large file through the pipeline and gain nothing from the lossless compression. PNG earns its place on graphics with text, flat color, or transparency. Set your JPEG quality to 90-95% and the file is visually identical to the original before upload.
What are the best export settings for Instagram using Lightroom?
In the Export As dialog, set File Settings to JPEG, Image Sizing to Pixel Dimensions, the long edge to 1350 for a portrait post, Format to JPEG with Quality at 90-95, color space converted to sRGB, All Metadata to Minimal, and Effects sharpening to Off or the lowest amount. Save that combination as a named preset and you can reuse it for every post. PPI stays at 72 because it does not affect screen display.
Why is Instagram making my pictures look grainy?
Almost always one of three causes: the file was too large, so Instagram downsampled it and the resampling pushed noise into the shadows; the image was exported in Adobe RGB and the sRGB conversion crushed saturation in the darker areas; or the file went through a messaging app before upload, adding a second lossy compression. Export at 1080 x 1350, sRGB, JPEG at 90-95%, and upload the original file directly.
How do I turn on Upload at Highest Quality?
In the Instagram app, tap your profile picture in the top right, open the menu, go to Settings, then Account, then Data Usage and Media Quality, and switch on Upload at Highest Quality. On Android, also open Data Saver in your phone settings and turn it off, because it can override the highest-quality preference without warning. The path moves between app versions, so search the in-app settings for quality if it has shifted.
How do I download my own Instagram photos at full quality?
Open the post, tap the three dots in the top right, and choose Save Image, then confirm Allow in the download prompt. Your phone will store the file Instagram serves, which is the compressed version, not your original export. If you need the untouched file, keep the exported JPEG in your photo library and upload from there rather than downloading from the feed. Re-uploading a downloaded copy stacks a second compression onto it.
Conclusion
Start with the one image you care most about. Export it at 1080 x 1350 pixels, 4:5, JPEG, sRGB, quality 90 to 95, under 8 MB, and turn on Upload at Highest Quality before you post it.
Then upload that single file and look at it on your phone. If the colors match your edit and nothing is soft that should be sharp, save those settings as a preset and use them for everything after. That is the whole workflow, and once it is saved you never have to make those decisions again.