Getting colour right starts with a reference, not a menu. If you know how to white balance photos accurately, you are really doing one thing: telling the camera or the editor what a neutral object looked like in that scene, so every other colour falls into place. Most colour casts trace back to the wrong preset for the light, auto white balance drifting between frames, or two light sources fighting in the same room. Shoot RAW and all three stay fixable afterwards.
The whole job takes about two minutes per setup once you have a habit, and the habit is the same every time: read the light, choose a mode, verify against something neutral, correct if it is off. That repeatability is what keeps a whole set of frames matching, not any single clever slider move.
Table of Contents
- What You Need
- Step-by-Step: How to White Balance Photos Accurately
- How to Set White Balance for Accurate Photos
- How to Use a Custom White Balance for Mixed Lighting
- How to Check and Fine-Tune White Balance in Editing
- Common Mistakes
- Frequently Asked Questions
- Is it better to shoot white balance in RAW or JPEG?
- Should I use a gray card every time I photograph?
- How do I fix photos with a strong yellow or blue color cast?
- What white-balance setting should I use indoors with mixed lighting?
- Can I make white balance accurate after taking the photo?
- How do I keep skin tones natural when correcting white balance?
- Conclusion
What You Need
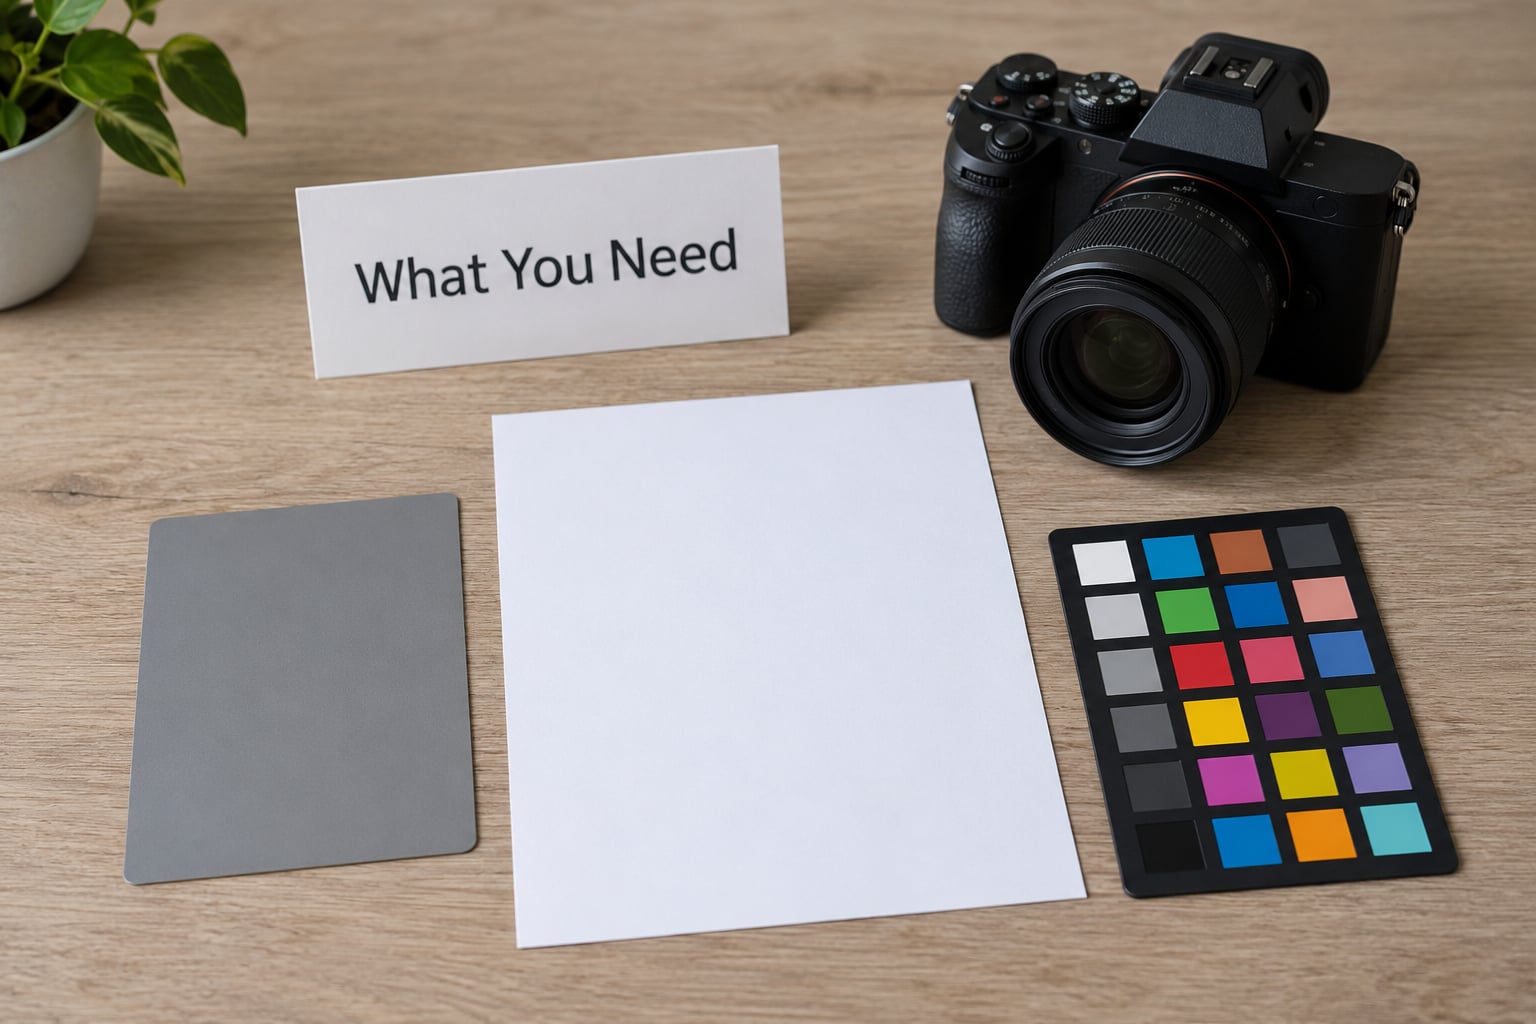
You need less than most people expect. Four things cover almost every situation, from a family shoot in a living room to product work for a client who cares about the exact shade of a paint colour.
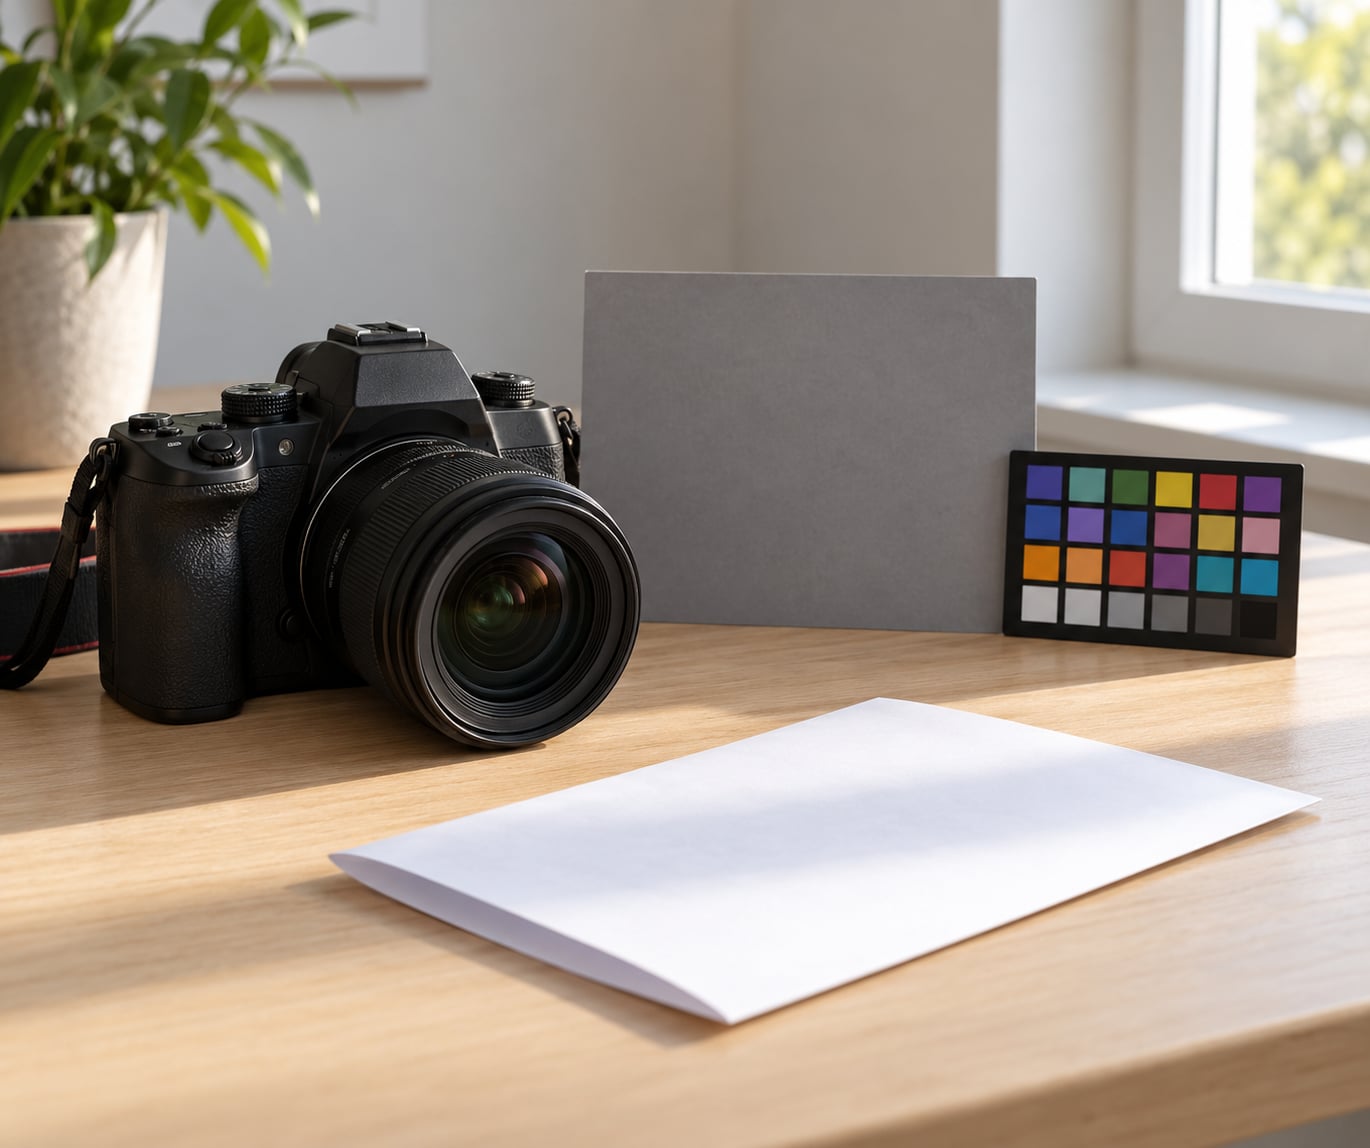
- A neutral reference. An 18% grey card is the standard, and a folded sheet of plain white printer paper works nearly as well in a pinch. Keep one in your camera bag so it is always in the first frame of a set.
- A camera with manual white balance. Every DSLR and mirrorless body has Daylight, Shade, Cloudy, Tungsten, Fluorescent and Flash presets plus a custom Kelvin entry. Phones need a manual app, because the stock camera apps almost never expose tint.
- RAW capture, if your camera offers it. This is the single biggest reason beginners get nervous about colour, and it goes away the moment you shoot RAW.
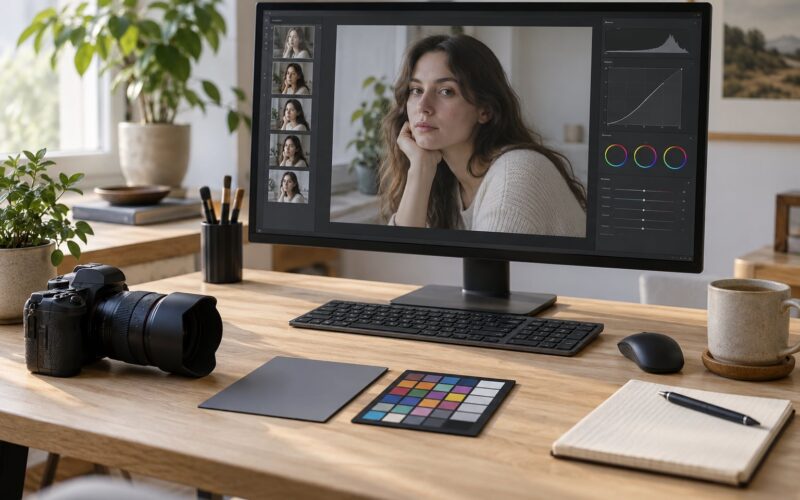
- An editor with a neutral picker. Lightroom and Capture One both put a white balance eyedropper in the Basic panel. Photoshop handles it with a Curves adjustment layer, and Lightroom Mobile and Snapseed do the same job on a phone.
A colour checker chart is worth adding once you start shooting colour-critical work, because it validates exposure and skin tone as well as white balance. It is not a substitute for the grey card on a fast job.
Step-by-Step: How to White Balance Photos Accurately
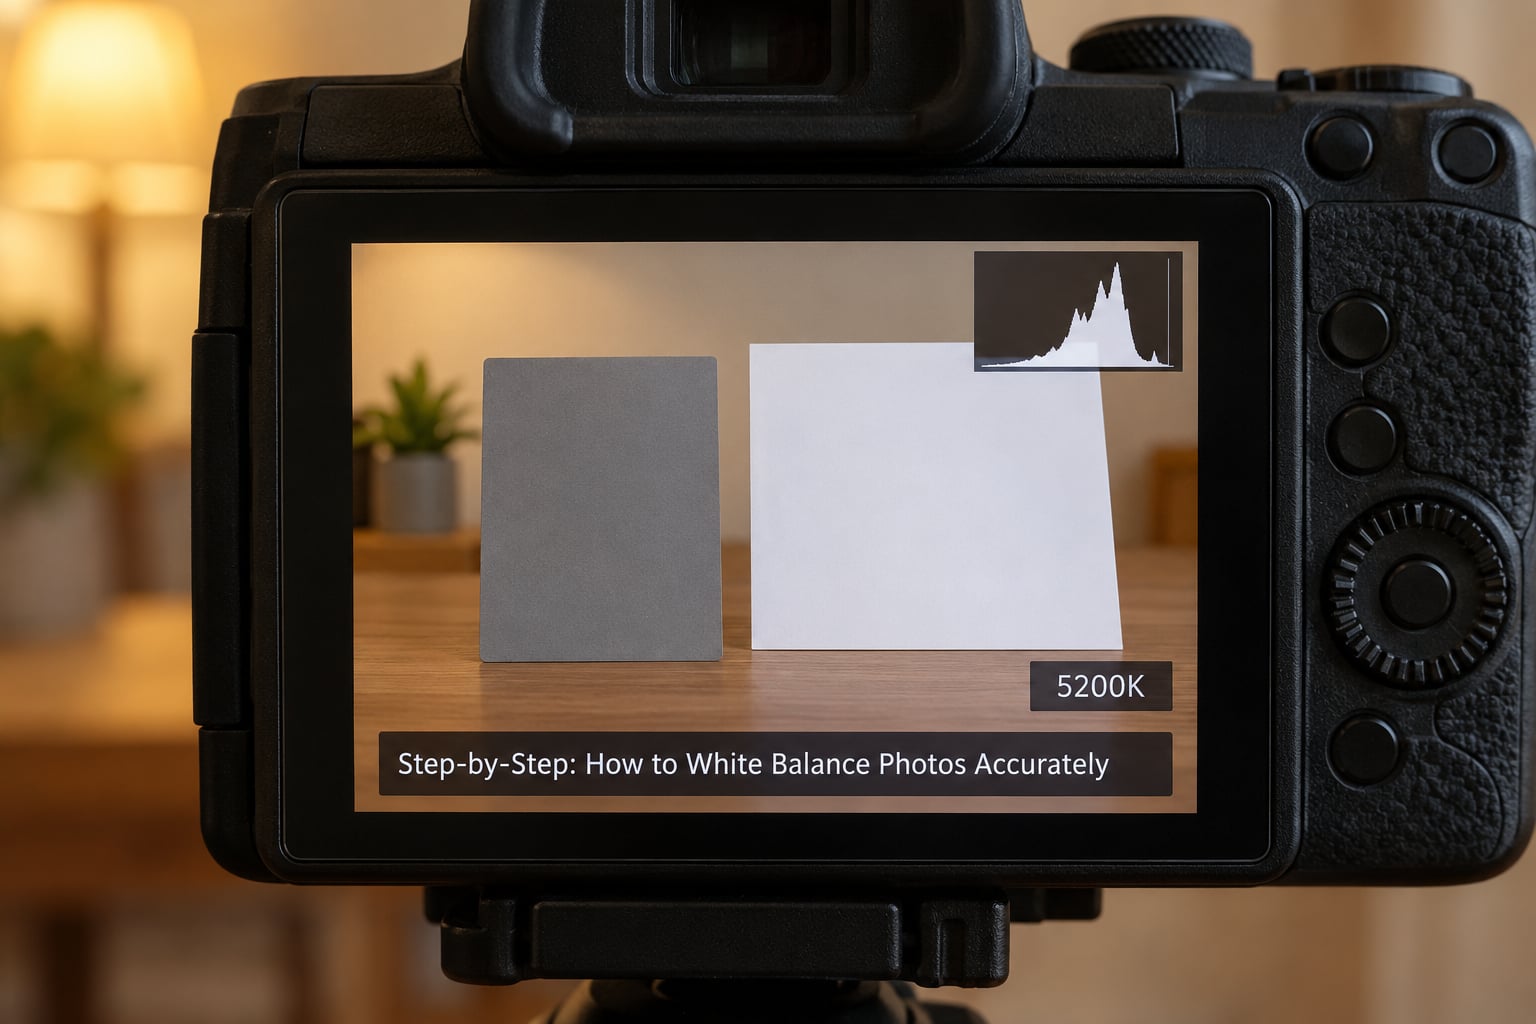
Here is the process in order. Identify the light source first, because the Kelvin number is meaningless until you know what is actually lighting the subject.
| White balance preset | Typical Kelvin | Where you use it |
|---|---|---|
| Daylight | 5200-5600K | Direct sun outdoors, flash, studio strobes |
| Cloudy / Overcast | 6000-6500K | Overcast sky, bright open shade |
| Shade | 7000-7500K | Deep shade, north-facing walls, heavy cloud |
| Tungsten / Incandescent | 2800-3200K | Household bulbs, warm lamps, restaurant interiors |
| Fluorescent | 4000-4500K | Tube lights and cooler office fittings |
| Flash | 5400-5500K | On-camera flash as the dominant source |
How to Set White Balance for Accurate Photos
Start by getting auto white balance out of the way. AWB re-samples the light for every frame, which is why a sequence shot in one room slowly drifts from warm to neutral to slightly green. Lock it to a preset or a fixed Kelvin value and every frame in the set starts from the same point.
Match the preset to the dominant light on the subject, not the brightest thing in the room. A window behind the subject decides face colour far more than the lamp in the corner. If you are outdoors in direct sun, Daylight is right. Under a flat grey sky, switch to Cloudy, and if you are under a tree or a building overhang with the sky still visible, Shade.
Indoors, Tungsten handles warm household bulbs, but modern LED bulbs are a different animal: they sit somewhere between 3000K and 5000K and drift in small steps as they dim. Fluorescent is the preset most people get wrong, because old tubes lean green while newer ones sit cool and blue. A preset plus a small tint nudge is the honest answer, and a custom reading beats guessing every time.
How to Use a Custom White Balance for Mixed Lighting
A custom white balance is the camera measuring the actual light instead of guessing it. Put the grey card in the frame where the subject will be, fill as much of the viewfinder as you can, then open the white balance menu and choose Set Custom White Balance from the card. On most bodies the reading takes a second or two, then stores as a Kelvin and tint pair you can recall later.
Shoot one reference frame at the start of the set and again whenever the light changes. In a portrait session that means once by the window and once after you move to the lamps. Both readings become custom slots, so switching mid-session is one menu press instead of a hunt through presets.
Mixed lighting is where the single-value approach runs out. A tungsten lamp at 2900K and a window at 6000K in the same frame cannot both be white at once, and a forum thread on DPReview makes the point bluntly: night and mixed interiors are the hardest case, and the fix is local correction, not a better global setting. Correct the frame to whichever light dominates the subject, then mask the second source and shift it separately with an adjustment layer or a Lightroom masking panel. The cast stays visible in the background, where it belongs, and the skin stops looking ill.
How to Check and Fine-Tune White Balance in Editing
In Lightroom Classic, the white balance eyedropper sits at the left end of the Temperature and Tint sliders in the Basic panel. Click it, then click a neutral grey pixel in the image. The slider jumps to the correction needed to make that pixel neutral, which is faster and more repeatable than dragging by eye.
Sample something you know is neutral: a grey card, a white shirt, a concrete floor, the white balance of a painted wall in daylight. Skip specular highlights, windows and anything you cannot name the true colour of. Capture One has an equivalent picker in the Colour Balance tool, though users on its forums report it samples inconsistently on some files, so check the result rather than trusting the click.
Two techniques that experienced editors use on stubborn frames are worth knowing. The first is the saturation trick: push global saturation to maximum, balance the blue and yellow axes until the neutrals read as grey, balance magenta and green the same way, then bring saturation back to zero. Multiple users on that same DPReview thread confirm it works on difficult files because high saturation exaggerates the error you are correcting. The second is a grey point routine in Photoshop: apply a small-radius average blur to a duplicate layer, add a Curves adjustment, and use the middle eyedropper to set the grey point automatically.
For the check itself, judge against a mid-grey or white background rather than whatever else is open on your screen. Set your viewer background to pure white when working on dark night frames, because a bright surround gives your eye the reference it needs. Inspect skin tones last, and never push warmth so far that a neutral wall stops looking neutral. Correct first, then decide how much mood you want to add back.
On a phone, Lightroom Mobile and Snapseed both expose a temperature slider under the colour or white balance menu in the adjustment panel, and both let you save the setting and copy it across the rest of the session. The workflow is the same one, just smaller.
Common Mistakes
These five cover nearly every colour problem I get asked about, and each one has a specific fix rather than a general nudge.
- Leaving white balance on auto. AWB re-evaluates every frame, so a set shot in one room drifts. Fix: switch to a preset or a fixed Kelvin value before the first frame and touch it only when the light changes.
- Expecting the camera setting to affect RAW files. In RAW, the white balance you chose is written into the EXIF metadata as an instruction, not applied to the sensor data, so it looks like nothing happened. JPEG bakes it in permanently. Fix: shoot RAW, then set white balance in the editor where it costs nothing to experiment.
- Judging colour on a bright screen in a dark room. Your eye adapts to the surround, so a neutral frame reads blue next to a bright page and warm on a dim display. Fix: check on a calibrated display in neutral ambient light, or compare against a mid-grey background.
- Overcorrecting mood light. Pushing a golden-hour frame to neutral removes the reason you shot it. Fix: neutralise deliberately moody scenes only when accuracy is the brief, and keep the cast otherwise.
- Trying to fix two light sources with one value. A warm lamp and a cool window cannot both be neutral. Fix: correct globally for the dominant source, then mask the second source and shift it locally.
Three habits prevent most of that. Keep the grey card in the first frame of every set. Write down the Kelvin reading when the light changes. And copy settings across a batch at the end rather than fixing frames one at a time, which is where subtle mismatches between shots creep in.
Frequently Asked Questions
Is it better to shoot white balance in RAW or JPEG?
RAW, every time. The sensor data keeps the colour information, and the white balance you picked in camera is stored as an EXIF instruction rather than applied, so you can change it later with no quality loss. JPEG bakes the camera setting into the file permanently, which means a wrong white balance cannot be fully recovered. Shoot RAW and the choice of preset only sets your starting point.
Should I use a gray card every time I photograph?
Not every frame, but at the start of every setup. Put the card where your subject will be, set a custom white balance from it, and shoot one reference frame. Every image in that set then shares one starting value, which is what keeps a sequence consistent. You can skip it for quick snapshots or when you plan to correct entirely in post from RAW.
How do I fix photos with a strong yellow or blue color cast?
Start in the Basic panel and use the white balance eyedropper on a known neutral surface rather than dragging sliders by eye. Sample something you can name the true colour of, then check the temperature and tint values before you fine-tune by eye. If the cast comes from two light sources in one frame, correct globally for the dominant one and mask the other for a local shift.
What white-balance setting should I use indoors with mixed lighting?
No single preset handles it. Use a custom white balance taken from a grey card placed where your subject will be, which fixes the dominant source accurately. Then correct the second source with a masked adjustment so the background keeps its colour while the subject reads clean. This is the case that ruins indoor and night sessions for most beginners.
Can I make white balance accurate after taking the photo?
From a RAW file, yes, and almost without limits. The white balance eyedropper in Lightroom and Capture One, the temperature and tint sliders in Lightroom Mobile and Snapseed, or a Curves layer in Photoshop all work on the original data. From a JPEG, you can improve a cast but you are pushing colours back against a file that already had the wrong balance compressed into it.
How do I keep skin tones natural when correcting white balance?
Neutralise first, then adjust. Get the grey card or a white shirt in the frame reading as true grey and white before you touch anything else. Skin sits close to neutral, so if skin looks orange or sallow while the neutrals look right, move temperature and tint a small amount at a time. Judge skin in daylight on a calibrated screen, not on a dim display.
Conclusion
Accurate white balance comes down to four moves: know what is lighting the subject, lock white balance out of auto, verify against something genuinely neutral, and correct what is left in the editor. Shoot RAW so the last two moves stay free.
On your next shoot, start by identifying the dominant light source and taking one frame with a grey card in the frame. Everything after that takes about two minutes.