A studio is mostly a room with good light in it, and you already have one of those. The gear people spend thousands on is a way of making an ordinary room behave predictably, and about 80 percent of that result comes from light direction, a little bounce on the shadow side, and camera settings that match the room.
Here is the short version of how to shoot indoor portraits without a studio: find the best light source in the room, turn the subject about 45 degrees toward it, put a white surface opposite the light to lift the shadows, open the aperture, raise ISO until the exposure lands where you want it, and move the subject far enough from the wall that the background softens. Everything below is the detail behind those six moves.
This guide suits a beginner with a camera and no lighting kit, a parent who wants family portraits that do not look like phone snapshots, and anyone photographing people in a small apartment. It takes about 30 minutes to set up once you know what you are doing.
Table of Contents
- What You Need
- Step-by-Step
- Choose a Room and Background
- Set Up and Shape Your Light
- Choose Camera Settings for Indoor Portraits
- Direct the Subject and Capture the Portraits
- Common Mistakes
- Frequently Asked Questions
- What kind of lighting is best for indoor portraits?
- Can I shoot portraits with overhead lights only?
- Do I need a reflector for portraits?
- How do I fix white balance with mixed indoor lighting?
- What camera settings work best in a dim room with only a window?
- How do I shoot a portrait alone with nobody to hold the reflector?
What You Need
You need less than most people assume. The honest baseline is a camera, a lens, a window or one lamp, and something white. Everything beyond that solves a specific problem, and if your portraits already look decent you can skip straight to the workflow.
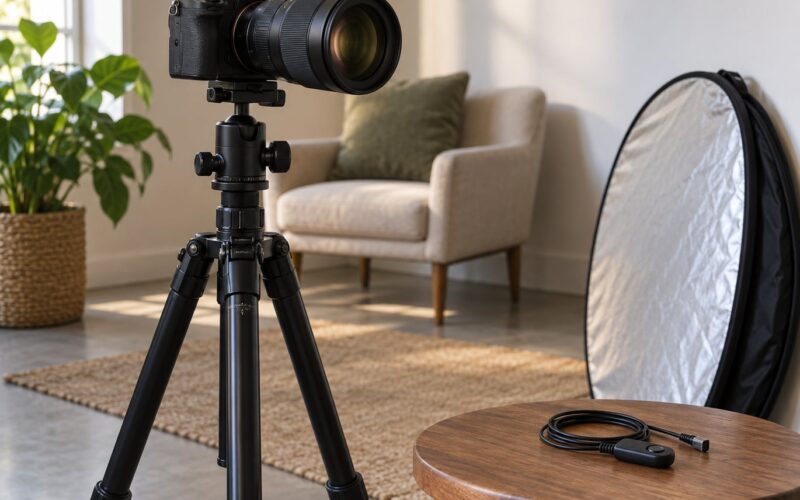
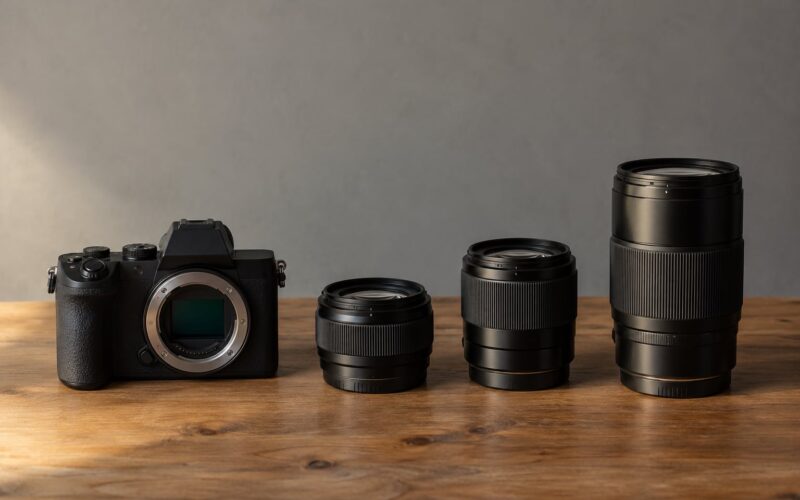
Camera and lens. Any camera with a manual or semi-automatic mode works, including a recent phone with a portrait mode. A 35mm or 50mm equivalent lens covers most indoor portrait situations, and a fast prime with a wide aperture around f/1.8 lets you work in dim rooms without pushing ISO as far.
A light source. A window is the obvious answer and usually the best one, but a single desk lamp or an overhead bulb can work if you learn to move the subject instead of the light. You want one source you control, not three competing ones.
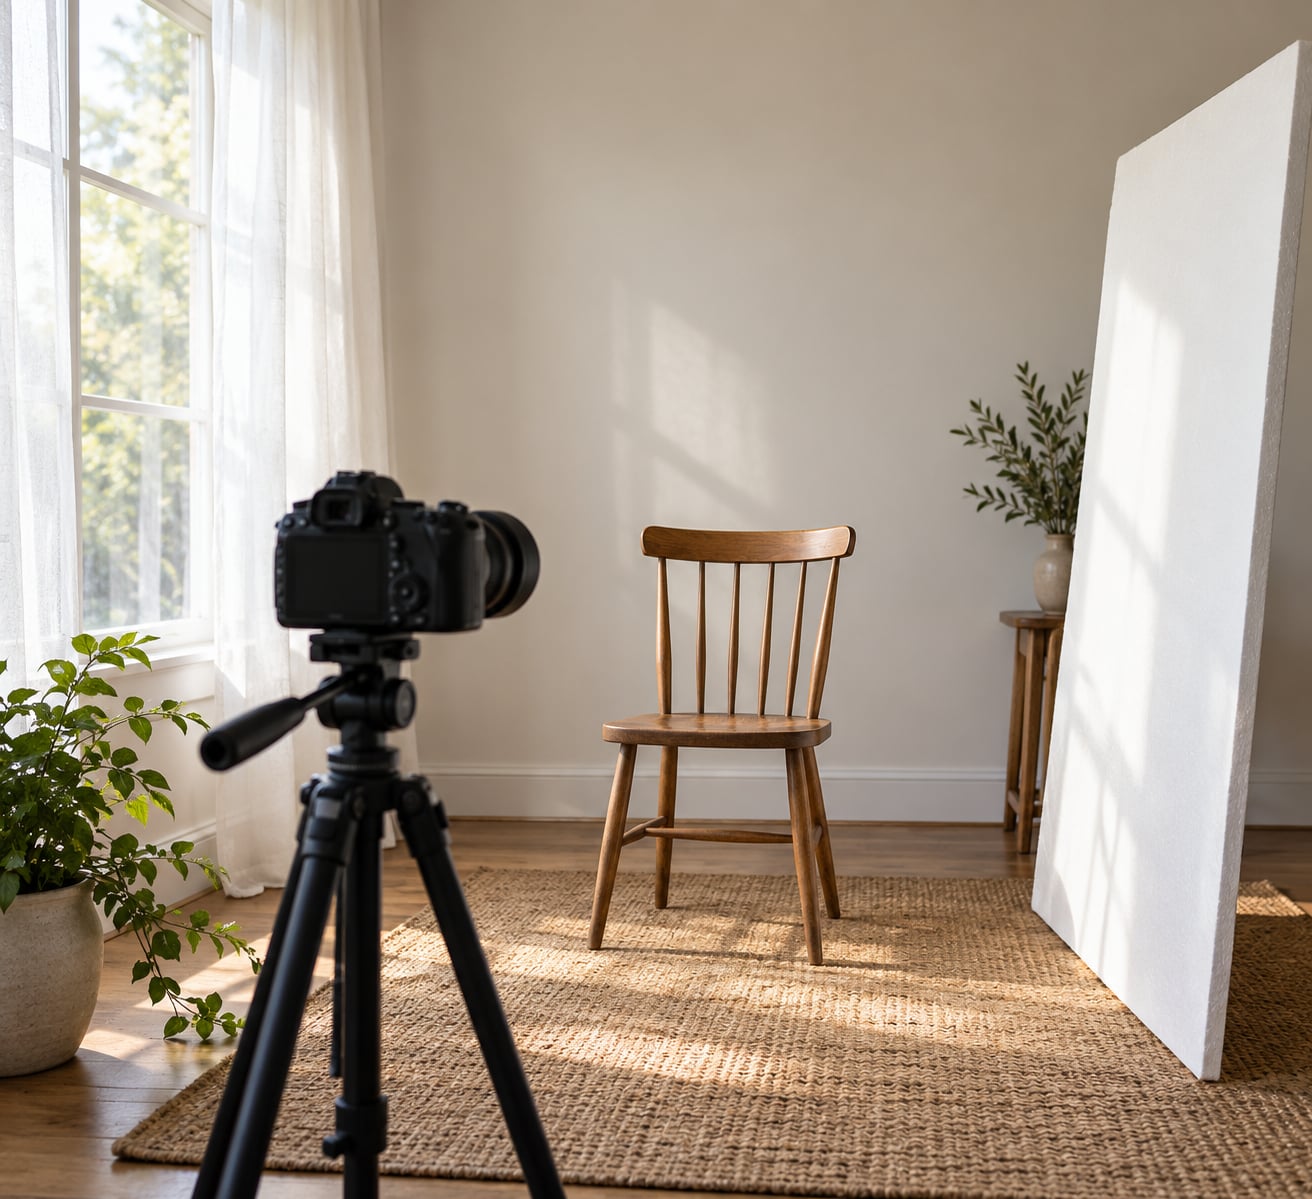
Something white and large. A foam core board, a white poster board, a bedsheet on a door, or even white printer paper on a clipboard fills the shadow side. Bigger and closer means softer, so a 20 by 30 inch board beats a small mirror for face light.
Something black. A black poster board or a piece of black foam core held near the shadow side subtracts light and adds contrast. This is called negative fill, and it is the trick that turns flat, evenly lit snapshots into portraits with shape.
A support. A tripod is not optional once the room is dim, because a slow shutter and a moving subject cannot both be fixed in software. A stack of books and a folded towel works in a pinch.
Optional upgrades, in the order they earn their place: a 5-in-1 reflector once the white-card approach feels limiting, a small LED panel with a diffuser if you shoot in the evening, a speedlight you can bounce off the ceiling, and a folding clamp light for shaping hair and shoulders in a room with no window.
If you want a broader foundation while you are picking things, our beginner basics and camera gear sections cover the body and lens choices that handle indoor light best.
Most of the useful modifiers are already in your house. This table maps the object to what it actually does in the setup.
| Household object | What it does in the setup | Main limitation |
|---|---|---|
| Sheer shower curtain or thin net curtain | Diffuses direct sun into a much softer, larger source | Stops some light, so you may need more ISO |
| White bedsheet or pillowcase | Bounces light back onto the shadow side of the face | Takes up room and reflects whatever colour the wall is |
| Aluminum foil on cardboard | Cheap directional reflector for hair and rim light | Very reflective, so it can overpower a soft window |
| Foam core board, white side out | Fill light, and a white backdrop if large enough | Creases and dents if you store it flat and wet |
| Black foam core or dark card | Negative fill that darkens the shadow side for contrast | Easy to forget in the frame if you are not careful |
| Flat white paint swatch card | Quick colour reference when setting white balance by eye | Too small to do real fill work |
| Towel over a chair back | Dims a bright wall or blocks light spilling into the background | Not dark enough for strong contrast |
Step-by-Step
Work through the steps in order the first time. Most indoor portrait problems come from setting the camera before understanding the room, and the room is the part you cannot change once your subject arrives.
Choose a Room and Background
Pick the room before you pick the gear, and pick it by light rather than by furniture. Walk each room at the time you plan to shoot and note where the window is, where it faces, and whether anything blocks it. A room with one clean wall and a decent window beats a larger room with three sources and no shadow control.
Window direction changes the character of the light more than most beginners expect. A north-facing window in the northern hemisphere gives steady, cool, indirect light through most of the day, which is why portrait photographers treat it as the easy one. South-facing windows deliver strong direct sun in the middle of the day and softer light early and late. East windows are best in the morning, west windows in the afternoon, and both give you warm directional light near sunrise or sunset.
This table maps the light you are likely to find to the approach that suits it.
| Light you find | What it looks like | Best approach |
|---|---|---|
| Overcast window | Even, cool, very soft, no visible shadow edges | Best all-round condition. Shoot close to the window and let the softness do the work. |
| Direct sun through glass | Hard bright patch, sharp shadow lines across the room | Hang a sheer curtain, or wait for the patch to leave the wall and the face. |
| North-facing window | Steady, low-contrast, consistent through the day | Place the subject 1 to 2 metres from the glass and angle them 45 degrees. |
| Late sun, low angle | Warm, long shadows, strong falloff across a face | Bounce it off a wall, or let it graze for a rim and expose for the face. |
| Single overhead bulb | Shadows in eye sockets, under chin, bright ceiling | Raise the subject to stand and shoot from below chest level, tilting the bulb up if possible. |
| Mixed bulbs and window | Colour banding, one side warm and one cool | Switch off the bulbs or block them, then shoot window-only. |
Deal with the background second, and do it physically rather than optically. Most of the work is removing things rather than adding them: unplug the charger, close the laptop, take the bin out of frame, move the drying laundry, pull the door mostly shut without leaving it ajar in an obvious way.
Then move your subject away from whatever is behind them. A metre or two of space behind a person turns a cluttered wall into a soft blur at f/2.8, which is the cheapest subject separation available indoors. If you cannot create distance, change angles until the frame is filled with wall, or turn the subject 90 degrees and shoot toward the window so the background becomes a bright soft wash.
Wall colour matters more than most people expect. A plain off-white wall bounces light onto the subject’s shadow side and reads as a free fill. A dark wall absorbs it, which is useful when you want a moodier result and a problem when you are already fighting darkness.
Hang a bedsheet if the wall is busy. A neutral sheet on a wall behind the subject, held flat and lit separately, gives you a backdrop you control in about two minutes.
Set Up and Shape Your Light
Light quality is just how big the source looks from the subject’s point of view, and how far away it is. A window is a large source, so it wraps light around the face softly. A bare bulb is small, so it produces hard edges and deep eye-socket shadows. Making a source bigger is the single most useful thing you can do, and a sheer curtain is the fastest way to do it indoors.
Position comes next. Turn your subject roughly 45 degrees toward the window rather than square on to it. Facing the light directly flattens the face into an evenly lit mask; at 45 degrees the light falls across the cheek, the far side of the face falls into shadow, and you get shape. Move them back from the glass as well, about 1 to 2 metres for a window, because light falls off and the contrast between the lit and shadow sides increases with distance.
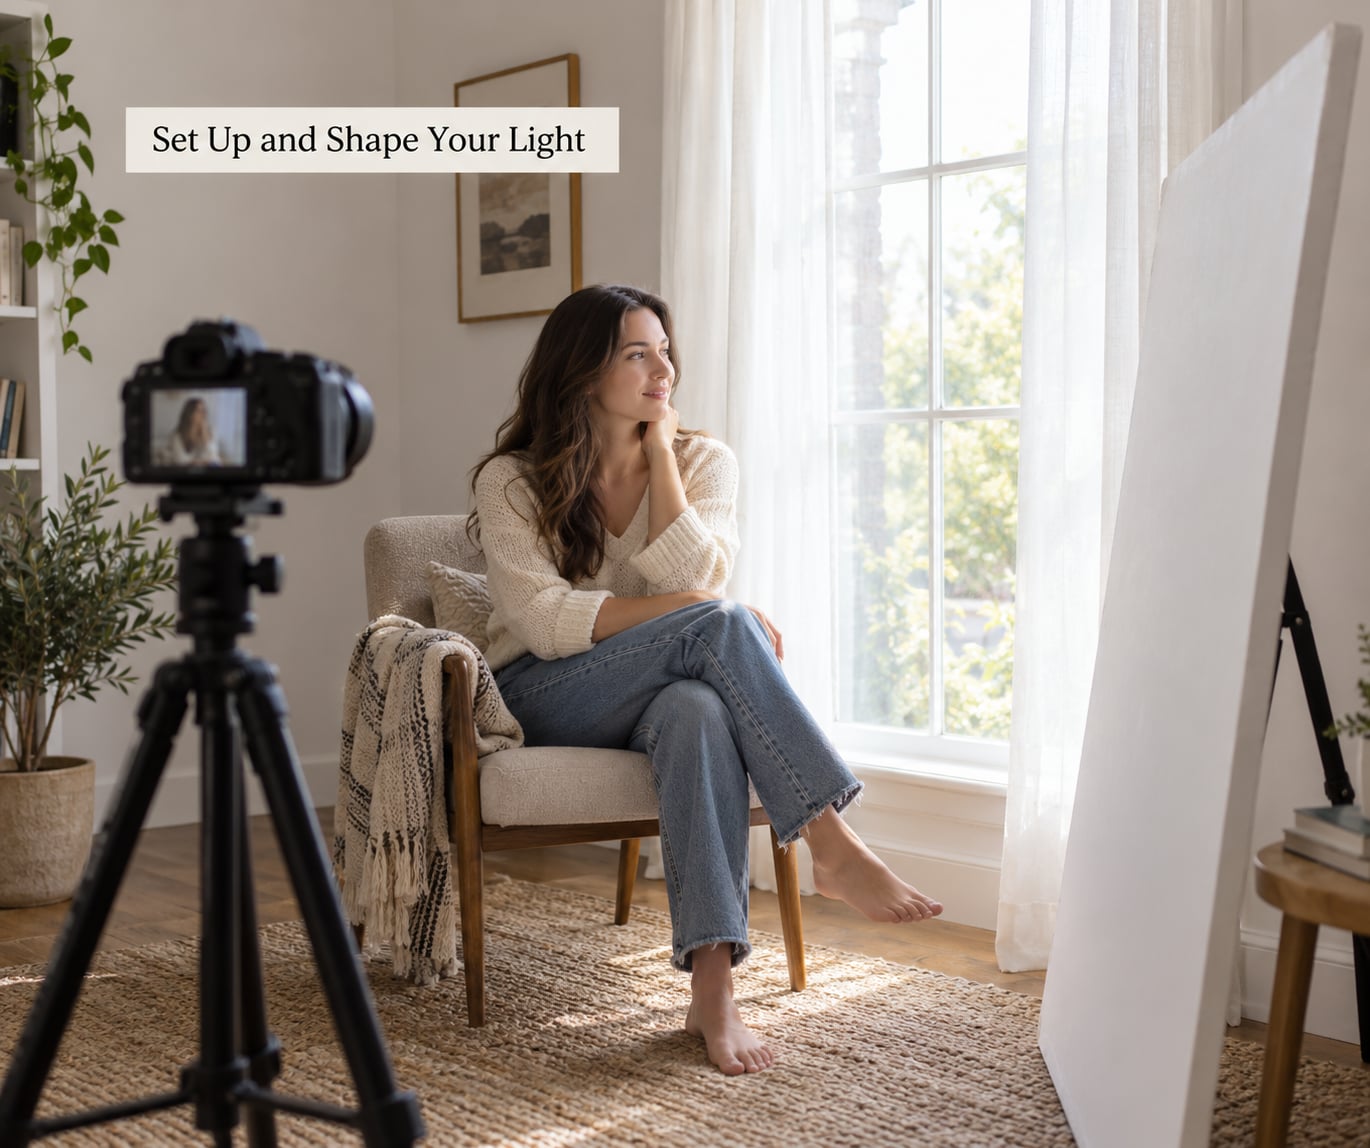
Read your setup before you shoot it, and the diagnostic is the catchlight, the bright reflection you can see in your subject’s eyes. One clean window-shaped highlight means one soft source. Two small hard dots mean two bare bulbs. A bright ring with a dark centre means you have the light directly behind the camera, which produces flat, lifeless eyes.
Control the shadow side next. Put a white surface opposite the light, close to the subject, and angled to catch what spills past them. You are not trying to light the face twice; you are opening the shadows so detail survives. If the fill is too strong the portrait goes flat again, so move the board further away rather than removing it.
When the result still looks flat, do not add light, remove it. Put a black board on the shadow side and the same face suddenly has contrast, because the shadow side is now darker than it was. That is negative fill, and it does more for a cheap setup than any light you can add without buying something.
If there is no window, work with the room you have. Turn off the ceiling light and use one lamp with a shade, placed above and to the side of the subject at about 45 degrees. Have your subject stand and shoot from slightly below eye level to avoid the hollow-eyed look of top light. With a speedlight, bounce it off the ceiling and put the subject against a darker wall so the falloff gives you a gradient instead of a hotspot.
Do not mix colour temperature unless you intend to. Warm bulbs plus blue window light produce skin tones you cannot rescue fully, so switch off or block the weaker source and commit to one. If you must keep both, set white balance to the source falling on the face and accept a background with a colour shift, which often looks intentional rather than broken.
Choose Camera Settings for Indoor Portraits
Start with aperture wide open or one stop down, at f/2.8 or wider. That gives you shallow depth of field, which softens the background and separates your subject from it. It also lets in the light you are short on, so wide open is doing two jobs at once.
Then find the fastest shutter the light allows. Handheld, keep the shutter at least as fast as the reciprocal of your focal length: 1/125s at 50mm, 1/200s at 85mm, 1/250s at 135mm. If the light will not support that, put the camera on a tripod rather than raising ISO to compensate, because a sharp noisy frame beats a clean blurred one every time.
Set ISO last. Start around ISO 400 in a bright window, ISO 800 to 1600 in a dim room, and ISO 3200 plus on a single overhead bulb or a cloudy evening. Modern cameras handle those numbers well; the ceiling is where grain gets obvious, not at 1600.
This table maps room conditions to a starting point, then tells you which setting to move first.
| Room condition | Aperture | Shutter | ISO | Move this first |
|---|---|---|---|---|
| Bright overcast window, subject near glass | f/2.8 | 1/250s | 400 | ISO down for cleaner shadows |
| Average daylight window, subject 1 to 2 m back | f/2.0 | 1/200s | 800 | ISO, then aperture |
| Dim room, window present | f/1.8 | 1/125s | 1600 | Shutter on a tripod, not ISO |
| No window, single lamp | f/1.8 | 1/60s on tripod | 3200 | Add a bounce or white fill |
| Mixed warm bulbs and cool window | f/2.0 | 1/160s | 800 | White balance before exposure |
Focus on the near eye in aperture priority mode and leave single-point autofocus switched on. If the subject moves and the eye keeps slipping, switch to manual focus once, set it on the chair back or a face height in the same position, and stop adjusting. A fixed focus point is more reliable than a servo mode hunting around a dim room.
Set white balance deliberately rather than leaving it on auto. Shoot a frame, check the histogram for clipped highlights in the window, and pull exposure compensation down by a third to a half stop if the window is blowing out. Once you settle on a look, lock white balance to daylight and stop thinking about it.
Shoot in RAW. Mixed indoor light is much easier to correct afterwards than it is to avoid, and the raw file keeps the shadow detail you need to recover a face that was slightly too dark.
Direct the Subject and Capture the Portraits
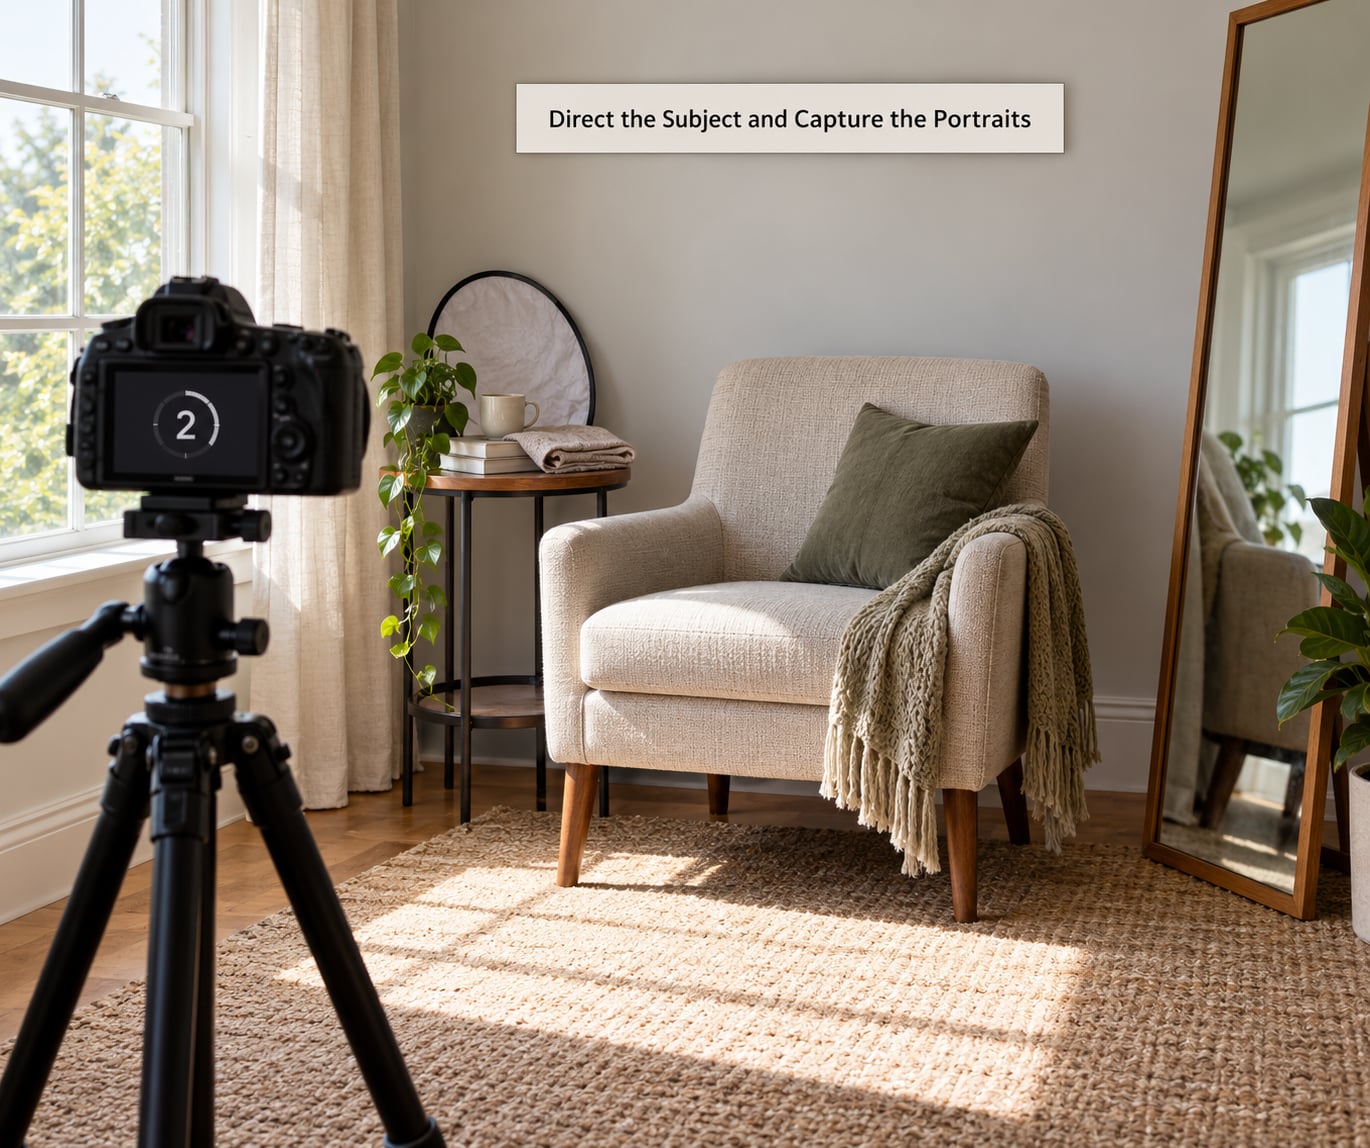
Directing alone is harder than directing with a second person, and the fix is preparation rather than technique. Show your subject the pose before you pick up the camera, ask them to hold it, then walk to the camera and shoot from there. Nine times out of ten they forget the pose the moment they stop looking at you.
Give instructions in movement and emotion rather than position. Ask them to turn their shoulder toward the window and lean slightly forward, or ask for a half-smile with the eyes rather than a full one. Long technical directions produce the stiff, wide-eyed look that makes an indoor portrait obvious.
Get the camera height right too. Shooting from slightly above gives a gentler, more flattering face; shooting level with the eyes feels more honest and direct; shooting from below is dramatic and should be used deliberately.
Build a repeatable shooting sequence. Start wide to establish the room, then move to a half-length, then a head-and-shoulders, and finish with a detail shot. Between each, check the catchlights and the background once, then leave the camera settings alone so you are not chasing exposure mid-session.
Because you are alone, use the tripod, the two-second self-timer or a remote release, and burst mode at low speed so you catch the expression between frames. With children and pets, keep shooting through the pauses rather than waiting for stillness. With a nervous adult, talk while you shoot and let the good frames happen between words.
Have your subject stand, walk, sit, and turn between setups rather than holding still. Natural movement gives you frames that look like a moment instead of a pose.
Common Mistakes
Almost every bad indoor portrait comes from one of a handful of causes. Find the symptom, match the cause, and apply the fix in this table before changing anything else.
| Symptom | Likely cause | Fix |
|---|---|---|
| Frame is soft or subject blurred | Shutter too slow for handheld | Tripod, or raise shutter and accept higher ISO |
| Grainy, muddy shadows | ISO pushed past the room’s light | Open aperture, move subject closer to the window, add white fill |
| Dark eye sockets, nose shadow | Light too high or too close | Move the light to 45 degrees and above eye level, then bounce below |
| Window is pure white | Exposing for the face at a bright background | Pull exposure down, or change angle so the window is out of frame |
| Skin looks orange or green | Mixed colour temperatures across the face | Switch off the second source, then set white balance to the main one |
| Face is flat and lifeless | Fill too even, light straight on | Add negative fill with a black board on the shadow side |
| Busy, cluttered background | Subject too close to the wall | Move them a metre or two back and open the aperture |
| Skin texture looks rough | Light too close and too hard | Hang a sheer curtain and step the source back from the face |
| Everyone has dark rings under the eyes | Flash fired straight at the face | Bounce off the ceiling and drop the flash power |
Two more situations come up constantly enough to handle directly.
My room is ugly. This objection stops people before they start, and it is usually solvable in ten minutes. Clear surfaces, close the doors, remove anything hanging at head height, and stand the subject with their back to the brightest part of the room. Shoot wide and crop later. A sheet on the wall covers almost anything.
What if the light is mixed? Turn off what you can and shoot one source. If the bulbs must stay on, put the subject closer to the window than the bulbs so the face is dominated by one source, then correct the colour in post. Converting to black and white is a legitimate escape route, since it removes the colour conflict entirely, but only when the image does not depend on skin and wardrobe colour to work.
Film the change in post, not just the settings. Shoot one frame with the setup the way you planned it and one frame after you bounce the light or move the subject half a metre. Seeing the two side by side teaches more than another paragraph of theory.
Frequently Asked Questions
What kind of lighting is best for indoor portraits?
Large, soft, directional light from a single source is best. A window acts as a big source and wraps around the face, while a bare bulb acts as a small one and creates hard shadows and dark eye sockets. Aim for one source at about 45 degrees to the subject, slightly above eye level, with something white opposite it to lift the shadows. Softness comes from size and distance, so a sheer curtain over a sunny window or a shade on a lamp gets you most of the way there.
Can I shoot portraits with overhead lights only?
Yes, but only after you change the angle. A bare ceiling bulb sits directly above the face and hollows out the eye sockets, so switch it off and use one lamp with a shade placed above and to the side of your subject. Have them stand while you shoot from slightly below eye level, which mimics a softer high-and-to-the-side setup. If you have a speedlight, bounce it off the ceiling instead and expose for the falloff.
Do I need a reflector for portraits?
No, but the shadow side needs controlling one way or another. A 5-in-1 reflector is the cheap standard answer, yet a white foam core board, a bedsheet thrown over a door, or two sheets of printer paper on a clipboard do the same job. Hold the white surface opposite the light, close to the subject and angled to catch the spill. If you already have too much fill, put black card there instead to darken that side and add contrast.
How do I fix white balance with mixed indoor lighting?
Turn off the weaker source first, because no correction handles two colour temperatures across one face. If both must stay on, move the subject closer to the source that dominates the face so most of the skin is lit by one of them. Shoot in RAW, set white balance to that main source, and make a small correction from there. You will still see a colour shift in the background, which usually reads as intentional rather than wrong.
What camera settings work best in a dim room with only a window?
Open the aperture as wide as the lens allows, around f/1.8 to f/2.8, then find the fastest shutter the light supports while keeping it at least as fast as the reciprocal of your focal length. Put the camera on a tripod when that speed drops below 1/125s, and raise ISO only after the shutter and aperture are fixed. Start near ISO 1600 in a dim room and check the histogram, pulling exposure down if the window is clipping.
How do I shoot a portrait alone with nobody to hold the reflector?
Prop the reflector first, then leave it there. A foam core board leaning against a sofa or a bedsheet over a door back does not move once you set it. Put the camera on a tripod, use burst mode with the two-second self-timer or a remote release, and direct the pose by walking to the camera and shooting the set position rather than trying to pose from behind the lens. Have your subject hold the pose once before you start so they know what to return to.
Start tomorrow with one room, one window, and one person who will sit still for five minutes. Choose the best wall, clear the clutter, prop a white board opposite the glass, and set your subject at 45 degrees about a metre back. Shoot one frame at f/2.8, 1/200s, ISO 800, check the catchlights and the histogram, then adjust one setting at a time.
Then give yourself seven days of short sessions: one room per day, ten frames each, changing exactly one variable so you know what caused the difference. By day seven you will have a feel for how light moves through your own home, which is the only thing that makes every future indoor portrait faster.