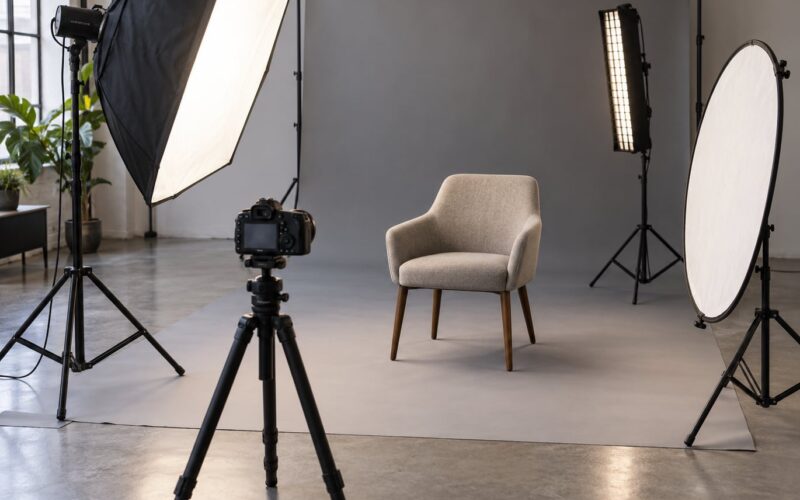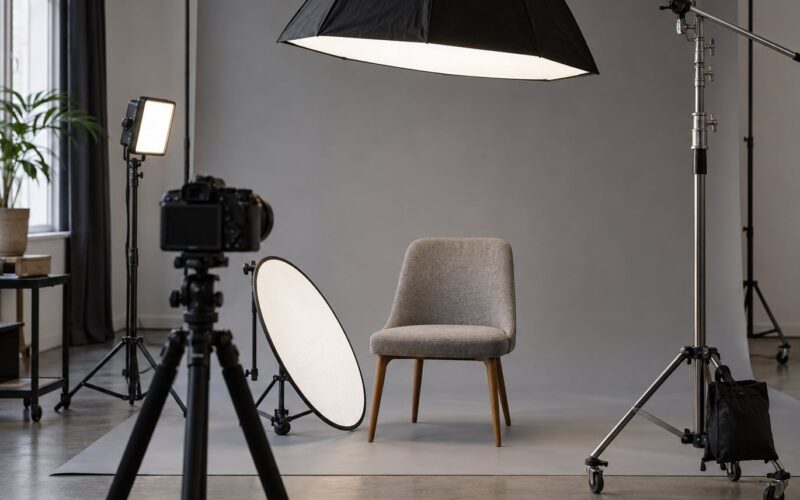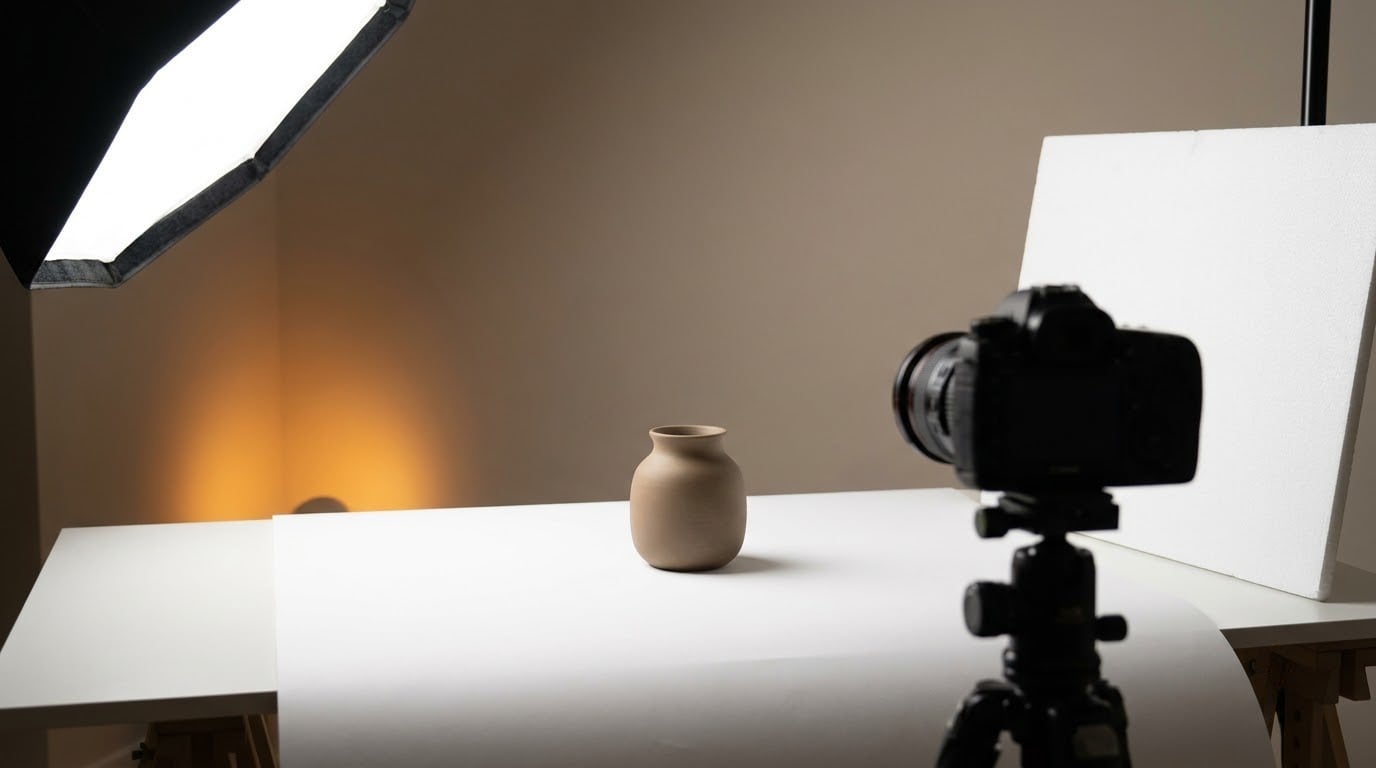
You can shoot clean, professional product images with a single light source. The formula is simple: put the light about 45 degrees to the product and above its center, diffuse it through the largest soft surface you own, and bounce a white card into the shadow side to bring that side back up. Everything after that is small adjustments. This is how to light a product photo with one light, and it takes about ten minutes to set up once you know where to stand.
One light is not a compromise. It is the setup that teaches you what light actually does, because every change you make has a visible cause and effect. Most beginners who struggle with product photography are not short on gear, they are guessing at positions instead of repeating a position until it looks right.
Table of Contents
- What You Need
- Step-by-Step
- How to Light a Product Photo With One Light
- Set Up the Product and Background
- Choose the Right Light Direction
- Dial In Camera Settings and Take the Shot
- Common Mistakes
- Troubleshooting One-Light Product Photos
- Frequently Asked Questions
- Can I use a continuous light for product photography?
- What is the best modifier for one-light product photography?
- How do I control shadows when using only one light?
- Should I use a reflector or a second light for product photos?
- What camera settings should I start with for a one-light setup?
- How do I photograph shiny or reflective products with one light?
- Conclusion
What You Need
You need five things, and only the first one has to be a real light. The rest can be things already in your house.
A light source. A monolight or LED panel gives you continuous light, which is easier to learn on because you can see exactly what changes when you move it. A speedlight or entry strobe gives you more power and lets you freeze motion, and it is what most product photographers reach for once a shoot gets busy. Either works. A window with a sheer curtain is a legitimate first light too, since it is large, soft and free.
A modifier. This is what turns a hard, shiny bulb into something flattering. A softbox, a diffusion dome, a 5-in-1 reflector panel, or a white bedsheet stretched over a chair all scatter the light and grow the apparent size of the source. Bigger is softer, and soft is forgiving. If you own nothing else, a sheet over a light stand gets you 80 percent of the way there.
A white reflector. A piece of white foam board, a matte white poster board, or even a sheet of paper on a second stand. It goes on the side opposite the light and fills the shadows without adding a second lamp. Silver card reflects harder and brighter when you want a punchier fill, and black foam board is the opposite tool: it eats light to deepen a shadow when a frame looks flat.
A shooting surface. A seamless paper sweep, a white acrylic sheet, a sheet of cardstock, or a clean table with a paper roll behind it. Keep the surface matte unless you are deliberately photographing reflections.
Something to hold position. Light stands, clamps, a boom arm, or two books on a table to hold a light stand leg steady. A light that moves a few centimeters between shots is the fastest way to lose an afternoon.
Camera and settings come next, and any camera with a manual mode will do. A phone in a fixed mount works for a first run, though you give up control over shutter and white balance.
Step-by-Step
Work in this order every time. The sequence matters because each stage depends on the one before it, and changing the light angle after you have set exposure means starting the exposure again.
How to Light a Product Photo With One Light
Start at 45 degrees. Place the light roughly 45 degrees to one side of the camera and about 30 to 45 degrees above the product, so the light looks down on the top surface rather than straight at the front of it. This gives you a bright face, a falling-off top, and a soft shadow that runs away from the camera. Straight-on light is the reason most beginner product shots look flat.
Then dial the distance. Light intensity falls off with the square of distance, so moving the lamp twice as far away cuts the light to roughly a quarter. The practical consequence is that you have two dials instead of one: a bigger or closer source for more softness and brightness, a smaller or farther source for contrast and control. Most product work sits between 60 and 120 centimeters from the subject.
Height comes next. The lower the light, the more it wraps around the product and the longer the shadow it throws toward the camera. The higher the light, the shorter the shadow and the more the top surfaces light up. Overhead suits flat lays and anything with lettering on top. A low side angle suits bottles and anything tall, because it emphasizes height.
Finish the position with the reflector. Place a white surface on the side opposite the light, angled back toward the product, and close enough to fill in. Watch the shadow tone: a shadow that reads as light gray is underfilled, a shadow that reads as black is underlit on that side. Move the reflector closer to soften, farther to weaken. That single move replaces what most people think they need a second light for.
That is the whole formula: 45 degrees, above the product, big modifier, white reflector opposite. Every variation below is a deliberate move away from it.
Set Up the Product and Background
Clean the product before you light it. Fingerprints on glossy surfaces read as ugly specular highlights once the light hits them, and no amount of editing removes them as cleanly as a microfiber cloth does. Wipe the sweep and the reflector too, since dust bouncing light is visible in a wide frame.
Position the product so it is not glued to the backdrop. Leaving two to three product widths of space between the subject and the sweep prevents a dark seam and gives the image somewhere to breathe. For catalog shots, place the sweep far enough back that falloff goes dark before it reaches the paper, then raise exposure to bring it to white.
Control reflections with angle, not with hope. A curved white sweep throws a smooth gradient into a glass or chrome surface, while a flat one shows the crease. If you want a mirror-clean reflection, put a white card just below the camera axis and let it land in the surface. If you want to break the reflection up, angle the product a few degrees so the light source never lines up with the camera.
Kill the ambient light too. Overhead room lights are usually the reason a product looks flat and slightly yellow no matter how the key is placed. Turn them off, close the curtains, and let one light do the work.
Choose the Right Light Direction
Direction changes mood more than intensity does. Move the light around the product and the same object becomes clinical, dramatic, or cozy.
| Direction | What it does | Best for |
|---|---|---|
| Front / on-axis | Even, low-contrast, almost shadowless; flattens shape | Flat lays, labels, anything where the graphic must stay readable |
| 45 degrees | Shape, dimension and a readable shadow direction | General product work, bottles, boxes, tools |
| Side | Strong texture and long shadows; halves the exposure | Textiles, wood, leather, anything with a surface you want to feel |
| Rear-side (backlight) | Glowing edges, rim separation, translucent materials | Glass, liquids, hair-thin products, food with steam |
| Top / overhead | Shadow falls away from camera, top surfaces read brightest | Flat lays, cosmetics laid out, printed surfaces |
Rear-side lighting is the most useful for transparent and translucent things. A glass bottle shot from behind with a soft source picks up a bright outline and glowing liquid, and a circular polarizing filter helps you knock the surface reflection down as you rotate it. Product shooters on forums like r/productphotography treat the polarizer as the one accessory that saves reflective shots, and that is accurate.
A ceiling bounce is the other pro move. Point the light at a white ceiling a few feet above and behind the product, and the ceiling becomes a source several feet wide. You get soft, even wraparound light with no modifier at all, which is how many tabletop food and craft setups are lit on a budget.
Dial In Camera Settings and Take the Shot
Shoot in manual and RAW. You want repeatable numbers, not the camera guessing differently on every frame.
For continuous light, start at ISO 100, f/8, and whatever shutter speed still lets you hand-hold or tripod without blur. With a strobe or speedlight, the flash sync speed becomes your ceiling, usually 1/200 or the camera’s stated sync limit, and you control the background brightness with aperture and ISO instead. Focus manually with a magnified view on the front face of the product rather than relying on autofocus, which hunts on low-contrast surfaces.
Set a custom white balance or shoot RAW and correct later. A cheap monolight can sit anywhere from 3200K to 6500K, and a few hundred kelvin of shift is the difference between neutral and a color cast your retouching will have to fight.
Then take a test shot and check four things: the white point on the background, the highlight on the brightest part of the product, the shadow tone, and the sharpness at the front face. Raise or lower the light’s power or the exposure until the background reads as the white you want, not gray and not blown with no detail. A one-stop adjustment is a normal correction.
Deep products like rings, bottles and hardware need more depth of field than one frame gives. Focus stack by shooting several frames from stepped focus positions and blending them in post, keeping the light and camera completely still between frames. Any movement between shots makes the stack impossible, so lock everything down.
Common Mistakes
Hard-edged shadows. The source is too small or too close. Move the light farther away and diffuse it with a bigger surface. If the shadow is soft but too dark, the reflector is not doing its job, so bring it closer.
Bright, ugly reflections on glossy products. The light is at the mirror angle to the camera. Change the product’s angle by a few degrees or move the light, then use a polarizer if the material allows it.
A gray background instead of white. The backdrop is too close, so the light is falling off across it. Push the sweep back 30 to 60 centimeters, or light the background separately in a later exposure and composite it.
Clipped highlights on white or metallic surfaces. There is more light on the subject than the sensor can hold. Drop the exposure by a third to a half a stop and check the histogram, since white product surfaces clip early.
Uneven results shot to shot. The light moved a few centimeters between frames. Mark the stand position with tape on the floor and mark the tripod leg so you return to the same spot every time.
Blurry frames. Ambient light was low, the shutter was slow, or the camera moved on the table while the mirror or shutter fired. Use a tripod, a timer, or a remote, and do not hand-hold below 1/60 with the light low.
Troubleshooting One-Light Product Photos
When a frame looks wrong, change one thing and reshoot before you touch anything else. Small single changes are how you learn what each element does.
Too flat and shadowless: the light is too frontal or too large and close. Move it higher and to the side, or add a black foam board to the fill side to darken it.
Too dark overall: the product is in the light’s falloff path. Bring the light closer, raise the power, open the aperture, or add a second bounce only as a reflector rather than a lamp. Check that a flag or backdrop is not blocking the light.
Blown out and flat looking: the source is overpowering the product. Take a half-stop or full stop off and introduce a black card on the fill side to regain contrast.
Background competing with the product: the sweep is brighter than the subject or too close in tone. Flag spill off the background, drop the light a little, or move the product farther from the sweep.
Product not separating from the background: both are the same tone. Put a black card behind a light product, or a bright reflector behind a dark one, and separate the two values by a clear margin.
Frequently Asked Questions
Can I use a continuous light for product photography?
Yes, and many beginners should. A continuous LED or monolight shows you the effect of every move in real time, which makes learning positions far easier. The tradeoff is power: continuous units run hot and rarely match a strobe, so in bright rooms you may need to raise ISO or accept a slower shutter. If you shoot video as well as stills, continuous is the obvious choice.
What is the best modifier for one-light product photography?
The largest one you can get close to the subject, because apparent source size drives softness. That usually means a softbox or diffusion dome rather than a bare bulb, and a white sheet over a stand is a legitimate low-cost substitute. A grid is the opposite tool: it narrows the beam to control spill on the background. Most work calls for the big source first, grid only when the background keeps lighting up.
How do I control shadows when using only one light?
You do not remove them, you shape them. A white reflector or foam board on the side away from the light lifts the shadow to a readable gray, and moving it closer makes the transition softer. A black card on that same side deepens the shadow for contrast. The product-type decision is straightforward: matte goods take a bright reflector, glossy and metal goods usually want a dark card or a narrower beam instead.
Should I use a reflector or a second light for product photos?
Start with a reflector. It is free, it does not change your exposure calculation as much as a second lamp, and it teaches you how much fill a frame actually needs. Add a second light only when a reflector cannot create what you want, such as a second defined highlight on metal or glass. If you do add one later, match its color temperature to the key or the two lights will not agree.
What camera settings should I start with for a one-light setup?
Manual mode, ISO 100, f/8, RAW, and manual focus. With a strobe, set the shutter at the camera’s sync speed and balance brightness with aperture and ISO. With continuous light, pick the slowest shutter your tripod or steady hands can hold. Bracket a few exposures and check the histogram, because white and metallic products clip highlights long before the background looks too bright.
How do I photograph shiny or reflective products with one light?
Change the angle before you change anything else. Rotate the product a few degrees so the light is no longer mirrored straight into the lens, and use a white card to place a clean, controlled reflection where you want it. A circular polarizing filter knocks down surface glare on glass and coated metal when you rotate it to match. For chrome, a curved white card gives a smooth gradient instead of a hard hot spot.
Conclusion
Do this first: set the light at about 45 degrees, 30 to 45 degrees above the product, through the biggest soft surface you have, and put a white reflector on the shadow side. Take one shot, look at the background value and the shadow tone, and adjust from there. Once that one position is repeatable, everything else in this guide is a small move away from it.