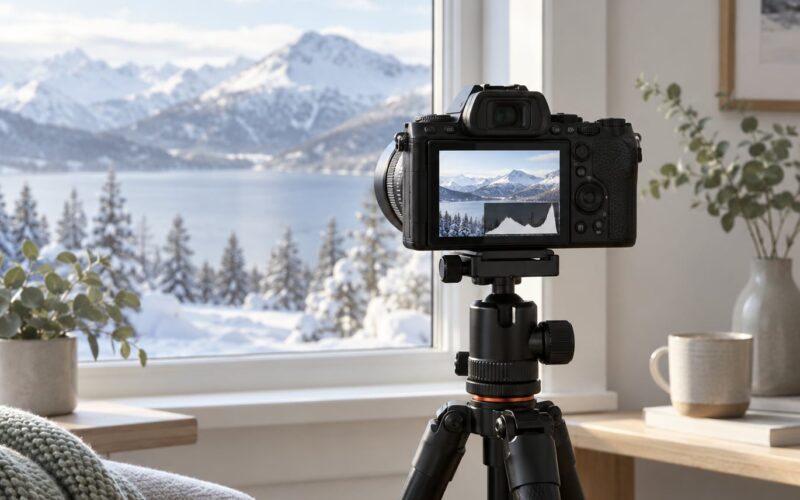
Blown highlights happen when one or more colour channels hit the maximum value the camera recorded, so texture is replaced by flat, featureless white that no editor can bring back. Knowing how to avoid blown highlights comes down to three habits: watch the top end of the histogram, meter for the brightest area you actually care about, and leave yourself a stop or two of slack in camera.
It is mostly a beginner problem with one specific cause. The screen on the back of your camera is not telling you the truth, and the clip has already happened in the sensor data by the time you are squinting at a three-inch display under a bright window.
On the photo.net forums and on photo.stackexchange, the same question fills thread after thread: a portrait subject beside a window, beautiful light streaming in, and no technique that keeps the window from going white. The photographers who answer it well all say the same thing. As Istvan Kovacs put it in a discuss.pixls.us thread about recovering blown skies, the best way to deal with highlights is to preserve them when shooting by reducing in-camera exposure, and restore that exposure later in the editor.
Before anything else, three checks worth running on every frame:
- Are the blinkies or zebras flashing anywhere?
- Is anything sitting hard against the right-hand edge of the histogram?
- Is the brightest thing in the picture something the picture would be worse without?
If the answer to that last question is yes, dial down before you shoot. Everything below is a version of that.
Table of Contents
- What You Need
- Step-by-Step: How to Avoid Blown Highlights
- Set the Exposure Mode and ISO
- Check the Histogram Before and After the Shot
- Meter for the Brightest Important Area
- Use Exposure Compensation or Manual Adjustment
- Protect Detail with the Right File Format
- Make a Final Judgment From the Camera Preview
- Common Mistakes
- Trusting a Bright Camera Screen: Why It Hides Blown Highlights
- Underexposing the Whole Image to Save One Area
- Assuming Every Highlight Is Clipped
- Pushing RAW Files Beyond Their Limits
- Reusing the Wrong Metering Setting for Every Scene
- Frequently Asked Questions
- Can blown highlights be fixed in Photoshop?
- How do I prevent blown highlights completely?
- Does shooting in RAW always prevent blown highlights?
- Which metering mode is best for avoiding clipped highlights?
- Should my histogram never touch the right side?
What You Need
None of this is specialist gear. It is six things that already exist on the camera you are holding, plus software you probably already own. Menu paths shift slightly between models and firmware updates, so treat the item names below as the reliable part.
- RAW capture. Look for Image quality, File format or File type in the first or second tab of the main shooting menu. Choose the highest bit depth available, usually 12-bit or 14-bit. This is the only setting on the list that changes your ceiling.
- A metering mode that respects highlights. Canon calls them Evaluative, Partial, Spot and Spot with face detection. Sony uses Multi, Center, Spot and Entire Screen Avg. Nikon offers Matrix, Center-weighted, Spot and Highlight-weighted. Fujifilm has Multi, Spot and Average. The button is usually marked with a circle-and-dot icon, or it lives beside ISO on a top-plate dial.
- A highlight warning overlay. Canon: EOS menu 2 (Shooting) > Highlight alert. Sony: Camera Settings > Display Settings > [Viewfinder] > Highlight display, with Zebra alongside it. Nikon: Custom Settings > D-Shooting menu > Highlight display. Fujifilm: Shooting menu > Dynamic Range, where DR200 and DR400 roll highlights off gently. Turn on more than one if your body allows it.
- The histogram. Canon shows it under Display info, Nikon under Playback > Histogram, Sony and Fujifilm by pressing DISP or INFO until it appears. Every body also has a live-view version, and that one is far more useful while you shoot.
- Exposure compensation. A dial or a button, usually near the shutter release. If your camera has one, use it. It is the fastest fix on this whole page.
- Manual mode with an ISO ceiling. Put the mode dial on M. If your camera has Auto ISO, set a maximum inside the ISO menu, so a passing cloud cannot silently push two stops into the frame.
- An editor. Lightroom or darktable will do. darktable users on the pixls thread go deeper on clipping, but the principle is identical and the button names are close enough to follow.
Step-by-Step: How to Avoid Blown Highlights
Set the Exposure Mode and ISO
Aperture priority is fine when the light is steady and your subject moves through the frame. The moment the light changes, though, a semi-automatic mode decides for you, and that decision is the one that clips the window.
Switch to manual whenever the scene contrast is doing something interesting: backlit portraits, a bright sky behind a dark subject, stage lighting, snow, or anything where Auto ISO is invited to wander. Then choose your own aperture and shutter speed and take responsibility for the result.
One clarification that saves a lot of confusion: ISO does not cause blown highlights. Raising ISO does not push a channel past its ceiling. What it does is add noise, which is why you set it as low as the light allows, and why a slightly dark RAW full of clean shadow data beats a bright, clipped one.
Check the Histogram Before and After the Shot
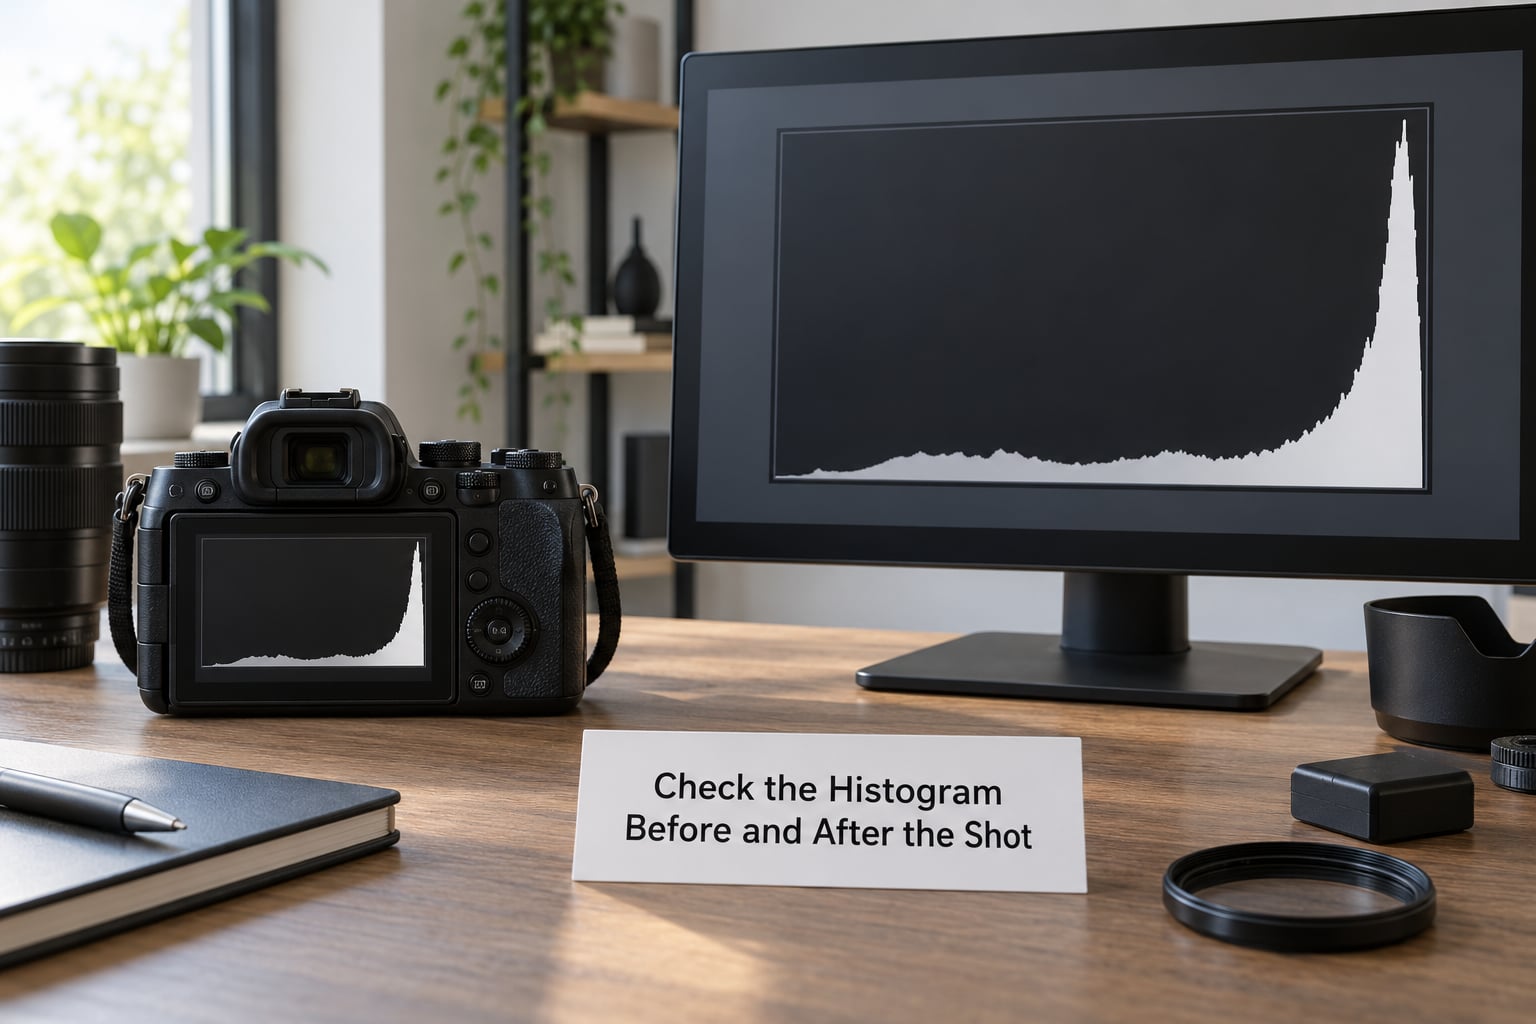
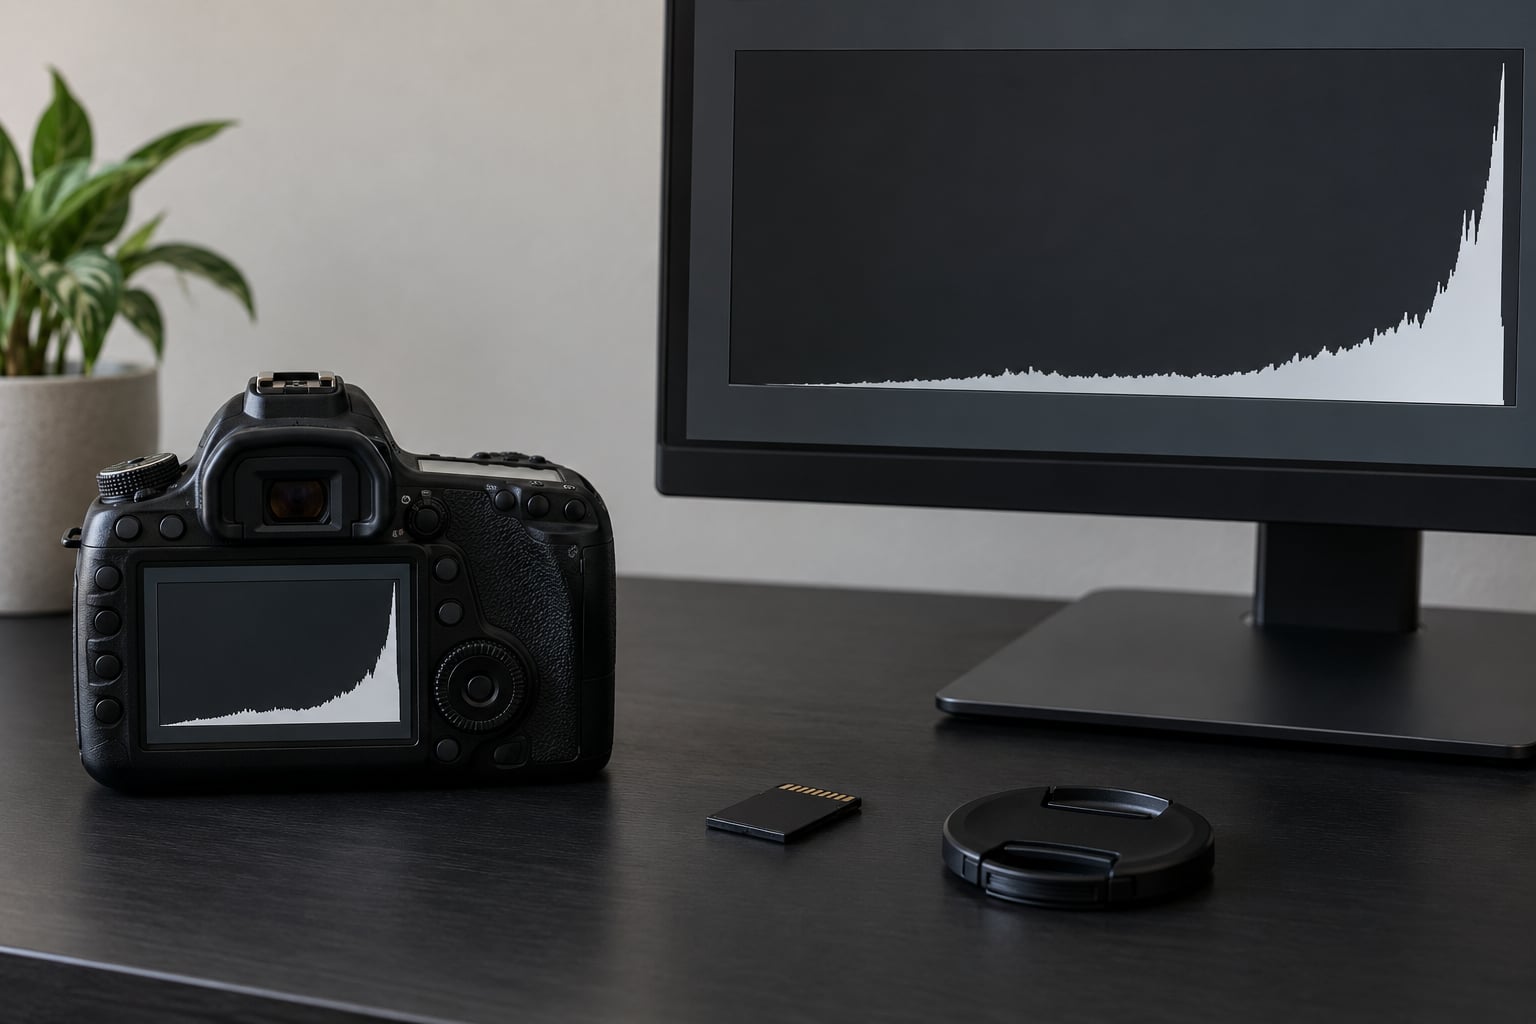
The histogram is brightness counts, not a bar you are trying to keep away from the wall. The scale runs from black at one end to white at the other, and the far edge is the clipping wall at 255, which is the highest value a pixel can hold.
Read it like this: a wide spread with data thinning out well before the edge means healthy highlights. A small dense lump jammed against that edge means something small and very bright is blown, and small and very bright is exactly the shape of a specular highlight, a light bulb or the sun. A gentle slope that merely runs long means you are close, not clipped.
The useful part most people miss is the band just before the wall. Values around 250 to 254 are not destroyed. They are compressed and will need a light touch in post, but the data is there. Only 255 is gone. If your camera offers an RGB histogram or a live view luminance readout, use it, because one channel can clip while the overall image still looks fine.
Meter for the Brightest Important Area
Evaluative or matrix metering reads a large chunk of the frame and averages it, which is why it so often overexposes a scene with a big dark foreground. Center-weighted metering has the same weakness in a narrower shape. Spot metering reads a small circle, and that circle is yours to place.
So place it on the brightest thing you would be unhappy to lose, take the reading, and use it. Nikon’s Highlight Weighted Metering, which arrived on bodies like the D810, biases the reading toward the top of the range specifically to stop channels running into the ceiling, and it is worth using if your camera has it.
How much compensation that needs varies wildly, and the honest answer is that it is a judgement call per scene. One Pentax forum user shooting straight into the sun reports needing roughly minus five stops of exposure compensation or a much faster shutter speed before the red highlight warning stopped firing. Nobody needs minus five in ordinary daylight. It just shows how far the range can stretch.
Use Exposure Compensation or Manual Adjustment
My default in anything bright is minus a third to a full stop before the shot, not after. In aperture priority that dial shifts the whole frame down by that amount. In shutter priority it does the same job on the shutter speed instead.
In manual mode the compensation dial often does nothing at all unless Auto ISO is on, so adjust the exposure triangle yourself. Slow the shutter, close the aperture, or drop the ISO, and watch the histogram move as you do it. Live view makes this the fastest part of the whole routine: one notch of the dial, one glance, repeat.
Underexposing by a stop or two is genuinely not the risk most people think it is. dpreview forum users converge on a workable recovery window of roughly plus 1.5 to plus 3 EV of brightening in post before noise starts to bite, which means you have real room to give the highlights a stop of breathing space.
Protect Detail with the Right File Format
An 8-bit JPEG has around 256 steps per channel and about five stops of headroom above middle grey before it clips. A 14-bit RAW file has roughly 16000 steps per channel, and a 12-bit one still has far more tonal separation than the JPEG will ever show.
That is the whole argument for shooting RAW: the ceiling is higher and the data below it is finer, so an exposure that is not perfect still has somewhere to go in post. It is not a guarantee. If the raw file is clipped, editing cannot invent the missing values.
Video works the same way with different labels. Log profiles, including Sony’s S-LOG3, record a flat curve so the grade has room later, which means a highlight that looks hot on a log waveform may be perfectly recoverable. Check your camera’s false colour view or zebras while recording rather than trusting the small screen on the back of the camera.
Make a Final Judgment From the Camera Preview
Check the frame on something you can actually see, not on a sunlit LCD. Turn the monitor brightness up, cover the screen with your hand to shade it, or switch to live view with the sun behind you, and zoom to 100% on the area you care about.
Clipped skin has no pores. Clipped sky has no gradient. That texture-free quality is the visual signature, and it is easier to spot at magnification than on a thumbnail.
Then trust the overlays over your eyes. Blinkies on Canon and Nikon, zebras on Sony, Fujifilm and Panasonic, all flash over the affected area. Some bodies can also warn about flicker from LED and stage lighting, which is a different problem but looks a lot like a clipping mistake when the shutter speed lands on the wrong frequency.
Common Mistakes
The first mistake worth correcting is exposing for an average that is simply too bright. The camera is doing what it was built to do: put the scene on standard middle grey. If your scene contains a white shirt, a pale wall and a bright window, standard grey can already be too generous.
Trusting a Bright Camera Screen: Why It Hides Blown Highlights
Outdoors, the camera dims the screen to save battery, and a dim screen is a bad mirror for a bright scene. The result is a photograph that looks well exposed on the back of the camera and dead white on your laptop that evening.
Get into the habit of checking the histogram, and if you are still unsure, compare against a known-good frame on the same day. The screen is for composition and focus. The histogram is for exposure.
Underexposing the Whole Image to Save One Area
Protecting one bright area by dropping two or three stops across the entire frame is a bad trade. You keep the window and the shadows turn to mud that no amount of shadow recovery will make look natural again.
When the contrast genuinely exceeds what the sensor can hold, accept that no single exposure will win. Bracket three or five frames and merge them, or move the problem: a scrim or a large diffuser over a subject costs nothing and removes the contrast before you press the shutter. A polariser also takes the edge off glare on water, glass and wet rock.
Assuming Every Highlight Is Clipped
Very bright and very blown are not the same thing. A white studio background shot correctly can sit at 250 across a wide area and still hold faint texture and a clean colour profile. A single red channel at 255 in a face is destroyed, and that is what turns clipped skin an odd magenta in the edit, because the red and green data no longer describe a real colour.
Stop guessing from brightness. Read the channel data.
Pushing RAW Files Beyond Their Limits
There is a limit, and pushing past it produces artefacts that look worse than the original problem. Raise the exposure until the shadows look right and the noise floor lifts with them. Drag the Highlights slider down hard enough and gradients in skies start banding.
The +1.5 to plus 3 EV window is a real working guide, not a guarantee, and it shrinks as the file gets older or the shadows get deeper. Past that point, the better decision is often to accept the natural falloff. Some clipping in a specular highlight, a light source or a background far behind the subject is normal and nobody misses it.
Reusing the Wrong Metering Setting for Every Scene
There is no universally correct metering mode, and treating one as such is how people end up with clipped skies and dull faces in the same roll.
- Backlit portrait: spot or highlight-weighted metering on the face, then check whether the background clipping matters to you. Often it does not.
- Bright sky over a dark landscape: expose for the sky and let the foreground go dark, or bracket if you need both. Exposing for the average produces a grey sky and a black foreground.
- Snow and sand: these read as middle grey to the meter, so expect overexposure and subtract a stop or more until the histogram pulls back from the wall.
- Stage and concert light: manual, spot on the brightest lamp or face, and keep an eye on shadow recovery for the darker half of the stage.
- Product on white: meter off the white card rather than the background if the background is not what the frame is about.
Frequently Asked Questions
Can blown highlights be fixed in Photoshop?
Only if they were never fully clipped. A pixel that reached 255 holds no information above that value, so no tool can reconstruct it. Areas sitting in the 250 to 254 range can be pulled back with the Highlights slider, a lower white point, or a gentle curve. Photoshop’s same-named controls work on non-destructively, but a tone-curve reconstruct option cannot see which raw pixels were clipped, because the tone stage runs at the end of the pipeline.
How do I prevent blown highlights completely?
You cannot prevent them completely, because every sensor has a finite ceiling and some scenes are wider than it. What you can do is remove almost all of them: turn on blinkies or zebras, watch the live histogram, meter for the brightest area that matters, default to minus a third to a full stop in bright light, shoot RAW, and accept natural clipping on things like light sources and background highlights that nobody will miss.
Does shooting in RAW always prevent blown highlights?
No. RAW raises the ceiling and gives you more tonal steps to work with, so a slightly wrong exposure becomes recoverable, but it does not stop a channel running past its maximum. If the highlight is clipped in the raw file, the data was never written. RAW is what lets you correct a mistake, not what prevents one.
Which metering mode is best for avoiding clipped highlights?
Spot metering, placed on the brightest area you care about, gives you the most direct control. Highlight-weighted metering, found on certain Nikon bodies, biases the reading toward the top of the range and is the closest thing to a dedicated anti-clipping mode. Evaluative or matrix metering is the least predictable in high-contrast scenes because it averages a large area and tends to overexpose.
Should my histogram never touch the right side?
No. Data should reach the right side, since that is where white lives. What matters is whether anything is piled up against the edge. A clean frame with a smooth taper running to the wall is fine. A dense lump pressed flat against 255 means clipping, and anything in the 250 to 254 band is getting close and is worth a little negative compensation.
There is one more thing worth saying plainly, because some experienced photographers argue the opposite. Occasionally a clipped highlight is the right call, particularly on a bright light source, a window, or a background you actively want to fall away. Protecting every highlight at all costs can make a frame look sterile.
So do it this: turn the warnings on, check the histogram before you press the shutter, give yourself a stop of slack in bright light, and stop worrying about the small clipping that does not matter. Start tomorrow with one setting, the highlight alert, because it is the one that teaches your eye fastest.