Learning how to shoot portraits in the rain is mostly about accepting that the weather is working for you, not against you. Overcast skies behave like a giant softbox, wet pavement throws light back up under your subject’s face, and colour stays richer than it does at noon. The rain itself only shows up when you put a light behind it. Get those three things right and you will come home with moody, sharp portraits while everyone else rescheduled.
A full session takes maybe an hour once you are set up, and the learning curve sits mostly in gear protection rather than technique. This guide walks through the whole process, from reading the forecast to drying your camera at the end.
Last updated for 2026.
Table of Contents
- What You Need
- Step-by-Step: How to Shoot Portraits in the Rain
- 1. Check the Forecast and Choose a Safe Location
- 2. Protect the Camera Without Slowing the Shoot
- 3. Choose the Rain Effect You Want
- 4. Build Light That Flatters the Subject
- 5. Set Shutter Speed, Aperture, and ISO
- 6. Direct Poses for Wet Conditions
- 7. Focus, Shoot a Test, and Back Up the Best Frames
- Common Mistakes
- Rainy Portrait Tips for Better Results
- Frequently Asked Questions
- Is it safe to take photos in the rain?
- How do I keep raindrops off my camera lens?
- Should I use flash when shooting portraits in the rain?
- How do I keep a subject in focus when rain is falling?
- What camera settings work best for rainy portrait photos?
- Should I shoot a person in the rain or use an umbrella?
- Conclusion: Start With a Sheltered Test Setup
What You Need
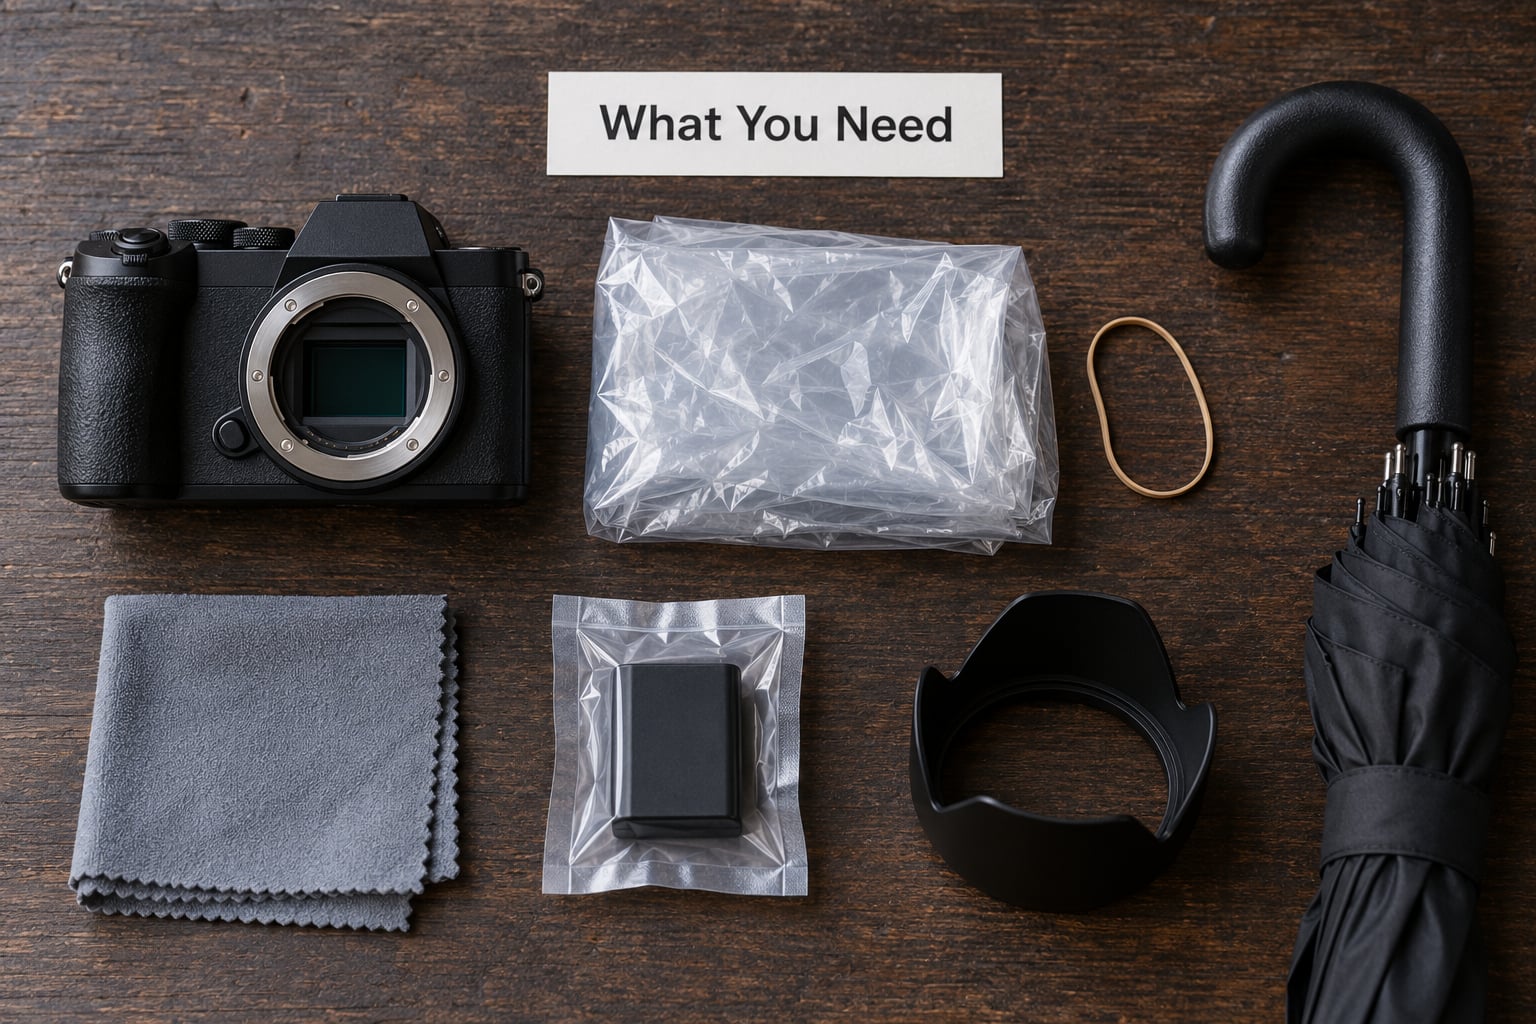
You can absolutely shoot in the rain with what you already own. Here is the kit list, ordered by how much it matters to the shot.
- A camera with some weather sealing. Sealed buttons and card doors buy you time in drizzle. They do not make the camera waterproof, and a sealed body paired with a non-sealed lens is a leak waiting to happen.
- A lens hood. It deflects the worst of the overhead drops and costs almost nothing. A rubber or square hood with a removable petal is better than a round one for wind-driven rain.
- Rain protection for the body. A dedicated camera rain jacket is the clean answer. A clear plastic bag with the lens pushed through and a rubber band around the neck is the budget answer, and it works far better than its shabby reputation suggests.
- Microfiber cloths, more than one. One for the front element, one for the body. Keep them in a sealed pouch inside your bag so they arrive dry.
- A spare battery in a zip bag. Cold and damp drain batteries faster than either condition alone.
- A light source. An off-camera flash with a stand is the best single addition to this kit. A street light, a car headlight or a shop window works when you have nothing.
- Towels. One for your subject, one for your gear. A large microfiber beach towel in the bag is the difference between a comfortable shoot and a miserable one.
- An umbrella and something to stand on. Rubber-soled shoes and a grippy surface underfoot matter more than most people expect.
If you are missing one thing, make it the rain cover. Everything else on this list has a workaround.
Step-by-Step: How to Shoot Portraits in the Rain
Seven steps, in the order they actually happen on a shoot. Put safety and your subject’s comfort ahead of any dramatic rain effect. Nobody wants a moody portrait that came with a cold or a slip.
1. Check the Forecast and Choose a Safe Location
Look at more than the rain icon. Wind matters as much as rainfall because it drives drops sideways straight onto the front element, and it will turn an umbrella inside out. Lightning ends the session, no exceptions, and it can travel far beyond the storm cell you can see.
Pick a spot with a hard overhang, an awning or a covered arcade nearby so you can retreat in about four seconds. Check the ground for standing water, broken paving and dropped branches before your subject arrives. Wet stone with worn treads is where most rain-shoot injuries actually happen.
2. Protect the Camera Without Slowing the Shoot
Protection only works if it leaves your controls accessible. A bag sealed around the whole camera gets you exactly one frame per ten minutes, which is no way to work.
Push the lens hood on first, then slide the body into the rain jacket or plastic bag with a hole for the lens, then seal around the hood with a rubber band. The point is that water runs down the outside and off the edge instead of pooling on your body. Photographers on photography forums describe exactly this bag-and-rubber-band setup as their go-to when a body is not sealed.
Keep a microfiber cloth in your shooting hand at all times. Wipe the front element, shoot three frames, check them, wipe again. Lens cloths rubbed dry across a wet element can grind fine dust into the coating, so blot gently instead.
3. Choose the Rain Effect You Want
Decide this before the subject shows up, because each look needs a different location and a different light.
- Light drizzle. Soft, moody portraits with wet hair and damp clothing. You rarely see individual drops. Best for close, intimate frames.
- Steady rain. The classic look. Umbrellas, jackets, walking shots, and visible streaks when you backlight it.
- Heavy downpour. Shoot under shelter and let the intensity live outside the frame, or get genuinely wet and shoot wide.
- Raindrops on a clear barrier. A window, bus shelter or greenhouse pane in the foreground gives you a way to render rain visibly when the air itself is too dark to show it.
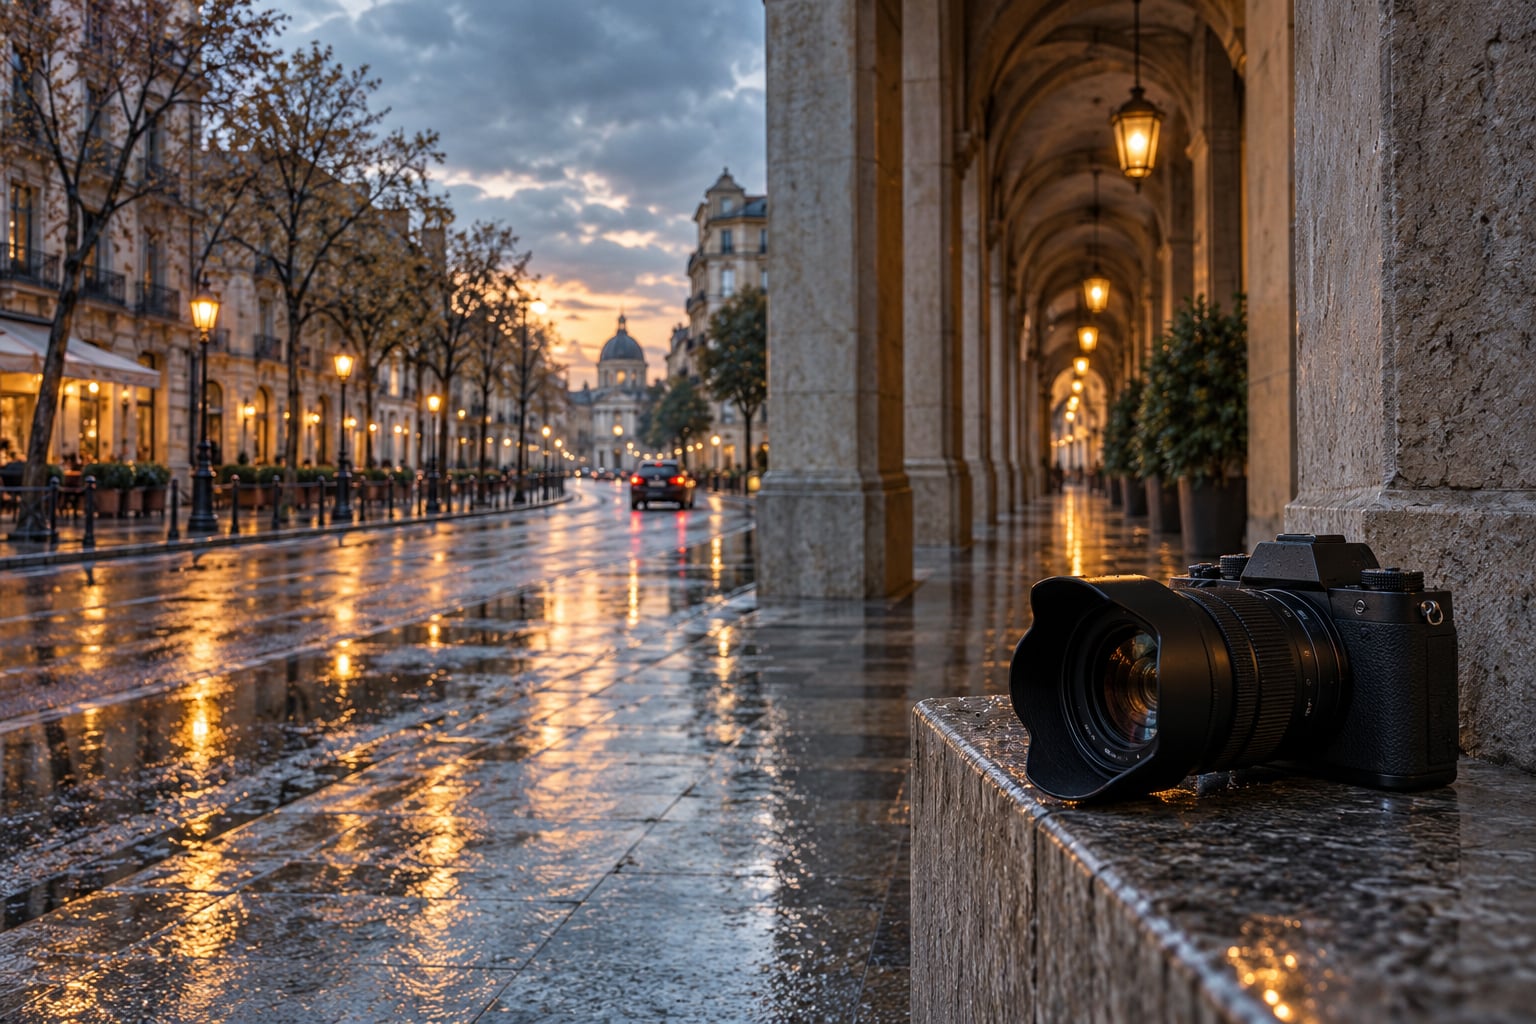
- Wet pavement. Reflections double your subject and add light from below. Frame low and shoot after a heavy burst so the ground holds the most water.
- Indoors. Stand your subject behind a window or at a doorway. You control the light completely and lose no frames to weather.
4. Build Light That Flatters the Subject
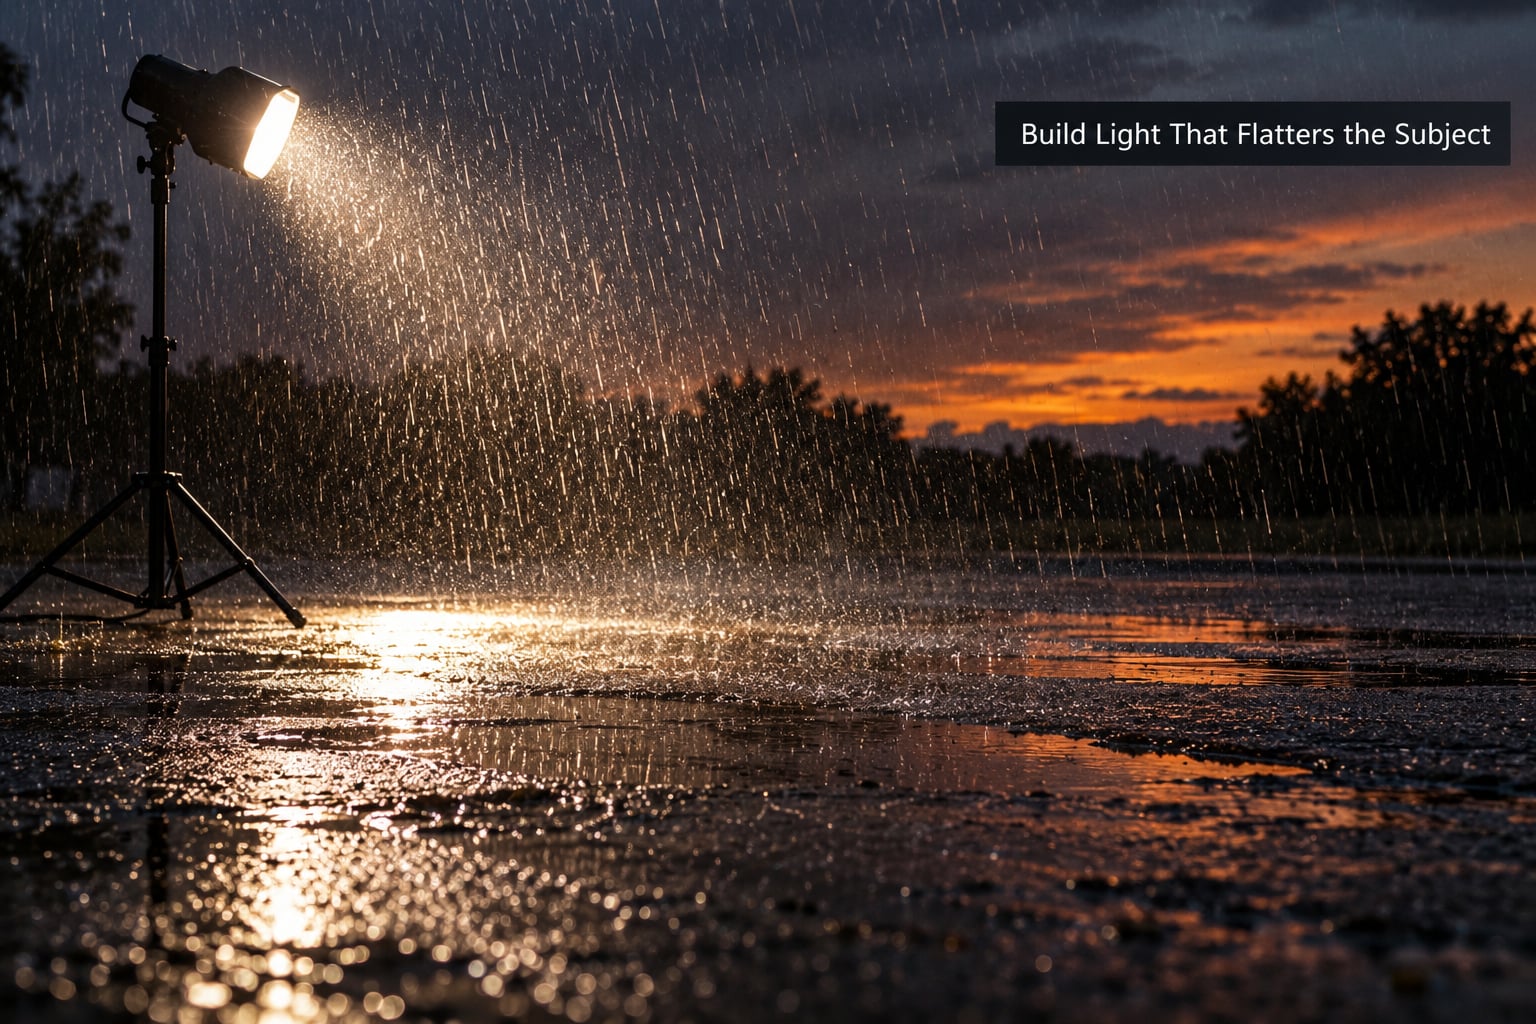
This is where most rain portraits fail. The single most useful thing I can tell you: put light on the rain. Falling water is invisible against a bright sky and turns into glowing streaks the moment something shines from behind or beside it.
Start by getting some light between your subject and the background. A flash placed roughly 45 degrees behind and to one side of your subject, aimed back toward the camera, lights the drops in front of them. The drops near the lens go bright and the ones behind the subject fall off, which creates depth without any post-processing.
Then dial the flash back around three stops from where you would normally set it for the face. You are lighting rain, not faces, so a flash at normal portrait power blows the drops into white streaks and flattens everything. Start at minus three EV and adjust from the histogram.
Flash modifiers change the look more than people expect. A bare flash gives hard, sparkling drops and the most drama. A small softbox spreads the light into a broader, softer curtain of rain and suits a gentler look. A grid keeps the falloff tight, which stops the whole background from turning milky.
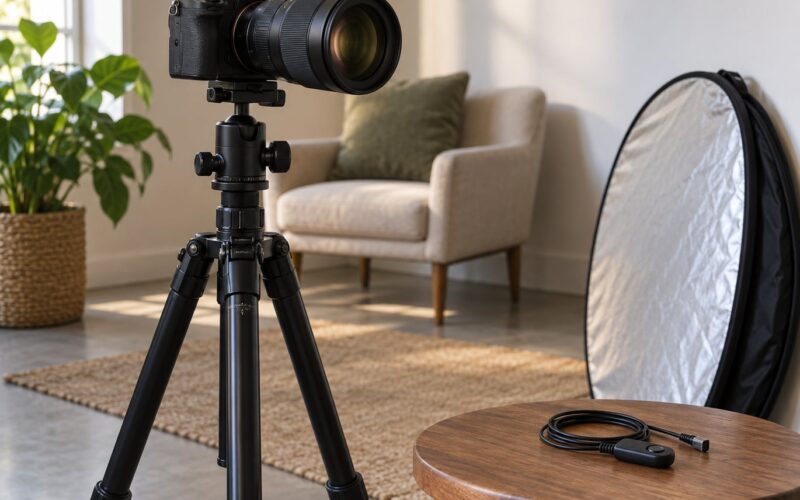
For the face, use the flash at low power, bounced into a reflector or a pale wall if one is nearby. Overcast light gives you a soft wrap already, so the flash only needs to fill the eye sockets. A white reflector on the shadow side often replaces the flash entirely and costs nothing.
5. Set Shutter Speed, Aperture, and ISO
Rain intensity decides the settings, so work from this table and adjust for your light.
| Condition | Aperture | Shutter speed | ISO | Result |
|---|---|---|---|---|
| Light drizzle, sheltered | f/2.8 – f/4 | 1/125s | 200 – 400 | Soft moody frame, background melts away |
| Steady rain, falling drops | f/4 – f/5.6 | 1/250s | 400 – 800 | Drops sharp and separate, subject still sharp |
| Heavy rain or splashes | f/8 | 1/500s | 800 – 1600 | Freezes water, wide depth of field |
| Creative motion blur | f/8 | 1/15s – 1/30s | 100 | Streaked rain, subject on a tripod or braced |
| Night rain, street lights | f/2.8 | 1/125s | 1600 – 3200 | Glowing drops around neon and lamps |
Drop below 1/125s with a handheld camera in falling rain and the droplets start streaking across the frame, which looks like a dirty sensor rather than a choice. Shoot in manual, check the histogram, and bracket a frame or two if the light is changing fast. You will not get the scene back, so spend a few seconds on insurance shots.
Also shoot RAW. Wet scenes have deep shadows under hair and bright reflective highlights, and RAW gives you room to pull both back.
6. Direct Poses for Wet Conditions
This is the part nobody covers, and it is where the image either works or feels like an accident. Cold, wet people hold themselves stiffly, so your job is to keep them moving and give them something physical to do.
- Hand them the umbrella and let them own it. Overhead, tipped forward to show the face, or handed to someone else in the frame. All three read differently.
- Walk them toward you slowly. Walking produces natural expressions and gives you a reason for them to hold onto a shoulder or a sleeve.
- Use walls and doorways. A dry patch of brick behind the subject keeps hair and colour sharp while the street stays wet.
- Ask for a laugh, not a smile. Give them a specific, slightly silly prompt. Genuine laughter looks better than any pose in the wet.
- Watch the footing. Keep your subject on grass, a mat or a textured surface, and let them know where not to step.
Tell them before you start that the ground is slippery and that they can call a stop at any moment. Offer a towel break every fifteen minutes or so, and have a warm layer ready for afterwards. Warm subject, good photographs.
7. Focus, Shoot a Test, and Back Up the Best Frames
Focusing gets harder when water is in the air between you and your subject, and when a reflective surface tricks your autofocus into hunting. Put your focus point on the near eye and keep it there as your subject moves closer.
Always shoot one test frame before you start directing. Check the histogram, check that the drops read as streaks and not as noise, and confirm the flash is not clipping.
Shoot in short bursts so you have several versions of the same expression to choose from, and leave breathing room around your subject so stray bright drops do not merge with their head. Fill the frame, then pull back and get one clean wider version for context.
Common Mistakes
Water on the front element. Out-of-focus circles land on the face and ruin an otherwise clean frame. Keep the cloth in your hand, wipe before every sequence, and shoot from under cover when you can.
Focus that drifts. A squint or a blink pulls the eye off your focus point. Set focus on the eye, do not let the camera hunt, and take the shot on the count of three.
Flash at full power. Bright drops everywhere, blown highlights, no shape to the frame. Start three stops down and walk it back up until the drops glow without going white.
Rain disappearing behind a bright sky. Nothing backlights it, so nothing shows. Change your angle so a light source sits behind the rain, or move the subject into a darker part of the scene.
Shutter speeds that are too slow. Below 1/125s handheld, drops streak across the whole image. Faster shutter, or a tripod if you want deliberate blur.
Ignoring reflections. A puddle behind your subject doubles them and bounces light upward. If the reflection is distracting, change your angle by a few steps rather than trying to edit it out later.
A soggy, cold subject. Wet hair, clingy clothing and shivering show up on camera. Bring a towel, shoot in short bursts, and prioritise comfort over volume.
Gear left damp in a closed bag. This is the mistake that costs money. Wipe it down, leave every cap off, and do not zip a wet body into a padded bag.
Shooting during a lightning storm. Wet ground conducts, and a wide metal umbrella is a poor idea. Stop, go inside, reschedule. No frame is worth that.
Rainy Portrait Tips for Better Results
Warm your white balance slightly. Rain reads cold by default, and a touch of warmth on skin tones makes the whole image feel less bleak without looking orange.
Get low and use the reflection deliberately. A puddle portrait with the subject’s face inverted beneath them is one of the strongest images you can make in a downpour.
Work fast between setups. Two minutes of movement beats twenty minutes of fiddling while your subject stands in the cold getting frustrated.
Protect your files before they reach the laptop. Copy wet-shoot cards to a second drive and format the original only once you have verified the images. A damp camera and a full card is a bad combination.
Frequently Asked Questions
Is it safe to take photos in the rain?
Rain itself is usually safe, but conditions around it are not. Stop immediately for thunder or lightning, including distant strikes, since ground water conducts electricity. Watch for slippery paving, hidden kerbs, dropped branches and gusts that catch umbrellas. Keep your subject in shoes with grip, tell them they can stop at any time, and have a warm layer and towel ready. Wind-driven rain causes far more missed shots than raindrops ever will.
How do I keep raindrops off my camera lens?
Fit a lens hood first, then cover the body with a rain jacket or a clear plastic bag with a hole cut for the lens and a rubber band sealing the neck. Water then runs off the hood instead of reaching the glass. Keep a microfiber cloth in your shooting hand and wipe the front element gently before each sequence, never dry-rubbing dust across a wet coating. Take your wipes out at the first sign of damp, not when they are already soaked.
Should I use flash when shooting portraits in the rain?
Yes, and it is the main way to make rain visible. Falling drops disappear against a bright sky and turn into glowing streaks once a light source sits behind or beside them. Place the flash roughly 45 degrees behind your subject, aimed back toward the camera, and dial it down about three stops from normal portrait power so the drops glow without blowing out. A bare flash gives the hardest sparkle, a softbox a softer curtain of rain.
How do I keep a subject in focus when rain is falling?
Put your autofocus point on the near eye and keep it there as your subject moves, rather than letting the camera hunt when water passes between you and them. Turn on eye detection or back-button focus if your camera offers it. Shoot short bursts and check focus on the frame, because a squint mid-burst will cost you shots. Below 1/125s handheld, drops blur across the image too, so use a faster shutter to keep everything legible.
What camera settings work best for rainy portrait photos?
For steady rain, start at f/4 to f/5.6, 1/250s and ISO 400 to 800. That combination keeps droplets sharp and separate while holding enough depth of field for a portrait. Heavy rain calls for f/8 at 1/500s and a higher ISO to freeze splashes. Drizzle can stay wide open around f/2.8 at 1/125s and ISO 200 to 400 for a softer, moodier result. Shoot manual and watch the histogram as the sky shifts.
Should I shoot a person in the rain or use an umbrella?
Shoot with the rain when you want atmosphere, wet hair and visible streaks, and give your subject a towel, warm layers and breaks every fifteen minutes. Use an umbrella when you want clean clothing and makeup, or when your subject is cold, elderly or a small child. Overhead umbrellas hide the face and flat light the features, so tip the umbrella forward, shoot from the side, or hand it to a second person in the frame.
Conclusion: Start With a Sheltered Test Setup
Start small: a location ten minutes away with an overhang, a protected body and lens, one off-camera flash behind your subject at about minus three stops, and a single test frame at f/5.6, 1/250s, ISO 400. Once you can see the drops reading in the histogram, everything else is just practice. Keep the cloth in your hand, keep your subject warm, and back up your files before you pack up.