Learning how to light a profile portrait comes down to one decision: place your key light about 90 degrees to the side of the camera axis and a little above eye level, then add a light behind the subject so the edge of the face and hair stays separated from the background. That is the whole method, and it works with a single window or a single speedlight. Set aside about fifteen minutes the first time, and expect to move the light twice before you like it.
A profile portrait is unforgiving in a way a front-facing portrait is not. Turn the head 90 degrees and there are almost no flat planes facing the lens, so the light has to do all the sculpting. Get the angle wrong and the face goes flat, the nose shadow disappears, or the whole head sinks into the backdrop.
The same three questions come up in every session I have run: how far should the light be from the subject, how dark should the shadow side be, and does the background need its own light. The short answers are one to two meters, one to two stops down, and usually no.
Table of Contents
- What You Need
- How to Light a Profile Portrait Step by Step
- Set the key light at 90 degrees to shape the profile
- Add separation with a rim or hair light
- Shape the shadow side with a reflector or fill light
- Direct the pose, camera angle, and background
- Set exposure and make the final lighting check
- Common Mistakes
- Frequently Asked Questions
- How do I light a profile shot with one light?
- What is the basic light setup for portraits?
- What kind of lighting is best for portrait pictures?
- How do you light a side profile portrait outdoors?
- What camera settings should I use for profile portraits?
- Do you light the side of the face that is toward the camera?
- Conclusion
What You Need
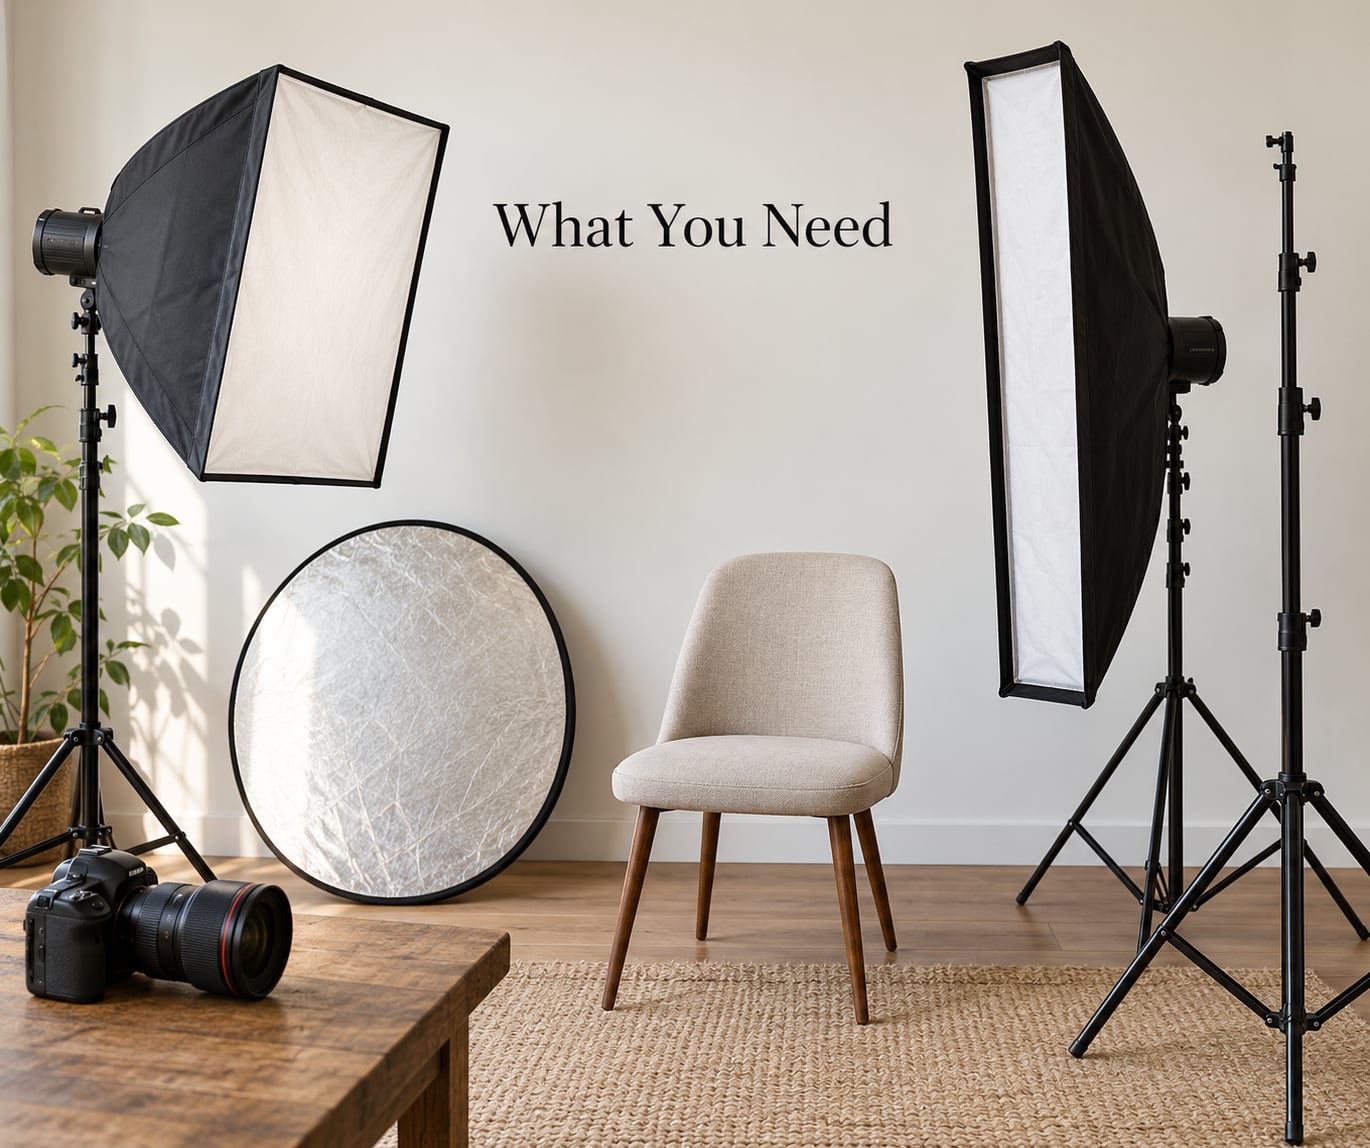
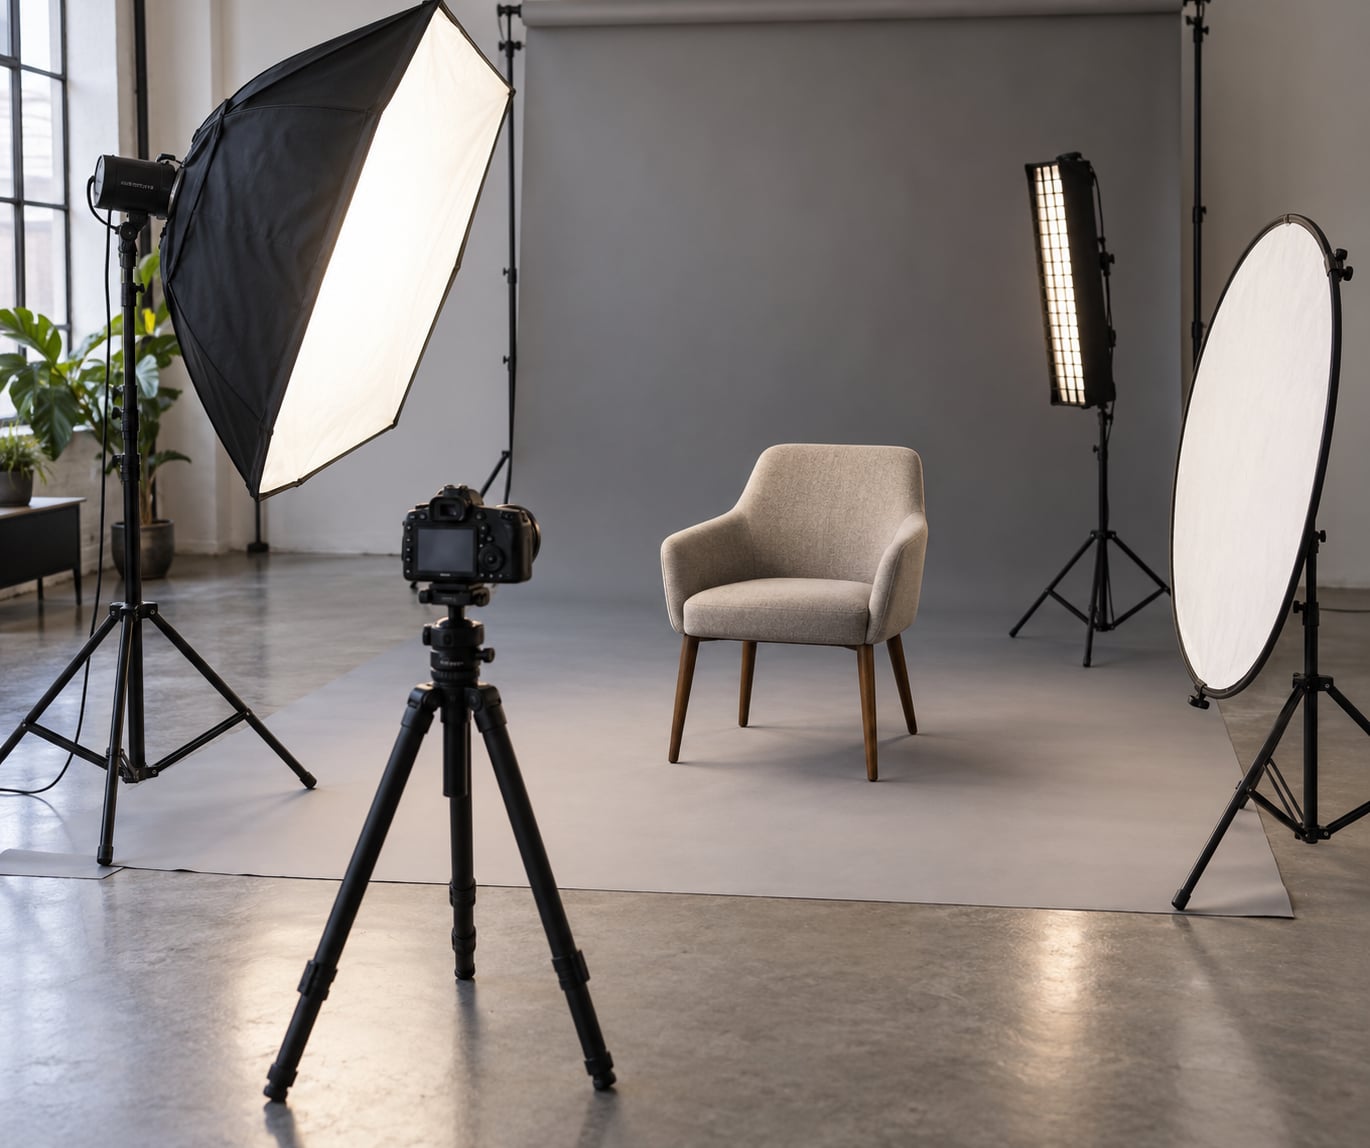
You need far less than most gear lists suggest. A camera, one light with a modifier, a reflector, and somewhere to stand the subject is enough to produce a strong profile portrait.
- A camera and a normal or short telephoto lens. An 85mm equivalent keeps working distance comfortable. Anything wider exaggerates the nose in profile, which is rarely what you want.
- One light with a modifier. A softbox or umbrella gives you a soft edge you can work with. Bare bulb or bare flash gives you a hard graphic shadow, which is a valid look but harder to control.
- A white reflector for the shadow side. A sheet of white foam board works exactly as well.
- A second light for the rim, which is where the separation comes from. A speedlight with a bare head or a small reflector is fine.
- A flag or black card if you need negative fill to deepen the shadow side.
- A light stand and a sandbag. A boom arm or a C-stand lets you get the key high and close, which is the position that shapes a face best.
- A neutral chair and a plain background. Seated profiles are easier to keep still, and a seated subject naturally turns the shoulder away from the lens.
If you are starting out with almost nothing, a window is the key light and the wall opposite is your reflector. Stand the subject about a meter from the glass, put the camera near the window line so the light stays 90 degrees to the lens, and shoot. That is the same diagram with cheaper parts.
How to Light a Profile Portrait Step by Step
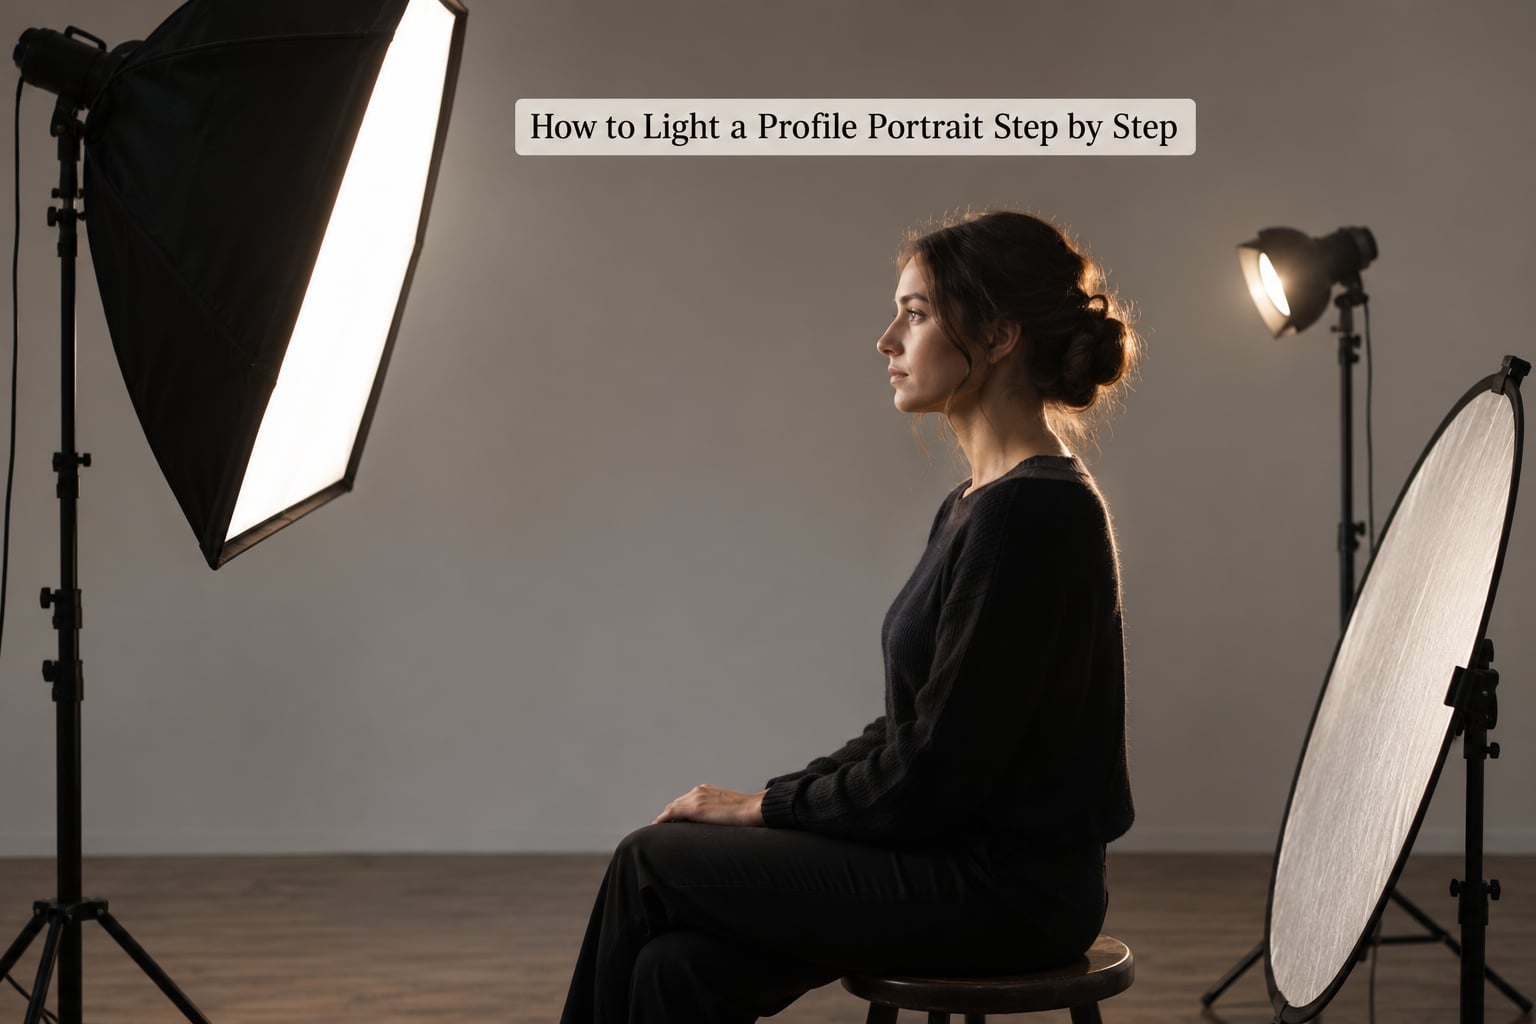
Here is the repeatable sequence. Work through it in order and check the result after every step rather than adjusting all three lights at once, because you will not know which change fixed the problem.
Three setups to pick from:
- Single window. Key 90 degrees to the lens axis and slightly above eye level. Fill with a white wall or reflector opposite. No rim, though bouncing off a pale wall works. Best for home portraits with a natural look.
- One strobe plus reflector. Key at 90 degrees, one to two meters out, between chin and forehead height. Reflector close to the shadow cheek. No rim needed. Best for headshots and a fast turnaround.
- Two-light with rim. Key at 90 degrees, one to two meters out, above eye level and angled down. Fill one to two stops under the key. Rim behind the far shoulder, aimed at hair and jaw. Best for brand portraits and darker backgrounds.
Set the key light at 90 degrees to shape the profile
Turn the subject so you see the full line of the nose and the jaw as a single clean curve. The camera should sit roughly 1.5 to 2 meters away, square to that profile line, so you are not looking across the face.
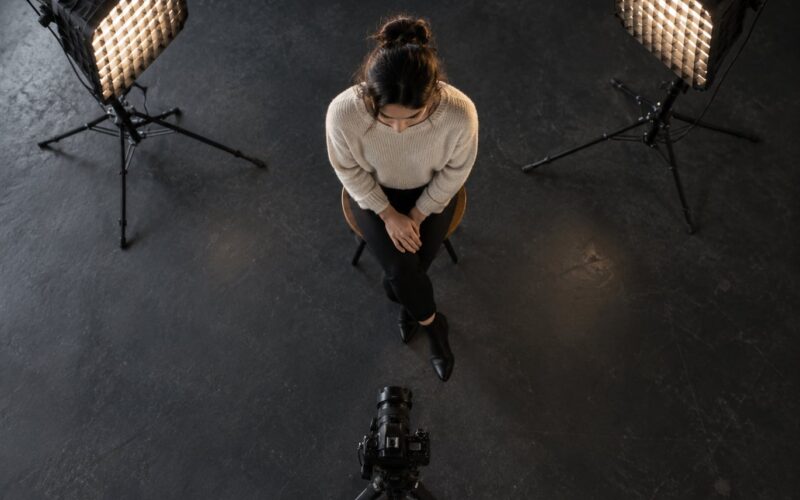
Now put the key light 90 degrees to the side of the camera axis, on the side of the face that is turned toward the lens. That is the broad side of the face, and lighting it is what keeps the visible cheek from going dark. Place the light slightly above eye level and angle it down a few degrees.
Softness comes from size relative to distance, not from the bulb. A 90 cm softbox at 1.5 meters reads as soft on a seated adult. The same softbox at 4 meters is barely softer than a bare flash.
Move the key a few degrees forward toward the camera and the shadow edge softens on the cheek. Push it back behind the subject and the face darkens into something moody. That forward-to-backward movement is your main creative dial.
How you know it worked: you should see a shadow edge running down the near cheek, a small shadow under the nose, and a defined line along the jaw. If the face looks evenly lit with no shadow anywhere, the light is too far forward and the shot is not a profile lighting setup at all.
Add separation with a rim or hair light
Put the second light behind the subject, slightly above and behind the far shoulder, aimed at the hair, the back of the skull, and the shoulder line. From the camera position you want a bright edge tracing the top of the head and the back of the neck, not a glowing halo floating off the outline.
Distance matters more here than power. Standing the rim light one to two meters behind the subject means its falloff drops the background behind them by a couple of stops, which darkens your backdrop for free. Park it too far back and the light wraps around the subject’s whole head, which flattens the very separation you added it for.
Watch for spill on the backdrop. If the rim is hitting the background more than the subject, angle it inward and add a flag on the light’s camera-facing side. Spill on the wall shows up as a bright patch right next to the head, and it pulls the eye away from the face.
Check: squint at the image. If the subject separates from the background by a visible bright line, the rim is doing its job. If the outline disappears in one place, walk around and find the gap before shooting.
Shape the shadow side with a reflector or fill light
The far cheek, the ear, and the neck are all in shadow once the head is in profile. Decide how dark that should be. One to two stops under the key keeps the shadow side readable and natural. Three stops or more gives you a low-key look where only the lit edge reads.
A white reflector close to the shadow side is the fastest way to lift it, and photographers swapping between lights and reflectors usually keep the reflector permanently in frame position so nothing shifts when the fill comes on. Move the reflector closer for more fill, further away for less.
Reflectors are not neutral. A gold side warms skin and a silver side adds a hard, slightly metallic kick. Use the white face for accurate color, and treat the others as a deliberate choice rather than a quick fix. When you do use a fill light instead, match color temperature before you match power, otherwise the two sides of the face will not agree.
Check: the shadow side should still show the shape of the cheekbone and the eyelashes. If those disappear completely, add fill. If the face is evenly lit on both sides, take the fill away. The goal is dimension, not brightness.
Direct the pose, camera angle, and background
Ask the subject to turn the head 90 degrees, then bring it back five to ten degrees. That slight turn toward the camera gives you a three-quarter read on the eye, which keeps the portrait from feeling like a mugshot, while the nose line stays clean and recognizable.
The shoulder should point away from the camera. A squared shoulder makes the body look as wide as the head and flattens the profile. Tipping the chin down a few degrees lengthens the neck and strengthens the jaw line; tipping it up shortens the neck and softens the face. Most people need the chin down slightly, not up.
Keep the background simple and give it space. Negative space in front of the face, on the side the subject is looking into, gives the portrait room to breathe and is the one compositional fix that costs nothing. Push the subject a meter or two from the backdrop so the rim light can fall off behind them.
One more call worth making: whether to light the side of the face turned toward the camera. For most faces, lighting the broad side toward the lens is more forgiving. It avoids black shadows in the visible eye and reads as more open. Switch to short lighting, where the narrow side faces the camera, only when the subject wants more mystery or has features that suit it.
Set exposure and make the final lighting check
Set your aperture first. Somewhere between f/2 and f/4 gives you a working portrait that still keeps the face sharp enough on a slow lens. Choose a shutter speed of 1/160 second or faster to freeze small movement, then let ISO absorb the rest.
Meter for the lit cheek, not the average of the frame. If you are metering off a background that is three stops darker, the camera will push exposure and the face will blow out. Spot meter or use a fixed white balance with manual exposure so the ratio between the key and the fill stays where you set it.
Now run the check before the subject relaxes. Look for four things: a catchlight in the eye that sits high and toward the light, shadow detail in the eye closest to the shadow side, a rim edge that traces hair and shoulder without gaps, and no hot reflection on the forehead or nose. Forehead shine is the most common profile problem and the least forgivable, because the profile makes the curve of the forehead very visible.
Take one test frame, zoom to 100 percent, and look at the forehead and the shadow cheek. If both are good, you are done. Fixing one and rechecking costs a few seconds and saves the session.
Common Mistakes
The light is too close to the camera axis. This is the number one reason a profile looks flat. Push the key back toward 90 degrees until the near cheek develops a visible shadow edge and the nose casts a shadow you can read.
No rim light, so the head merges with the background. A profile silhouette against a busy or mid-tone backdrop will disappear. Either add the rim light or move the subject further from the backdrop until the background falls a stop or two darker than the skin.
Too much fill. Fill is a tool for keeping the shadow side readable, not for making it match the lit side. Take the reflector away in small moves and watch the shadow cheek hold its shape.
Rim spill on the backdrop. A glowing patch behind the head competes with the face. Flag the rim light on the side facing the camera and angle it inward toward the subject.
Sweat or oil on the forehead and nose. Because the light rakes across the face, any specular highlight becomes a hard white shape. Wipe the T-zone before each frame, and if the subject is very shiny, reposition the light higher so the highlight rolls toward the top of the head instead of sitting on the cheek.
Mixed color temperature indoors. A window and a flash at different settings will split the face into two colors that read as a mistake. Turn off the ceiling lights, close the curtains, or gel the flash to match the window. One light source beats two conflicting ones every time.
Head turned too far past profile. Past 90 degrees you lose the eye nearest the camera, and the shot reads as the back of a head. Bring it back to 90 degrees, then add the five degrees toward the camera.
Subject and camera not aligned. If the camera is off to the side of the profile line, you end up shooting a three-quarter view while the light does a full profile setup, and the shadow lands in the wrong place. Stand square to the profile before you touch a light.
It usually clicks for a photographer once someone writes down the angles and the ratios instead of describing the look. That is why the numbers above matter more than the gear.
Frequently Asked Questions
How do I light a profile shot with one light?
Put your only light 90 degrees to the side of the camera axis and slightly above eye level, aimed at the broad side of the face. Add a white reflector opposite to lift the shadow cheek, and shoot the subject about 1.5 meters from a plain background. A window works the same way: subject near the glass, camera on the window line, opposite wall as the reflector.
What is the basic light setup for portraits?
Three lights cover most portrait work: a key light that creates the shadow pattern on the face, a fill light or reflector that keeps the shadow side readable at one to two stops under the key, and a rim or hair light behind the subject that separates them from the background. For profile portraits the key sits at 90 degrees to the camera rather than the 45 degrees used for front-facing poses.
What kind of lighting is best for portrait pictures?
A large, soft source placed close to the subject gives the most flattering result, because the shadow edge stays wide and the eye reads clearly. Smaller and further back produces a harder, more graphic look that suits dramatic or high-contrast portraits. The deciding factor is size relative to distance, not the type of light, so a softbox and an umbrella at the same distance give similar softness.
How do you light a side profile portrait outdoors?
Position the subject with the sun 90 degrees to the side and slightly behind, which gives a lit edge along the face and hair. Face the subject toward the open shade so the bright side of the face is not in direct sun, and use a reflector on the shadow side. If you use flash, meter for the lit cheek and flash at one to two stops under daylight to keep the background from going too bright.
What camera settings should I use for profile portraits?
An 85mm equivalent lens at f/2 to f/4, a shutter speed of 1/160 second or faster, and ISO 100 to 400 covers a typical session. Shoot in aperture priority and use spot metering or manual exposure on the lit cheek so the darker background does not trick the meter. Turn on highlight warnings so a bright forehead or nose does not clip before you notice it.
Do you light the side of the face that is toward the camera?
For most faces, yes. Lighting the broad side facing the lens is called broad lighting, and it keeps the visible eye open and free of hard shadow. Lighting the narrow side toward the camera is called short lighting, and it produces a narrower, more mysterious image that can hide or emphasize facial features. Start with broad lighting and switch only when the subject wants a stronger look.
Conclusion
Start with one light at 90 degrees to the camera axis, slightly above eye level, and check that the near cheek shows a shadow edge before you change anything else. That single move fixes the flat look most people complain about.
Then work in order: fill the shadow side until it holds its shape, add the rim behind the shoulder until the head separates from the background, and set exposure for the lit cheek. Make small adjustments, take one test frame, and look at it at full size.
Once the three-light version feels automatic, strip it back to a window and a reflector. If the angle and the ratio still work with the cheapest gear you own, you actually understand the setup, and that is the part you can repeat on any portrait job.