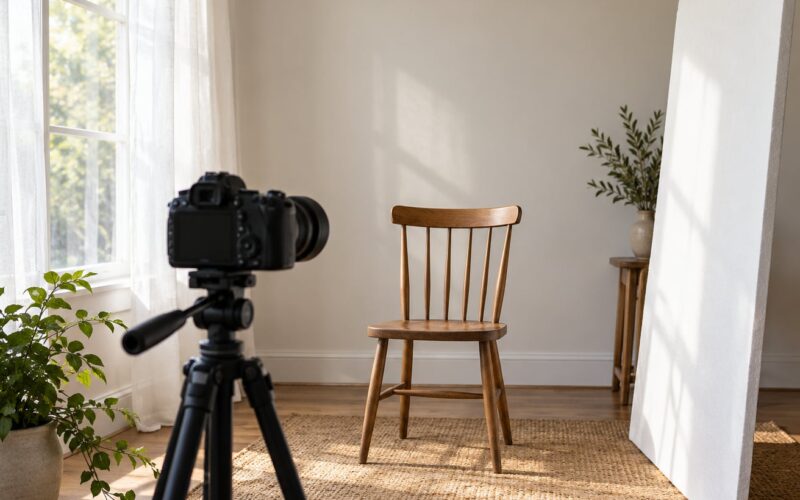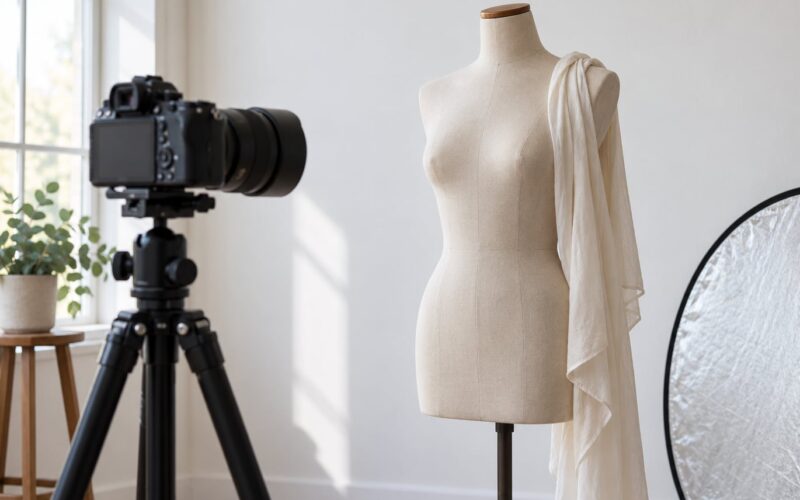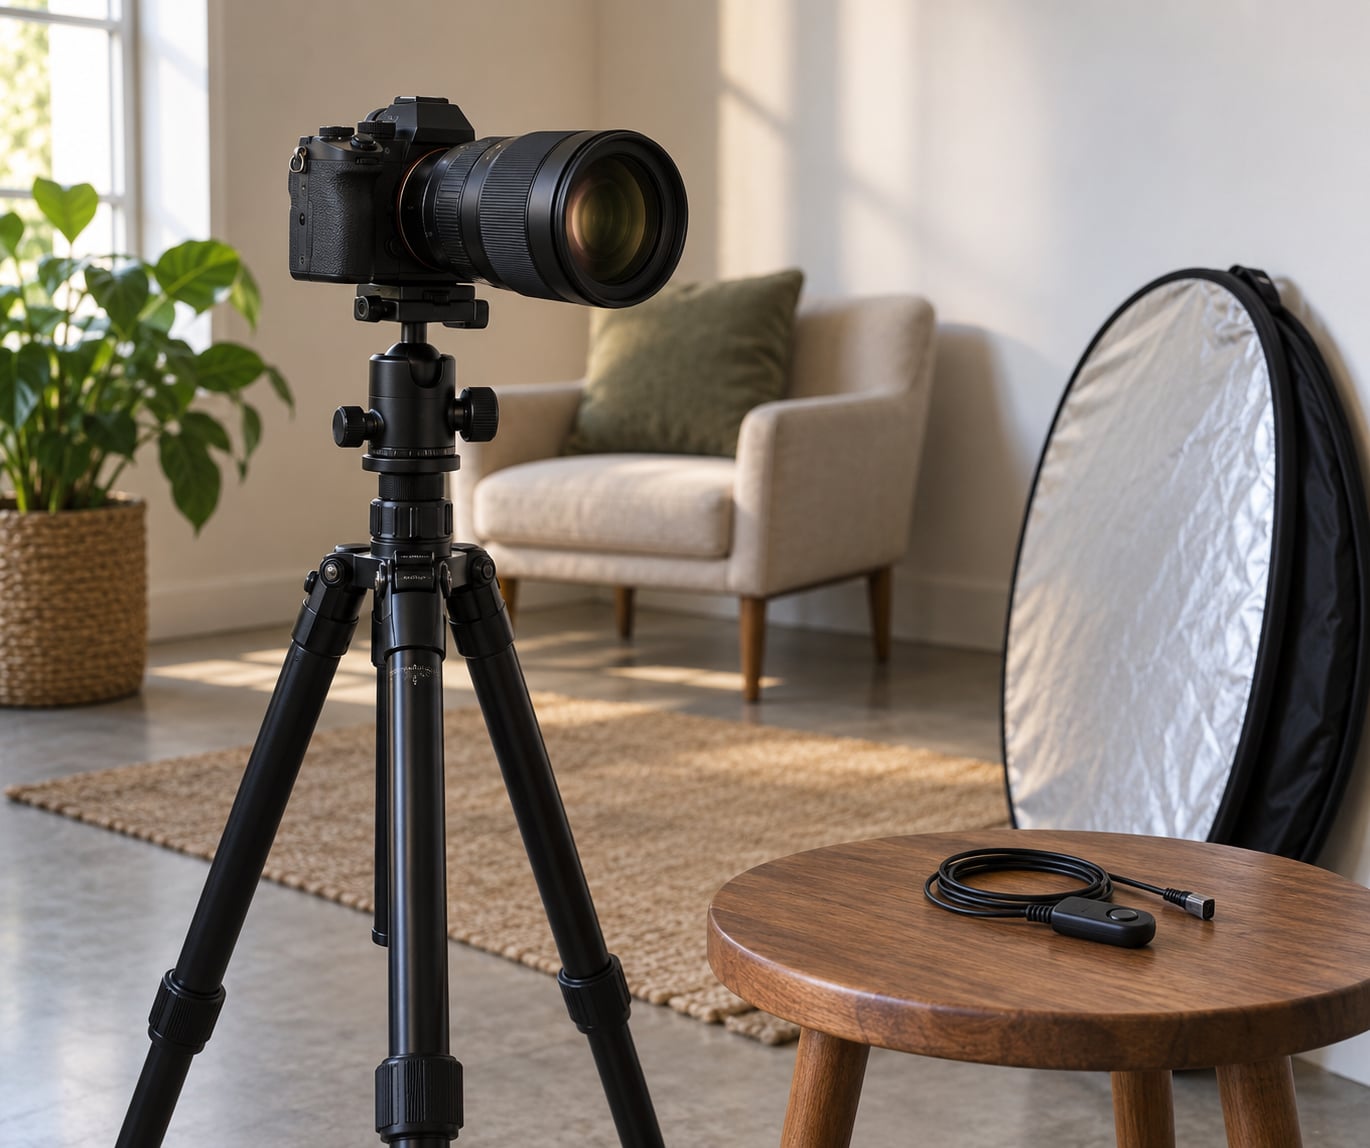
The short answer on how to use a tripod for portraits: mount the camera on a locked head at your subject’s eye level, keep the legs planted, and fire the shutter with a two-second timer, cable release or remote so your hand never touches the camera. Set the frame once, then direct the pose instead of re-aiming. The whole workflow takes about five minutes once you have done it a few times.
The reason a tripod changes portraits so much is simple. Your body transmits a small shock every time your finger presses the shutter, and a handheld camera turns that shock into soft focus. Lock the camera down and the file gets sharp at slower shutter speeds, and you also gain something else worth as much: the freedom to step away, talk to your subject, and take ten frames of the same pose while they settle into it.
Here is the whole process in seven steps, then the details underneath each one.
- Pick a tripod and head that match your gear and your height.
- Set the camera at the subject’s eye level and at your own eye level too.
- Frame the shot and check the background before you touch focus.
- Set ISO low, pick the aperture you want, and keep the shutter fast enough for movement.
- Focus on the nearest eye and confirm it at full magnification.
- Trigger the shutter with a timer, cable release or remote.
- Direct the pose and the expression without moving the camera.
Table of Contents
- What You Need
- How to Use a Tripod for Portraits: Set Up Step by Step
- 1. Choose the Right Tripod and Head
- 2. Set the Camera at a Comfortable Height
- 3. Frame the Portrait Before Adding Details
- 4. Adjust Camera Settings for a Stable Exposure
- 5. Focus Carefully on the Subject’s Nearest Eye
- 6. Use a Remote Release or Timer
- 7. Direct the Subject Without Moving the Camera
- Common Mistakes
- Frequently Asked Questions
- Do I need a tripod for portraits?
- Is a tripod better than handheld for portraits?
- Should I use autofocus or manual focus with a tripod?
- What shutter speed should I use for tripod portraits?
- How high should a tripod be set for portraits?
- Start With a Stable Camera and One-Point Focus
What You Need
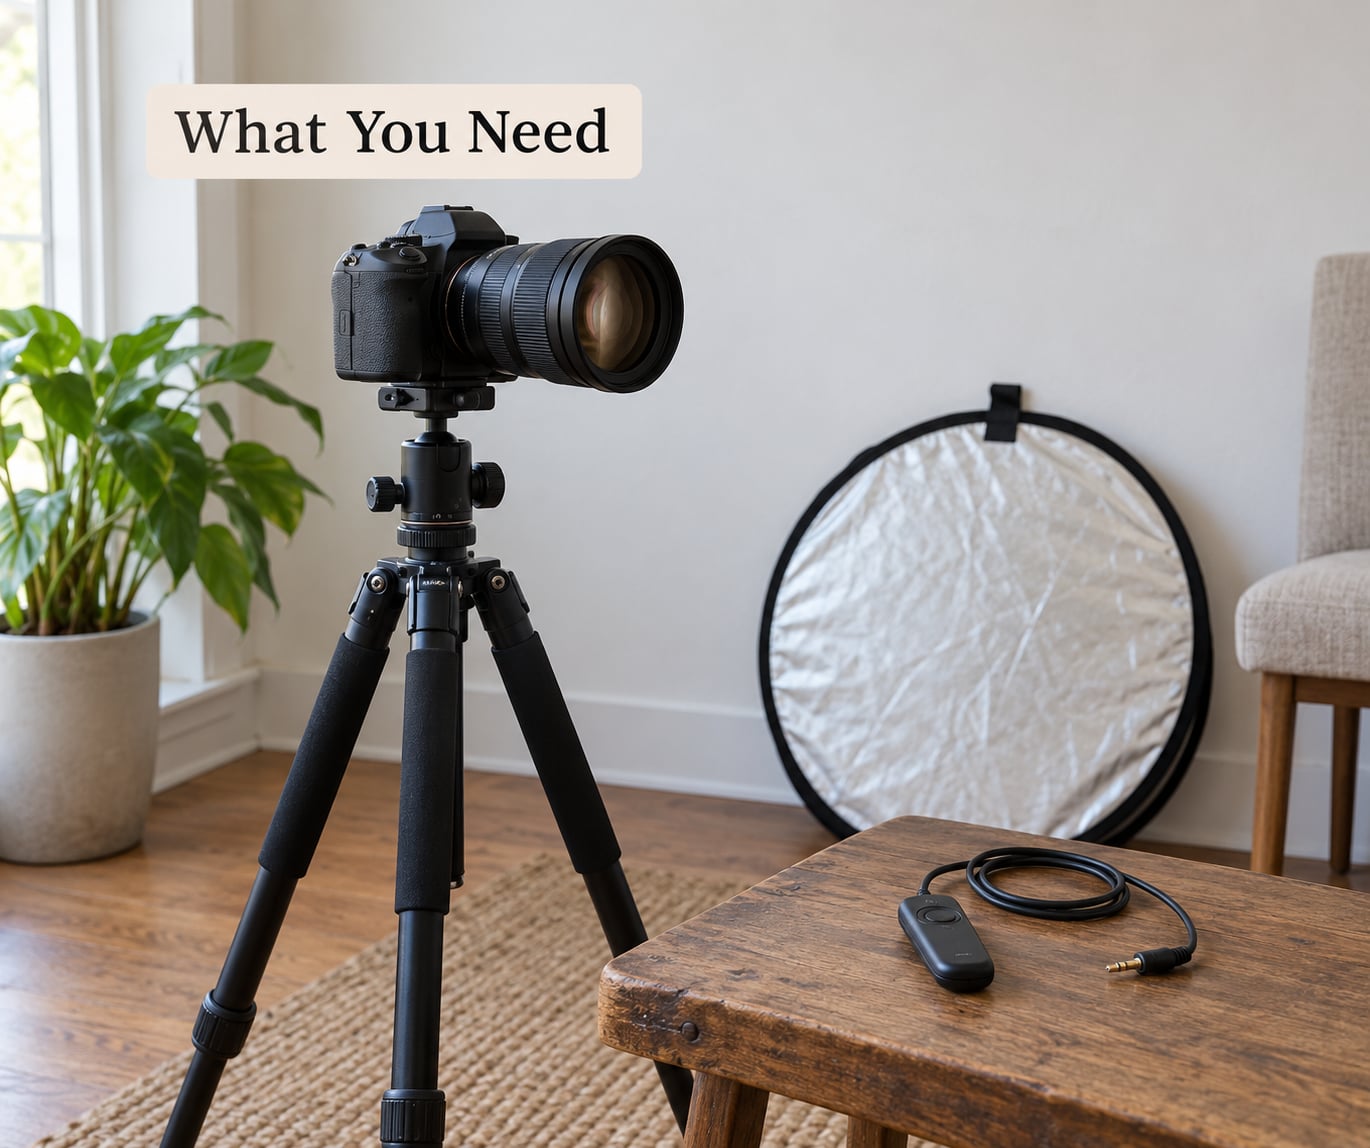
Portrait work asks more of a tripod than landscape work does, mostly because you are constantly nudging the camera a few centimetres and you need it to stay exactly where you put it. A cheap three-legged stand with a screw-down knob is fine for a fixed product shot, but it will drift while you adjust framing and it may not return to the same spot.
The essentials are short. A tripod with a head you can lock in any position, an Arca-Swiss quick-release plate that stays attached to the camera, and some way to fire the shutter without touching the body. Most cameras have a two-second self-timer built in, so the third item is free even if it is slow to work with.
Beyond that, a few things earn their place. A remote release or intervalometer saves you time on long sittings. A small reflector or white foam board is more useful for portraits than most beginners expect, because it puts light back into the shadow side of a face without any extra flash. A phone on a separate small stand is useful when you want to check a wider crop or work with a subject who is easier with a phone than a heavy camera.
Match the tripod to the rig, and be honest about the rig. A full-frame body with a battery grip and a 70-200mm lens is a genuinely heavy combination, and photographers on r/AskPhotography who moved up from a light travel tripod usually say the same thing: the cheap stand simply could not carry it. Run your gear at about half the listed load capacity, which gives you a rigid platform instead of one that flexes at the moment the shutter fires.
| Subject | Camera height at the lens | Note |
|---|---|---|
| Seated young child | 70 to 85 cm | Kneel or lower the centre column |
| Standing child | 100 to 115 cm | Look down only slightly |
| Seated adult | 110 to 125 cm | Eye level with no camera tilt |
| Standing adult | 150 to 165 cm | Extend legs before the centre column |
Those numbers are a starting point rather than a rule. What matters is that the lens sits close to the height of the eyes, because tilting the camera up to reach a tall subject stretches the face and makes the shot look amateur.
How to Use a Tripod for Portraits: Set Up Step by Step
Each of the seven steps below removes one specific problem. The order matters more than it looks: choose the support before you care about the frame, set the height before you frame, and frame before you focus, because each later step depends on the one before it staying put.
1. Choose the Right Tripod and Head
For portraits, the head matters as much as the legs. A ball head is the usual choice because you can tilt the camera from vertical to horizontal with one knob, which is exactly the movement portraits demand. A three-way pan head is slower but keeps the camera’s angle locked on one axis, which helps when you are working on tilt or overhead. Fluid and geared heads are built for smooth panning and video rather than still portraits.
Check the maximum height before you commit, and the minimum. Plenty of portraits are shot with the lens below the subject’s eyes, and a tripod that cannot get low without its legs splaying into the frame will force you into a downward angle that is much harder to direct. A model with an inverted centre column or a removable column solves that.
On stability, spread the legs to a comfortable stance and lean the tripod slightly toward your subject. Hanging your camera bag or a sandbag from the centre hook adds ballast on soft ground or in wind. That trick comes up constantly in long-running discussions on TalkPhotography, and it works on any tripod with a hook under the column.
2. Set the Camera at a Comfortable Height
Set the camera to the subject’s eye height first, then check your own comfort. If the lens sits at your chest and you have to lean forward over the viewfinder, you will start the session stiff and you will keep moving the camera to relieve your back. If the lens is at your eye, you can move around the tripod at a normal pace and still look straight down the lens.
Extend the legs before you reach for the centre column. The column is the least rigid part of most tripods, and a camera floating on an extended column sways with even a small breeze. Invert the column for low angles when your tripod allows it, or drop to the widest leg spread you can manage without a leg appearing in the frame.
Keep the head level. Photo.net beginners are given the same advice over and over in their setup threads: check the bubble level, or hang the camera from your hand and adjust the legs until it hangs true. A tilted horizon is easy to crop out later, but a tilted camera changes the face.
3. Frame the Portrait Before Adding Details
Build the frame in this order: background, then head position, then the crop. Start with the background because everything else can move a little and a distracting background is the one thing you often cannot fix without moving the camera. Walk to where the camera will sit and look behind your subject from that exact angle.
On head position, most portraits look better with the eyes on the upper third of the frame and a small amount of room above the head. Too much space above makes the subject look small and lost. Too little, or cropping hair and ears, looks like a mistake even when it is not.
For a head-and-shoulders frame, leave a little air on the side the subject is facing into and less on the side they are facing away from. That is the whole rule of thirds in practice: the space in front of the gaze does the work, and the space behind the head does not earn its place.
Once the frame looks right, mark it. A strip of tape on the floor or a note in your phone locks the composition, because small adjustments during a session add up and by the last frame you may not recognise the shot you started with.
4. Adjust Camera Settings for a Stable Exposure
A tripod changes what the settings should be. On a locked camera you can drop to base ISO, usually 100, because you no longer need a high ISO to freeze your own hand movement. That keeps shadow noise down and gives you files you can lift in editing without chasing grain.
Choose the aperture for the look you want rather than for the light. Around f/2.8 to f/4 gives a soft background on most lenses at portrait distances. As you close down, more of the subject stays sharp, which matters for group portraits where every face has to hold up.
The shutter speed is where locked-off work surprises people. The common rule is to keep the shutter at least as fast as one over the focal length, so 1/200s with a 200mm lens, because the subject moves even when you do not. Below that you will see a soft eye on a still subject who breathed at the wrong moment. The tripod buys you a lower floor, not a free pass.
Meter from the face, not the background. A bright window behind your subject will otherwise push the meter to overexpose the skin, and you will spend the session fighting a blown highlight that the camera created on its own.
5. Focus Carefully on the Subject’s Nearest Eye
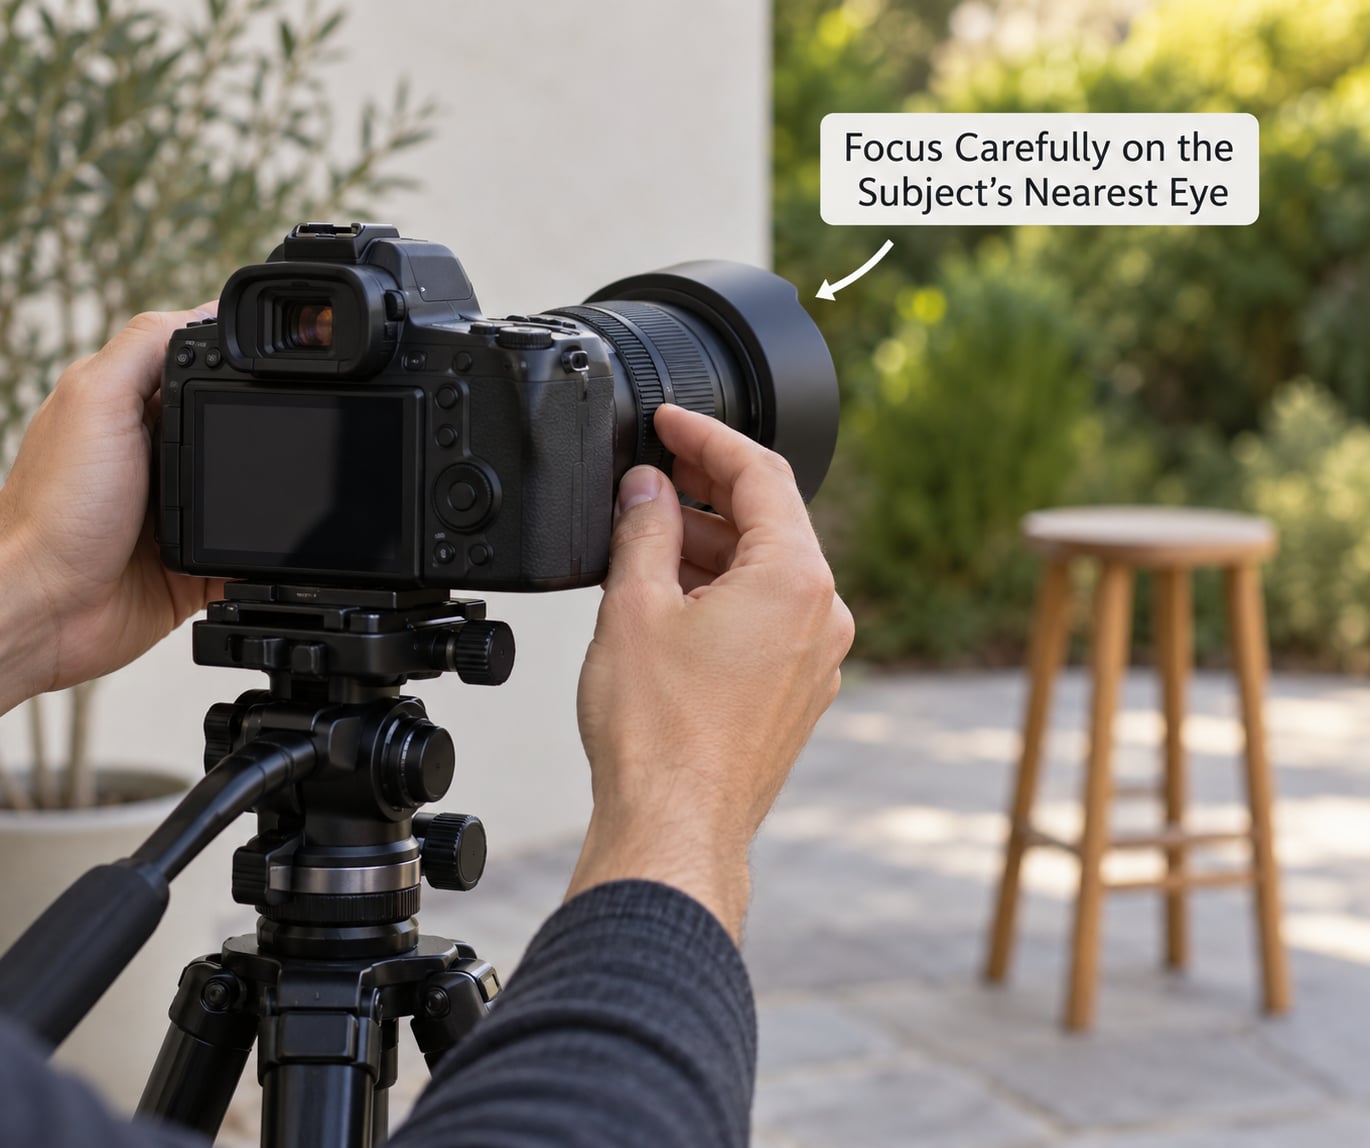
Put a single autofocus point on the eye closest to the camera, and turn off face detection if it keeps jumping to the wrong eye. On most cameras the difference is one menu setting, and it is the single most common reason a portrait on a tripod looks soft when the framing and shutter speed were both fine.
Confirm it rather than trusting it. Switch to manual focus, press the magnification button, and look at the eyelashes at 100 percent. If they are crisp, you are done. A tripod makes this check cheap, because the camera stays exactly where you left it while you zoom in and look.
Where you place the camera changes what you can keep sharp. A head turned toward the lens keeps both eyes close to the same plane, while a strong profile puts the far eye at the edge of focus. If the pose matters more than the aperture, shoot a little wider and come in to crop.
6. Use a Remote Release or Timer
Your finger is the last source of shake, and the tripod does not fix it. A two-second timer is built into almost every camera and works for a single frame, but it means walking back to the camera for every shot. A remote release or a phone app lets you stay behind the lens, where your subject can see you and where you can see the frame without a round trip.
An intervalometer is the tool for long sittings. Set it to fire every few seconds, then direct the pose, step out of frame, and let it run. You will collect a burst of small variations from one direction, and the best frame is usually a fraction of a second from the pose you set up.
On a mirrorless camera you can ignore mirror lock-up entirely. If your camera has a mechanical mirror, engage mirror lock-up or electronic front-curtain shutter when the settings are slow enough for the mirror to be the problem. On a studio strobe setup, a radio trigger does the same job and fires the flash away from the body.
Some photographers work almost entirely this way, as one r/photography poster put it, shooting portraits on a tripod with a cable release and manual mode all the way through. Nothing about that setup is old-fashioned; it just removes every variable between pressing the button and the exposure.
7. Direct the Subject Without Moving the Camera
This is the part that catches beginners out. Once the camera is fixed, you cannot re-frame for every pose, so the pose has to come to the camera. Ask for small changes: turn your head a few degrees toward the light, bring your chin forward and down, let your shoulders angle, put your weight on your back foot. Each of those works inside a frame you already set.
Distance is your real framing tool. Ask the subject to step a half pace closer or lean in slightly, and you change the size of the head in the frame without touching the tripod. It also changes the mood, because a shorter distance reads as more intimate.
Keep talking from behind the camera, where you can see the frame. Give the instruction, take the shot, and evaluate it from the viewfinder rather than describing what you want in the abstract. If the frame is wrong because of a pose, the fix is a pose, not a tripod adjustment.
Give people a target. Ask them to look at a specific spot just beside the lens rather than at the lens itself, which produces a natural, slightly off-axis gaze. Ask them to breathe out just before the frame, which settles the shoulders and the hands.
Common Mistakes
Most tripod portrait problems come from a small number of repeat behaviours. The table pairs each symptom with its cause and the fix that works.
| Symptom | Cause | Fix |
|---|---|---|
| Soft frame even at 100 percent | Shutter pressed by hand | Two-second timer, remote or intervalometer |
| Tripod drifts after adjustments | Knobs not tightened, or rated too close to capacity | Tighten every knob, run the rig at half the listed load |
| Camera sways in the wind | Centre column fully extended | Shorten the column, widen the legs, add weight on the hook |
| Wobble right after the shutter fires | Cheap head and lightweight legs | Upgrade the head first, then the legs; brace a leg with your foot |
| Focus lands on the wrong eye | Face detection jumping between eyes | Switch to a single autofocus point on the near eye |
| Background is noisy and shadows crushed | High ISO out of habit | Drop to base ISO and add a reflector or a slower shutter |
| Face looks stretched or nose appears large | Camera tilted up to reach a tall subject | Raise the camera to eye level or shoot from further back |
| Blown-out skin against a bright window | Meter reading the background | Spot meter or expose for the face, then shoot the window down |
A tripod also falls over, and the reason is almost always geometry rather than quality. Legs opened too narrow, the camera extended well past the head, or a heavy lens swung out on a lens plate all push the centre of mass outside the footprint. Widen the stance, keep the camera close to the head, and if you are working on uneven ground, check that all three feet are actually in contact before you let go.
Two more habits save sessions. Hang something from the centre hook on soft ground, and check your framing from behind the subject before every setup change, because the shot you are looking for from the viewfinder is rarely the shot you are looking at. For self-portraits and solo work, add an intervalometer and a marked spot on the floor, and if you are shooting on a phone, use the same two-second timer so the frame stays fixed while you step into place.
Frequently Asked Questions
Do I need a tripod for portraits?
You do not need one, but it changes the work more than most people expect. A tripod gives you a tack-sharp file at slower shutter speeds, exact repeat framing across a whole series, and the chance to step out from behind the camera and direct your subject instead of walking around them. For a single quick frame with a fast lens, handheld works fine.
Is a tripod better than handheld for portraits?
For anything other than a single fast handheld frame, yes. A tripod removes the shock your fingers send through the body when the shutter fires, which is the main reason portraits taken at slow shutter speeds look soft. The trade-off is setup time and carrying one more piece of gear. If you are moving constantly, shooting wide open in good light, and working fast, handheld is faster.
Should I use autofocus or manual focus with a tripod?
Either works. Use single-point autofocus on the eye closest to the lens for speed, then switch to manual and check the eyelashes at full magnification to confirm it. Manual focus is slightly more reliable for long lenses and close working distances, where a small movement of the front of the lens shifts focus more than you would expect.
What shutter speed should I use for tripod portraits?
Keep the shutter at least as fast as one over the focal length, so 1/200s with a 200mm lens. A locked camera frees you from worrying about your own hand shake, but your subject still moves when they breathe or shift their weight, and that shows up in the eye first. Only go slower when the subject is genuinely still and your focus and remote release are already dialled in.
How high should a tripod be set for portraits?
Put the lens at the height of the subject’s eyes, which is roughly 150 to 165 cm for a standing adult, 110 to 125 cm seated, and 70 to 85 cm for a seated young child. Extend the legs before the centre column, since the column is the least rigid part of most tripods. If you have to tilt the camera upward to reach a tall subject, the face will look stretched.
Start With a Stable Camera and One-Point Focus
If you only remember five things about how to use a tripod for portraits, start here. Choose a tripod with a head that locks firmly and can carry your rig at about half its listed load. Set the camera at the subject’s eye height, and at a height you can comfortably look through. Frame the shot once, checking the background, and focus a single autofocus point on the nearest eye. Fire with a two-second timer or a remote so your hand stays off the body.
Everything after that is refinement. Shoot a frame, look at it at full magnification, and change one thing at a time: the pose, the light, the aperture. Direct your subject from behind the camera instead of chasing the framing, and once the session is over, note what the frame and height were. That note makes the next session start ten minutes sooner.