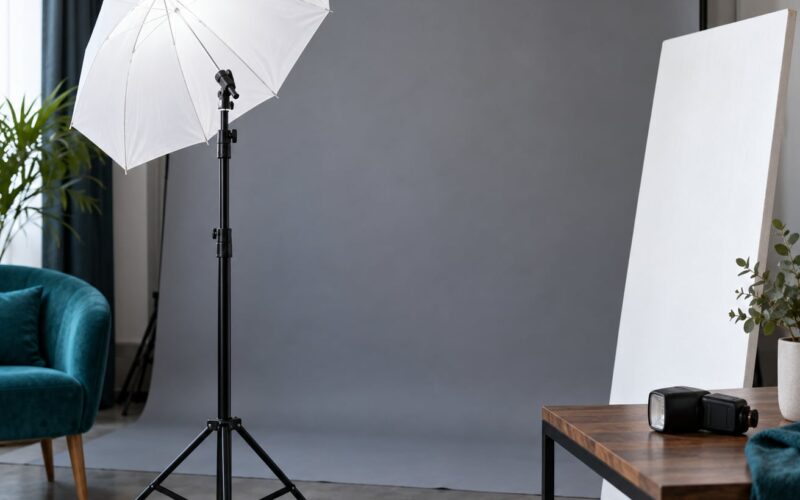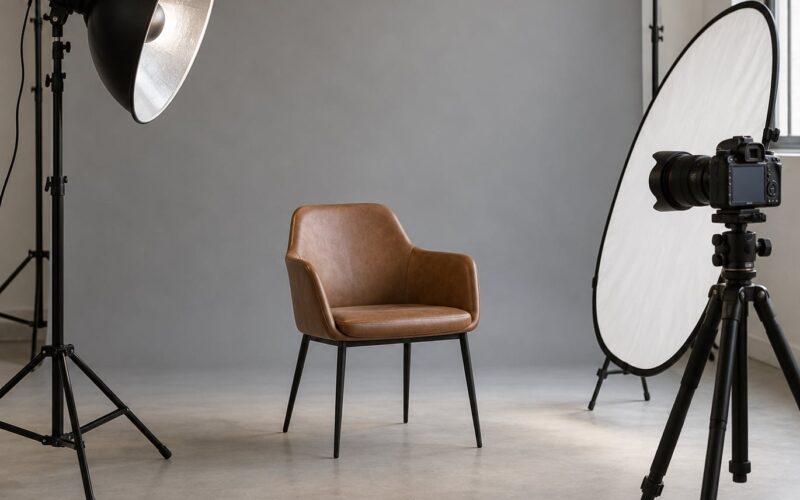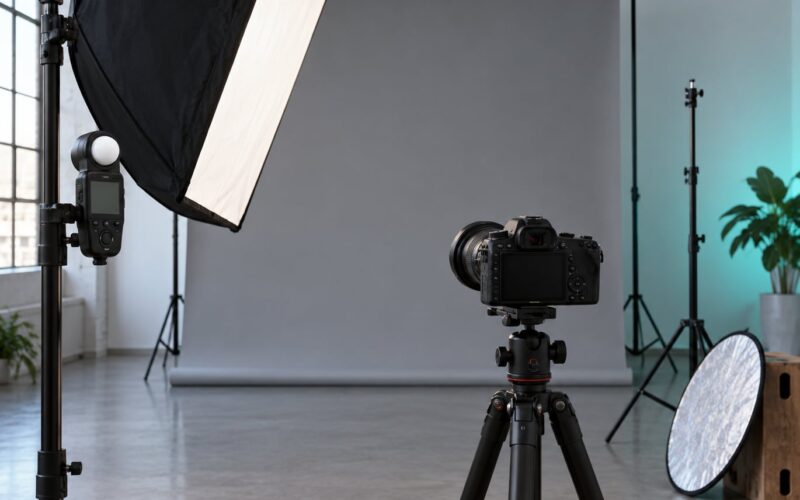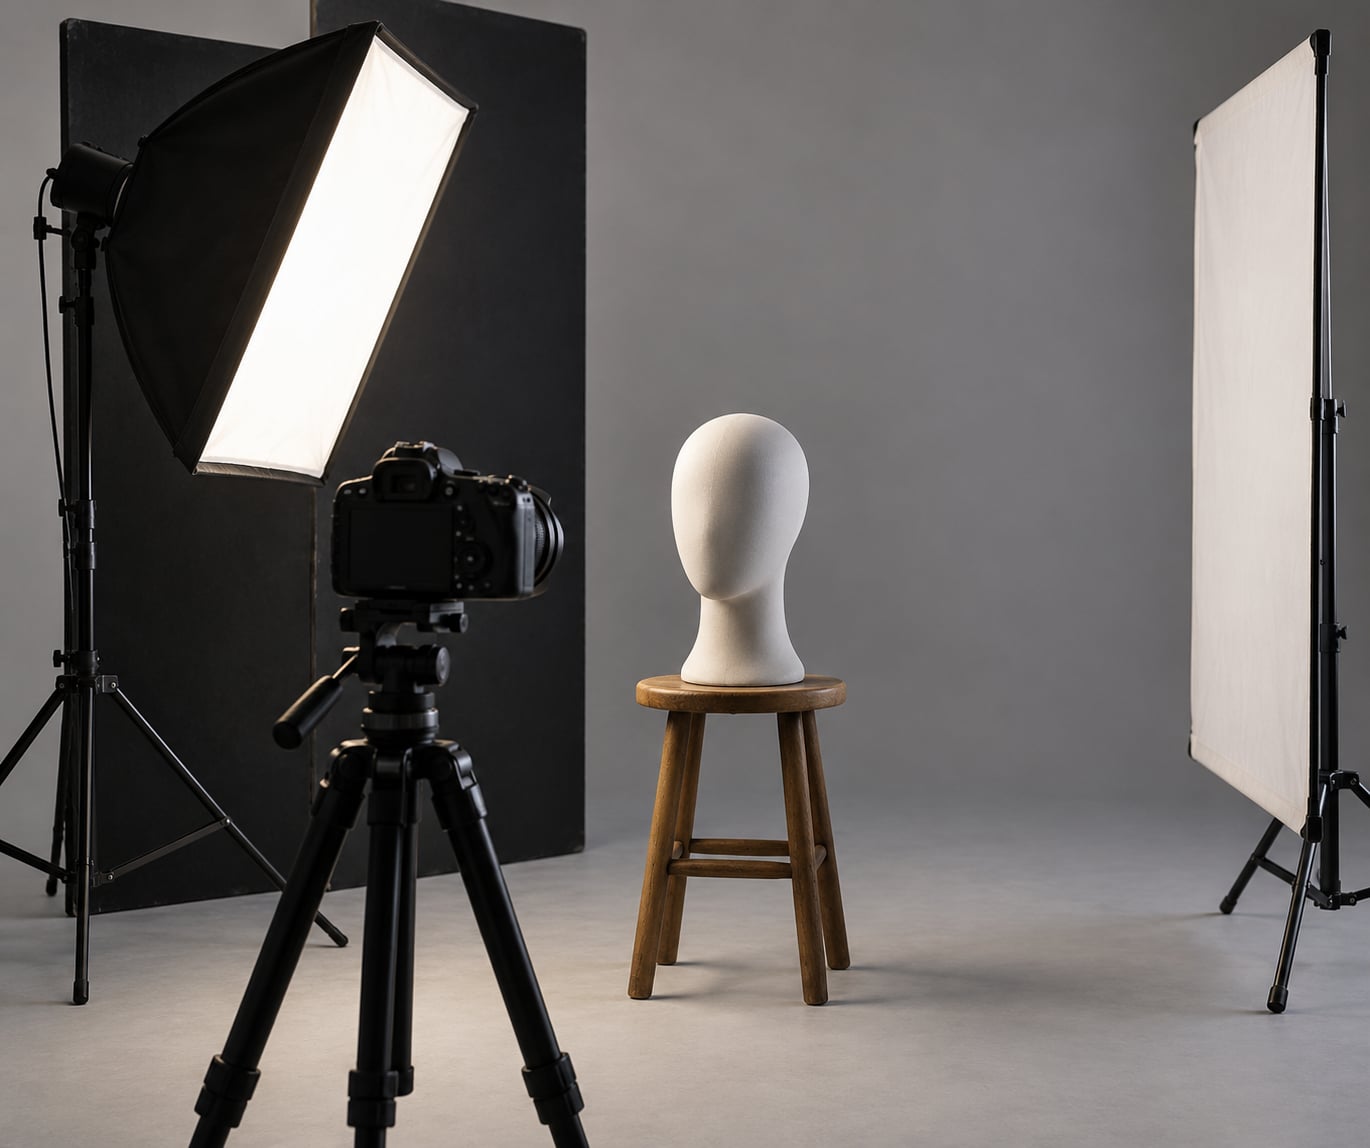
Split lighting is a portrait pattern where a single light source sits roughly 90 degrees to one side of your subject, lighting exactly half the face and letting the other half fall into shadow. To create split lighting, have your subject face the camera square on, put one light at 90 degrees at eye level, meter for the lit half, and flag the spill. The whole setup takes about ten minutes once you know the two checks that tell you the split is landing correctly.
Those two checks are the far-ear test and the nose-shadow test. They matter because the pattern lives or dies on the position of the light, not on the gear you bring to it. Get the angle and height right and almost any light source will do.
What follows is the setup I actually use, the settings that go with it, and the specific mistakes that quietly turn a split into a Rembrandt or a flat half-lit mess.
Table of Contents
- What You Need
- Step-by-Step
- How to create split lighting with one light
- Set the Camera for the Lighting Pattern
- Shape and Refine the Split
- Common Mistakes While You Set Up
- Test and Adjust the Result
- Common Mistakes
- Frequently Asked Questions
- What light position creates split lighting?
- Do I need two lights to create split lighting?
- Should I use a reflector with split lighting?
- How far should the light be from the subject?
- What is the best lighting ratio for split lighting?
- Can split lighting work with natural light?
- Conclusion
What You Need
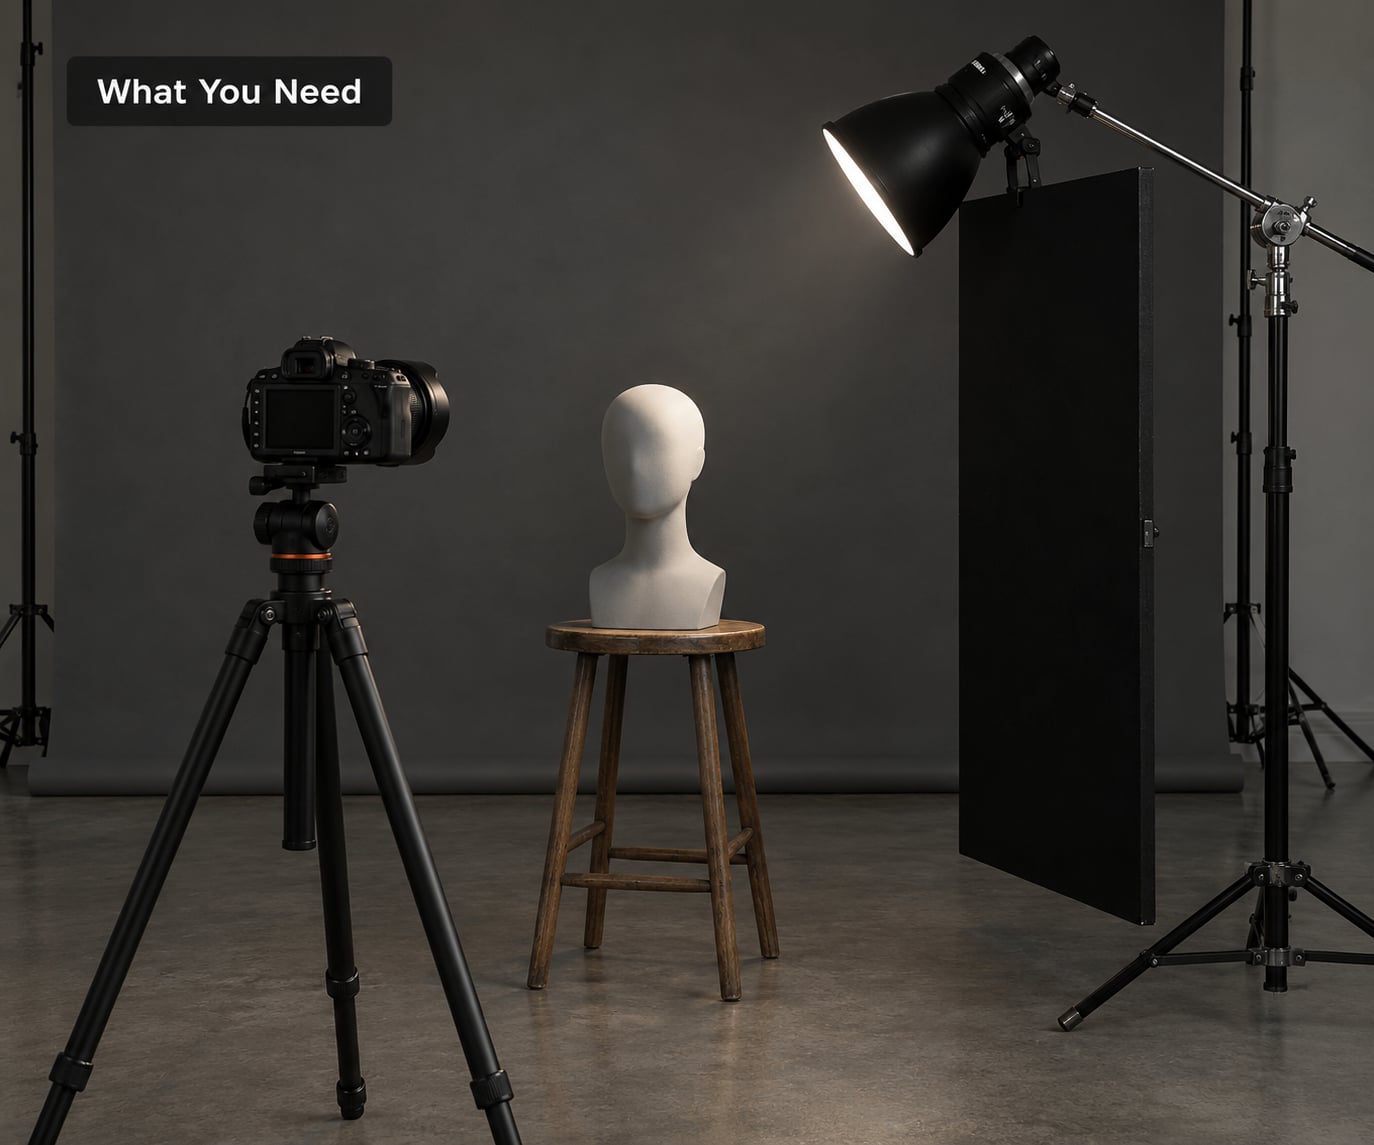
Split lighting is the cheapest portrait pattern to learn because one light does all the work. The full kit is short:
- One light source. A continuous LED panel, a speedlight, or a studio strobe. Continuous light lets you see exactly what you’re getting; flash gives you more power in a bright room.
- A stand with a boom arm, or a sturdy table if you’re using a small LED. The light needs to sit at head height and stay there while you adjust the camera.
- Your camera and lens. An 85mm or 105mm keeps you far enough back that perspective stays flattering. A 50mm works if the room is small.
- A trigger or remote if you are using flash, so you can shoot from behind the camera.
- A black flag or foam board. Subtractive light, not additive. It kills the back edge of the source so no stray light lands on the far cheek or the background.
- A reflector, optional. White for a gentle lift, silver for more punch, gold to warm the shadow side, black to deepen it further.
That’s the whole list. No second light is required, and adding one is the fastest way to lose the pattern.
Step-by-Step
Work through these in order and take a test frame after each one. Most split lighting problems come from moving the light and the camera at the same time, which leaves you guessing which change caused what.
How to create split lighting with one light
- Turn your subject square to the camera. Shoulders parallel to the sensor, chin level, not tilted. A turned head drags the shadow line off the centre of the face and you lose the split.
- Place the key light at 90 degrees to the side, level with the subject’s eyes. Measure from the direction the subject is facing, not from the camera. At 90 degrees the nose casts a shadow straight down the middle of the face, nose to chin.
- Set the distance and modifier. Start about 1.5 to 2 metres away and adjust. Closer means harder shadows and faster falloff; further means softer shadows but you lose power. A softbox or a diffused panel wraps light around the shadow edge and keeps detail in it.
- Control the spill. Hang a black flag on the back edge of the light, and keep the source from pointing at the background or a nearby wall. In a small room that spill bounces straight back into the shadow side and flattens the effect.
- Check the catchlight and the shadow line. The lit eye should hold a defined catchlight. Look at the shadow-side eye too: if it has gone completely black, the light is sitting too far forward and you need to walk it back towards 90 degrees.
Two diagnostics finish the job. If the lit side spills onto the far ear, the light is behind 90 degrees, so move it forward. If the shadow-side eye goes solid black, the light is ahead of 90 degrees, so move it back. Those two tests together pin the angle within a few degrees.
Set the Camera for the Lighting Pattern
Shoot in manual. Auto metering will try to average the bright half and the dark half, and you’ll get a flat grey result that looks nothing like what you saw with your eyes. In split lighting you expose for the lit side and accept that the shadow side is meant to be dark.
A solid starting point:
| Setting | Start here | Why |
|---|---|---|
| Mode | Manual | Keeps the ratio between lit and shadow side constant |
| ISO | 100 to 200 | Leaves as much dynamic range as possible for the shadow side |
| Aperture | f/2.8 to f/4 | Blurs the background and helps a weaker strobe keep up with ambient light |
| Shutter speed | 1/200 (many flashes sync at 1/250) | Fast enough to stop subject movement, slow enough to stay under the sync limit |
| Metering | Spot meter on the lit cheek | Average metering clips the lit side and crushes everything else |
| File type | RAW | Shadow-side recovery happens in post, not in the camera |
One adjustment worth knowing: in a bright room, a single strobe often cannot push a half-lit face past f/2.8 without the shadows turning noisy. Open the aperture as far as you can, then raise ISO to 200 or 400 before you accept grain in the dark half. Closing down to f/5.6 to get clean shadows throws away the light separation that made you choose this pattern.
Shape and Refine the Split
Once the pattern works, you decide how deep the shadow goes. A white reflector on the shadow side lifts it to roughly a 2:1 ratio, which keeps a hint of eye detail. Silver pushes toward 4:1, and a strip of black foam on the shadow side takes you past 8:1 for a harsher, more graphic look.
Modifier choice changes the character more than distance does. A bare bulb gives you a hard edge on the shadow transition and a small catchlight. A softbox or a large diffusion panel widens the wrap, so the shadow side keeps texture instead of going to a flat block. A grid narrows the beam, which is useful in a small room where you can’t afford to lose control of the spill.
Face shape changes which way you want the shadow. Split lighting is slimming, so most people angle it toward the narrower side of the face. On a round face, a slightly higher light with a white reflector keeps the cheekbones defined rather than hollowed.
Backgrounds matter as much as the face. A dark background at a short distance gives you a low-key portrait with no competition for attention. Push a light background further away if you want separation, and keep the key light from hitting it at all.
Common Mistakes While You Set Up
- Ending up at 45 degrees. The moment you rotate the light toward the camera, the nose shadow swings to one side and you’ve built a Rembrandt instead of a split.
- Light too high. Above eye level the shadow line drops toward the mouth and the top of the head goes dark. Fix it by dropping the light until the split runs from forehead to chin.
- Light too low. Under eye level the shadow climbs and the eye on the dark side disappears entirely.
- Too much fill. A reflector on both sides, or a second light, erases the pattern. Add fill in small steps and stop before the two halves merge.
- Subject leaning into the light. Even a small turn changes the effective angle. Ask them to reset their shoulders between frames.
Test and Adjust the Result
Shoot in RAW, then check the histogram and the zebras before you judge the lighting. If the lit cheek is touching the right edge, the split will read as a blown-out blob with a black hole next to it. Pull exposure back a third of a stop and look again.
Then use the forum trick of reading a lighting setup backwards: highlights point toward the source, shadows fall away from it. Apply that to your own frame and you’ll usually spot the mistake in seconds. Take one behind-the-scenes frame with the stand and flag in shot each time you change something, and after a month you’ll have a personal cheat sheet of angles that worked for your room.
Common Mistakes
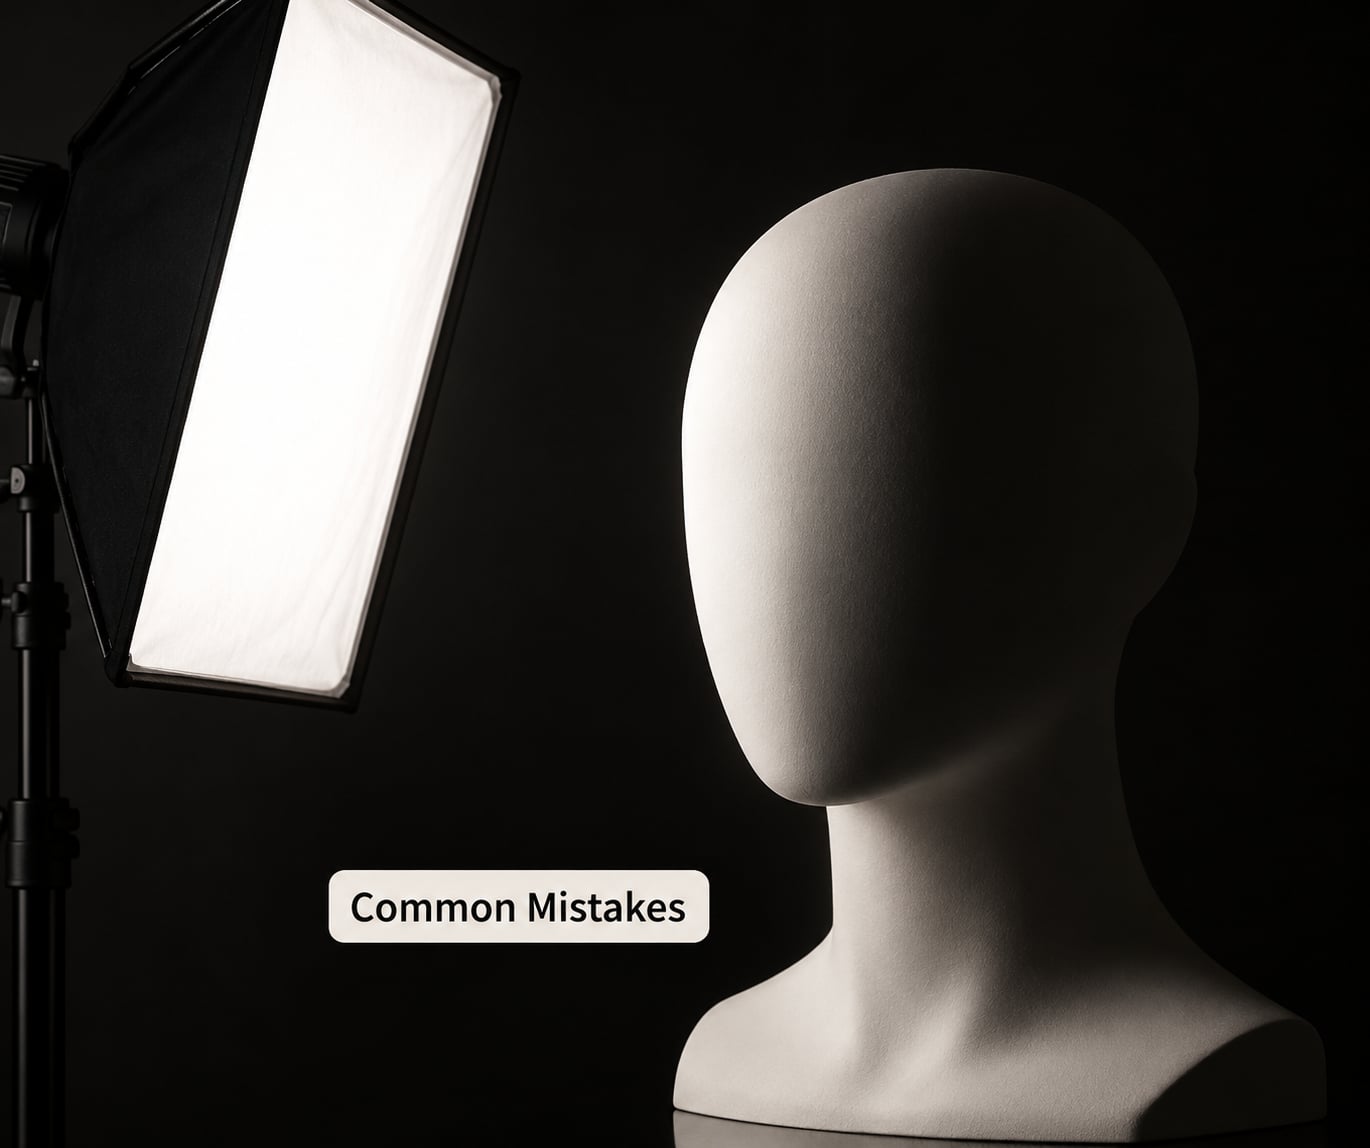
Almost every failed split is one of five things. Here’s how to spot each one in the frame and what to change.
| What you see | Likely cause | Fix |
|---|---|---|
| Shadow line drifts off the nose to one side | Light rotated toward the camera | Walk the light forward until the line runs straight down the centre |
| Lit side spills onto the far ear | Light behind 90 degrees | Rotate toward the camera until the far ear goes dark |
| Shadow-side eye is solid black | Light too far forward, no fill | Add a white reflector close to the subject on the shadow side |
| No catchlight in either eye | Light too high, or source too small and far | Drop the light to eye level and soften or enlarge the source |
| Background brighter than the face | Spill hitting the backdrop or a nearby wall | Flag the light and move the subject further from the background |
| Pattern collapses when the subject talks | Head turning toward the light | Mark the floor position and have them reset between frames |
Room size is the constraint people forget. A bedroom with white walls will bounce fill into your shadow side no matter how well the light is flagged, so in a small space you work with the walls, put the subject’s dark side toward the darkest corner, and use a larger source rather than a harder one.
One more habit: shoot the same setup on three different faces. The pattern is fixed, but every face divides differently, and knowing which faces need a reflector is worth more than any gear.
Frequently Asked Questions
What light position creates split lighting?
Place the light about 90 degrees to one side of the subject, level with their eyes, while they face the camera square on. At that angle the nose casts a shadow straight down the centre of the face. Ahead of 90 degrees the shadow-side eye goes black; behind 90 degrees the light spills onto the far ear. Use those two symptoms to fine-tune the angle.
Do I need two lights to create split lighting?
No. One light is the whole technique, and the pattern is easier to read with a single source because you always know which shadows came from where. A second light usually fades the shadow side and quietly turns your split into generic portrait lighting. Add a reflector first if you want more shadow-side detail, and only consider a rim or hair light for background separation.
Should I use a reflector with split lighting?
It depends on how much detail you want in the dark half. No reflector gives you the deepest, most graphic split. A white reflector close to the shadow side lifts it enough to keep an eye readable, which most headshots need. Silver adds more contrast than white, and black foam or card on the shadow side pushes the other way and makes the pattern harsher.
How far should the light be from the subject?
Start around 1.5 to 2 metres for most setups, then move the light rather than changing settings. Closer gives harder shadow edges and faster falloff, so the background drops away and the contrast between the two halves of the face increases. Further away softens the transition and evens the face out, but you lose light power. In a small room, work with distance before you reach for a bigger modifier.
What is the best lighting ratio for split lighting?
A fully graphic split sits well past 8:1, where the shadow side has almost no detail. For a headshot where you want the subject readable, aim nearer 3:1 to 4:1, which a white or silver reflector will give you. Measure it by eye: if you can just make out the shadow-side eye without the histogram looking crushed, you are close to the right ratio.
Can split lighting work with natural light?
Yes, and the same 90-degree rule applies. Put your subject beside a window with their face turned square to the camera, then have them look directly at the window so the light falls from the side. Outdoors, overcast light is forgiving because it is a giant soft source, while direct sun gives you the hardest possible split. Block the light spilling onto the shadow side with a dark card or a piece of foam board.
Conclusion
Do this first: put your subject square to the camera, walk one light out to 90 degrees at eye level, and take a single test frame in manual at ISO 100 and f/4. Look at the far ear and the shadow-side eye, and move the light a few degrees until one goes dark and the other keeps a catchlight. Everything after that, modifiers, reflectors, gels, backgrounds, is refinement on a pattern that already works.