If you have never worked out how to photograph dark skin tones correctly, the reason is usually one thing your camera gets wrong: melanin-rich skin absorbs far more light than fair skin, so the light bouncing back to the lens is weak and the camera opens the shutter wider to compensate, which leaves the recorded frame sitting a stop or more too bright and flattens the skin. The fix is a directional key light, a reflector to control the shadow side, exposure compensation in the opposite direction to most published advice, and an edit that does not default to light-skin settings. Any photographer can do this with one light and a white card, and the whole setup takes about fifteen minutes to build once you know where to put things.
That last part matters, because the advice floating around online contradicts itself constantly. One widely shared article says open up for dark skin. Its own comment thread, going back to 2016, corrects it: close down instead. A commenter named Ian Rivlin put it plainly — dark skin is supposed to bounce back less light, the camera has already held the shutter open trying to force it to grey, so the exposure is now too bright and has to be pulled back. Very deep skin may need up to three stops less; lighter complexions closer to one. I have seen that same sign-flip repeated in wedding forums and photography groups for two decades, and it is the single biggest reason portraits of deep skin come out muddy.
Everything below has been re-checked against current sensor technology in 2026. Modern full-frame bodies hold roughly fourteen to fifteen stops of dynamic range, so the old rule of dropping three stops for every shade of dark skin is outdated advice inherited from film.
Table of Contents
- What You Need
- Step-by-Step: How to Photograph Dark Skin Tones Correctly
- 1. Choose a Camera and Lens That Preserve Detail
- 2. Position Light to Show Shape Without Flattening Skin
- 3. Set White Balance and Color Management
- 4. Expose Dark Skin Tones Correctly by Protecting the Highlights
- 5. Focus on the Eyes and Control Contrast
- 6. Direct the Pose to Reinforce Light and Texture
- 7. Check the Result Before Editing
- Common Mistakes
- Frequently Asked Questions
- Should I overexpose or underexpose dark skin?
- What lighting is best for dark skin portraits?
- Why do dark skin tones look grey and flat in my photos?
- Do I need an incident light meter, or can I use my camera meter?
- What background colour keeps a dark-skinned subject from disappearing?
- How do I photograph dark skin tones correctly when two people have very different skin tones?
- Conclusion
What You Need
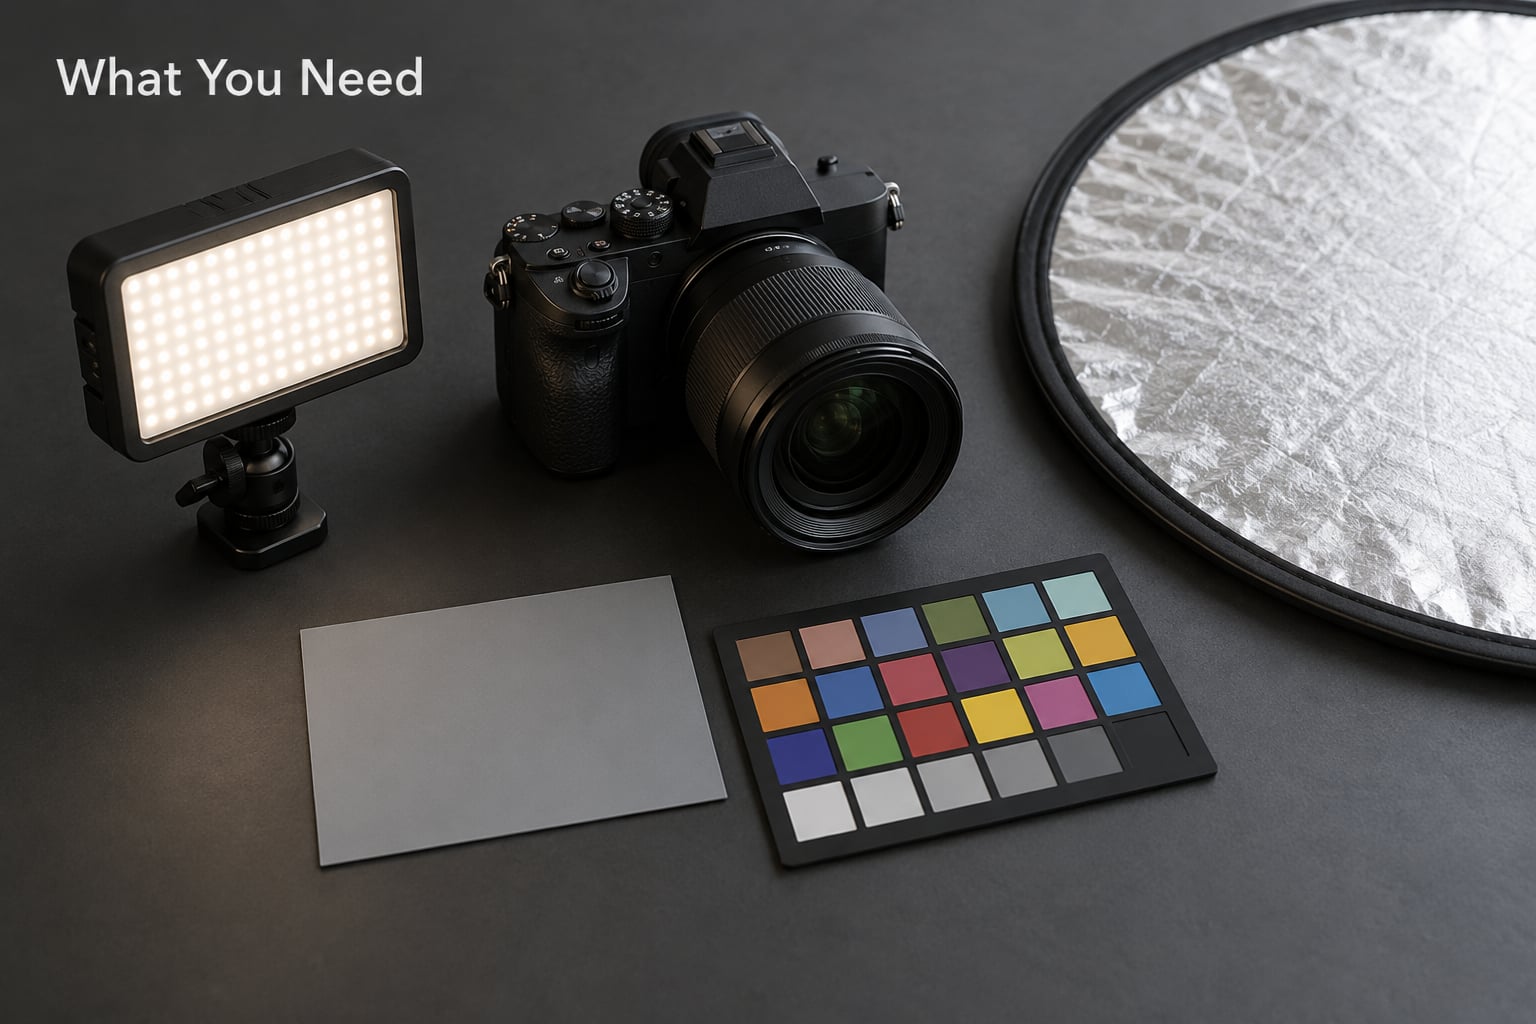
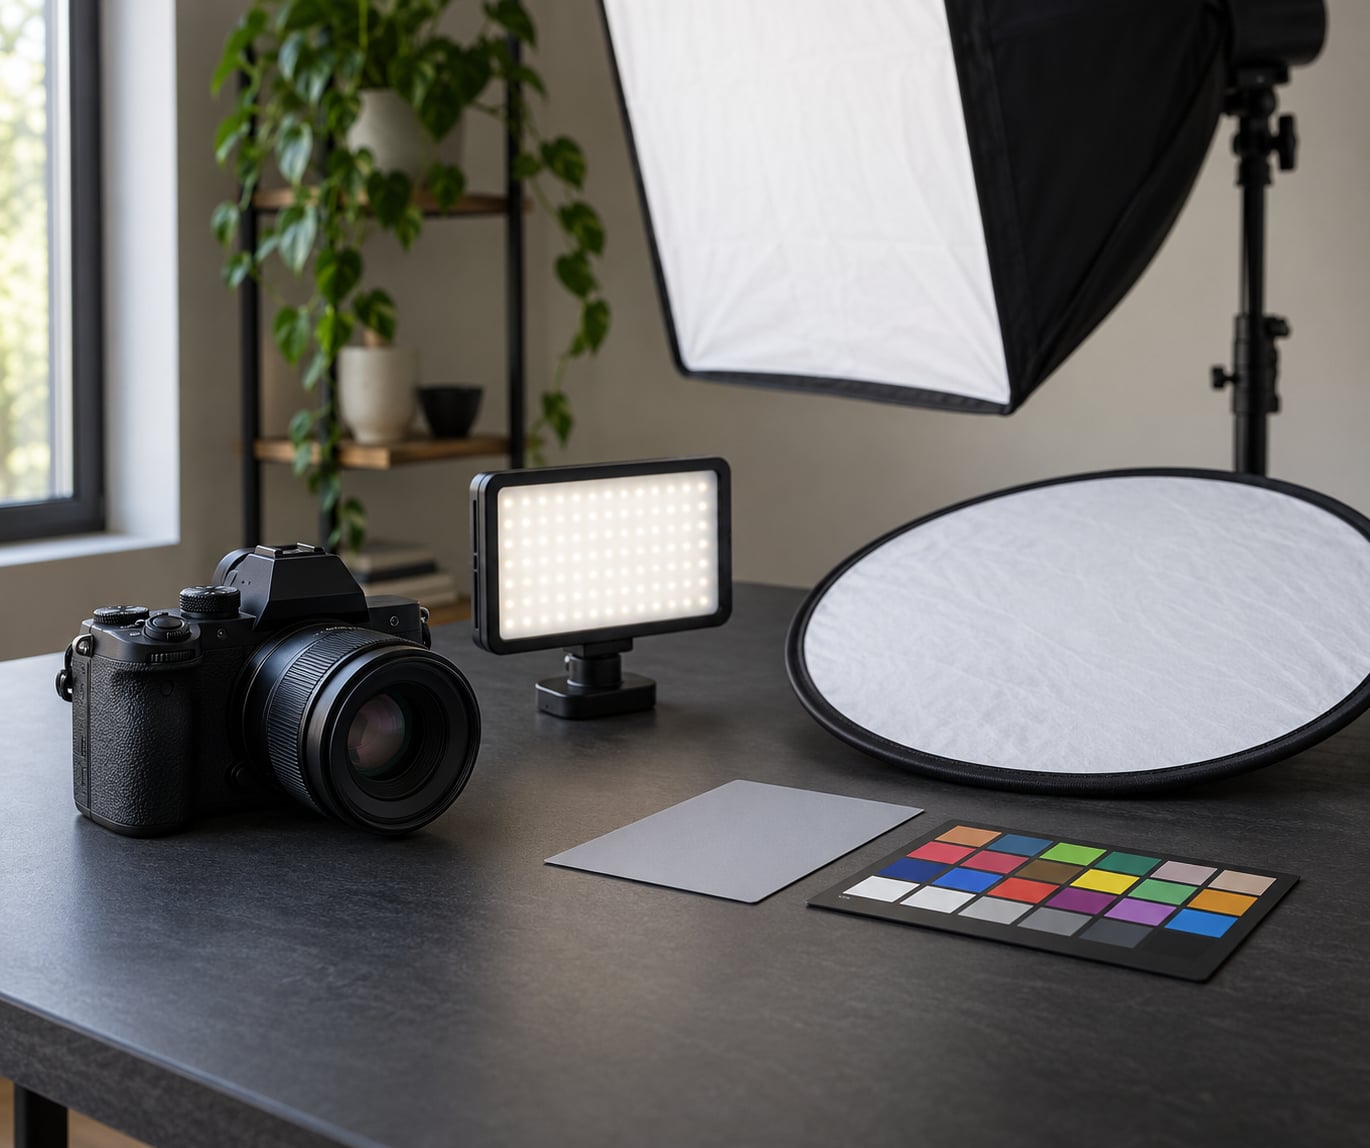
You need surprisingly little. A working camera, one light, one white card and a grey card is the whole shopping list.
- Camera. Any body with a decent dynamic range will do. Full-frame gives you roughly fourteen to fifteen stops of latitude between shadow detail and highlight clipping; crop-sensor bodies are a stop or so tighter, which means one lighting mistake costs you more room to fix it in the edit.
- Lens. A normal prime around 50mm on full-frame, or a short telephoto around 85mm, keeps facial proportions honest. A 24mm close to the face will stretch the nose. I also avoid heavy diffusion filters and cheap softeners when texture matters, because they blur pores and fine hair at the same time as they soften the light.
- Key light. A softbox, an octabox, a beauty dish or even a large LED panel. Size relative to the subject: a modifier twice the width of the head gives soft-edged shadows, and you want soft light on dark skin because hard light turns the shadow side into a solid block.
- White reflector or foam board. This is your fill control. White card on the shadow side opens the shadows and you can dial that in by how close you hold it. Black card or black foam for negative fill when you want the opposite effect.
- Grey card and color checker. The grey card sets exposure and white balance in one shot. The color checker tells you afterwards whether the skin hue in the file matches the skin in the room.
- Spot meter, optional but useful. A hand-held spot meter lets you read specific patches rather than an average the camera takes across the whole frame. You can get through without one, but it removes guesswork fast.
- RAW capture. Non-negotiable in practice. 14-bit RAW gives you the room to lift a shadow without the banding and posterisation that appear in compressed files when deep tones are pushed.
- Editing software. Lightroom, Camera Raw or Capture One all handle the tone curve and HSL adjustments this workflow needs.
None of this is expensive. A full-frame body and studio strobes make life easier, but plenty of the strongest dark-skin portraits I have seen were made with a window and a sheet of white poster board.
Step-by-Step: How to Photograph Dark Skin Tones Correctly
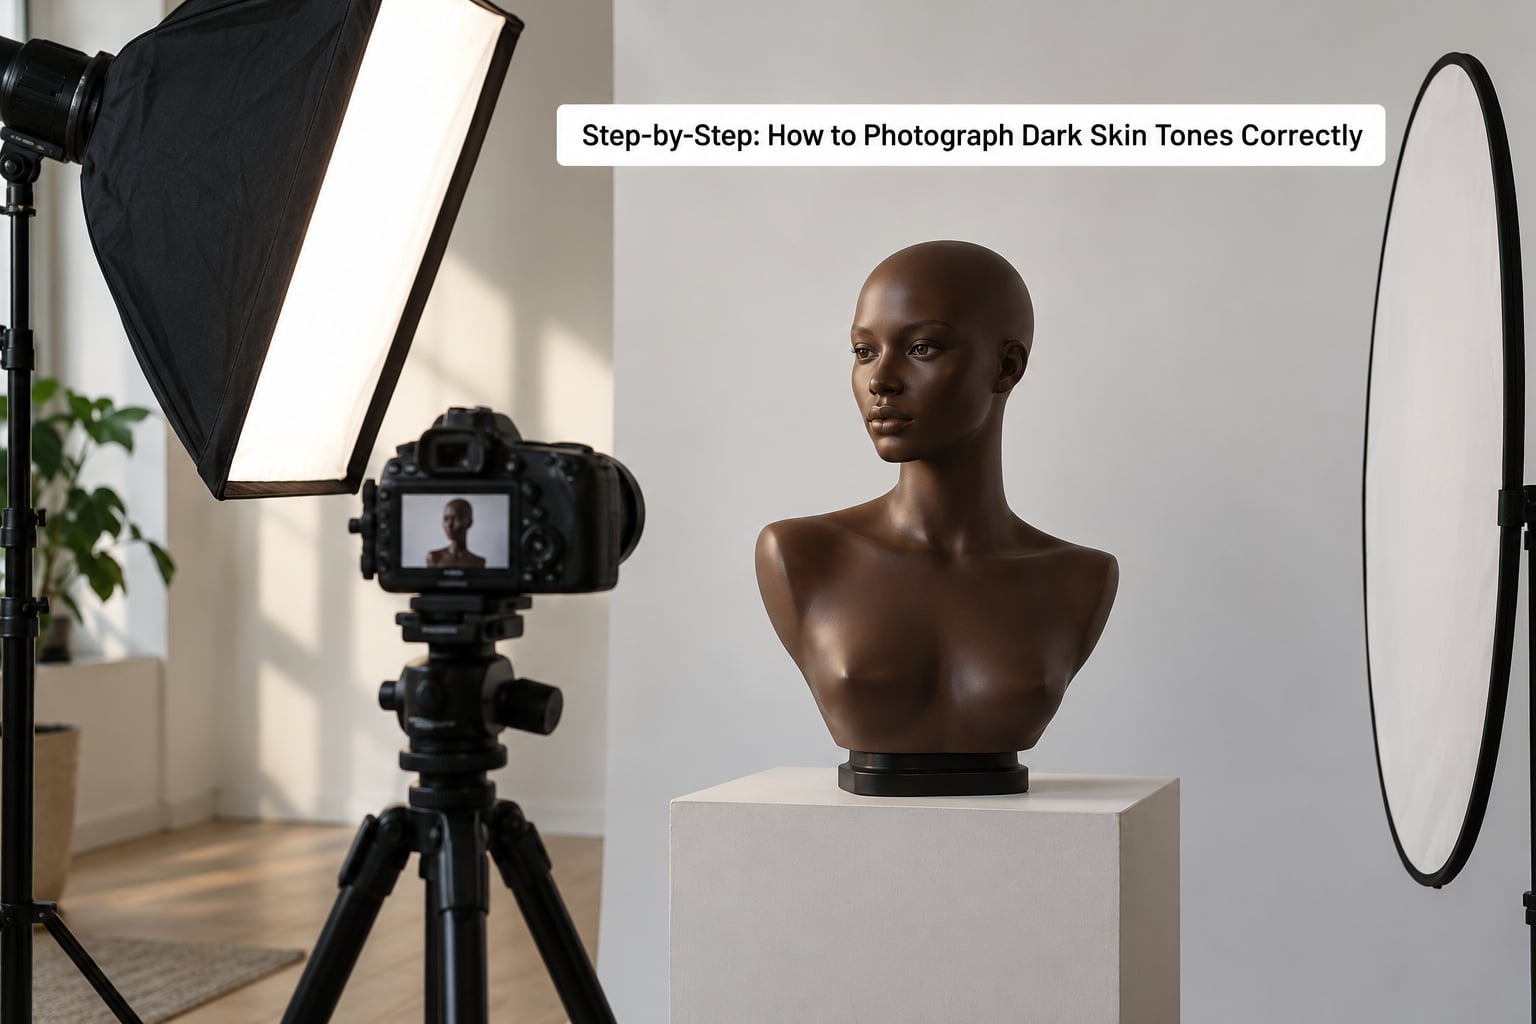
Seven steps, in order. Each one has a test that tells you whether it worked, so you are not guessing from the LCD at the end.
1. Choose a Camera and Lens That Preserve Detail
Pick the body with the most latitude you already own, and stop down enough to keep the whole face inside that latitude. A modern full-frame sensor gives you room to place deep skin around the middle of the tonal range and still protect a specular highlight on the cheekbone or forehead.
Watch for anything that costs you resolution on skin: heavy in-camera noise reduction, an aggressive sharpening profile, or shooting a heavily diffused wide open at a very slow shutter. Fine texture is what separates a portrait of dark skin from a silhouette, and it is the first thing smoothing software eats.
How to tell it worked: pull a 100% crop onto the cheek at 1:1 and check that pores and the fine line along the eyelid are still resolved, not smeared into a flat surface.
2. Position Light to Show Shape Without Flattening Skin
Put your key light about 45 degrees to the side of your subject and slightly above eye level, then leave the shadow side alone for a beat before you fill it. That angle is what gives a face shape; straight-on light flattens everyone, and it flatters nobody.
Keep the source high enough that the shadows fall down and away rather than across the cheeks. A light at nose height or below throws shadows upward and makes the skin look heavier than it is.
Then bring in a white reflector on the shadow side, close to the subject, and move it in and out until the shadow detail sits where you want it. A reflector held about a foot from the face lifts the shadow noticeably; held four feet away it barely does anything. That distance is your dimmer.
How to tell it worked: the shadow side should still show texture. If you can see shape but not skin detail, you are a little too close with the card.
3. Set White Balance and Color Management
Shoot RAW, then set a custom white balance rather than leaving it on auto. Auto white balance has no idea which light you are standing in, and it will happily swing warm when your subject’s skin is neutral, which is exactly how deep skin ends up ashy or orange in the file.
Fill the frame with the grey card and set your custom white balance from it. That one step removes the colour cast that makes melanin-rich skin look grey in the first place, and it costs about fifteen seconds.
Keep colour management switched on from the card through the edit to the export. If it is bypassed anywhere along that chain, you get a shift you will spend an hour chasing later.
How to tell it worked: shoot one frame with a color checker in the shot. After import, the skin-tone patch under the face should sit within a small distance of the actual subject, not several patches away.
4. Expose Dark Skin Tones Correctly by Protecting the Highlights
This is the step the internet gets backwards. A reflectance meter assumes the thing it measures reads as 18% grey. Deep skin reflects far less than 18%, so the camera already lengthens the shutter to force the reading up to middle grey, which leaves the actual recorded exposure sitting well above where it should be. You close down to compensate.
Watch the histogram and the highlight warnings rather than the brightness of the rear screen. The rear screen in a shaded studio is brighter than your subject’s face by several stops, so it will always look underexposed on the back of the camera and correctly exposed in the file.
| Skin depth | Fitzpatrick type | Exposure adjustment from the meter reading | Where it should land tonally |
|---|---|---|---|
| Very deep brown to black | VI | Close down 1.5 to 3 stops | Zone 3 to 4 |
| Deep brown | V | Close down 1 to 1.5 stops | Zone 4 |
| Medium brown | IV to V | Close down 0.5 to 1 stop | Zone 4 to 5 |
| Olive, light brown, tanned | III to IV | Close down 0 to 0.5 stop | Zone 5 |
| Fair | I to II | Meter reading, roughly as-is | Zone 5 to 6 |
Those figures describe what a reflectance meter reads, not what the light is doing. If you would rather add light than change settings, moving the key light closer or opening the modifier by a stop does the same job and keeps your shutter fast enough to avoid camera shake.
Protect the brightest thing in frame. Specular highlights on the forehead, the bridge of the nose and the cheekbones clip first, and clipped highlights cannot be recovered in any editor. Place the face one to two stops below clipping, not flush against it, and leave yourself a stop of breathing room in case the subject turns into the light.
Watch the opposite failure too. Push shadows three stops and you get noise and mushy texture, which is the other reason people over-light deep skin and then blow out the highlights. Shadow lift of about half a stop in the raw file is plenty.
How to tell it worked: highlights blinking off at the brightest points on the cheek or forehead means you are at or over the line. No blinking and visible skin texture across the whole face means you are inside the range.
5. Focus on the Eyes and Control Contrast
Focus on the nearest eye, not the forehead, and make sure the pupil and the catchlight are both sharp. Eye detail carries more of a portrait than any other single element, particularly on darker skin where the eye reads as a bright accent against a low-key face.
Shutters above 1/125s handheld for a portrait subject who is holding still, and 1/250s or faster if they are talking and laughing. Aperture between f/2.8 and f/5.6 covers the practical range here: wide open softens the far cheek and can slip the focus plane, while f/8 and beyond softens the near eye and flattens the modelling you just built with the key light.
On the f/2.8 or f/4 question specifically, f/4 is the safer default for deep skin. It keeps the whole face in focus, and the background separation you were relying on gets a little weaker but the skin texture gets sharper, which is the trade you usually want in this situation.
Raise ISO to hold the shutter speed. On a modern body, ISO 800 to 3200 in a controlled indoor setup is clean; pushing to 12800 and then lifting shadows in post is where the muddiness comes from.
How to tell it worked: check a 100% crop on the near eye. If the catchlight is a clean dot and the lashes separate from the cheek, focus is where you want it.
6. Direct the Pose to Reinforce Light and Texture
Turn the head relative to the light, and the face does the work for you. Broad lighting, where the side of the face facing the camera is the lit side, is the forgiving option for beginners. Short lighting, where the camera sees the shadow side of the face, is more dramatic and more demanding, and it is a good second step once broad lighting looks predictable.
Move the face toward the light rather than straight at it. Angling the head 20 to 30 degrees off the key gives you a graduated falloff across the cheek that reads as depth, and the brightest point lands on the cheekbone where the light can sculpt.
Change shoulder angle too, and it stops the pose from looking symmetrical and stiff. Ask the subject to bring the chin forward a fraction and down, which lengthens the neck and puts the cheekbone in a better position relative to your light.
On textured skin, keep posing minimal rather than aggressive. A hand along the jawline, a slight lean forward, all of that helps. A subject turning away and back toward the lens smears the skin at the moment of movement, and you will not get the frame back.
How to tell it worked: you should see a gradient across the cheek from light to shadow with no hard edge anywhere. A hard edge usually means the key is too small or too close relative to the head.
7. Check the Result Before Editing
Open the file full size before you touch a single slider, and look at five things in order: highlights, shadows, colour, texture, and overall facial contrast.
Highlights first. If anything is clipped, go back and fix the exposure in the raw file rather than trying to recover it. Shadow detail next, and check that lifting it does not immediately produce noise. Then look at colour: if the skin reads grey or ashy next to a reference patch, the problem is usually white balance, not the tone curve.
Texture third. Zoom to 100% on the cheek. If the detail is gone at this stage, it was lost in capture, and sharpening will only exaggerate the noise that replaced it. Facial contrast last, because that is the one adjustment that changes how the whole portrait reads and it is easiest to overdo.
Make small corrections. A raw file from a controlled setup needs a white balance, a modest curve and maybe a saturation nudge on the orange luminance band. If you are reaching for large movements in all directions at once, the frame was wrong before the software opened.
How to tell it worked: compare the file against the scene in front of you at arm’s length, in the same light, on the same screen. Skin should look like skin, not like a memory of skin.
Common Mistakes
These five account for nearly every bad dark-skin portrait I am shown, and each has a specific fix rather than a general instruction to try harder.
Underexposing because the meter read it as too bright. This is the big one, and the direction of the error is exactly opposite to what most articles say. The camera holds the shutter open to reach 18% grey, the file ends up overlit, and the photographer pulls the exposure down in software to compensate, which crushes the shadows and adds noise. Fix: dial in the compensation from the table above before you shoot, and check the histogram rather than the rear screen.
Using a hard overhead light. Ceiling fixtures and bare flashes straight above carve deep sockets under the eyes and put every shadow in the wrong place. Fix: raise your key to roughly 45 degrees and off to one side, and put the reflector opposite it. If you cannot move the light, move the subject away from directly beneath it.
Leaving white balance on auto. In mixed household lighting the camera guesses wrong constantly, and the guess is always toward whatever the brightest patch in frame happens to be, which is frequently a white shirt. Fix: one frame with a grey card, then set a custom white balance. In a venue with mixed lamps, use a color checker in your first frame and correct from that.
Over-smoothing the skin. Frequency separation and heavy low-opacity blur are fine for a small blemish. Applied to a whole face, they flatten the texture that was the whole reason for the shot. Fix: mask the smoothing to the areas that need it, keep the frequency low enough to work at 100%, and leave pores visible.
Brightening the shadows until the face goes flat and grey. It feels like a fix because the subject stops being dark, and it is the reason so many edits read as lifeless. Fix: hold the shadow lift under half a stop, put your contrast into the light-to-mid range instead, and let the shadow side stay a shadow.
A few shorter tips that help more than they should: keep the subject at least two stops away from the background in tone, or add a rim or hair light so the edge of the head separates. In a group with a bride in a white dress, expose for the dress at around Zone 7 and accept that the dark-suited person beside her will sit in the lower zones with detail held in the shadow, rather than clipping the dress to save the face. And if you are working without a colour reference in the frame, keep a note of the light you used, because skin tone consistency across a whole gallery is mostly remembering, not luck.
Frequently Asked Questions
Should I overexpose or underexpose dark skin?
Close down. A reflectance meter assumes the subject reads as 18% grey, and melanin-rich skin reflects much less, so the camera already holds the shutter open to force that reading and leaves the file overlit. Pull back 0.5 stop for olive skin, 1 stop for medium brown, and 1.5 to 3 stops for very deep skin. Most wrong advice online says the opposite.
What lighting is best for dark skin portraits?
One large, soft, directional source placed about 45 degrees to the side and slightly above eye level, with a white reflector on the shadow side. Soft light keeps the shadow half of the face readable rather than solid black, and the reflector lets you control how dark that shadow goes. Add a rim or hair light when the subject needs to separate from a dark background.
Why do dark skin tones look grey and flat in my photos?
Three usual causes. The camera underexposed and you lifted the shadows in software, which adds noise and kills contrast. The white balance was left on auto or set in mixed light, which drains the warmth out of the hue. Or the skin was over-smoothed, removing the texture that reads as life. Fix each at its source rather than in the edit.
Do I need an incident light meter, or can I use my camera meter?
You can work entirely with the camera meter once you know your compensation for a given skin depth, which is why the stop table matters more than the meter. An incident meter reads the light falling on the subject rather than the light bouncing back, so it does not care how much melanin is present and needs no compensation at all. It is the fastest way to remove the guesswork.
What background colour keeps a dark-skinned subject from disappearing?
Go for tonal distance, not colour theory. Place the subject at least two stops lighter or darker than the backdrop, or add a rim or hair light to draw the edge of the head. Mid-tone, warm backgrounds work well for deep skin, and anything in the same tonal band as the subject needs either a light on it or a light on the person. A dark subject on a dark wall is the most common failure in the genre.
How do I photograph dark skin tones correctly when two people have very different skin tones?
Expose for the brightest skin in frame and let the deeper skin fall into the lower tonal zones with detail held in the shadow. This is the hardest case, and the mistake is always the same: opening up to save the deeper face and clipping the white dress. Reframe so the two faces sit at different distances from the key, use negative fill on the deeper subject if they need lifting, and shoot a colour reference for each.
Conclusion
Once you know how to photograph dark skin tones correctly, most of the work happens before the shutter: the light is placed, the compensation is dialled in, and the white balance is set from a reference. Editing is where you check the decisions you already made, not where you make them.
Start with the version that fits in fifteen minutes: one soft key at 45 degrees and slightly above eye level, a white reflector on the shadow side, and the exposure compensation for the skin in front of you dialled in before the first frame.
Set a custom white balance off a grey card in that same first frame, so the colour is right before you shoot rather than rescued afterwards. Shoot RAW, keep the specular highlights out of clipping, and resist the urge to lift the shadow side into a flat grey.
Then open the file at full size before editing anything and check the highlights, the shadows, the colour, the texture, and the contrast across the face. That check is where most of the progress happens, and it costs nothing but the discipline to do it every single time.