Exposure compensation is a plus and minus control on your camera that tells the built-in light meter to aim brighter or darker than its own reading. You turn the dial toward plus when the frame is coming out too dark, and toward minus when it is coming out too bright, and the camera adjusts shutter speed, aperture or Auto ISO to match. It takes about a minute to set and it fixes the scenes that trip up almost every beginner.
The reason it exists is simple: your camera’s meter is calibrated to render most scenes as 18% middle gray. Snow, sand, a backlit portrait, a subject in black clothes and a bright window all break that assumption, and the camera guesses wrong in a predictable direction. Exposure compensation is how you correct that guess without dropping out of an automatic mode and hand-setting three values every time.
This guide covers the practical sequence, what actually changes inside each shooting mode, where the control lives on different camera brands, and how to check the result on the histogram instead of trusting the brightness of the screen. I have shot weddings, concerts and outdoor scenery on everything from an old DSLR body to a current mirrorless, and the mistakes in this article are ones I have made myself more than once.
Table of Contents
- What You Need
- Step-by-Step: How to Use Exposure Compensation on Any Camera
- Step 1: Choose the Right Exposure Mode
- Step 2: Decide Whether to Brighten or Darken the Scene
- Step 3: Set the Exposure Compensation Dial
- Step 4: Check the Result Before Shooting
- Step 5: Apply Compensation Without Overshooting
- Common Mistakes
- Exposure Compensation on iPhone and Android
- Frequently Asked Questions
- Why would you use exposure compensation?
- Do you use exposure compensation in manual mode?
- What should my exposure be set to on my iPhone?
- Is it better to overexpose or under?
- Why does my exposure compensation seem to do nothing?
- Final Recap
What You Need
You do not need a particular camera. Any camera with a plus and minus button, a dedicated exposure compensation dial, or a menu entry called something like Exposure Comp. will do it, and most phones have an equivalent slider.
What you do need is the right shooting mode. Exposure compensation behaves differently in each one, and in manual mode with a fixed ISO it changes nothing about the picture at all. That surprises people more than anything else on this page, so it gets its own step below.
You also need a way to judge the result, and this is where most beginners go wrong. The brightness of your camera LCD or viewfinder is not a reliable guide, because the screen emits its own light and your eye adapts to whatever it is looking at. The histogram and the highlight blinkies are reliable. A camera with a live electronic viewfinder makes this easier, since you see the effect of a change before you take the frame.
Finally, decide what you are trying to keep. Exposure compensation is a trade: you brighten the shadows and lose some highlight detail, or you darken the highlights and lose shadow detail. Knowing which of the two matters to you in this particular frame is what separates a correction from a guess.
Step-by-Step: How to Use Exposure Compensation on Any Camera
Step 1: Choose the Right Exposure Mode
Start in aperture priority (A on Canon and Nikon bodies, Av on Sony and Pentax) or shutter priority (S on Canon and Nikon, Tv on Sony and Pentax). In both of those modes the camera holds one setting you chose and moves the other to satisfy the meter plus your compensation.
In aperture priority, you pick the f-stop and the camera changes shutter speed. In shutter priority, you pick the shutter speed and the camera changes aperture. That is the whole difference, and it is the part beginners find confusing, so it is worth knowing which one you are in before you touch the dial.
Program mode (P) also accepts compensation, and the camera balances aperture and shutter speed in whatever combination it prefers. It is less predictable because both values can move at once, so I use P rarely.
In manual mode (M), compensation is a different tool entirely. With aperture, shutter speed and ISO all set by you, the camera has nothing left to change, so exposure compensation has no effect on the exposure. What it does instead is move the zero point of the exposure indicator on your top LCD or viewfinder. The meter reading shifts, but the picture does not. In manual, you change the exposure by changing aperture, shutter speed or ISO directly. The compensation setting still matters there for flash and for Auto ISO, which I come back to in the mistakes section.
Manual is the right call when the light is steady and you want identical frames across a sequence, such as a bracket or a product series. Compensation is the right call when light or the subject is changing and you want the convenience of an automatic mode.
Step 2: Decide Whether to Brighten or Darken the Scene
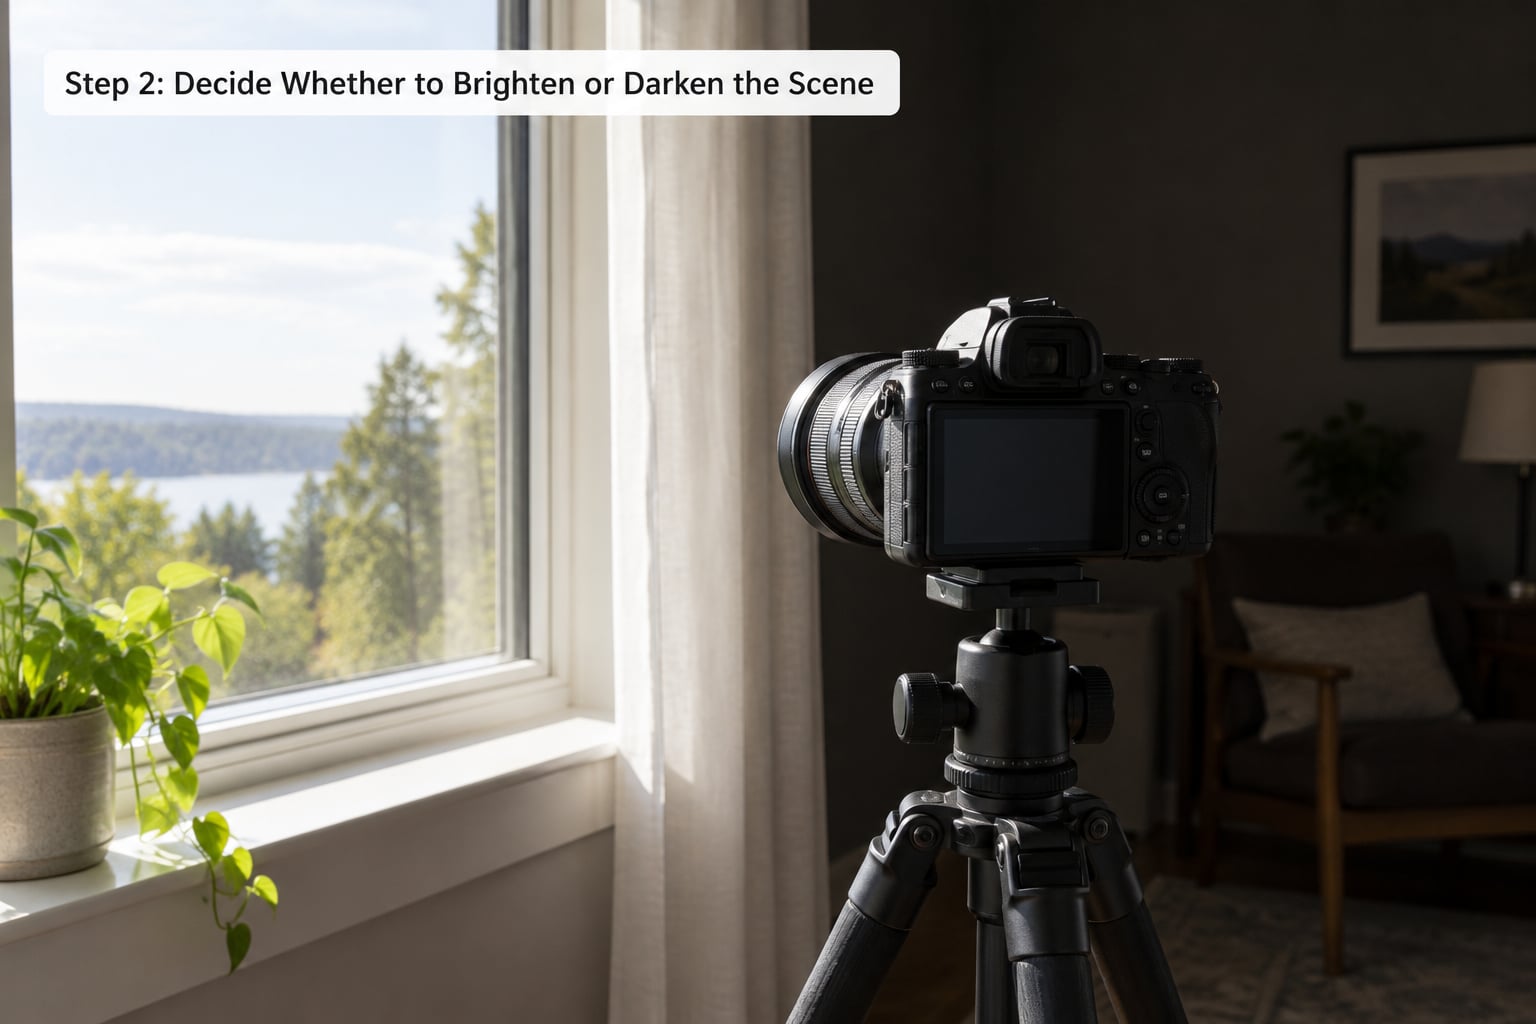
Look at what your meter is doing and compare it with what you actually want the picture to look like. That comparison is the entire decision. The camera is not wrong in a random way, it is wrong in a way you can predict.
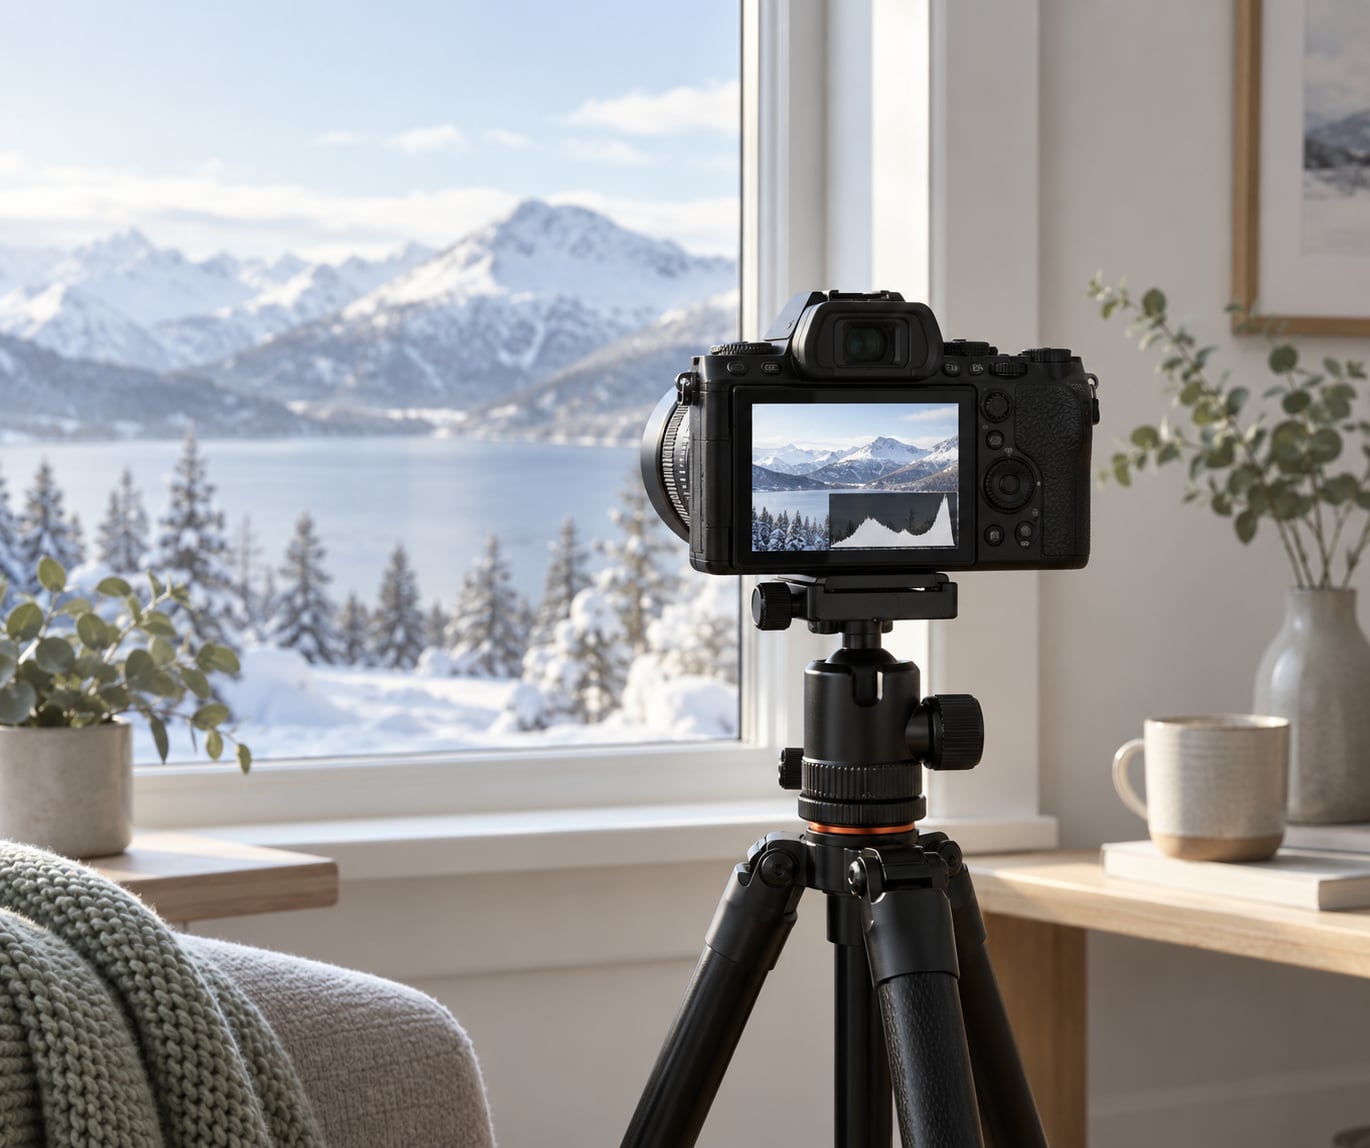
Go toward plus when the scene is mostly bright and the camera is trying to pull it down. Fresh snow usually needs somewhere between +1 and +2 EV. Pale sand dunes take about +1 to +1.7. A backlit subject in front of a bright sky needs positive compensation, often +1 or more, because the meter is exposing for the sky and turning the person into a silhouette. A subject in black or dark navy clothing needs plus too, since a dark jacket reads as a shadow to the meter. Bright white clothing in a dim room goes the other way, toward minus, often around -1 EV.
Go toward minus when the frame is coming out brighter than you want and you are losing detail. A hazy, flat landscape where the shadows look milky usually wants -0.3 to -0.7. A white product on a white sweep can need -0.7 to -1.3 to keep the background from going pure white. Night street scenes and concert stages often look better at -1 to -2, both to keep the background darkness and to stay under the noise floor of a high ISO.
The rule of thumb most people settle on: snow and sand take roughly one to two stops of plus, backlit subjects take one to two plus, and dark, high-contrast scenes often take a stop or two of minus.
Step 3: Set the Exposure Compensation Dial
On most cameras you hold down the plus and minus button and turn a command dial. The button is usually just behind or beside the shutter release on the grip, and it is often marked with a plus and minus symbol. Hold it, turn the dial, and watch the exposure scale move in the viewfinder or on the top LCD. Release the button when the number is where you want it.
If your camera has a dedicated exposure compensation dial, such as the ring around the shutter release on many retro-style mirrorless bodies, turn that dial directly. It is often a two-sided control, so turning it toward plus gives positive compensation and toward minus gives negative.
Some cameras have no accessible control at all, and then the setting lives in the menu. On Sony bodies the path is MENU, then Camera Settings, then Exposure Comp., and the range is typically -2.0 EV to +2.0 EV. On Canon, look in the shooting menu for Exposure Compensation and set the amount with the dial. On Nikon, it is a button near the shutter release on many bodies, and in the menu under Exposure Compensation on others. Fujifilm bodies often have a dedicated dial or a menu item under Exposure Compensation, and Pentax puts it in the capture menu. The exact route moves between generations, so the manual for your model is the last word.
Most cameras work in thirds of a stop, so +0.3, +0.7, +1.0 and so on. Many also let you choose a coarser one-third, one-half or full-stop increment in the menu, and some let you set a range limit, which is worth doing if you keep forgetting to reset it.
Step 4: Check the Result Before Shooting
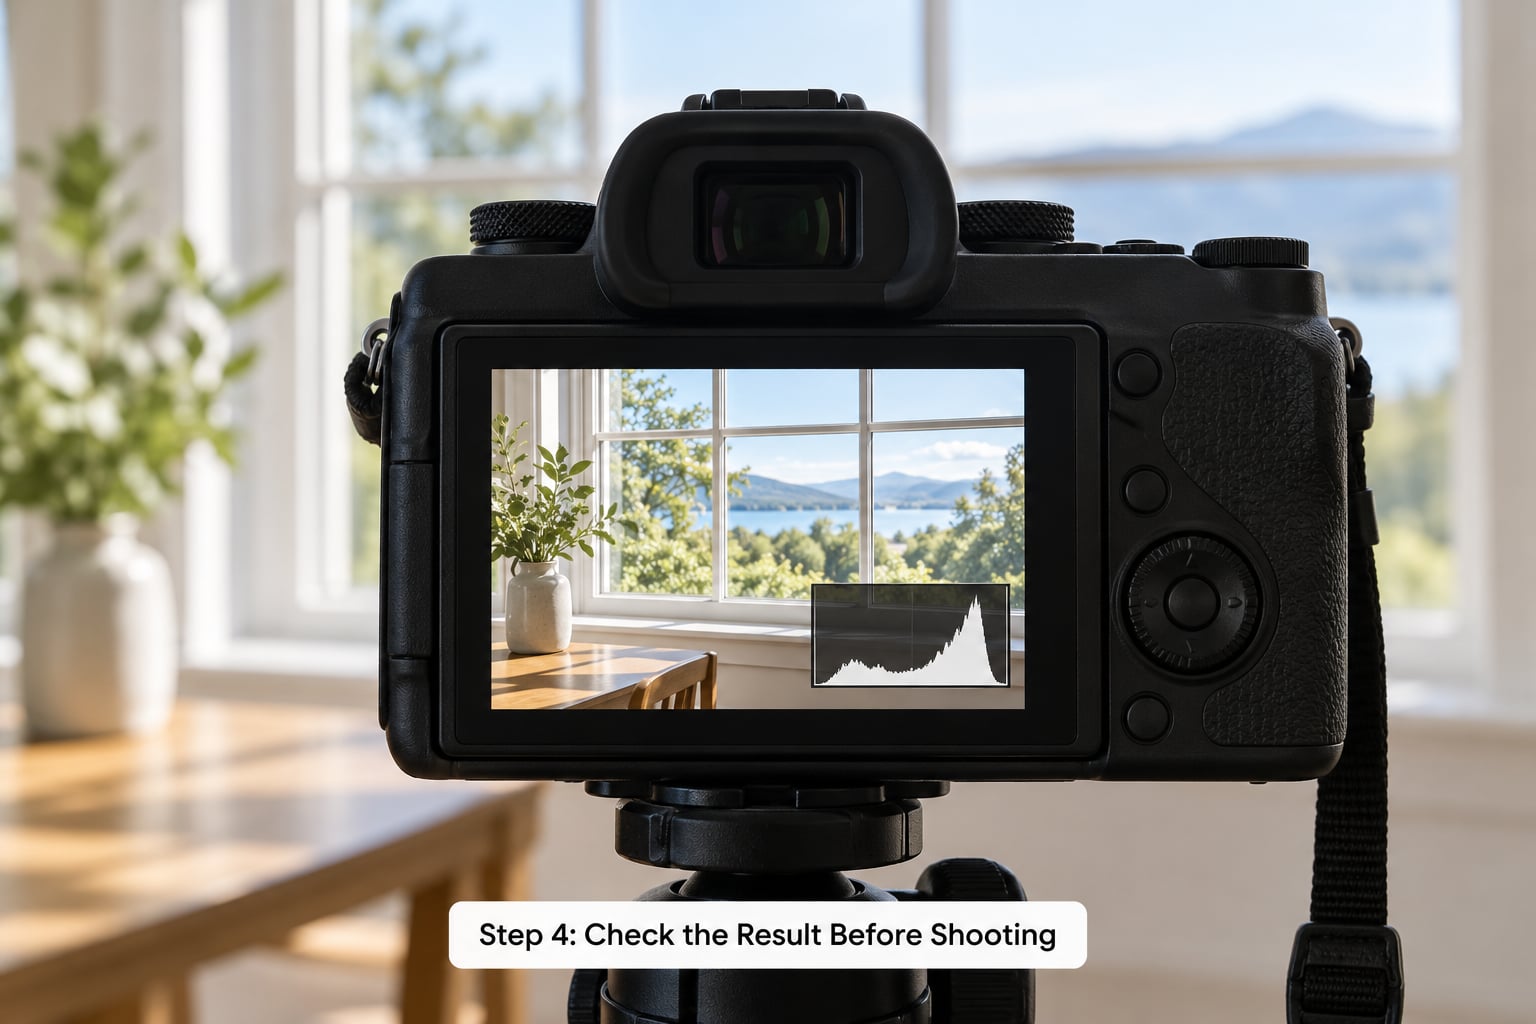
Turn on the highlight warning if your camera has it, which is the flashing blinkies option in the display menu. Any blown area in the frame flashes. That single feature tells you more about your compensation than the brightness of the screen does.
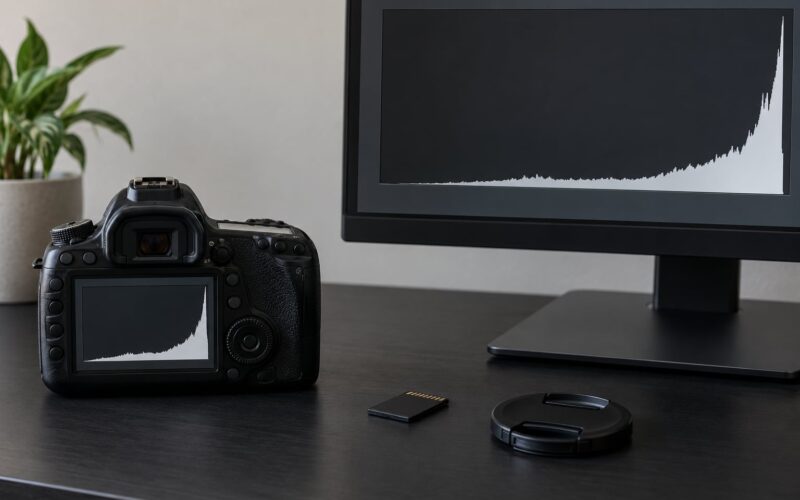
Then read the histogram. On most cameras you press the display or info button to cycle to it. For a correctly exposed scene you want data that reaches toward both ends of the graph without piling up hard against either edge. Data crushed against the far right means clipped highlights with no recoverable detail. Data jammed against the far left means blocked shadows. Bright scenes will naturally lean right and dark scenes will naturally lean left, so use the shape and the spikes as your guide rather than expecting a tidy mountain in the centre.
If you shoot RAW, the histogram on the back of the camera reflects the base exposure before the tone curve, and it can look more forgiving than the final file. A brighter push than you would dare in JPEG is usually recoverable in RAW, but only if the data exists. Clipped data in a RAW file is gone, exactly as it is in a JPEG.
Make one test frame, check, adjust by a third of a stop, and check again. Two or three small corrections get you closer than one large guess.
Step 5: Apply Compensation Without Overshooting
Think of exposure compensation as a temporary bias on the meter rather than a change to your settings. Aperture is still your aperture. Shutter speed is still your shutter speed. The camera is simply aiming somewhere else while it holds those values, which means the bias follows you until you remove it.
That behaviour is genuinely useful in changing light. Walking from a shaded doorway into direct sun with +0.7 dialled in, you take one frame, glance at the histogram, adjust a third, and keep shooting without ever leaving aperture priority. The bias is doing the work that re-dialling settings three times per scene would have done.
It is also the source of the most common bad frame. Compensation stays applied. You set -1 for a bright product shot, pack up, walk outside, and the next twenty frames are all a stop dark because the dial never returned to zero.
Reset it deliberately. Some cameras reset compensation to zero when you switch off or change lenses, many do not, and a few have an auto-reset menu option. Check what yours does, then treat the reset as part of the shot rather than an assumption. When I finish a sequence in a distinct lighting situation, I put the dial back to zero before I move, and I check the scale in the viewfinder once more after I reposition.
Common Mistakes
Compensating an exposure that is already right. If the histogram looks balanced and the frame already reads the way you want, add nothing. A lot of people add minus as a matter of habit and end up with muddy files. Judge the frame, not the dial.
Applying the wrong sign. Snow going grey and flat means you need more plus, not more minus. Silhouetted subjects against a blown sky mean the same thing. If the picture is too dark and you reach for minus, you will make it worse, and the instinct to blame the camera is understandable at that point.
Treating it as a sensitivity change. Exposure compensation is not ISO. Raising ISO changes how the signal is amplified, which affects noise and dynamic range. Compensation moves the target the meter aims at, and in aperture priority it is usually the shutter speed that changes as a result. Setting +1 EV is not the same photograph as adding a stop of ISO.
Expecting it to work in manual with fixed ISO. With all three exposure values set by you, there is nothing for the camera to change, and the picture stays exactly as it was. The exposure indicator on the top LCD will move, which is where a lot of people conclude the feature is broken. It is working. It is just recalibrating a meter that is no longer in charge.
Confusing it with flash exposure compensation. Many cameras carry two plus and minus controls. The plain one, usually near the shutter release, affects ambient light. The one marked with a lightning bolt affects the flash output through the TTL metering, and it is usually set by holding the button while turning a different dial, or from the flash exposure compensation menu. A photographer who wants a darker background at an indoor event can run about -2 EV of ambient compensation with about +2 EV of flash compensation and get a subject that separates cleanly from a dim room. Mixing the two up produces either a black background with a blown subject or the opposite.
Hitting the Auto ISO limits. When Auto ISO is on in aperture priority, the camera may satisfy your +1 EV request by raising ISO, by opening the aperture, or by using whichever combination its Auto ISO limits allow. If you have capped Auto ISO at 3200 and the scene needs more sensitivity, the camera hits the ceiling and the remaining compensation goes unfilled, so the frame comes out darker than the dial says it should. The same thing happens at the other end when a minimum shutter speed is set and the camera refuses to slow down. In fast-changing light at concerts and nightclubs, I set a sensible minimum shutter speed to stop blur, then treat the top of the ISO range as the real ceiling on how much plus I can ask for.
Leaving it dialled in. Covered above, and it is the mistake that costs the most frames. If you shoot events, keeping a permanent offset is a legitimate style choice, and wedding and event photographers do exactly that with values commonly between +0.3 and +1.0. The risk is forgetting you set it, so check the scale every time you pick the camera up.
Thinking RAW removes the need for it. RAW gives you latitude in editing, but a frame with clipped highlight data has no data to recover. Compensation is what stops the clipping happening in the first place, and it is a faster fix than rescuing files afterwards.
Overriding your own eyes. The LCD brightness dial on many cameras changes how the screen looks and has nothing to do with the exposure. Neither does a bright room or a dark room. The histogram does not care about your surroundings.
Two habits cover most of the above. Check the exposure scale in the viewfinder before you fire, and take one test frame before a sequence instead of after it. Both cost a second and both prevent the failures.
Exposure Compensation on iPhone and Android
Phones use the same idea in a touch interface. In the stock iPhone Camera app, press and hold the focus square on the screen, and the exposure slider appears underneath it. Slide up for a brighter frame and down for a darker one. The scale runs from -2 to +2, the same two-stop range most cameras allow.
On iPhones from the 11 generation onward, you can turn on Settings, then Camera, then Exposure Compensation Control, and the slider moves to the top of the screen so it stays reachable while you compose. The setting persists between sessions, so check it when you open the app if a frame comes out wrong.
That persistence is the phone equivalent of the forgotten dial. The exposure holds until you change it or close the app, and many a disappointing frame traces back to a slider set days earlier.
On Android, the control varies more by manufacturer. Most current camera apps open a similar vertical exposure slider when you long-press the screen, and some place a brightness or exposure control on the viewfinder itself. Samsung, Google Pixel and OnePlus cameras all expose something along these lines, and the manual for your specific app names the control. On Android the value is usually shown in EV steps, so you can enter the same numbers you would use on a dedicated camera.
For video on either platform, exposure compensation behaves the same way, though many apps cap the range more tightly than a camera body does.
Frequently Asked Questions
Why would you use exposure compensation?
You use it when the camera’s light meter picks an exposure you do not want. The meter is calibrated to render the scene as 18% middle gray, so very bright subjects like snow, sand and white clothing get pulled down and come out grey, while dark subjects and backlit people get pushed up and come out flat. Compensation offsets that reading in stops, so you keep aperture or shutter priority and still get the brightness you were after.
Do you use exposure compensation in manual mode?
In manual, with aperture, shutter speed and ISO all fixed, exposure compensation does not change the picture, because the camera has nothing left to adjust. What moves is the zero point of the exposure indicator on your top LCD, which is why it can look like the control is broken. Exposure compensation still has two uses in manual: it offsets the ambient metering for TTL flash, and it nudges Auto ISO when ISO is set to auto.
What should my exposure be set to on my iPhone?
There is no single right value, it depends on the scene. Open the Camera app, press and hold the focus square, and slide the exposure control up or down, then judge the result on the bright areas. Snow and bright sand usually want one to two stops above zero, a backlit subject wants around +1, and a dark high-contrast night scene often looks better a stop or two below zero. On iPhone 11 and later you can pin the slider to the top under Settings, Camera, Exposure Compensation Control.
Is it better to overexpose or under?
For a JPEG, protect the highlights and let shadows go dark, because clipped highlight detail is unrecoverable while blocked shadows can often be lifted in editing. For a RAW file you have more room, and pushing a stop or so brighter than feels right gives the tone curve something to work with. Neither is a rule on its own, but if you have to choose which side of the histogram to sacrifice, sacrifice the shadows.
Why does my exposure compensation seem to do nothing?
Four causes cover most cases. You are in manual mode with a fixed ISO, so there is nothing for the camera to change. You have capped Auto ISO and the camera has hit the ceiling, so the remaining compensation cannot be delivered. You set flash exposure compensation by mistake, using the control with the lightning bolt instead of the plain one. Or the compensation has been set but your metering mode is spot or partial on a small bright area, so the correction lands somewhere other than the subject.
Final Recap
Check the exposure before you change anything: look at the histogram and the blinkies, not the brightness of the screen. Then decide the direction from the scene rather than from habit, plus for snow, sand, backlight and dark clothing, minus for milky shadows and blown bright backgrounds.
Set the value in thirds of a stop from the plus and minus button, take one test frame, read the result and adjust again. It is not a setting you leave dialled in, so put it back to zero before you move to the next lighting situation. That is the whole skill, and it takes about a minute a scene once it is habit.