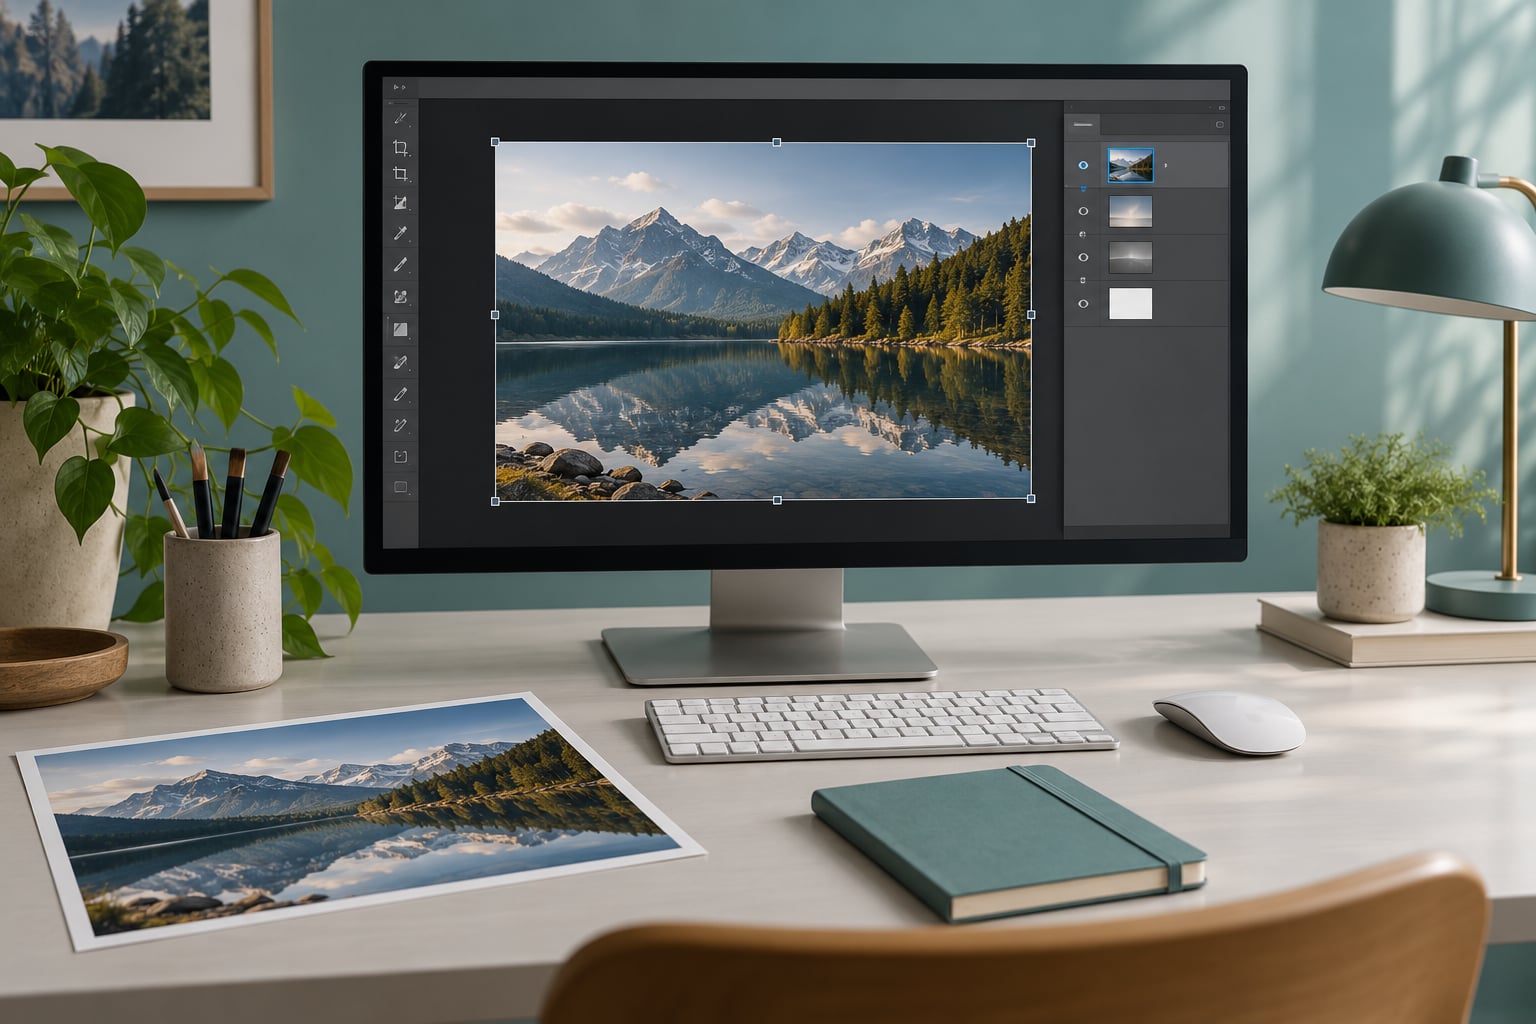
A smart object is a layer that keeps its original image or vector data inside the Photoshop file, so you can resize, rotate, warp and filter it as many times as you like without any loss of quality. Knowing how to use smart objects for photo editing takes about five minutes to learn and saves you from the blurred, flattened files that used to be the only option.
The short version: convert a layer, resize it freely, double-click to edit what is inside it, then save. Everything below is the same idea expanded, with the exact menu paths and the mistakes beginners run into.
Updated for October 2026. The steps are written for current desktop Photoshop on Windows and Mac; menu names move occasionally, so if yours reads slightly differently, look for the same words under the same top menu.
Table of Contents
- What You Need
- Step-by-Step: How to Use Smart Objects for Photo Editing
- 1. Convert the Layer to a Smart Object
- 2. Resize a Smart Object Without Losing Quality
- 3. Edit the Contents of a Smart Object
- 4. Apply Filters or Effects Non-Destructively
- 5. Place One Smart Object Inside Another
- 6. Save, Export, and Verify the Final Image
- Common Mistakes
- Frequently Asked Questions
- Why does Photoshop say my Smart Object is not directly editable?
- How do I make a Smart Object directly editable again?
- What is one good reason to rasterize a Smart Object?
- How do I replace the image inside a mockup or template Smart Object?
- How do I unlink a Smart Object and make the file self-contained?
- Do I need smart objects for photo editing?
- Conclusion
What You Need
You need Photoshop and a document with more than one layer. That is it. Smart Objects are not a plugin, a filter pack or a subscription feature.
- Photoshop (desktop app) does everything below. Elements supports the core convert, transform and edit-contents loop but has fewer Smart Filters. Affinity Photo and Photopea both handle converted and placed smart objects, though some filter and export options differ.
- A layered document. If you opened a JPEG, it arrives as a single locked Background layer. Unlock it with a double-click on the thumbnail, or convert the raw file first.
- Comfort with layers and Free Transform. That is Cmd/Ctrl+T on Windows and Mac, plus the Move tool. If those are still shaky, this guide will feel fast afterwards.
Two file details matter more than people expect. First, work in PSD; switch to PSB (File > Save As > Photoshop Large Document Format) when a document pushes past Photoshop’s size ceiling, because embedded smart objects add weight fast. Second, the smart object does not resize the photograph beyond its own resolution, so a 24-megapixel RAW placed as a smart object cannot yield more detail when blown up to poster size. Resolution is fixed at the source.
One more expectation to set early: a smart object is not a replacement for the Camera Raw Filter. RAW files still need the raw processor to set white balance, tone curve and sharpening at the source. Smart Objects come after that, for the transformations and swaps.
Step-by-Step: How to Use Smart Objects for Photo Editing
A smart object is a container layer. Instead of storing pixels, it stores the whole file it came from, and Photoshop re-renders it fresh every time you transform it. That single design choice produces non-destructive editing: your original data stays intact underneath, so every scale, rotation, crop and filter stays reversible.
For photographers, the payoff is specific. One high-resolution source can feed a 4000-pixel web image, a 1000-pixel square and a 300-pixel avatar without being flattened three times. Recover a highlight you pushed too far by going back into the source instead of re-shooting. Test a filter at three strengths and keep the one you liked.
If you learn nothing else from this page, learn the edit loop: double-click the layer thumbnail, a separate document window opens, you make your changes, Cmd/Ctrl+S saves, and closing the window pushes the change back to the main file automatically. Nearly every “my smart object is not working” complaint traces back to skipping one of those four moves.
1. Convert the Layer to a Smart Object
Select your photo layer in the Layers panel, then right-click its thumbnail and choose Convert to Smart Object. The same command sits under Layer > Smart Objects > Convert to Smart Object if you prefer the menu bar. Nothing moves on screen, which is exactly why users miss it. The layer thumbnail gains a small badge in the bottom-right corner and an arrow icon in the layer name area.
To tell whether the conversion worked, look at the Layers panel rather than the canvas. A converted raster layer shows a tiny document badge in the corner of its thumbnail, and the layer name gets a small arrow. A layer with neither is still a plain pixel layer, whatever the blend mode says.
There are two more routes, and both are useful. File > Place Embedded brings in another file and wraps it in a smart object immediately. File > Place Linked does the same but points at the original file on your drive instead of copying it. Simply dragging an image file from your desktop onto the canvas also produces a smart object, which is how half of all new Smart Objects get created by accident.
2. Resize a Smart Object Without Losing Quality
Press Cmd/Ctrl+T for Free Transform, drag a corner handle while holding Shift to keep the proportions, and hold Alt (Windows) or Option (Mac) while dragging to scale from the centre. The layer scales visually but the underlying data does not change.
The percentages in the options bar are worth watching. Scaling up past 100 percent means Photoshop is showing you a magnified view of the source, and it will look soft once the magnification passes what the source can carry. If your output needs to be larger than the source resolution, no amount of smart object magic invents the pixels.
For a hard resample rather than a transform, select the smart object and use Layer > Smart Objects > Scale. This re-renders the source data at the new size instead of stretching the previous rendering, which usually produces cleaner edges on logos and line art. Choose your resampling method deliberately: Bicubic for smooth general work, Sharper (called Sharpen in older versions) for photographs with visible detail, Nearest Neighbor only for pixel art and hard-edged icons.
To check your result, zoom to 100 percent and look at diagonal edges and text. If they look like they have a faint halo, you scaled up too far. If the aspect ratio feels wrong, the shift key was not held at some point during the drag.
3. Edit the Contents of a Smart Object
Double-click the smart object thumbnail, or use Layer > Smart Objects > Edit Contents. A second document tab opens showing the source image on its own, with the rest of your composition temporarily hidden. This trips people up more than anything else in Photoshop, and on the Graphic Design Stack Exchange the standard answer is that there is no way to see the other layers while you are inside, because the contents are a genuinely separate document.
Work normally in that window. Adjust brightness and contrast, clean up a spot, change the crop, repaint something. Then press Cmd/Ctrl+S and close the window. The main document updates on the spot. Forgetting that save is the single most common reason an edit appears not to have registered.
Need the source outside Photoshop? With the smart object selected, choose Layer > Smart Objects > Export Contents and save the original file in its native format. Useful for handing a layered TIFF to a printer or an AI file back to an illustrator.
4. Apply Filters or Effects Non-Destructively
Any filter applied to a smart object layer becomes a Smart Filter. The filter sits in a stack underneath the layer with its own visibility toggle, a blending mode and a mask, and double-clicking the filter reopens its settings. Once a layer is rasterized, the same filter bakes straight into the pixels and is gone for good.
For photo work the useful ones are Camera Raw (a second pass of tone and sharpening on a specific area), Sharpen, Noise Reduction, Lens Correction and Liquify. Blur a background behind a subject with one Smart Filter, then mask it with a layer mask so the subject stays sharp. Drag a filter up or down the stack to change the order, or drag its mask to control where it applies.
For a RAW file, prefer the Camera Raw Filter from the Filter menu with Object Size set to the full document. That is a different tool from the Camera Raw Smart Filter, and it is the better tool for the first pass. Use the Smart Filter for a second, localised adjustment afterward.
5. Place One Smart Object Inside Another
Drag an image from your desktop onto your canvas and it arrives as a new smart object, ready to be treated as a texture, an overlay, a logo or mockup content. Resize it with Free Transform, then hide its pixels with a layer mask instead of erasing them, so you can bring the original back later.
Mockup files from the internet are built this way. The perspective layers are smart objects with a warp baked into the outer layer, which is why warping them in the main document usually fails. Right-click the perspective layer and choose Edit Contents to warp the image from inside instead. A r/photoshop thread on this exact problem ends up at the same place: warp inside the contents, or rasterize a duplicate and distort that copy.
Clip a smart object to a shape or a text layer with Alt/Cmd+click between the two layer icons when you want the image masked to a silhouette. Zoom out to fit the screen, check that the edges of the placed object do not overlap something it should sit behind, then zoom to 100 percent on the seams to look for fringing.
6. Save, Export, and Verify the Final Image
Save the working file as a PSD, or PSB if it is large. Keep the smart objects intact while you are still revising, because the layer you flattened ten minutes ago is the one you will wish you had not.
Before sending the file to someone else, check for linked smart objects. A linked object points at a file on your drive, so when the folder moves or the PSD travels by email, that layer arrives with a red question mark and a blank thumbnail. Right-click the layer and choose Embed Linked Object to make the document self-contained.
For delivery, Image > Image Size to confirm the final pixel dimensions and resolution, check the colour profile matches the destination, and view the sharpness at 100 percent. Then flatten a copy (Layer > Flatten Image) or merge visible layers for the export so the recipient gets a file with no dependence on anything else.
One habit pays for itself: after every big step, zoom to 100 percent, look at the edges and the highlights, and fix problems while you still remember what you changed. It takes four seconds and it is cheaper than re-exporting a whole set.
Common Mistakes
Converting everything to Smart Objects. Veterans describe it as grouping all your layers into a box, which is right about the paint and the dodging: you cannot brush, clone or dodge on a smart object layer. Keep a duplicated raster layer for those jobs, or use a layer mask above the smart object.
Duplicating and getting surprised. Cmd/Ctrl+J duplicates a smart object, but the copies stay linked, so editing one changes all of them. That is the point when you want a linked header, and a nuisance when you do not. Fix: Layer > Smart Objects > New Smart Object via Copy creates a separate instance.
Editing the window and not saving. Changes made inside the contents window do nothing until you save and close it. If the main document looks unchanged, this is nearly always why.
Warp applying to the whole layer. Warp is unavailable on the smart object layer itself, and when you rasterize a copy to force it, the warp follows the whole layer rather than your selection. Edit inside the contents and make the selection there first.
The red question mark. The linked source file moved, was renamed, or went to another computer. Right-click the layer and choose Relink to point at the correct file, or Embed Linked Object to fold the data into the document.
Pixelation after enlarging. Smart objects prevent resampling loss, not resolution limits. If the source is small, enlarging simply magnifies it. Confirm your source resolution matches the largest output you need.
Files that balloon. Every embedded smart object carries its full source data. Keep the source at a sensible size, embed rather than link when you are sharing, and flatten a delivery copy.
Importing by drag and drop without knowing. Files dropped onto the canvas come in as smart objects automatically. That is usually helpful, but it means you should check what you have before you start painting on it.
Frequently Asked Questions
Why does Photoshop say my Smart Object is not directly editable?
It means the layer holds a whole file inside it, so you cannot paint, dodge or erase directly on the Smart Object layer. Double-click its thumbnail to open the source image in a separate document window, make the change there, save with Cmd/Ctrl+S, then close the window. If you genuinely need to brush on that layer, right-click it and choose Rasterize Layer.
How do I make a Smart Object directly editable again?
Right-click the Smart Object in the Layers panel and choose Rasterize Layer, then confirm the warning. The layer becomes a normal pixel layer and you can brush, clone, dodge and burn on it directly. Do it on a duplicate, because rasterizing discards the embedded source data and the conversion cannot be reversed once you have saved.
What is one good reason to rasterize a Smart Object?
The usual reason is that you need to paint on the layer itself, and Smart Objects cannot be brushed directly. Other reasons include flattening a file before delivery, or fixing a blend mode or Smart Filter that misbehaves in an older Photoshop version. Duplicate the layer first, rasterize the copy, and keep the original Smart Object intact.
How do I replace the image inside a mockup or template Smart Object?
Double-click the Smart Object thumbnail to open its contents, select the placeholder image, and delete it. Then drag your own file into that window, size it, save with Cmd/Ctrl+S and close. Because mockup layers are often already warped into perspective, make the change inside the contents rather than warping the layer in the main document.
How do I unlink a Smart Object and make the file self-contained?
Right-click the layer and choose Embed Linked Object to copy the source file into the PSD, which stops the link from ever breaking again. If the file has already been moved, use Relink first to point the layer at the correct source, then embed it. A document with only embedded smart objects opens correctly on any computer.
Do I need smart objects for photo editing?
For final pixel-level retouching, usually no. Dodge and burn, skin cleanup and local contrast work better on normal raster layers and adjustment layers, and RAW files should go through the Camera Raw Filter first. Knowing how to use smart objects for photo editing pays off when you resize, transform, swap content or re-edit one source across several outputs.
Conclusion
The whole workflow is one loop: convert the layer, transform it freely, double-click to open its contents, edit, save, close. Once that loop is automatic, the rest is choices about when a smart object helps and when it just gets in the way.
Start small today. Duplicate one layer in a file you already have, convert it, scale it to 200 percent, and edit its contents to something obviously different. When you know what the badge in the layer panel means, you can go further: Smart Filters, mockup swapping, nested smart objects and one source feeding a whole set of output sizes.