Knowing how to use Camera Raw Filter in Photoshop comes down to two routes: double-click a raw file and the Camera Raw dialog opens on its own, or pick any layer in a JPEG or TIFF and choose Filter > Camera Raw Filter to run the same engine as a Smart Filter. The filter route is the one that matters for layered work, and it is non-destructive, so nothing is baked in until you press OK.
Most people who get stuck here are not stuck on the edits. They are stuck on the setup: the filter is greyed out, the dialog opens off-screen, or they press OK and lose the layer. So this guide goes in order, from preparing the file to saving the result back into the document, with the checks that tell you each step actually worked.
Everything below is the desktop Photoshop app on Windows or macOS, current versions as of 2026. Photoshop Elements does not include the Camera Raw Filter, and neither does any mobile version, so if you are in one of those, the answer is that you cannot use it there.
Table of Contents
- What You Need: A Photoshop Plan With Camera Raw and GPU Acceleration On
- Step-by-Step: Opening the Camera Raw Filter and Getting the Result Back Into Photoshop
- 1. Open the Image With the Camera Raw Filter in Photoshop
- 2. Set the Workflow and Image Defaults
- 3. Correct Exposure and White Balance
- 4. Refine Color, Detail, and Effects
- 5. Review, Compare, and Apply the Result
- Common Mistakes: What Went Wrong and How to Undo It
- Frequently Asked Questions
- Why can’t I use the Camera Raw filter in Photoshop?
- Where is the Camera Raw filter in Photoshop?
- Can the Camera Raw filter edit a JPEG or a flattened file?
- Should I press OK or Save As Photoshop when closing the dialog?
- How do I reset Camera Raw adjustments back to defaults?
- Is the Camera Raw Filter the same as the Camera Raw app or Lightroom?
- Conclusion: Start With One Copy and Restrained Corrections
What You Need: A Photoshop Plan With Camera Raw and GPU Acceleration On
Three things have to be true before the menu entry works, and each one causes a different failure.
1. The right app. The full Photoshop desktop application includes the Camera Raw Filter. If you open Filter and see no Camera Raw entry at all, you are likely in Photoshop Elements, in a browser version, or in an older release that predates it.
2. GPU acceleration enabled. Photoshop needs GPU acceleration switched on for the Camera Raw dialog to open. Check Edit > Preferences > Performance, confirm Use Graphics Processor is checked, and restart Photoshop if you had to change it.
3. A layer, not a flattened mistake. The filter works on a regular raster layer, on a Smart Object, or on a selected layer stack converted to a Smart Object. It does not work on a layer mask, a channel, a text layer with no rasterization, or an adjustment layer.
Format barely matters for the filter itself. A JPEG, a TIFF, a PNG and a scanned negative all take it. What does matter is bit depth. An 8-bit file can only hold 256 tonal values per channel, so heavy shadow lifting and highlight recovery band badly. Open a 16-bit TIFF, convert to 16-bit, or shoot RAW and work from that when the edit is going to be aggressive.
Have a color-managed workflow too, or the whites will drift. In Edit > Color Settings, keep the document in sRGB with 8-bit or 16-bit depth if that matches your delivery target. Mismatched working and color spaces is the quiet cause of half the muddy results beginners blame on the filter.
Step-by-Step: Opening the Camera Raw Filter and Getting the Result Back Into Photoshop
1. Open the Image With the Camera Raw Filter in Photoshop
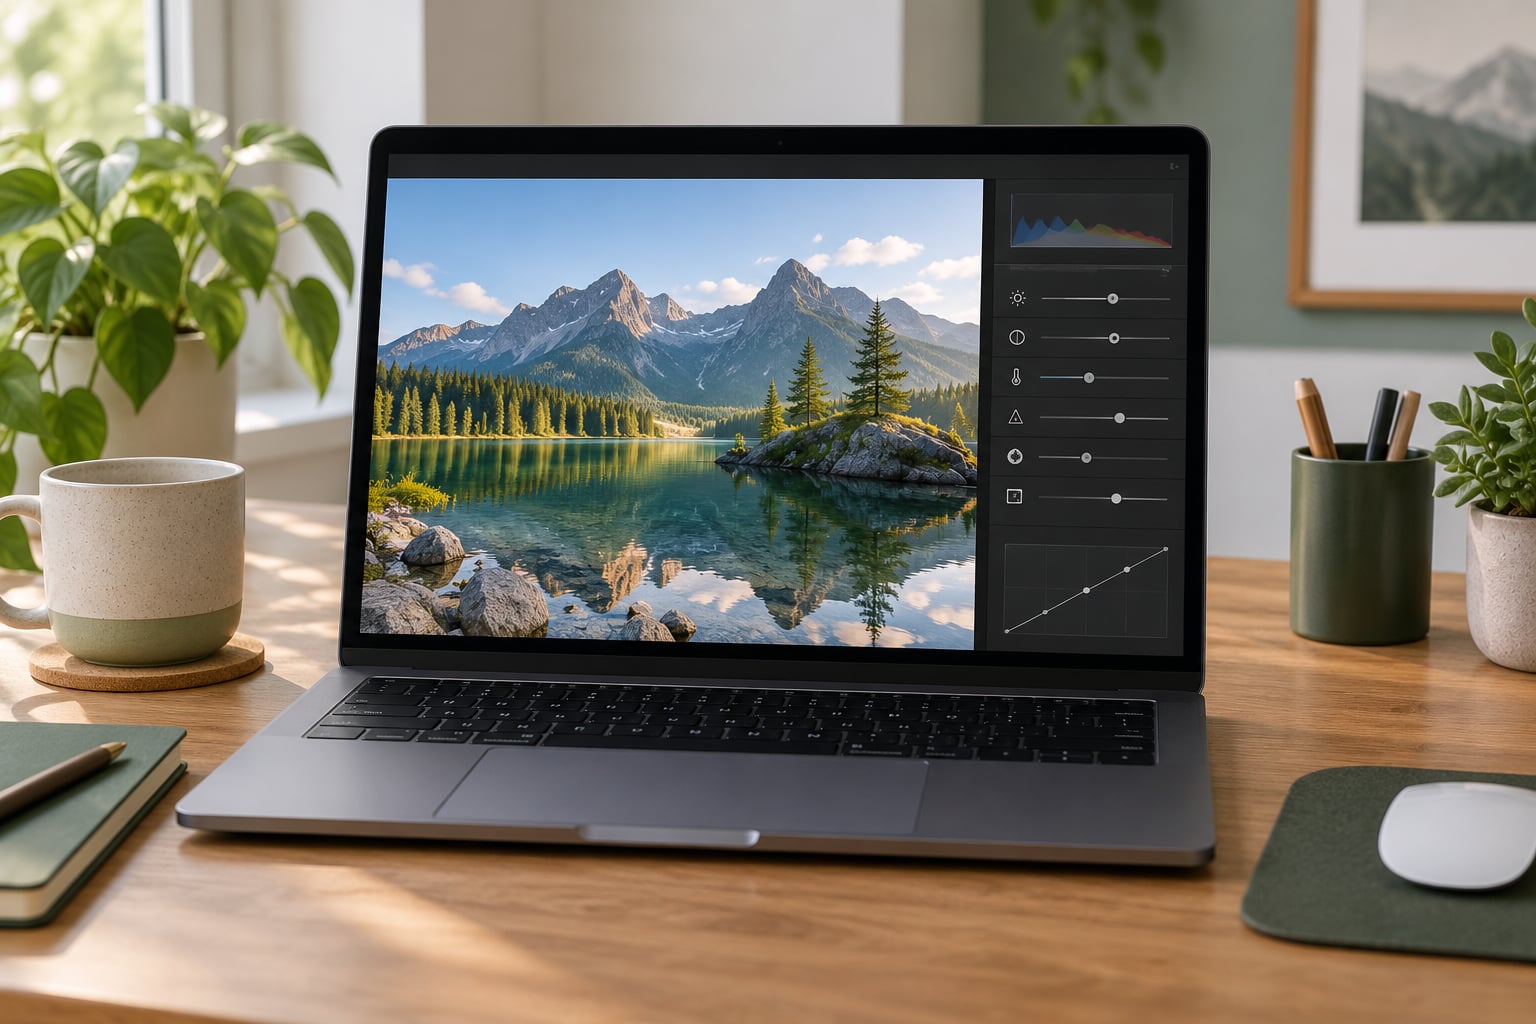
Select the layer you want to grade, then go to Filter > Camera Raw Filter. The Camera Raw dialog appears with the image large in the middle, tool icons down the left edge, and panels for Basic, Tone Curve, Color Mixer, Calibration, Detail, Optics, Effects, Geometry and Masking down the right.
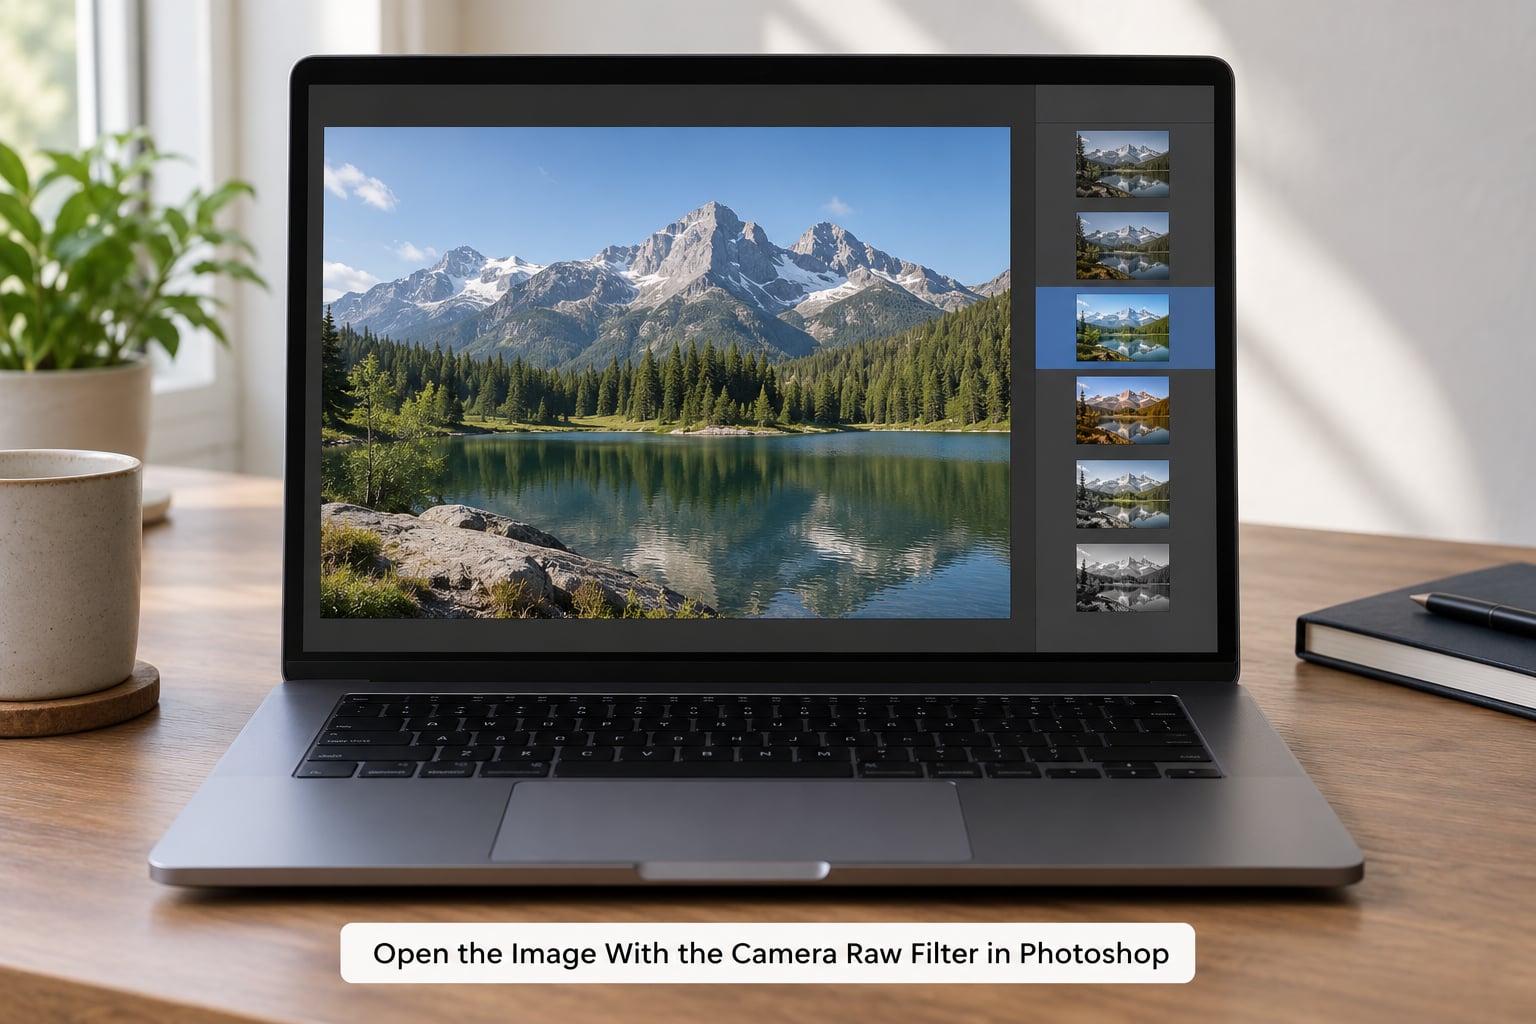
Two quick checks confirm it attached correctly. A Smart Filters entry appears under the layer name in the Layers panel, and that layer is now a Smart Object. If either is missing, you clicked something else in the Filter menu.
The single image window shows before on the left and after on the right, side by side. Use it constantly rather than guessing what changed.
2. Set the Workflow and Image Defaults
Start in the right profile. Open the Profile browser in the Basic panel and pick Adobe Color, Adobe Standard, or the profile matching your file. If you leave it on a profile from a different camera, colors shift in ways you will spend an hour chasing.
Check the process version listed next to the profile. Adobe keeps older process versions around so edits made years ago still open the same way, and mismatches are a normal reason an image looks flatter than it used to.
Look at the shadows and highlights readouts under the histogram. If both read zero and 255, you have no headroom left and detail is already clipped. Work on a 16-bit copy instead.
Only fill in camera and lens details if they are wrong. Correct values let profile matching remove color fringing for you, which saves fiddling later.
3. Correct Exposure and White Balance
Use the histogram in the Basic panel as a map, not a target. A healthy image has no pile-up at either end.
Fix exposure before color. Pull Exposure until the histogram’s left edge sits just off zero, then use Highlights to bring back sky and skin that blew out, Shadows to open dark areas, and Whites and Blacks to set the two ends deliberately.
White balance comes next. Drag the eyedropper onto something you know should be neutral, then use the white balance selector in the toolbar for a faster read. Set Temp with the slider and correct any green cast with Tint.
Judge the result by tonal detail, not by the numbers. If texture has started looking scaly in the grass, you went too far even if the histogram looks perfect.
4. Refine Color, Detail, and Effects
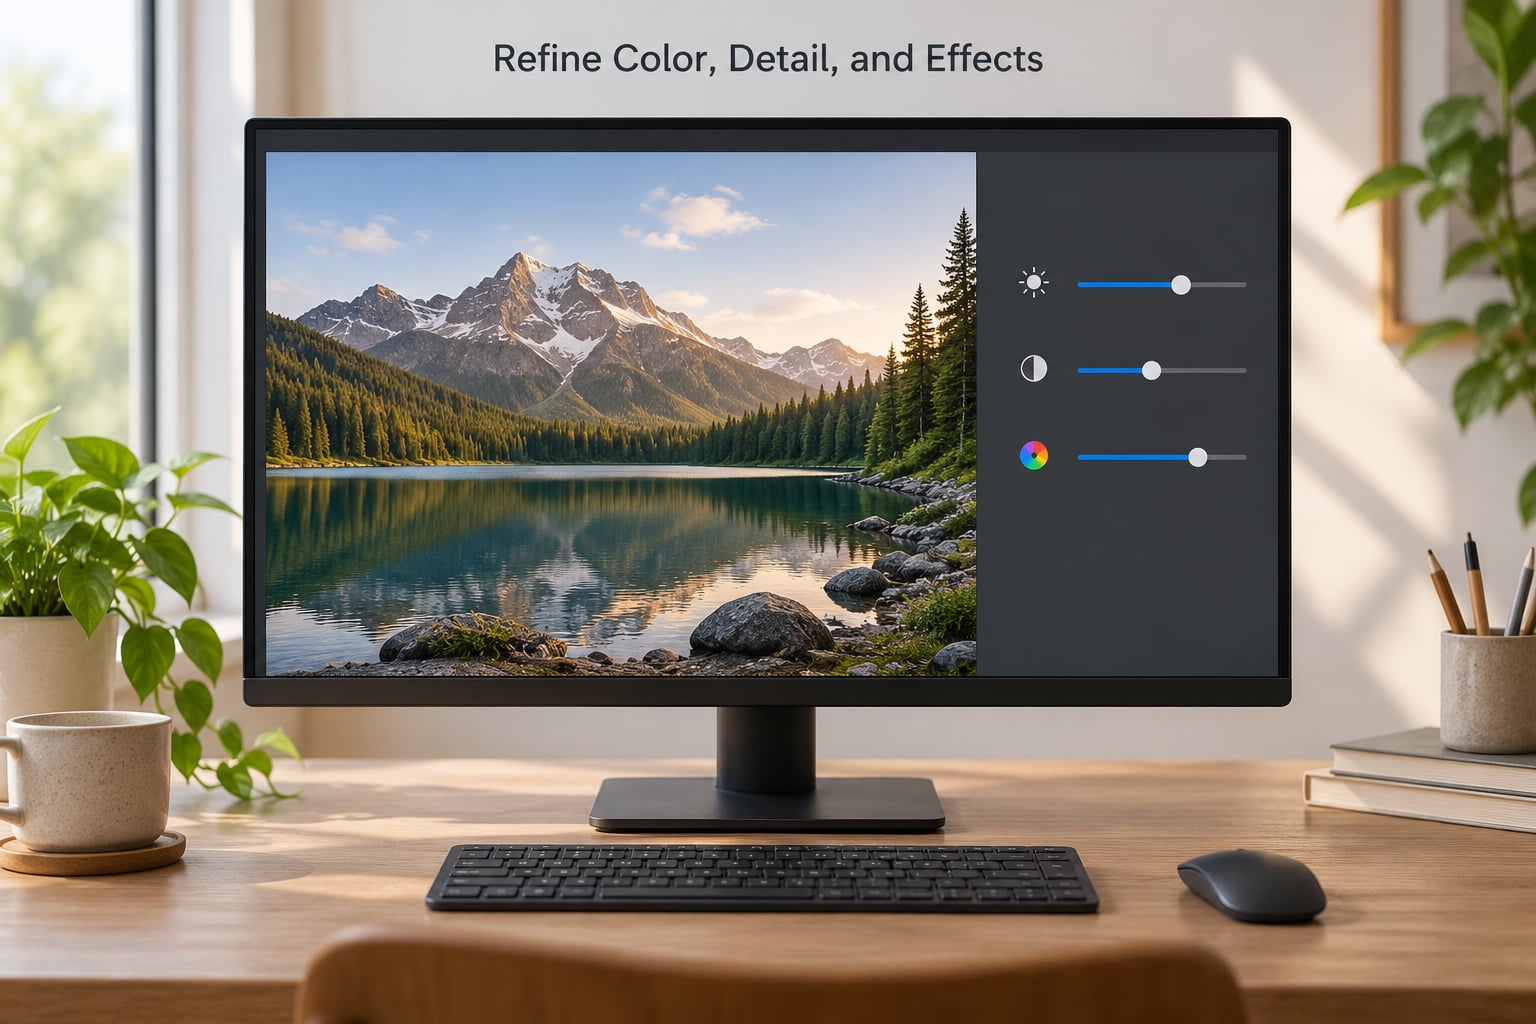
Every panel earns its place only if it fixes something you can see. Work top to bottom and stop as soon as the image looks right.
The Basic panel beyond tone holds Texture, Clarity, Dehaze, Shadows Highlights and Color. Texture adds fine local contrast, Clarity adds midtone contrast with a harder edge, and Dehaze pulls atmospheric haze out of distant subjects. They stack on each other, so move one at a time and check after each.
Detail covers Sharpening and Noise Reduction. Move Sharpening to zero before you do anything else, then add Radius, Detail and Masking deliberately. A masked sharpening pass with a high Masking value protects smooth areas and keeps edges crisp without ringing.
Optics handles Remove Chromatic Aberration, Lens Corrections and Defringe, which are the cheap wins on older kit. Geometry corrects verticals and perspective. Color Mixer shifts one hue while leaving the others alone, which is faster than fighting HSL in layers. Tone Curve adds a second layer of contrast control when the Basic panel sliders are not enough.
Leave a panel alone when the image does not tell you it is broken. Effects sliders like Vignette and Grain are finishing moves, and they are the first thing to go wrong when applied too early.
5. Review, Compare, and Apply the Result
Before applying, zoom to 100 percent with the zoom tool and inspect at least three places: a sharp edge, a smooth gradient, and the darkest area. Look for halos along high-contrast edges, speckled noise in shadows, and any color fringing.
Then check the bit depth note and the process version in the Camera Raw window one more time. If they differ from your document settings, Photoshop will ask you to convert, and that conversion happens either when you apply or when you save.
You have three ways out of the dialog, and they behave differently.
OK adds the Camera Raw Smart Filter and keeps every setting editable under the layer. This is the right choice almost every time.
Save As Photoshop exports the edited result as a new layer, new Smart Object or flattened copy. Use it when you need to hand the corrected image to another layer in the same document.
Save a Copy writes the result out as a new file without disturbing the current layer. Use it for exports.
Once applied, you can reopen the filter any time with a double-click on the Smart Filters thumbnail under the layer, so OK is reversible. Nothing is truly lost until you flatten, merge, or close without saving.
Common Mistakes: What Went Wrong and How to Undo It
The filter is greyed out or missing entirely. This is the most common complaint, and it comes down to one of four things: you are in Photoshop Elements, GPU acceleration is switched off, the selected layer is a type or shape layer that has not been rasterized, or the image is in a mode Camera Raw cannot process such as Bitmap or Indexed Color. Switch the mode to RGB Color first, since that fix surprises people often.
The dialog opens off-screen. It is not broken. Press Alt and drag its title bar toward the middle of your display, then let go. It remembers the position afterward.
Everything looks crunchy and over-processed. Clarity and Dehaze were pushed too far. Alt-click the Reset button to return the panel to defaults, then add Clarity in increments of five rather than fifteen.
Shadows look muddy after lifting them. Shadows were raised without adding noise reduction. Add Detail > Luminance Detail, or pull Shadows back and lift the overall Blacks instead.
Halos appear around edges. Too much sharpening or Dehaze. Zero out Sharpening, keep Masking high, and reduce Radius.
An unwanted dark frame appears. The Vignetting slider in the Effects panel. Press Z once while the pointer is over the image to hide all post-crop vignettes and check whether it is a deliberate gradient or a stray adjustment.
The image looks different each time it is opened. The filter was applied twice, or two copies of the layer each carry their own Camera Raw filter. Delete the duplicate filter from the Smart Filters stack.
Results do not match a tutorial. Most tutorials show the standalone Camera Raw app or Lightroom Classic. Same engine, different surroundings: the filter version has no Develop module, no Library grid, no batch editing, and no way to open raw files directly.
Frequently Asked Questions
Why can’t I use the Camera Raw filter in Photoshop?
The most common causes are GPU acceleration being switched off, the selected layer being a type or shape layer rather than a raster layer, an image mode Camera Raw cannot read such as Bitmap or Indexed Color, or running Photoshop Elements instead of the full app. Check Preferences Performance first, then convert the image to RGB Color.
Where is the Camera Raw filter in Photoshop?
It sits in the main Filter menu as Filter Camera Raw Filter, between Filter Gallery and the liquify entry. Select a layer first, because the filter needs an active raster layer to attach to. Once applied, the same dialog reopens by double-clicking the Smart Filters thumbnail listed under the layer name in the Layers panel.
Can the Camera Raw filter edit a JPEG or a flattened file?
Yes, and that is the main reason to use it. Any raster image, including JPEGs, PNGs and TIFFs, can be filtered because the filter reads pixel data rather than raw sensor data. Just convert the file to a Smart Object first if you want the edit to stay fully reversible rather than baked into the layer.
Should I press OK or Save As Photoshop when closing the dialog?
Press OK for almost all work. It adds the Camera Raw Smart Filter and leaves every slider editable, and you can reopen the dialog later by double-clicking it. Save As Photoshop exports the corrected result as a new layer or Smart Object inside the document, and Save a Copy writes a separate file without touching the layer at all.
How do I reset Camera Raw adjustments back to defaults?
Alt-click the panel Reset icon while the dialog is open, or use the three-dot menu and choose Reset Settings. That returns every slider in the current panel to zero while keeping the profile assignment. For a completely clean start, also reset the profile to Adobe Default in the Profile browser at the top of the Basic panel.
Is the Camera Raw Filter the same as the Camera Raw app or Lightroom?
It runs the same processing engine, but it is not the same tool. The filter works on any layer inside Photoshop and adds a Smart Filter you can reopen. The standalone Camera Raw app and Lightroom Classic can open actual raw files, batch-edit a whole folder, and keep a non-destructive edit history you can revisit and undo.
Conclusion: Start With One Copy and Restrained Corrections
Duplicate your layer, convert it to a Smart Object, and apply Filter > Camera Raw Filter. Fix exposure and white balance first, move everything else in small steps, and stop when the image looks right rather than when a slider reaches a number.
Then zoom to 100 percent, check an edge, a gradient and a shadow, and press OK so the edit stays reversible. Save a separate version before you go further. That habit is what keeps the Camera Raw Filter enjoyable instead of the thing you undo ten times an hour.