Most beginners pick photo editing software the wrong way: they read a feature list, pick the name with the longest feature list, then spend a month fighting the interface. A better route is to shortlist two programs, edit the same handful of your own photos in each, and choose the one that fits your computer, your subjects and your patience.
That is the method this guide walks through. How to choose photo editing software for beginners is not really a question of which program has the most sliders. It is a question of which one handles the photos you actually shoot, opens without stuttering on your machine, and stays out of your way while you learn. Give yourself an afternoon of testing and you will know more than a month of reading forum threads.
A note on what changes: every program below updates its feature set and plans regularly, and pricing models shift more often than features do. Treat the comparisons here as a map of how these tools differ in character, then confirm the current details on each vendor’s own page before you pay for anything.
Table of Contents
- Start With Your Editing Needs
- How to Choose Photo Editing Software for Beginners
- Decide Which Type of Editing You Want
- Check RAW and File Format Support
- Compare the Learning Curve and Help Resources
- Test Performance on Your Own Computer
- Compare Subscription, Perpetual License, and Free Plans
- Look for Features That Match Your Real Workflow
- Run a Repeatable Test Edit
- Compare the Leading Beginner Options
- Three Beginner Scenarios and What They Actually Need
- Make the Decision and Avoid Early Lock-In
- Frequently Asked Questions
- Is a computer or tablet required to edit photos?
- Should beginners use presets when choosing editing software?
- How much RAM does a beginner need for photo editing?
- Is it easy to switch photo editing software later?
- Should beginners choose Lightroom or Photoshop first?
- Can I edit photos for free without using a trial?
- Conclusion: Make a Small Test Before You Commit
Start With Your Editing Needs
The word editing covers at least four different jobs, and each job belongs to a different category of software. Sorting out which one you need is the first filter, and it removes most of the options in about two minutes.
Organizing a growing library. If your real problem is that a decade of photos sits across three drives with meaningless filenames, you want a catalog tool. These build a searchable database, read metadata, group by date or camera, and let you flag picks and rejects without touching pixels. The editing tools in these programs are secondary.
Making a single photo look better. Most beginners want this: correct exposure, fix white balance, add a little contrast, crop, maybe remove a distraction. A preset-based or auto-enhancement tool does it in under a minute per image and that is a legitimate choice, not a compromise.
Rescuing RAW files. If your camera shoots RAW, or if you underexposed badly, you need real processing. RAW files hold far more data than a JPEG, so the recovery is dramatic rather than cosmetic. It also means a steeper tool.
Building a composite. Combining elements, painting out objects, working in layers, retouching a portrait at print resolution. That is pixel editing, and it is the deepest of the four categories to learn.
Editing on a phone. If your photos live on your phone and your computer is not part of the process, a mobile editor may genuinely be the right answer for the long term. Cropping, straightening and a contrast adjustment on a phone screen is a perfectly complete workflow for social posts.
Notice how none of these five categories is better than another. They are different jobs, and the beginner mistake is buying a deep pixel editor when the real need is sorting files.
How to Choose Photo Editing Software for Beginners
Here is the framework in full. Seven checks, in the order that saves you the most time. Start at the top and stop as soon as one program drops out; most beginners end up with two finalists rather than ten.
| Step | The question to answer | What disqualifies a program |
|---|---|---|
| 1 | What kind of editing do you actually do? | A pixel editor you will never use, or a catalog tool when you need layer work |
| 2 | Does it open your file formats? | Your specific camera model or RAW variant is unsupported |
| 3 | Can you learn it in two weeks? | Every basic operation requires a manual lookup |
| 4 | Does it run smoothly on your computer? | Scrolling stutters, exports crawl, memory warnings appear |
| 5 | What does it cost over three years? | Trial exports are watermarked or low resolution |
| 6 | Does it have the four tools you need daily? | No non-destructive workflow or no way to undo cleanly |
| 7 | Can you leave later without losing work? | Edits are trapped in a proprietary format with no export path |
Decide Which Type of Editing You Want
Match the job to the category, not the other way around. Sorting and culling photos points you toward Lightroom and its equivalents, and toward Affinity Photo. Straight corrections on a single image fit almost anything. Layered composites and heavy retouching point to Photoshop, Affinity Photo, or GIMP. Zero-install editing points to a browser-based option such as Photopea. Phone-first work points to Snapseed or a mobile Lightroom app.
A word of caution about preset-driven tools. Automatic sky replacement and one-click AI enhancements look impressive in a demo, and forum users on r/AskPhotography describe them the same way: magic when they work, frustrating when they do not, and impossible to predict before you click. Use them as a starting point, then adjust by hand. A preset you cannot control is a preset you will fight.
Check RAW and File Format Support
This is where beginners get burned most often, so check it before anything else. If your camera writes RAW files and the program cannot open them, nothing else about that program matters.
Most major editors support standard formats from current DSLR and mirrorless bodies, but support is added in waves after a camera launches, and older programs often never catch up. Check the vendor’s camera support list and look for your exact model and file variant, not just the camera brand.
Also confirm support for the formats you already own: JPEG and PNG are universal, HEIC needs checking if you come from an iPhone, and TIFF matters for people printing large. If you shoot tethered, or work with 16-bit files from a scanner, verify that too.
Then ask what happens to your adjustments. Non-destructive editing means the original file is never altered, so you can re-do the edit later. The two common patterns are a catalog with sidecar files and a layer stack inside the program’s own format. Both are fine. What is not fine is a tool that overwrites your only copy, so keep copies of anything you cannot undo.
Compare the Learning Curve and Help Resources
Every serious editor has a learning curve. The question is its shape. A catalog tool is usable within a day and deepens for months. A layer-based pixel editor can be genuinely confusing in week one and then becomes the obvious choice later.
What you are really comparing is the size of the learning community. Search for your chosen program plus your subject on YouTube before you buy. If you find a channel that covers exactly the corrections you need, you will learn faster than from any built-in tutorial. Forums matter too, because when you get stuck, someone has usually been stuck before you.
Be honest about which tools you can find explained. Beginners consistently report that the gap between a well-documented program and a poorly documented one feels bigger than the gap between their features. If a program’s community is thin in your language or your niche, that is a real cost even if it is free.
It helps to have a timeline instead of an expectation. In week one, expect to feel slow: finding the tool you need takes longer than doing the edit. By month one, you should be correcting exposure, white balance and cropping without stopping to search, and batch exporting a folder without dread. By month three, a few shortcuts should be automatic and you should be able to tell the difference between a good correction and a heavy one. Any program that still feels confusing at month three in a simple test edit is the wrong program for you, not a reflection of your own ability.
Test Performance on Your Own Computer
Install the trial and open your own photos, not the ones bundled with the program. Bundled samples are tiny and everything looks fast on tiny files.
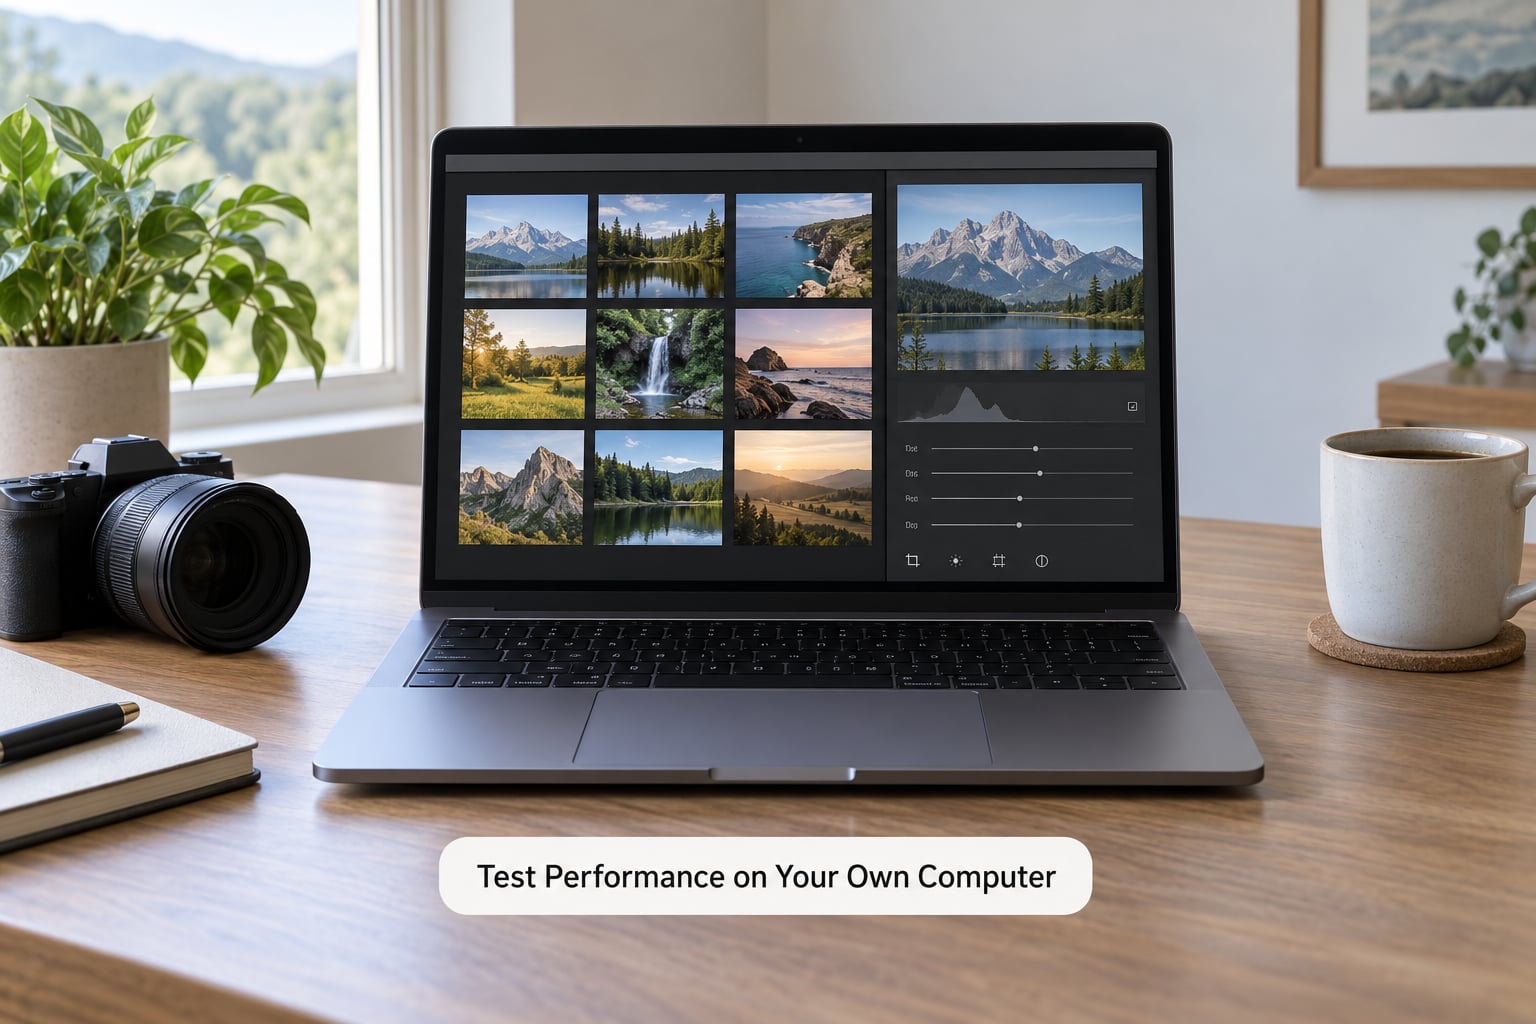
Watch four things. Startup time on a cold boot, because a program that takes thirty seconds to open trains you to avoid it. Scrolling responsiveness at full-screen preview, which is the honest test of your machine. Export speed on a batch of RAW files. And memory pressure, which shows up as a warning or a crash rather than a slow render.
Hardware matters more than most articles admit. Sixteen gigabytes of RAM is the practical floor for comfortable RAW work on a laptop, and a fast internal drive makes a bigger visible difference than a faster processor. An older machine will run most of these programs, just not smoothly, and “smoothly” is what determines whether you enjoy editing.
Results vary by device, operating system and version, so trust your own test rather than a benchmark table. If you edit on the same laptop for two hours and nothing stutters, you have your answer.
Compare Subscription, Perpetual License, and Free Plans
There are four ways these programs charge, and the difference matters more to a beginner than any feature.
Free. GIMP, darktable and RawTherapee are free and open source, and Photopea runs in a browser tab. The cost is your time: the interfaces are denser and the tutorials are more technical than what a paid consumer tool offers. For a beginner who is willing to learn, that trade is usually good.
Subscription. The monthly plan gives you every feature, constant updates and usually a companion mobile app. It is the easiest path and the one that produces the most forum resentment, since the bill never stops and your library becomes difficult to access if you cancel.
Perpetual license. You buy a version and own it. Affinity Photo took this route successfully, and it appeals to people who dislike subscriptions. Check what happens when a major version arrives, because upgrades are often discounted or included for a period.
Free trial. Useful for testing, and usually unrestrictive in recent years, but verify what the trial actually allows. Specifically check whether exports are watermarked or capped in resolution, whether catalogs can be created, and what happens to your files if you never subscribe.
Before paying, find three things: whether your original files stay readable if you cancel, whether your edits can be exported in a standard format, and whether the program writes sidecar metadata rather than locking your adjustments into a private container. Those three answers tell you whether you can walk away later, and they matter more than the monthly figure.
Look for Features That Match Your Real Workflow
Four capabilities earn their place in almost any beginner’s setup. An adjustment workflow where every change can be undone and reordered. Layers, so a local correction does not wreck the whole image. Masks, so you can affect one region instead of the frame. And reliable batch export, because doing forty images one at a time is how projects die.
After those, match features to your subjects. Portrait work leans on healing, frequency separation and skin-aware masking. Landscape work leans on color grading, gradient tools, highlight recovery and panorama stitching. Event and family work leans on batch renaming, culling, face detection and fast culling. Product and real estate work lean on perspective correction, straightening and precise cropping.
Skip for now: anything described as a plugin ecosystem, anything you cannot name a use case for, and any feature whose description is mostly adjectives. You can add those later, and most beginners never need to. The tools that separate a good photo from a great one are exposure, white balance, contrast curve, cropping and a controlled color grade. Learn those five first in whatever program you pick.
AI-assisted tools deserve their own paragraph because the marketing outruns the usefulness. Generative fill, automatic sky replacement, subject masking and AI noise reduction now appear in most mainstream editors, and they genuinely help with two specific jobs: removing an obvious distraction in a large empty area, and finding subjects in a busy frame. They are unreliable for fine retouching, hair, text and hands, and they cannot fix a photograph you should have shot differently. Treat them as a fast first pass and keep a hand-editing path as your default.
Run a Repeatable Test Edit
This is the part that actually decides it. Take one representative RAW or JPEG file that resembles your real work, and run the identical sequence in each trial program. Same file, same order, same target. Write down how long it took and how many places you got stuck.
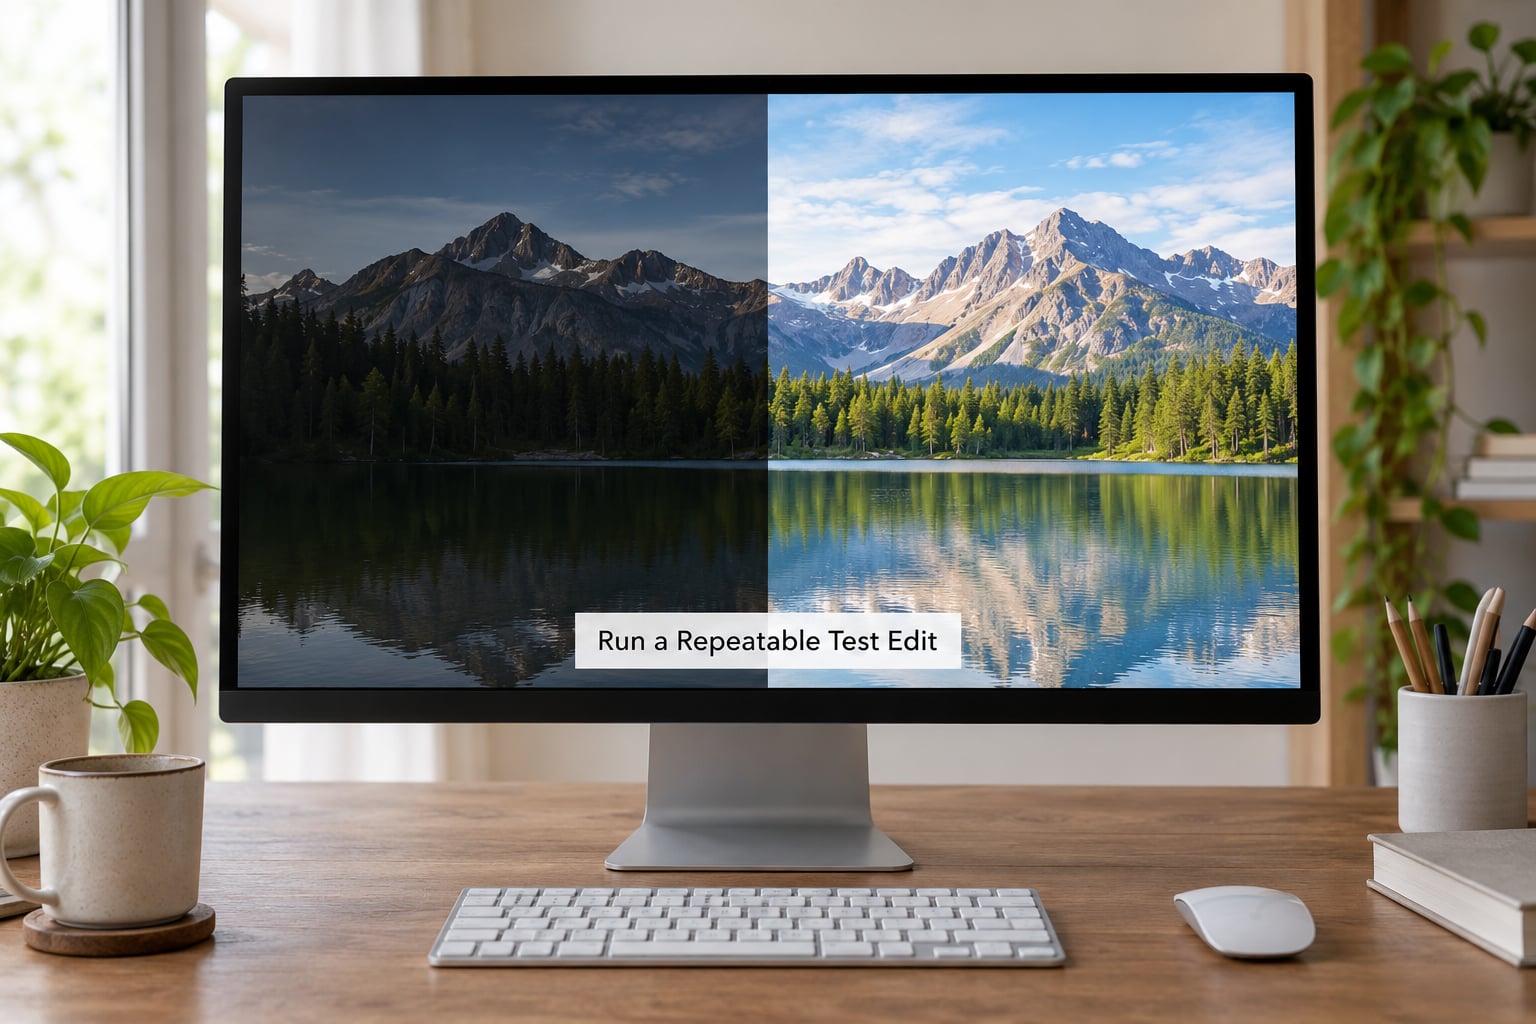
The sequence, in order:
- Import the file and open the adjustment panel.
- Correct exposure and white balance by eye against the histogram.
- Crop to a composition you actually want.
- Apply one restrained correction or preset, then dial it back until it is subtle.
- Make one local adjustment with a mask or gradient.
- Undo everything and confirm the image returns exactly to its original state.
- Export at the size and format you need for your actual destination.
Step six is the one people skip, and it is the one that reveals a program’s undo model. Step seven reveals whether the export dialog remembers your settings, whether it writes a color profile you understand, and whether the output opens correctly on your phone.
When both programs are done, compare them on four things: how long the sequence took, how many times you got lost, whether the export looks right on another screen, and how confident you feel opening the program again tomorrow. The last one matters most. A slightly slower program you enjoy using beats a faster one you resent.
Compare the Leading Beginner Options
Here is how the widely used options differ in character. The categories overlap on purpose, since several programs span two of them.
| Program | Category | Platforms | RAW | Layers | Learning curve | Best for |
|---|---|---|---|---|---|---|
| Adobe Lightroom | Catalog and RAW | Windows, macOS, iOS, Android, web | Yes | Masking, not layer stacks | Moderate | Organizing shoots and culling large libraries |
| Adobe Photoshop | Pixel editor | Windows, macOS, iPad | Yes, via Camera Raw | Full | Steep | Compositing, advanced retouching, print work |
| Adobe Photoshop Elements | Consumer pixel editor | Windows, macOS | Limited | Guided | Gentle | A middle ground with a simplified interface |
| Affinity Photo | Pixel editor | Windows, macOS, iPad | Yes | Full | Moderate to steep | A one-time purchase with a professional toolset |
| Capture One | RAW and catalog | Windows, macOS | Yes, strong | Limited | Steep | Studio and product shooters who want color control |
| darktable | RAW and catalog | Windows, macOS, Linux | Yes | Masking | Moderate, technical | Free RAW processing, including on Linux |
| RawTherapee | RAW processor | Windows, macOS, Linux | Yes | Masking | Moderate, technical | Fine-grained tonal control without a subscription |
| GIMP | Pixel editor | Windows, macOS, Linux | No, converts on open | Full | Steep | Free layer-based editing and retouching |
| Photopea | Browser pixel editor | Any, runs in a tab | Partial | Full | Moderate | Quick edits with no installation |
| Luminar Neo | Preset and AI tool | Windows, macOS | Yes | Limited | Gentle | One-click landscape enhancement |
| Snapseed | Mobile editor | iOS, Android | No, JPEG | Selective tools | Gentle | Phone-only editing and social posting |
A few things stand out. Lightroom and Capture One are the two heaviest options here, and both get recommended constantly as beginner tools, which is why it is worth saying plainly: they are excellent programs, but their power assumes you already know what you want to do.
GIMP remains free and its layer system is capable, though it does not open RAW files directly and converts them on open, which loses some recovery headroom. If your plan is RAW-heavy, darktable or RawTherapee serve that purpose for nothing.
Affinity Photo is the common answer when someone asks for the best non-subscription photo editing software, since it bundles a real professional toolset into a single purchase. Elements is the common answer when someone wants a familiar layout without a monthly bill. Photopea answers a different question: what can I do on a borrowed computer with nothing installed.
Luminar Neo and Snapseed sit at the gentle end. Snapseed has quietly become the real starting point for a lot of people, according to beginners on photography forums who shoot on a phone and never expected to need desktop software at all.
And note that most of the features you read about in comparison articles belong to the top three rows of that table. A beginner will not touch most of them in year one.
Three Beginner Scenarios and What They Actually Need
The phone shooter with a new mirrorless camera. You shoot RAW on weekends and post to Instagram, and your library is already out of control. You need a catalog and culling first, a decent RAW developer second, and layers almost never. A Lightroom-style tool fits. The real change you have to make is not software, it is the habit of importing and rating before you edit.
The parent building a family archive. Thousands of JPEGs across phones, a hard drive and a shared cloud folder, with a print to give away at the end. You need organization, batch correction, face-level sorting and a clean export path for the lab. A free catalog-oriented editor plus a gentle consumer pixel editor covers this without a subscription, and the print is decided by the export size and color space, not by the program.
The hobbyist who wants to learn retouching. You want to remove things, blend exposures and build composites, and you are willing to spend a year learning. You need real layers and masks. Affinity Photo or Photoshop both work; GIMP does too, if you will spend the extra time finding out that it converts RAW on open. Expect this path to take two to three times as long as the first two, and decide that before you buy.
Make the Decision and Avoid Early Lock-In
You have two finalists and a completed test edit. Now decide, then protect yourself from regretting it.
First, finish one real project in the winner before you commit to anything longer. A test edit on one file tells you about the interface. A genuine project with twenty files tells you about batch workflow, export settings and how you feel after two hours. Forgetting that second step is how people end up resubscribing to a program they already paid for once.
Second, check your exports on more than one screen. Look at a file on your phone, on your laptop and, if you print, on paper. Color management trips up beginners who assume the program and the screen agree. Exporting sRGB and judging the result on the device you actually share to is the safe default.
Third, know what you own. Keep your RAW and JPEG originals forever. Check whether your program writes adjustments as XMP sidecar files, which many programs can read, or stores them in a proprietary database. Sidecars are your exit route. If your adjustments live in a private catalog, plan to flatten to TIFF or JPEG exports before you ever cancel anything.
Fourth, expect the mobile app question. If you shoot on a phone, check that the desktop program has a working companion app, because the photos on your phone are the ones you will want to edit that night.
A short version of the decision:
- Free, learn as you go, no bill: darktable for RAW, Photopea for quick layer work, Snapseed on a phone.
- Mobile only: Snapseed, or a mobile Lightroom app if you own a recent iPhone or Android.
- RAW shooting, organized library: Lightroom, or Capture One if color accuracy matters more than everything else.
- Layered and creative work: Affinity Photo for a one-time purchase, Photoshop if you want the deepest toolset and will use the subscription tools.
- A familiar, gentle interface: Photoshop Elements.
- Landscape presets with minimal effort: Luminar Neo, treated as a starting point you then refine.
Whichever you choose, plan to spend a month with it before judging it. The difference between a program you have not learned and a program you dislike is usually about twenty hours, not about which one you picked.
Frequently Asked Questions
Is a computer or tablet required to edit photos?
For serious RAW work and large libraries, yes, a computer with at least 16GB of RAM is the practical floor. A modern tablet can crop, adjust color, heal spots and export images, which covers most social media editing. If your photos live on your phone and you are posting them there, a mobile editor may be all you need.
Should beginners use presets when choosing editing software?
Use presets to learn, not to lean on. Applying a preset shows you what a change does in seconds, which is a fast way to build the vocabulary of exposure, contrast and color. But a preset applied without understanding flattens your photos and hides what the software is actually for. A restrained preset you dial back is a good teaching tool; a one-click look you cannot control is not.
How much RAM does a beginner need for photo editing?
Eight gigabytes is enough for JPEG edits on one or two files at a time. Sixteen gigabytes is the practical minimum once you open RAW files, work in layers or batch export a shoot. Above that, gains flatten and a fast internal SSD matters more. Check your system monitor during the test edit to see whether memory is the thing slowing you down.
Is it easy to switch photo editing software later?
It is easier if your original files stay untouched and your adjustments are stored as XMP sidecars, which most programs can read. That is why keeping your RAW and JPEG files forever matters. Export flattened TIFF or JPEG copies of finished work before you cancel anything, and switching becomes a settings change rather than a recovery project.
Should beginners choose Lightroom or Photoshop first?
Most should start with Lightroom, because organizing, culling and correcting RAW files are the daily jobs, and its sliders teach exposure and color. Photoshop is the right first choice only if your work is compositing, heavy retouching or print work with layers. You can add Photoshop later; the skills from Lightroom transfer straight across.
Can I edit photos for free without using a trial?
Yes. GIMP, darktable and RawTherapee are free and open source on Windows, macOS and Linux, and Photopea runs entirely in a browser tab. GIMP covers layer-based editing, though it converts RAW on open. darktable and RawTherapee handle RAW natively. The trade is a steeper interface and a more technical community.
Conclusion: Make a Small Test Before You Commit
Shortlist two programs, edit the same twenty of your own photos in each, and pick the one that stays smooth on your machine and that you would rather open tomorrow. That single afternoon will tell you more than any feature list, and it costs nothing beyond an hour of setup. Start free, keep your originals, and let your real work drive the upgrade when it arrives, not a recommendation thread.