An 85mm lens photographs portraits the way most people picture them: natural proportions, a softly blurred background, and enough working distance that you are not crowding your subject. Learning how to use an 85mm lens for portraits is mostly about three decisions — how far back you stand, what aperture you choose, and where you put your focus point. Get those right and the lens does the flattering work on its own.
This guide works for any camera body and any brand, because nothing here depends on a specific model. It takes about ten minutes to set up and one short practice session to feel the difference. If you have never shot wide open, that is the single habit worth changing first.
Table of Contents
- What You Need
- Step-by-Step
- Step 1: Learn How to Use a 85mm Lens for Portraits
- Step 2: Choose the Right Lens and Camera Setup
- Step 3: Position the Subject and Background
- Step 4: Set the Exposure and Focus
- Step 5: Shape the Light and Refine the Portrait
- Common Mistakes
- Frequently Asked Questions
- How far away should I stand when using an 85mm lens for portraits?
- Is an 85mm lens good for close-up portraits?
- What aperture should I use with an 85mm lens for portraits?
- Does an 85mm lens distort faces?
- Should I use an 85mm lens for full-body portraits?
- Conclusion
What You Need
You need very little, which is why an 85mm is such an easy lens to learn on.
- A camera body with aperture priority mode (A or Av) and, ideally, eye-detect autofocus.
- An 85mm lens — either the native 85mm or a zoom that includes 85mm on the long end.
- A subject who can hold a position for a few minutes while you adjust.
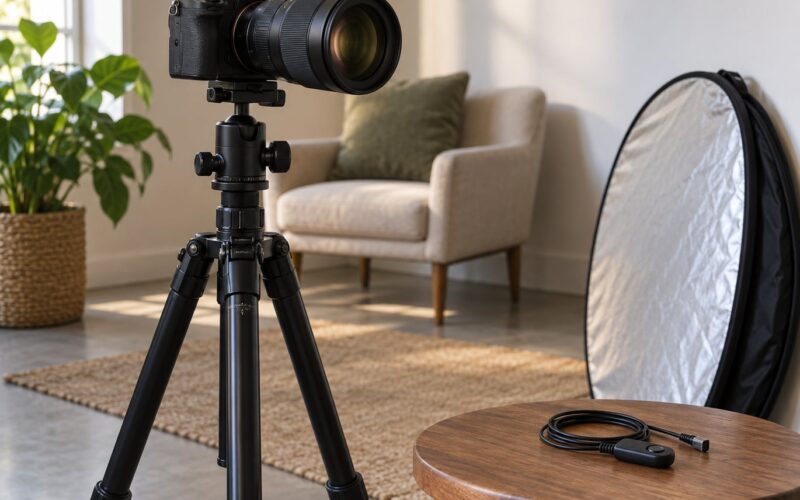
- Optional: a white or silver reflector to lift the shadow side of a face, and a small flash or speedlight if the room is dim.
- Optional: a tripod with a ball head, which matters more than you would expect because a long lens magnifies small movements.
One thing to sort out before anything else is which sensor you are shooting on. An 85mm is a fixed focal length measured against the size of the image circle, and crop sensor bodies crop the frame out of the centre. On a full frame camera you see the whole 85mm field of view. On APS-C, which has a 1.5x crop factor, the same lens frames like about 128mm. On a 1.6x body, more like 136mm.
That is not a defect, it is just arithmetic. But it means an APS-C photographer using an 85mm has to stand noticeably further back to get the same head-and-shoulders portrait, and that changes your room options completely.
Step-by-Step
Step 1: Learn How to Use a 85mm Lens for Portraits
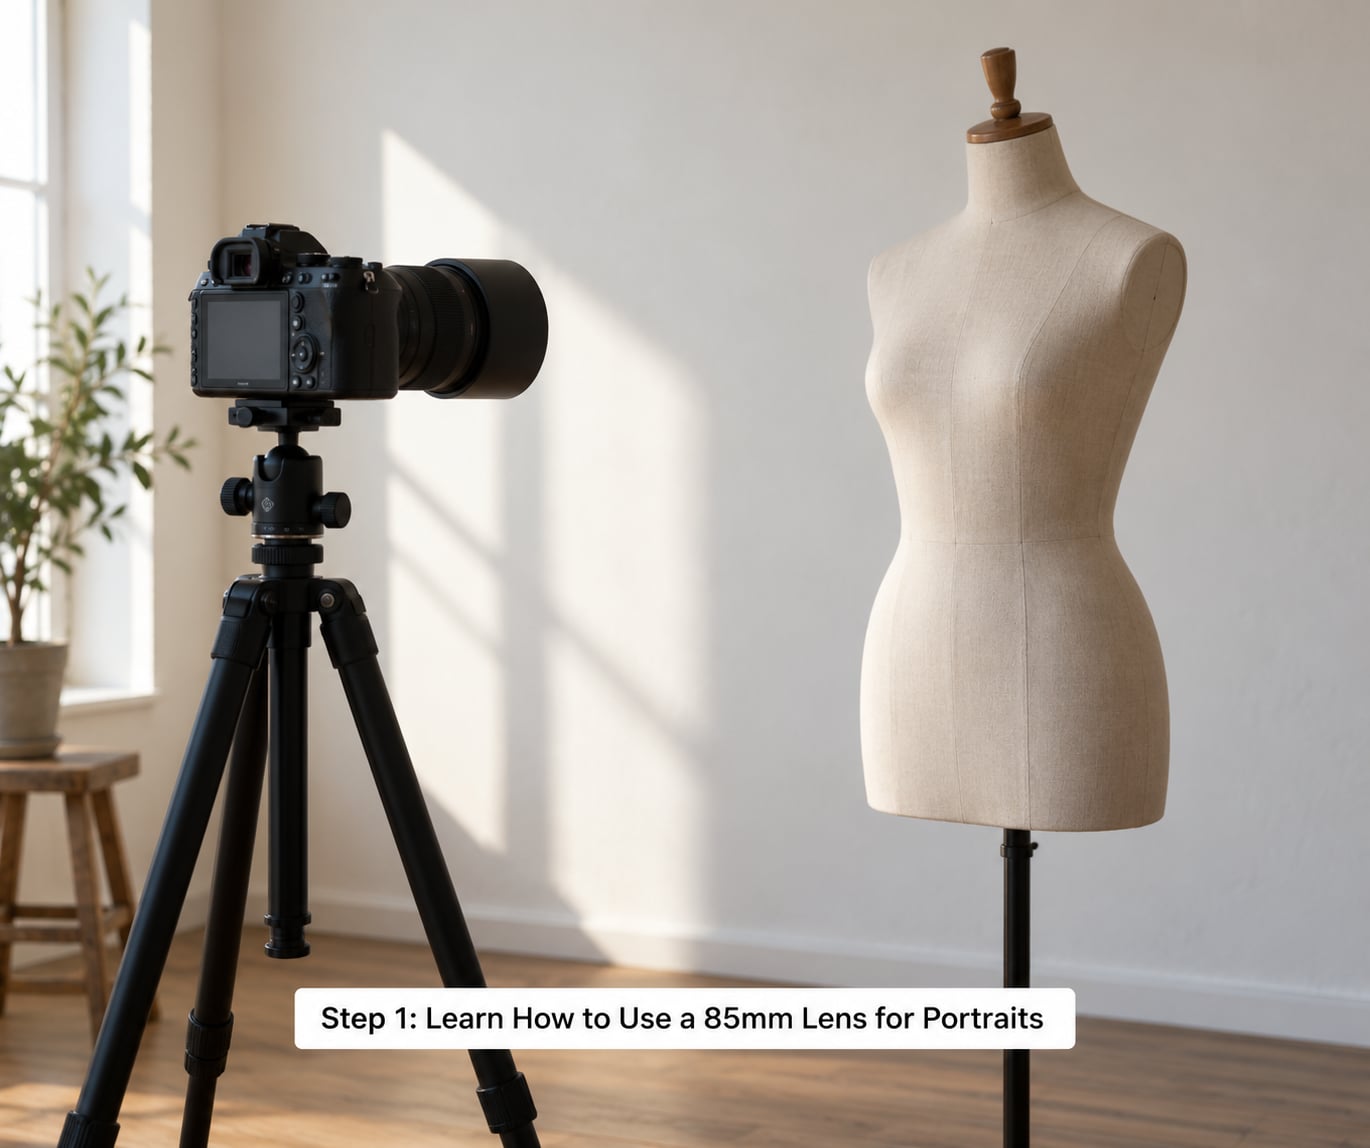
The whole appeal of this focal length comes from one rule: the further away you are, the less the lens exaggerates your subject. Stand close with a wide lens and the nose, ears and forehead get stretched. Stand back and the face looks like the rest of the body.
There is a common claim that the 85mm “compresses the background”, and it is worth correcting because it changes how you set up a shot. Compression is not caused by focal length. If you take the same position with a 35mm lens and move forward, the background relationship stays the same. What changes the background is distance, and an 85mm simply forces you to stand further away, which is why the background behind your subject looks tidier.
For framing reference, on a full frame camera expect to stand roughly 1 to 1.5 metres back for a head-and-shoulders portrait, and closer to 3 metres for a full-length shot. On APS-C, add about 50 to 60 percent to those figures.
Step 2: Choose the Right Lens and Camera Setup
Verify the lens actually fits before you plan anything around it. Every mount has its own 85mm options, and third-party lenses cover most major systems too. Check the mount designation, and confirm whether your camera has a crop factor applied in the viewfinder or menu.
Decide prime or zoom based on how you work. A prime gives you a brighter maximum aperture, which usually means f/1.8 or f/2 instead of f/4, and that extra light plus thinner depth of field is where the signature look comes from. A zoom that reaches 85mm is more flexible when you are moving between headshots and wider environmental frames in one session.
Do not chase the fastest aperture available to you. The f/1.2 and f/1.4 lenses are heavier, more expensive, and far easier to miss focus with. An 85mm f/1.8 is the version most photographers use for years without feeling limited.
Step 3: Position the Subject and Background
Framing at 85mm is done with your feet, not with the zoom ring. For a head-and-shoulders frame, step back until the top of the head has a small amount of air above it. For a half-length or three-quarter portrait, keep walking back until the crop sits above or below the joint rather than across it.
Keep the camera at the subject’s eye level. If you are shooting standing while they sit, crouch or kneel instead of pointing down, and if they are standing while you sit, stand up. A camera tilted even a few degrees puts the horizon and the background lines on a slant, and it is the fastest way to make a technically fine frame look amateur.
Push the subject away from whatever is behind them. Moving them two metres further from a doorway or a hedge does more for background separation than stopping down two stops, and it does not cost you shutter speed or a noisy ISO bump.
Step 4: Set the Exposure and Focus
Start in aperture priority and pick the aperture for the look you want, not for the biggest number your lens offers. A dependable starting point for a single person is f/1.8 to f/2.8 outdoors in good light. Groups, full-length frames and anyone moving around need f/4 to f/5.6 so more of the body stays sharp.
Shutter speed follows from the aperture. For a still subject at f/1.8, 1/250s is a comfortable floor indoors and 1/500s once the subject is moving or the light drops. Raise ISO to protect that shutter speed rather than letting it fall — noise in a portrait is far less noticeable than a blurred face.
For focus, use continuous autofocus with eye detection if your camera has reliable eye AF. If it does not, or if the eye detection hunts, switch to a single point, place it on the near eye, and get the focus point over the pupil before you shoot.
Thin depth of field is the most common complaint about this lens, and almost every miss is a placement error rather than a lens fault. Watch the viewfinder, confirm focus before pressing, and step back one or two stops to f/2.8 or f/4 if you keep missing.
Step 5: Shape the Light and Refine the Portrait
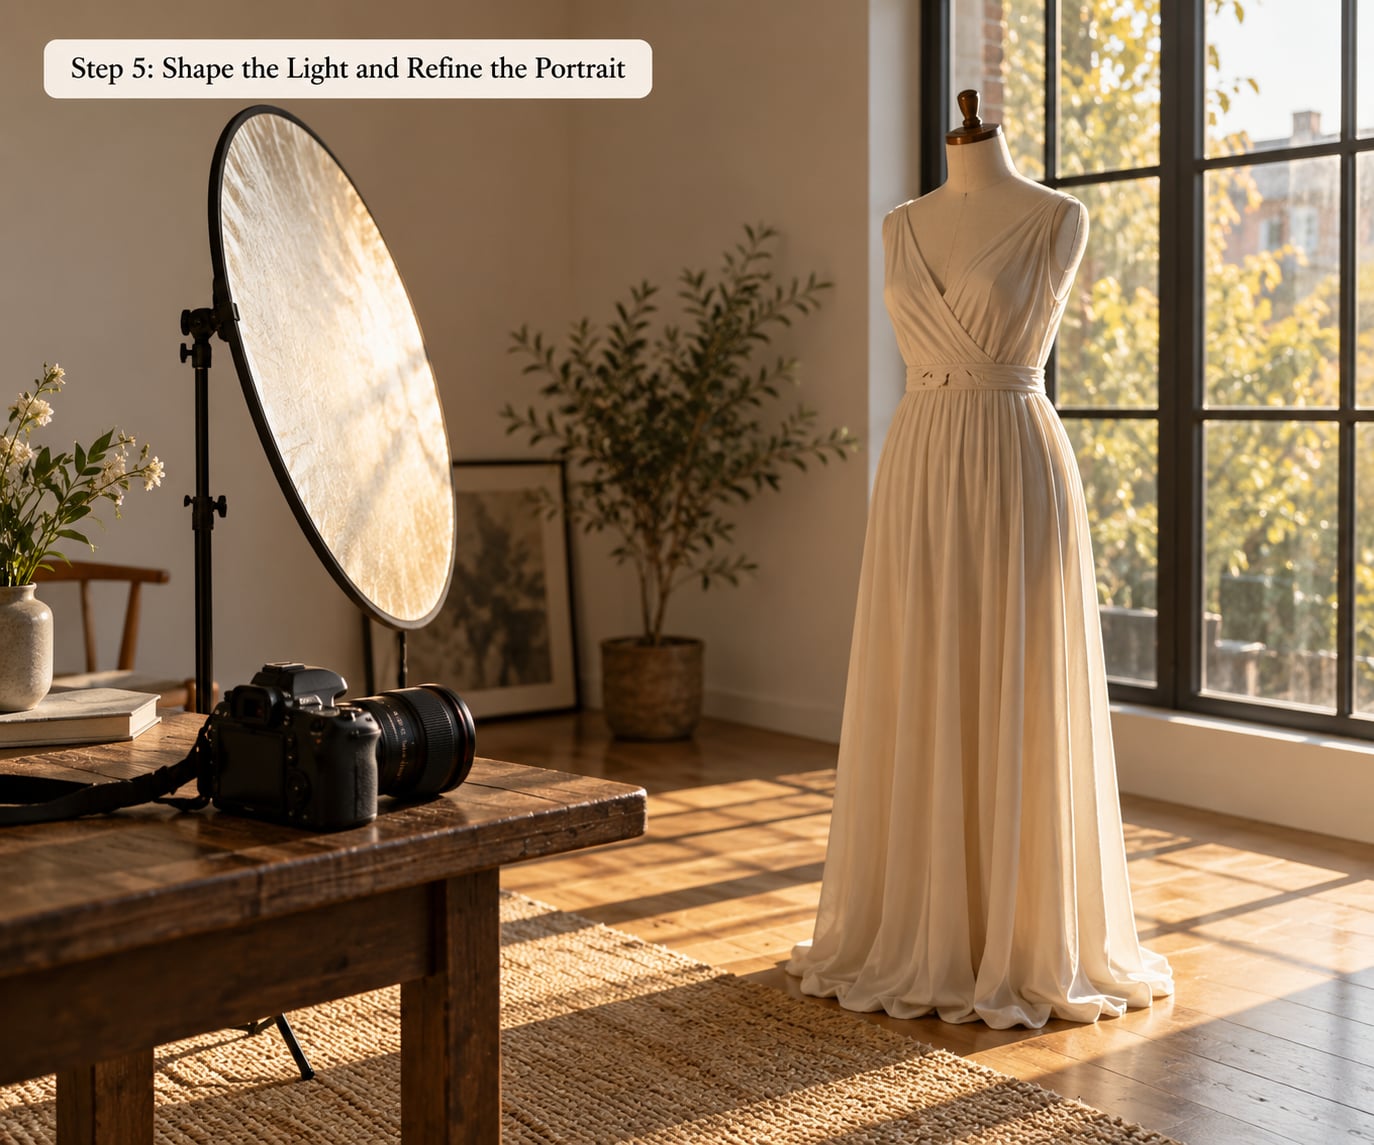
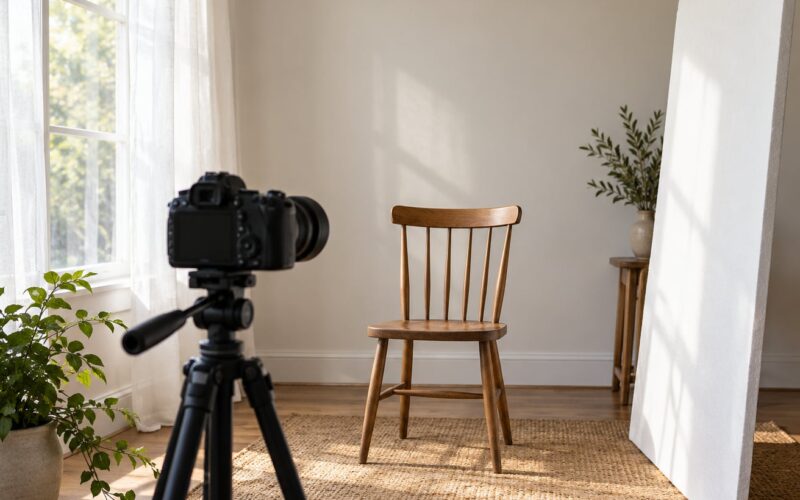
Window direction does most of the work. Put your subject about 45 degrees to the window, facing slightly past the camera, and you get modelling on the face with a soft shadow on the far cheek. Straight-on light flattens; light from directly behind turns the subject into a silhouette unless you add fill.
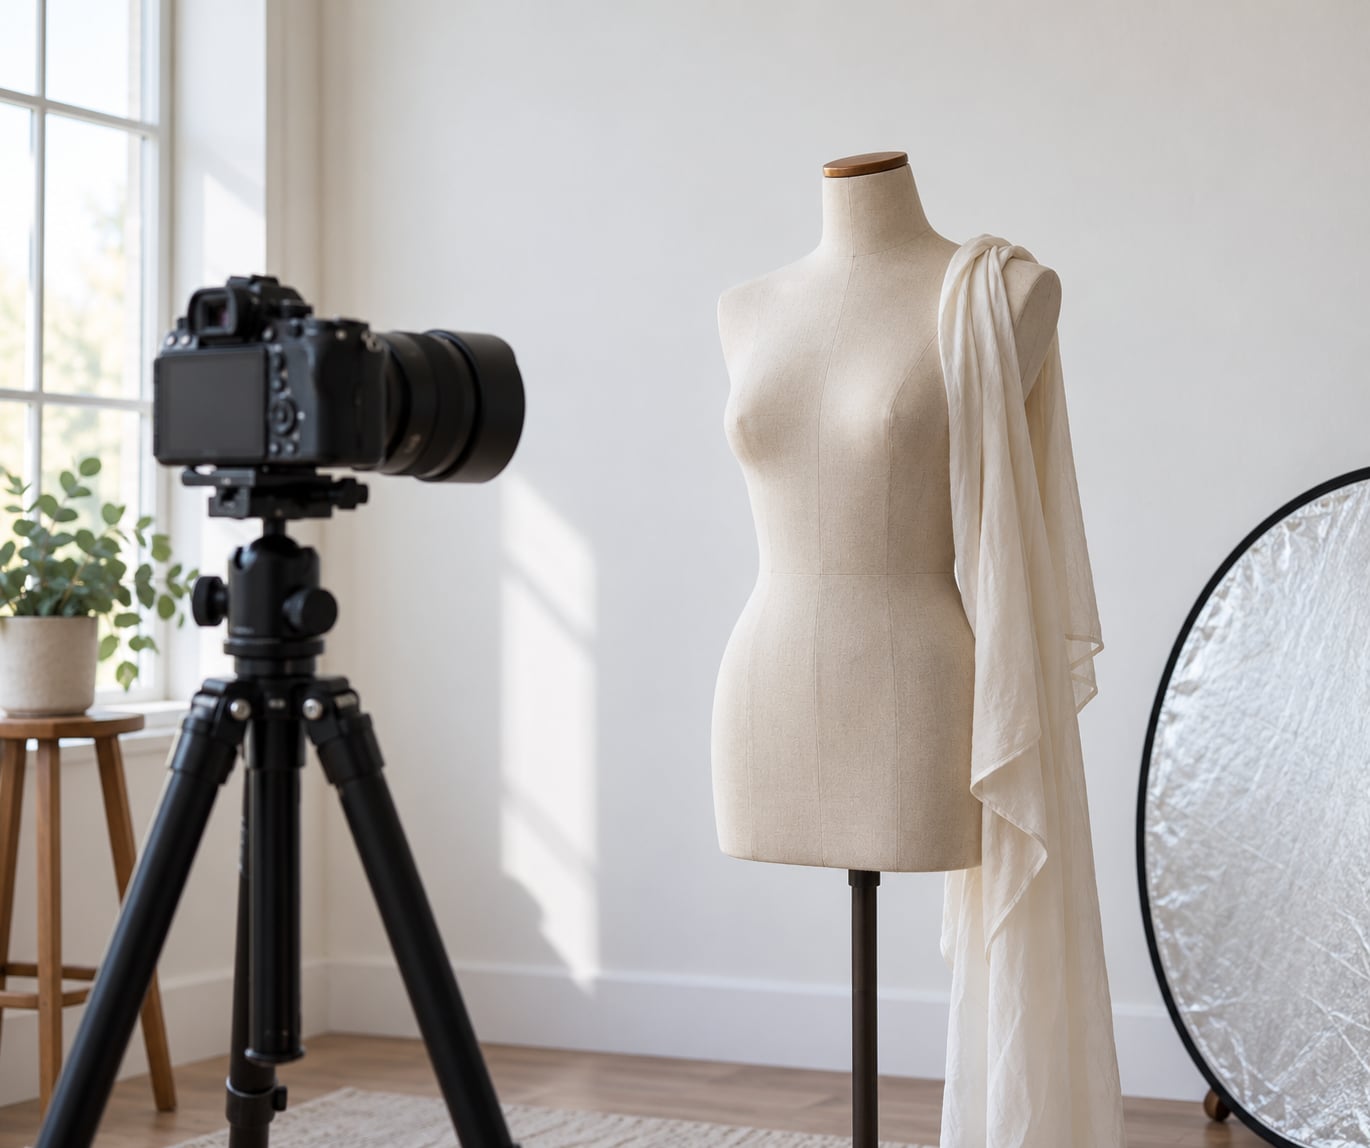
A reflector fills the shadow side for very little cost. Hold it just out of frame, close enough to the face that the reflected light does not look like a second source. If the shadow side is still too dark, move the subject slightly instead of cranking the reflector closer.
The long working distance changes lighting more than most people expect. Because you are standing metres back, your flash or strobe sits further from the subject than it would with a 35mm, so the light on the face is softer and falls off more, while on-axis light gives you less catchlight. Turning the source 20 to 30 degrees off the camera axis fixes both.
Then review a few frames before you change anything technical. Look at where the crop lands, whether the eyes are level, and whether the background has a distracting bright spot behind the head. Most of the improvement comes from moving the subject or the camera by half a step, not from the settings.
Common Mistakes
Almost every disappointing 85mm portrait traces back to one of these.
- Standing too close to make the frame work. Zooming with your feet is the fix — the lens does not change, your position does.
- Cropping across a joint — wrists, ankles, elbows. Move the crop edge to sit between joints instead.
- Shooting wide open every time. f/1.8 is a tool, not a default. Stopping down to f/2.8 or f/4 gives context and keeps both eyes sharp.
- Focusing on the forehead or hairline instead of the eye. Place the focus point on the near pupil.
- Pointing the camera down or up at a seated or standing subject. Match the height first, then frame.
- Copying settings from a recipe without checking the histogram or the back of the camera. Exposure depends on your light, not on a blog post.
Frequently Asked Questions
How far away should I stand when using an 85mm lens for portraits?
On a full frame camera, about 1 to 1.5 metres back gives you a head-and-shoulders frame, and roughly 3 metres gives a full-length portrait. On APS-C add 50 to 60 percent because the crop factor narrows your field of view. If you cannot back up that far, use a wider lens rather than moving in, since working distance is what keeps faces looking natural.
Is an 85mm lens good for close-up portraits?
Yes, as long as you treat the close-up as a change in framing rather than a step closer. A tight headshot at 85mm still needs a good metre of distance to fill the frame, and the working distance is exactly what keeps the nose and ears from looking exaggerated. Focus accuracy matters more here than at wider framings, because depth of field is at its thinnest.
What aperture should I use with an 85mm lens for portraits?
Start at f/1.8 to f/2.8 for a single subject in good light, and use f/4 to f/5.6 for full-length frames, groups, or anyone who will not hold still. Shooting wide open every time produces the same thin, context-free look and makes focus misses more likely. Watch the result rather than the lens, and stop down one or two stops whenever the eyes are not both sharp.
Does an 85mm lens distort faces?
Very little, and that is the reason to use it. Facial distortion is created by shooting close with a wide angle, not by long focal length. An 85mm forces you to stand back to fill the frame, so the proportions between forehead, nose, chin and ears stay close to natural. If a face looks stretched, the cause is distance, not the lens.
Should I use an 85mm lens for full-body portraits?
Yes, and it is one of the lens’s best uses. At full length on full frame you will be standing near 3 metres back, which gives you plenty of room to direct the pose and keeps the background compressed and clean. Stop down to around f/4 so the whole figure is sharp, and raise ISO rather than letting the shutter speed drop if the light is fading.
Conclusion
How to use an 85mm lens for portraits comes down to position first, then exposure, then light. Stand a metre or more back on a full frame body, keep the camera at eye level, open to about f/2.8 rather than the widest stop, and put your focus point on the near eye. Shoot a few frames, look at where the crop lands, and adjust from there. Most of the flattering results come from those small positional choices, not from the settings dial.