How to clean a camera lens safely comes down to four moves: blow the dust off first, put cleaner on a cloth rather than the glass, wipe in slow circles from the centre outward, then buff dry. Never spray liquid onto a lens, and never touch coated glass with a dry cloth. The whole routine takes about five minutes.
Most damage to camera glass does not come from a careless owner. It comes from a well-meaning owner who sees a speck, rubs it, and grinds a piece of dust into the multi-layer optical coating. Coatings are thinner and softer than the glass underneath, and unlike the glass they cannot be replaced.
There is also a version of this hobby where people clean too much. Cameras arrive from the factory with dust already on the sensor and nobody dies. A few specks in the viewfinder are not a fault. Cleaning is for grime you can see in the finished photograph, not for a calendar schedule.
What follows is the routine I use, plus the specific points where most guides go quiet.
Table of Contents
- What You Need to Clean a Camera Lens Safely
- How to Clean a Camera Lens Safely: Step by Step
- 1. Check the Lens and Camera Body Before You Touch the Glass
- 2. Blow Loose Dust Off With a Hand Blower
- 3. Put a Few Drops of Cleaner on the Cloth, Not the Lens
- 4. Wipe the Glass in Slow Circles, Centre Outward
- 5. Inspect the Lens for Remaining Marks or Moisture
- 6. Let the Lens Dry and Store It Safely
- Common Mistakes to Avoid When You Clean a Camera Lens Safely
- Frequently Asked Questions
- What is safe to clean a camera lens with?
- Can I use alcohol wipes to clean my camera lens?
- Is it okay to clean a camera lens with water or with a microfiber cloth?
- How do I get a smudge or fingerprint off a camera lens?
- How does lens fungus look, and can I clean it out myself?
What You Need to Clean a Camera Lens Safely
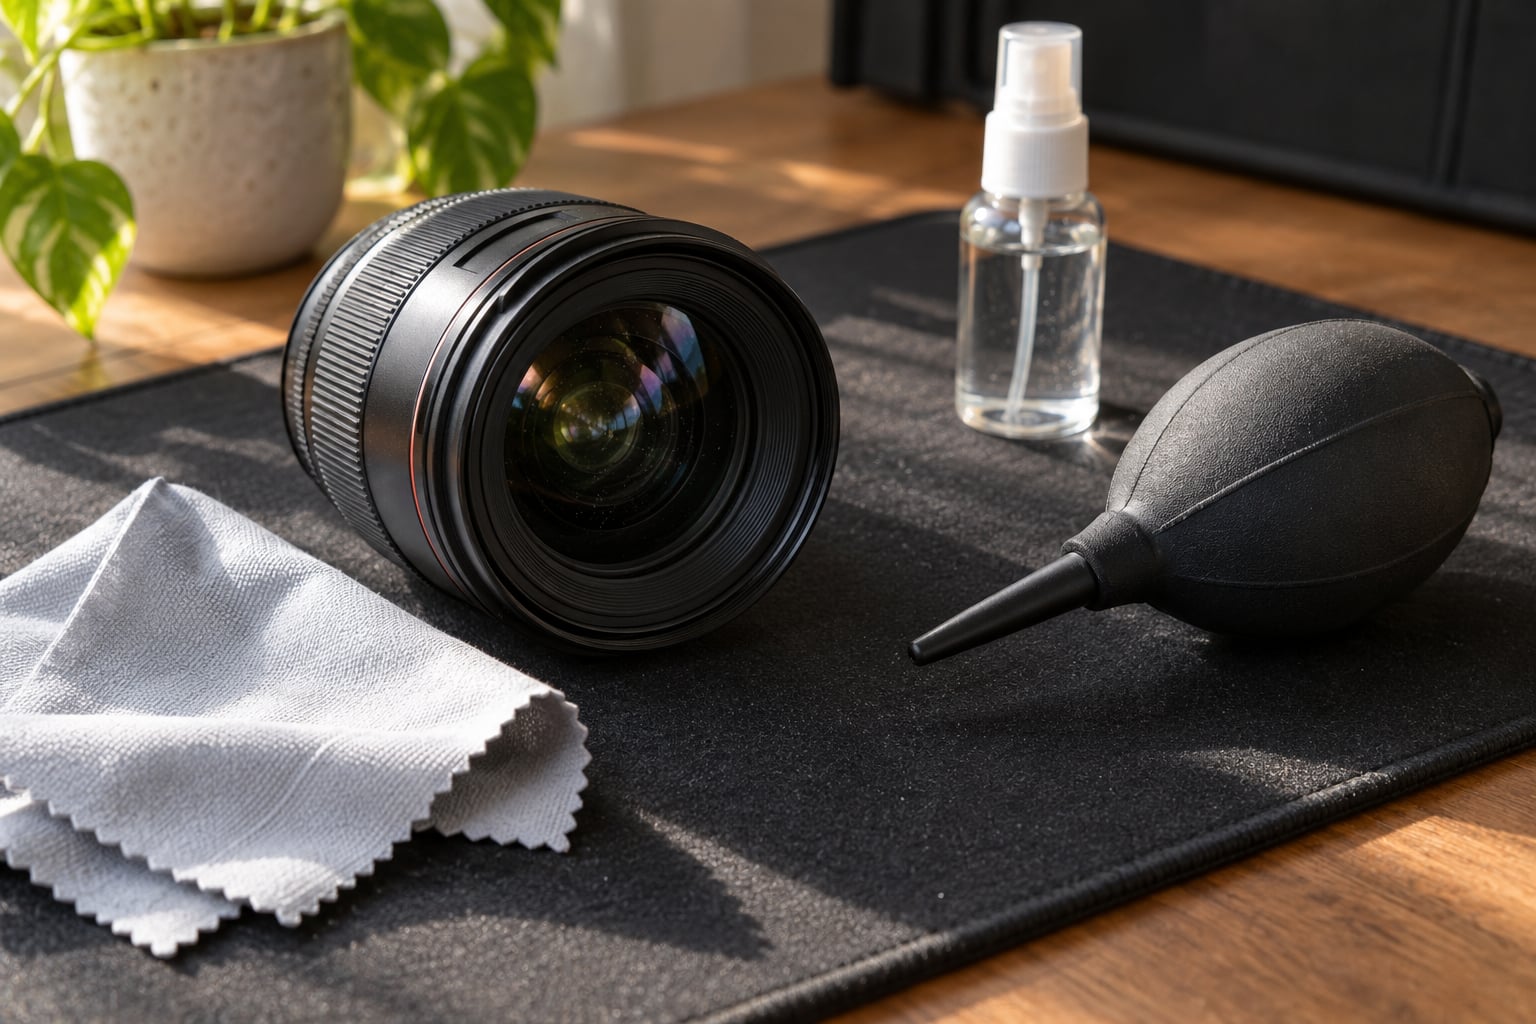
A hand blower is the one tool that is not optional. Often called a rocket blower or air puffer, it is a rubber bulb with a brush on the end, and it costs less than a coffee. The point is moving air, not force: dust should lift off the glass, never be blown across it.
A soft-bristled lens brush handles what the blower cannot. Retractable brushes keep the bristles tucked away so they do not get knocked against a table, and natural goat hair is gentler than synthetic. Keep this brush separate from any brush you use around a sensor, and never drag it across glass without blowing first.
A microfiber cloth is the workhorse for glass. Buy the lens-sized one rather than a general-purpose cloth, and treat it as a consumable: once it is grubby it is doing more harm than a tissue would. Lens tissue is the cheap single-use alternative, and it is the better choice in the field because there is nothing to carry grit back in.
Lens cleaning fluid is a small bottle of optical cleaner, and the ingredient that matters is purity. Anything with ammonia, acetone, or an alcohol concentration high enough to strip a coating does not belong on glass. One or two drops is plenty.
Optional but useful: a cotton swab for the chamfer around the front element where a cloth cannot reach, a pre-moistened lens wipe if you travel and refuse to carry liquid, and a second cloth reserved for lens mounts so metal debris never meets glass.
What never goes near a lens: window cleaner, dish soap, acetone, breath, a shirt sleeve, and facial tissue. Household glass cleaner and tissue both leave residue, and tissue fibres plus a speck of dust are how micro-scratches happen.
Compressor air and bug spray are worse than useless. Both condense into a cold liquid on impact, and that liquid is where coating damage comes from. Skip both.
How to Clean a Camera Lens Safely: Step by Step
1. Check the Lens and Camera Body Before You Touch the Glass
Hold the lens up to a window with the light coming from behind you and look at the front element. Dust looks like scattered specks that move. A smudge or fingerprint has colour and a defined edge. A scratch catches the light in one direction only, and no amount of cleaning will shift it.
White branching threads are fungus, and that changes the job entirely. Check the barrel for sand or grit, especially if the lens has been on a beach trip, and clean the body around the mount before you start.
2. Blow Loose Dust Off With a Hand Blower
Point the bulb away from the lens so you are not blowing your own moisture at the glass. Squeeze slowly and let the air do the work, working around the element rather than at one spot. A brush on the end of many blowers can coax out specks that cling.
Do not touch the glass with the brush tip. If grit is stuck, more air will move it sooner than a bristle will, and moving it is all you need. If the lens is soaking wet, let it air dry first.
3. Put a Few Drops of Cleaner on the Cloth, Not the Lens
Fold the microfiber cloth into a flat pad and put one or two drops of fluid on the clean side. Never spray, never squeeze the bottle over the glass, and never use a wet wipe as a substitute.
The reason is physical. A bead of liquid on a curved element acts as its own lens, and it can concentrate enough light to scorch the coating underneath. It also creeps along the edge of the glass by capillary action and runs into the barrel, where it can dissolve paint markings or reach the contacts.
On alcohol: opinions genuinely conflict because the answer depends on concentration and on the lens. A damp cloth barely wetted with high-concentration isopropyl alcohol, used once, is a defensible emergency measure for sticky residue. An alcohol wipe you drag around the barrel is not, and neither is anything sprayed. Use a proper optical fluid as the default.
4. Wipe the Glass in Slow Circles, Centre Outward
Set the pad flat on the element and move in small, slow circles starting at the centre. Work outward to the edge, then lift the cloth rather than dragging it back across the middle, which redeposits what you removed.
Pressure is not the variable that fixes a stubborn spot. More pressure with a dirty cloth is just a different way to scratch. Repeat the motion instead. For the edge of the element and the chamfer beyond it, a cotton swab with a little fluid on the tip does what a flat pad cannot.
Lens pens are useful for dust and stubborn marks, and they get criticized when the tip itself picks up grit. Treat the end as a one-use tool: on the marks, off on a glass-clean surface.
5. Inspect the Lens for Remaining Marks or Moisture
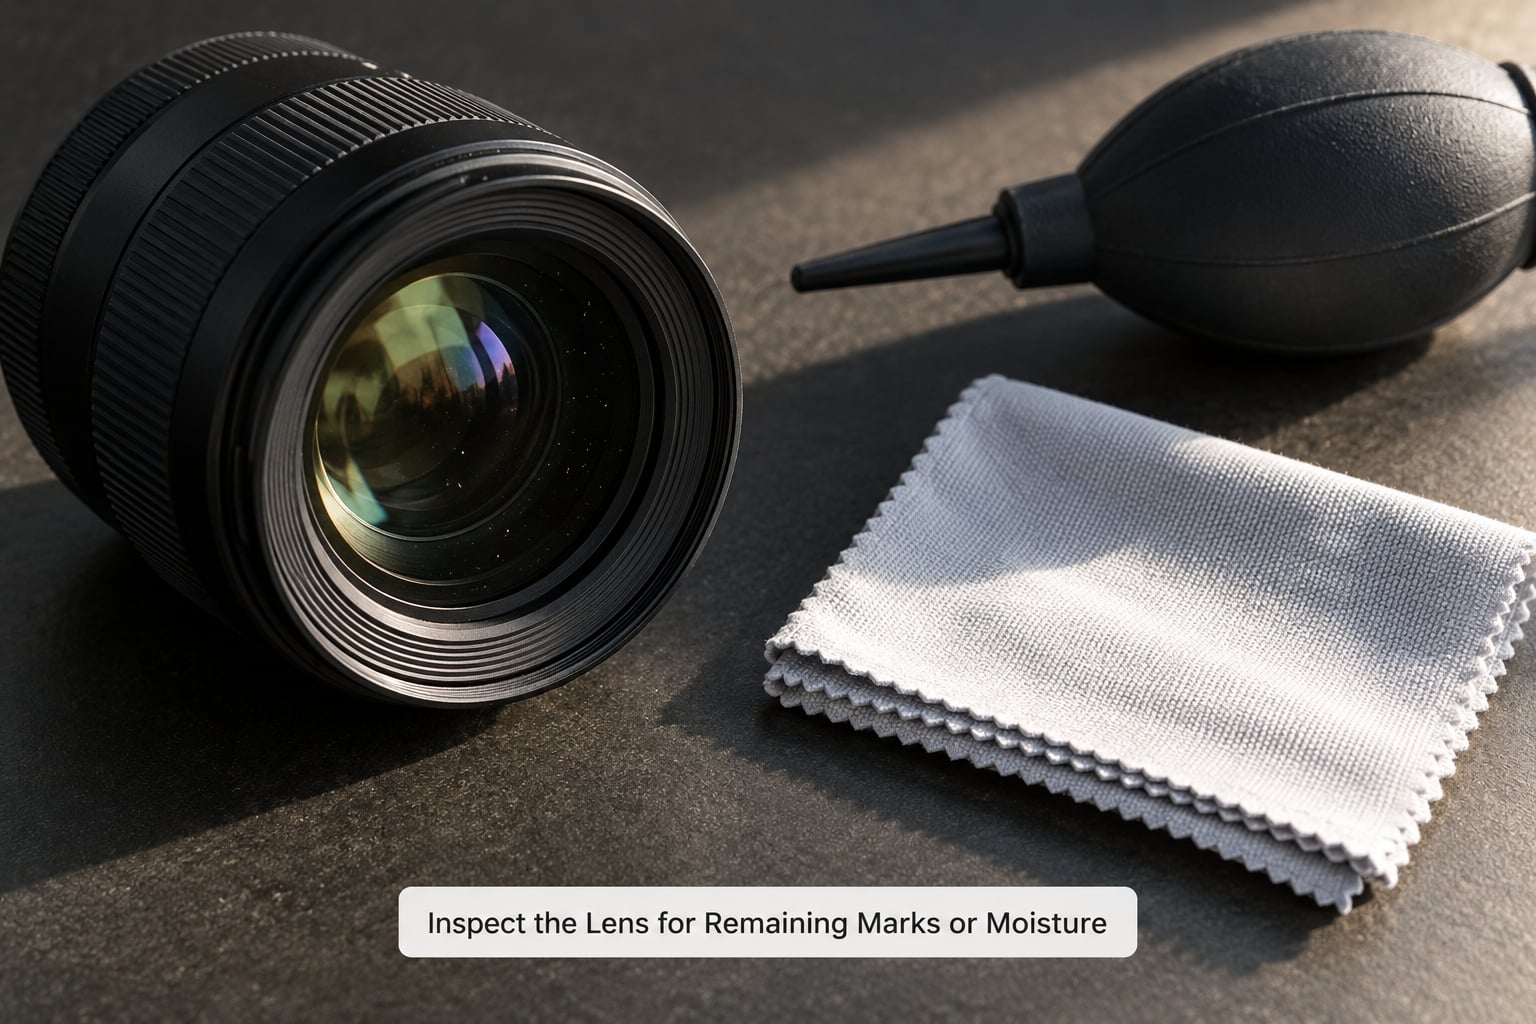
Turn the lens under a light source at a shallow angle and check for haze, streaks, or leftover smudges. Do this before you reassemble anything, because it is the cheapest moment to find a problem.
The rear element and the mount ring are worth a look too, and rear-element smudges matter more than front-element ones, because light focuses narrowly through the back of the lens. Keep liquid off the electronic contacts and the barrel markings, and use the reserved cloth for the mount.
Stop and send it out for service if the white threads are fungus, if dust is inside the glass and will not move, if the coating looks hazy or separated, or if the sensor is the thing that is dirty. Cleaning a sensor is a different job with swabs and a different procedure, and fungus needs a lab.
6. Let the Lens Dry and Store It Safely
Give it a few minutes of airflow before you cap it, then fit the front and rear caps and put the lens in a clean bag or compartment. Trapping a slightly damp lens in a bag is how moisture damage and fungus start in the first place.
Store the cloth in a sealed bag between uses. A cloth that lives loose in a camera bag collects the grit it is supposed to remove, and that is the single most common cause of micro-abrasion. Washing cloths is simple: cool water, no fabric softener, air dry. Softener residue is sticky, and sticky cloths scratch.
Common Mistakes to Avoid When You Clean a Camera Lens Safely
| Do this | Not this |
|---|---|
| Blow dust off before any cloth touches the glass | Wipe first and grind dust into the coating |
| Put cleaner on the cloth | Spray fluid directly onto the lens |
| Use one or two drops, gently | Soak the cloth and soak the barrel |
| Use a hand blower or air puffer | Use compressed air, bug spray, or blow on it yourself |
| Move in small circles from the centre out | Scrub hard, or swipe the cloth back over the middle |
| Wash cloths without fabric softener | Use a shirt sleeve, facial tissue, or kitchen roll |
| Retreat a fungus lens to a service | Pick at internal threads with a swab or blade |
Two habits prevent most of this. Change the front cap between shoots rather than tightening it into dust, and keep lenses capped and separated in a padded compartment so a barrel does not grind against a front element. On the beach, a damp lens with salt on it needs a rinse with fresh water first, then normal cleaning, or the salt crystals will scratch the coating on the way out.
Frequently Asked Questions
What is safe to clean a camera lens with?
A hand blower, a soft-bristled lens brush, a clean microfiber lens cloth, lens tissue, and a small amount of optical lens cleaning fluid will cover almost everything. Keep fluid off the barrel and mount contacts, and keep the cloth clean enough to be usable. Avoid compressed air, bug spray, household glass cleaner, acetone, facial tissue, and your own breath.
Can I use alcohol wipes to clean my camera lens?
Only with care, and only on the glass. A wipe dampened with high-concentration isopropyl alcohol can lift sticky residue once, but alcohol can degrade some optical coatings and most wipes are too dry to do much and far too wet for the barrel. Proper optical cleaning fluid is the safer default for routine work. Never use a wipe on the mount contacts or painted barrel markings.
Is it okay to clean a camera lens with water or with a microfiber cloth?
A clean microfiber cloth is exactly the right tool for glass, and the only tool that should touch it once dust is gone. Plain water is a poor choice on a lens because it leaves spots and does not shift oils. Fresh water is fine for rinsing salt off a damp lens after a beach shoot, but let it air dry fully before you clean or cap it.
How do I get a smudge or fingerprint off a camera lens?
Drop one or two drops of lens cleaning fluid on a clean microfiber cloth, set the cloth flat on the element, and move in small circles from the centre outward with light pressure. Lift the cloth instead of dragging it back across the middle. If a smudge on the rear element survives that, it may be inside the lens and is a service job rather than a cleaning one.
How does lens fungus look, and can I clean it out myself?
Fungus shows as white or grey branching threads, often a spiderweb pattern between elements, and it does not move when you blow on it. It grows inside the sealed lens in damp storage. Home cleaning cannot reach it, and prying at it with a swab or blade usually makes things worse. Professional lens services dismantle, clean, and reseal the lens, which is the only real fix.
Start with the blower. It handles most of what you will ever find on a lens, costs almost nothing, and cannot scratch anything, so most cleaning sessions end there. Reach for fluid and a cloth only when you can see haze or fingerprints in your photographs, and never spray the glass.