Knowing how to clean a camera sensor safely takes about ten minutes, and most of that work is a hand-powered air blower rather than a swab. The safe order is always the same: test the camera to confirm the spots are on the sensor, blow out loose dust with the lens mount facing down, then wet clean only if something is still stuck. Ten minutes of work for a beginner, and a few minutes after that.
Before any of that, a word on what you are really cleaning. You never touch the image sensor itself. What sits in front of it is the optical low-pass filter, a delicate piece of glass with an anti-dust coating, and in a DSLR that whole assembly sits behind a mirror you must lock up. That is why the charge-your-battery warning comes before the tools: a flat battery mid-clean can drop the mirror or fire the shutter curtain across the filter.
One more expectation to set now. Cleaning removes dark spots. It does not make your images sharper, because dust is a spot problem, not a contrast or resolution problem. If your photos are soft, look at focus, the lens, and your shutter speed instead.
Table of Contents
- What You Need
- Step-by-Step: How to Clean a Camera Sensor
- How to Tell Whether the Spot Is on the Sensor
- Prepare the Camera Safely
- Remove Loose Dust with a Blower
- Clean Stubborn Spots with a Proper Sensor Kit
- Inspect the Result and Reassemble the Camera
- Mistakes to Avoid During the Clean
- When to Use a Professional Sensor Cleaning Service
- Common Mistakes and How to Correct Them
- Frequently Asked Questions
- What can you clean a camera sensor with?
- Is it safe to clean my own camera sensor?
- Can I use a Q-tip or rubbing alcohol instead?
- How often should I clean my camera sensor?
- Does cleaning the sensor make my photos sharper?
- How much does it cost to have a camera sensor professionally cleaned?
What You Need
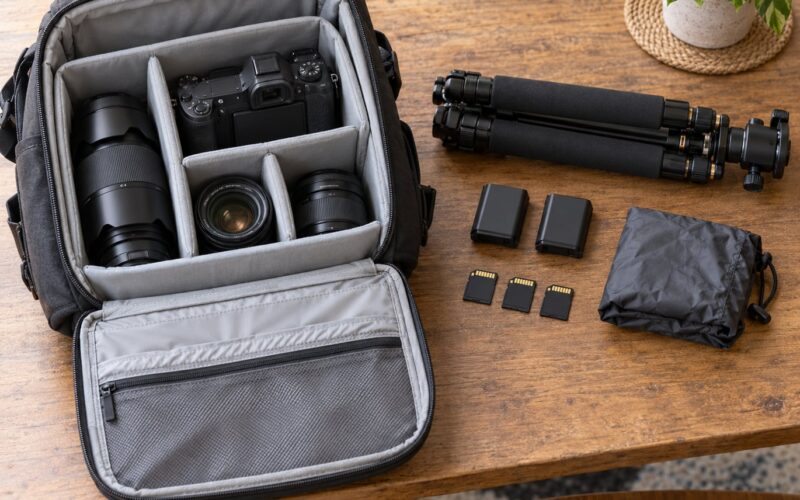
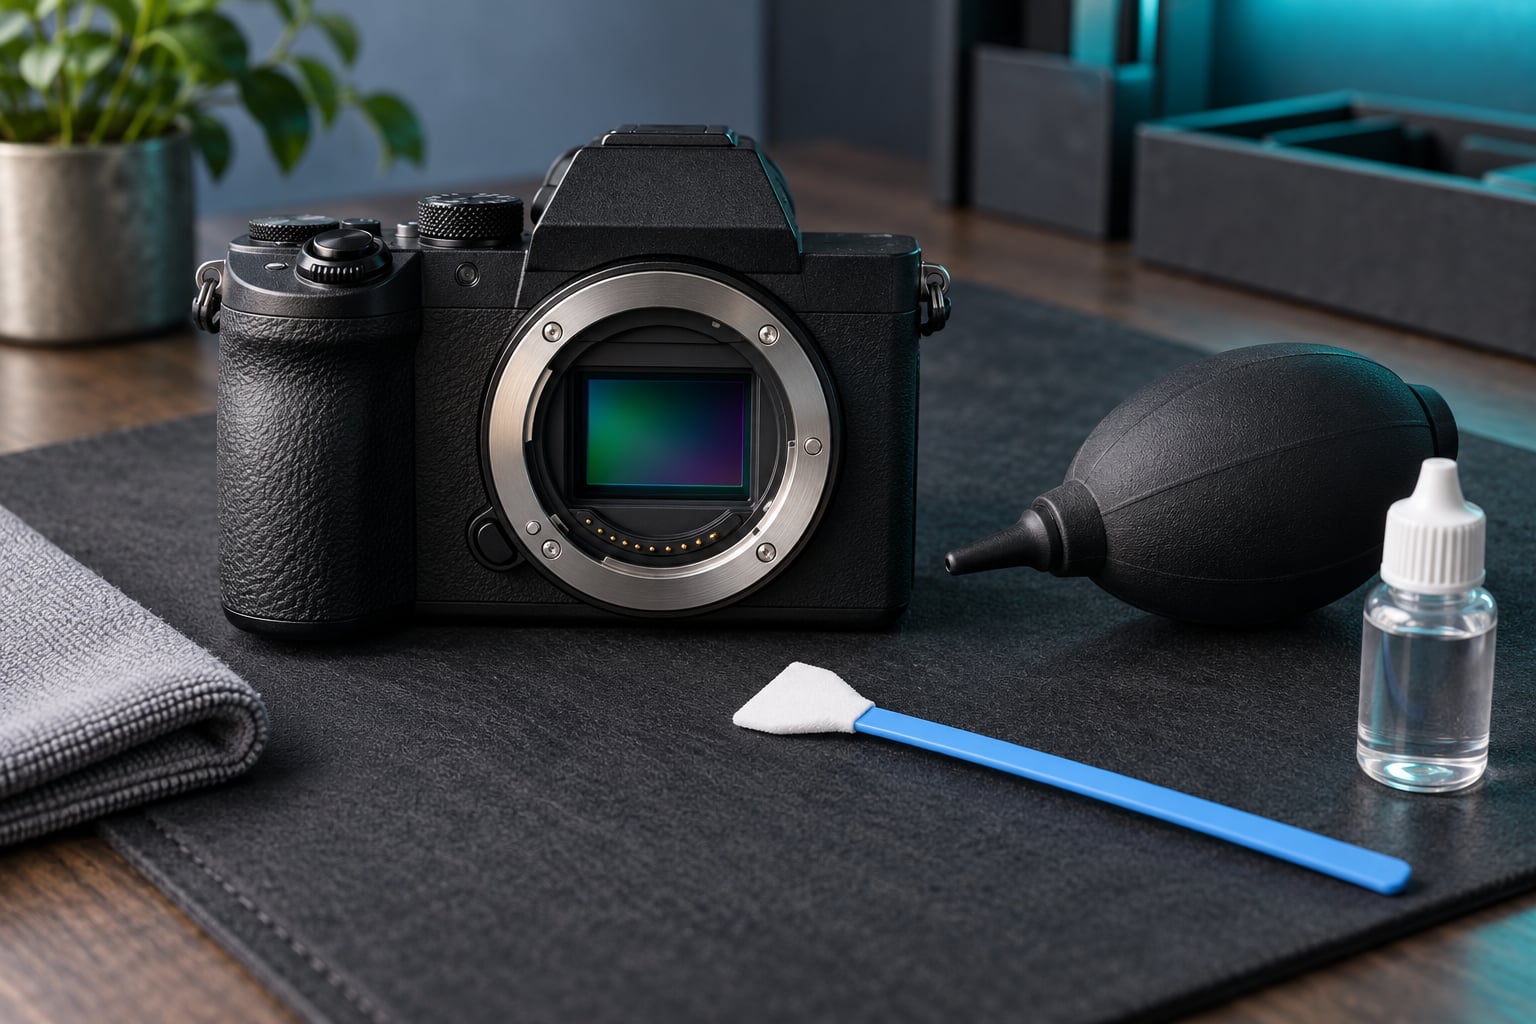
The tool list is short, and most of it is optional until a blower stops being enough.
- The manual for your exact camera body. The menu path to sensor cleaning or mirror lock-up differs by brand and model, and getting it wrong means the mirror can come down while the mount is open.
- A hand-powered air blower. The rubber bulb type with a reverse-cap nozzle, not a can of compressed air. Hand pressure cannot push dust harder against a fine filter coating, and it cannot force moisture or propellant into the body.
- Sensor cleaning swabs matched to your sensor format. A full-frame camera needs a swab wide enough to cover the whole sensor in one pass, an APS-C body needs a mid-size swab, and a Micro Four Thirds body a small one. Buy by format, not by brand loyalty, and buy more than you think you need because each swab is single-use.
- Dedicated sensor cleaning solution. A non-toxic, low-residue fluid made for coated optics. Not isopropyl alcohol from the bathroom cabinet, and never a household spray.
- Clean lint-free cloth or lens filter paper. For placing swabs down on, and for wiping the mount rim and the rear element of the lens before you reattach it.
- Optional: a loupe and an LED inspection light. Genuinely helpful. Bright light angled across the filter surface makes a fingerprint or a smear obvious in a way that a bright sky never will.
What to keep out of the kit matters as much. Canned compressed air, cotton buds, tissues, paper towel, glass cleaner, WD-40 and your own breath are all things I would not put anywhere near a coated filter, and the reasons are spelled out further down.
Step-by-Step: How to Clean a Camera Sensor
Work on a clean, well-lit table with a soft mat underneath. Good light is not a nicety here, because you cannot judge whether a spot is gone if you cannot see it.
How to Tell Whether the Spot Is on the Sensor
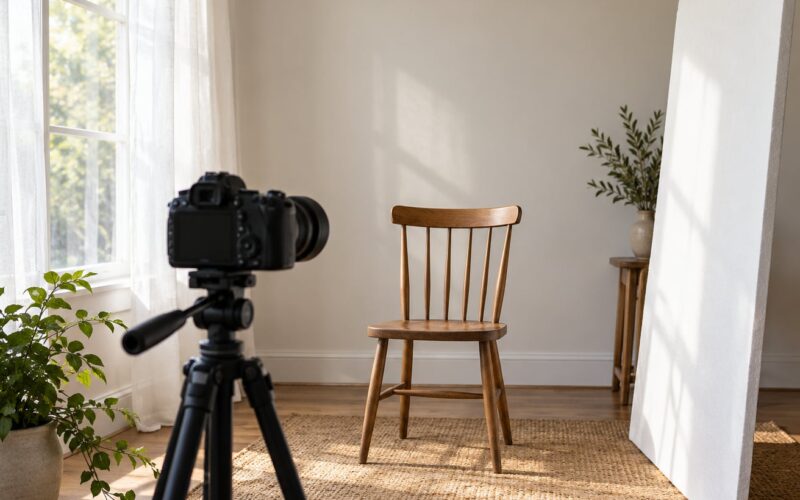
Before cleaning anything, prove the dirt is on the sensor. Dust on the sensor sits in exactly the same place in every frame at every aperture. Dirt on a lens element moves, changes size, and softens the whole image instead of appearing as discrete dark dots.
- Point the camera at a plain, bright white wall or an evenly lit section of sky with nothing in the way.
- Set manual exposure, ISO as low as the camera allows, and shoot at f/16 or f/22. Narrow apertures make the aperture blades visible in the frame, which is useful for spotting their own dust, and they shrink round dust motes into sharp dots.
- Review the image at 100% zoom, not fit-to-screen. Look for perfectly round, sharply defined, dark dots in the same positions.
- Take a second frame. If the dots are identical, they are on the sensor. If they moved, or the whole frame is just soft, you are looking at lens or front-element dirt instead.
One detail worth adding to that test: photographers who shoot this test regularly report spotting debris from around f/8 to f/10, not only at f/22. A spot that looks harmless at wide apertures can still be there, and it tends to show up sooner in a wide, low-noise frame than in a small one.
Also check the rear element of the lens and the front and rear caps before you blame the body. A smudged cap or a dusty rear element produces exactly the kind of general haze that people misdiagnose as a dirty sensor.
Prepare the Camera Safely
- Charge the battery fully, or fit a fresh one. If the body takes external power, use a fully charged pack. A camera that loses power with the mount open can drop a DSLR mirror or trip a mirrorless shutter.
- Read the sensor-cleaning page in your manual and find the menu item. Canon bodies put it under the wrench or setup menu as Clean image sensor; Sony bodies put it under the setup or function menu as Sensor cleaning; Nikon and Fujifilm place it in a setup or custom menu labelled Image sensor cleaning or Sensor cleaning. On most mirrorless cameras the cleaning cycle also runs automatically at power on and power off, and you can trigger it manually.
- Turn image stabilisation off on lenses that have it, if the manufacturer says to. Stabiliser can move the filter assembly while you are working on it.
- Remove the lens. On a DSLR, engage mirror lock-up or sensor-cleaning mode so the mirror stays up. On a mirrorless body the shutter normally stays open in cleaning mode; if your model does not behave that way, check the manual before touching anything.
- Keep the mount facing downward from this point on, so anything that falls inside falls out.
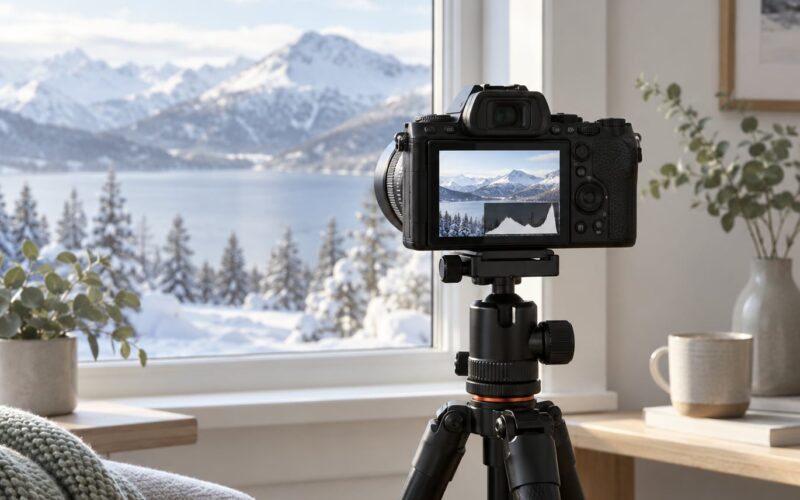
Some people set the camera on a tripod with a bright window behind them, which leaves both hands free and lights the filter from the side. That setup is genuinely more comfortable than trying to hold the body in one hand and the blower in the other.
Remove Loose Dust with a Blower
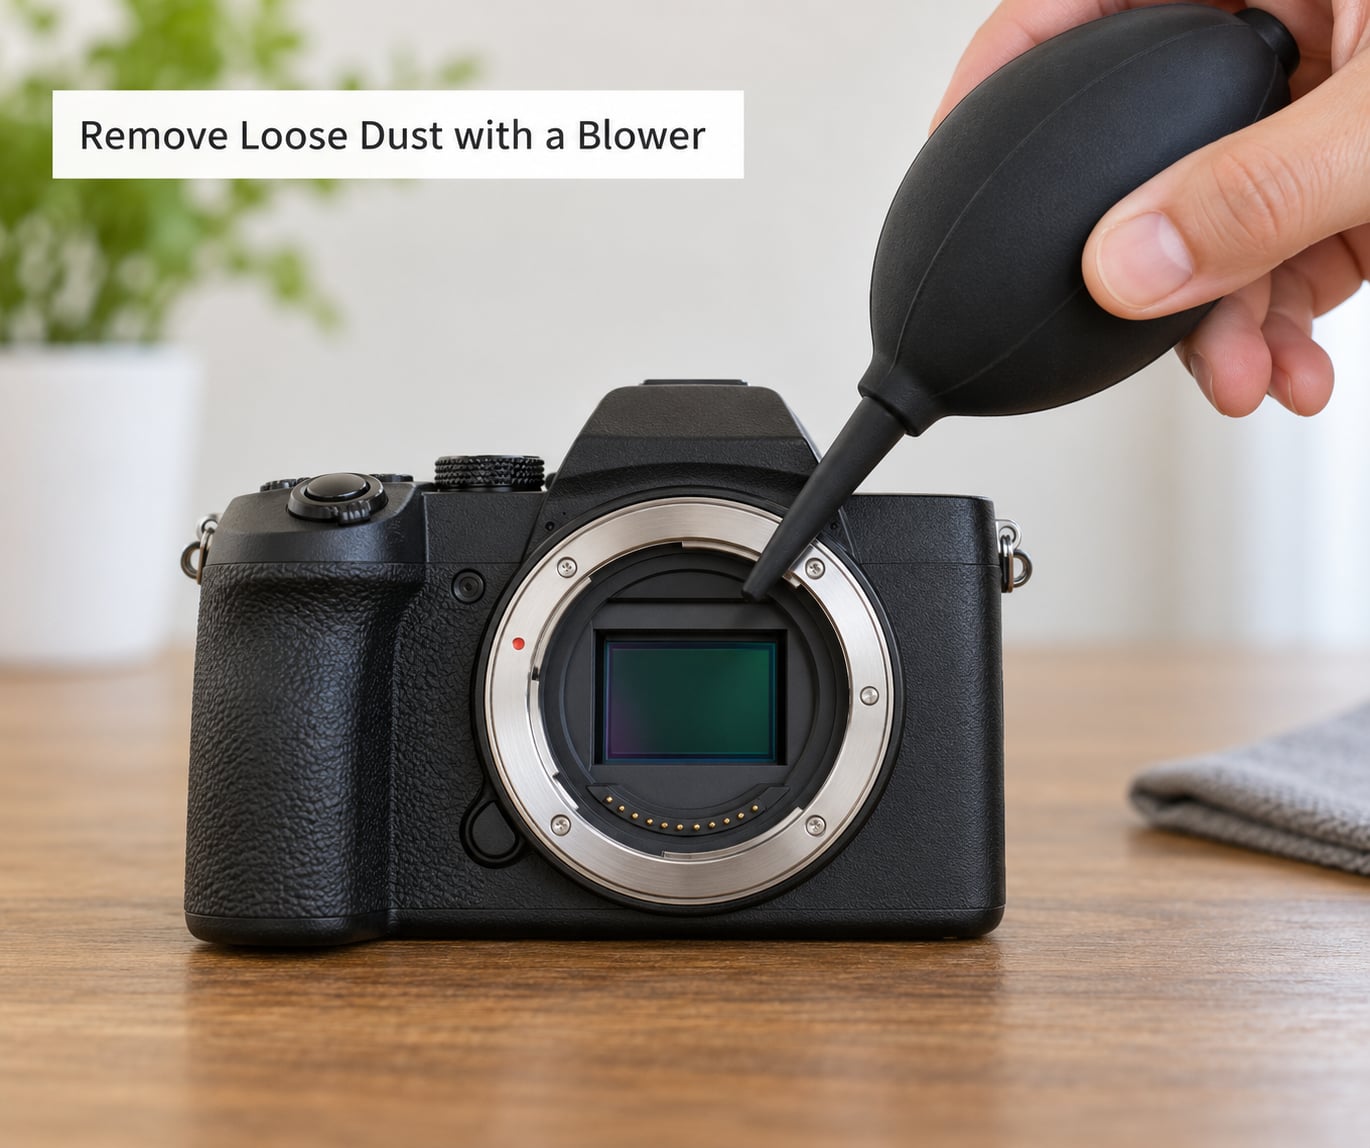
Hold the body upside down, point the mount at the floor, and give the bulb several firm squeezes. Work from one side of the opening, then the other, then the corners, because dust tends to sit where the airflow cannot easily reach it.
Give the bulb a squeeze away from the camera first to clear any lint trapped in the nozzle, then aim. Several short bursts beat one long blast. Nothing touches the filter, and if the spot is still there afterwards, that tells you it is stuck rather than loose.
Clean Stubborn Spots with a Proper Sensor Kit
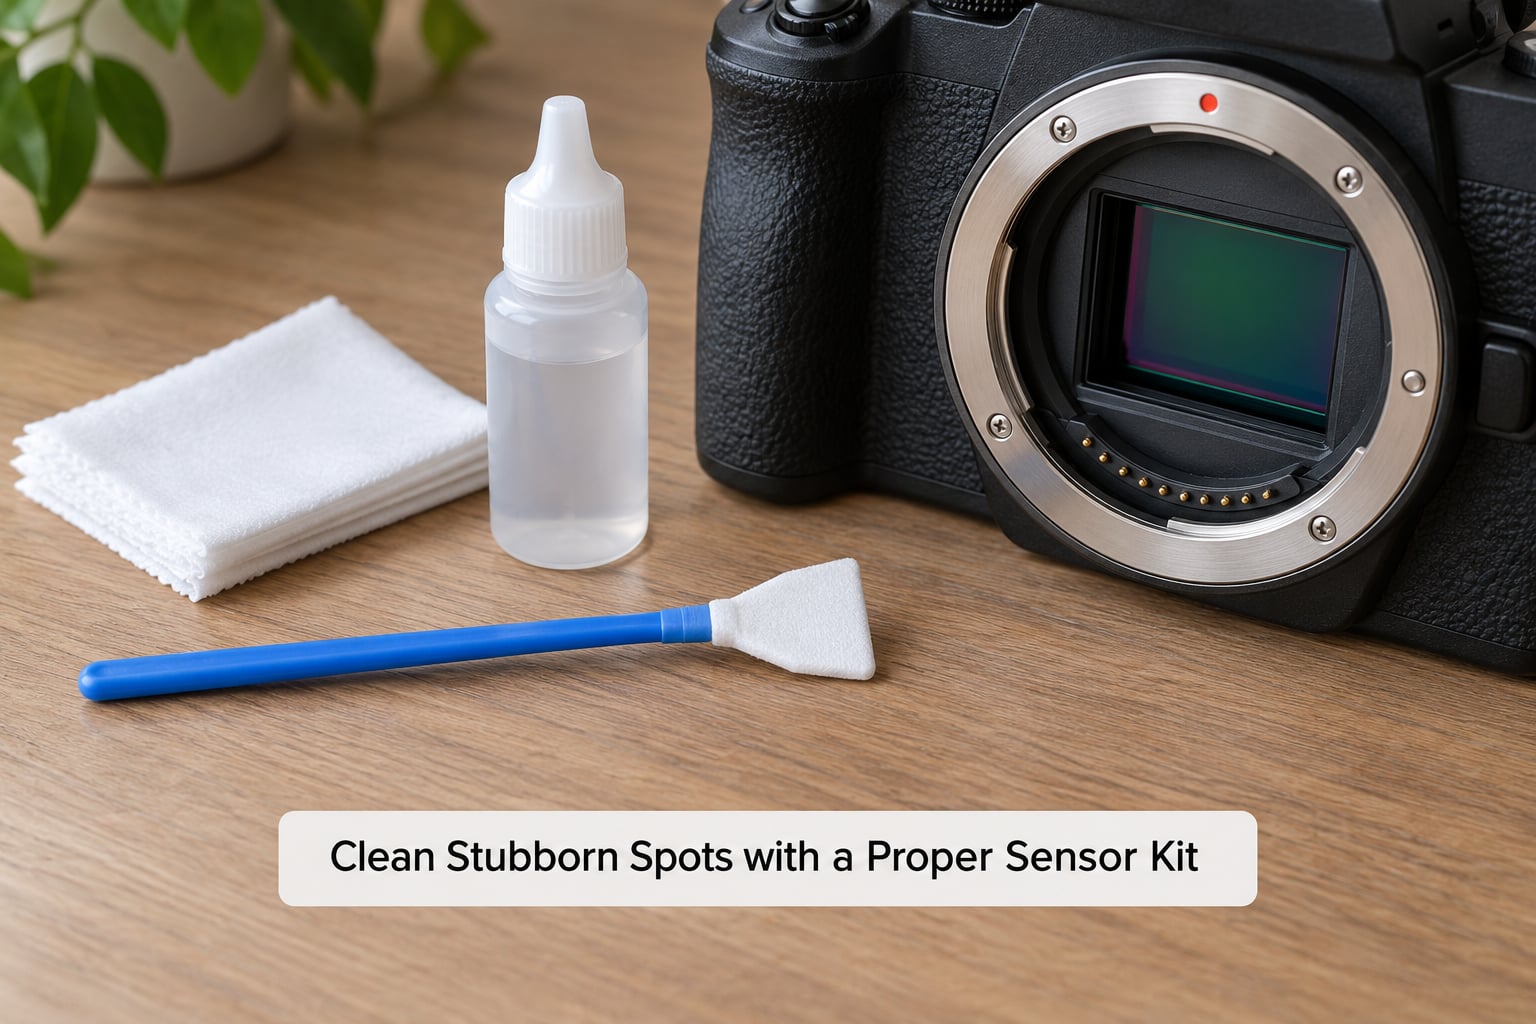
Wet cleaning is where beginners get nervous, and the nervousness is the main reason to slow down. Put the camera on a clean, flat surface with the mount facing down, or hold it tilted slightly so the swab touches at an angle rather than straight on.
- Place a fresh swab on your lint-free cloth and dampen the tip with sensor cleaning solution. It should be barely damp, not dripping. If liquid runs off the swab and pools on the filter, you have used too much.
- Touch the swab to the edge of the filter and draw it gently across the surface in one direction only.
- Lift it off, rotate it a quarter turn to expose clean material, and repeat.
- Keep going across the sensor, overlapping each pass slightly, until you have covered the whole surface.
- Repeat the whole cycle with a new swab only if a second pass is genuinely needed. More solution and more pressure are not the answer; a swab that drags and catches is doing damage, not cleaning.
Pressure should be light enough that the swab bends slightly. You are moving a cleaning film, not scrubbing a stain. If you feel the fibres catching at any point, stop and change direction or stop entirely.
One swab, one direction, light pressure. That is the entire technique, and it is the advice that keeps coming back from the photography forums: swabs feel terrifying the first time and become routine by the third.
Inspect the Result and Reassemble the Camera
Put the body back together, reattach a lens, and repeat the white-wall test at f/16. If a spot has vanished, the clean worked. If the same dot is still there in the same place, it was probably not loose dust at all, and further swabbing will not shift it.
Use a loupe or an angled LED light at this point if you have one. Smears, fingerprints and oily residue show up as hazy patches that a white-wall test barely reveals, and those are the marks worth one more careful pass with a fresh swab.
Return the body to normal: cancel mirror lock-up, re-enable stabilisation if you turned it off, and check that the auto sensor cleaning option is back to the setting you normally use. Then wipe the rear element of the lens and the mount rim before you reattach anything, because dust on the rear element will look exactly like a dirty sensor in the next round of test shots.
Mistakes to Avoid During the Clean
A few things go wrong mid-process more than any others, and they are worth catching in the moment:
- Blowing into the lens mount from the wrong angle. Aim the airflow at the filter, not across it, and never blow from the front of an attached lens into the barrel.
- Using a swab so wet it pools. Liquid sitting around the filter edges can wick into the body. Damp, never wet.
- Retouching the same area repeatedly. The third pass over one stubborn spot is where scratching happens. Change swab, change angle, and if it still will not move, leave it.
- Leaving the mount open while you go and find a tool. Cover the body with a clean cloth or a body cap whenever you step away.
- Trusting the built-in cycle blindly. The auto cleaning routine shakes loose dust off the coating effectively. It does nothing for oil, and a smear can be spread wider by repeated vibration, so a persistent mark still needs a swab.
When to Use a Professional Sensor Cleaning Service
There is an honest list of things that have gone past the point of a safe home clean.
- A visible scratch or permanent smear. If you can see a hard-edged line in the light, the filter coating is damaged. Nobody can polish that back, and more swabbing only rubs around it.
- Oily residue, lotion or fingerprints. This is the most common thing I get asked about, and it is fixable at home with solution and a fresh swab, but only if you catch it early. Oil that has sat for weeks can stain the coating, and that is a service job.
- Spots that return within days. Repeat contamination points at a handling habit, not at the sensor. If you are changing lenses in dusty conditions without a body cap, or you are running the built-in cleaning cycle after every power on, the fix is technique and a cap.
- A new or expensive body still under warranty. Manufacturer service is the safe route, because an authorised clean keeps your coverage intact and a home mishap does not.
Professional cleaning is far cheaper than most people assume. A routine sensor clean at a camera shop or manufacturer service centre usually runs well under the cost of a single new prime lens, and it is a fraction of a repair after a scratch. If you have insurance or a care plan, check whether sensor cleaning is included before paying anything.
For the record, one clean per year is plenty for most shooters, and some never need one at all. Clean when you can see spots, not on a calendar. If you shoot wide open for a living, change lenses constantly, or work outdoors in dust, you will need it more often, but still on evidence rather than habit.
Common Mistakes and How to Correct Them
Most sensor damage done by a well-meaning owner comes from one of the following. None of them take any skill to cause, which is the frustrating part.
Compressed air from a can. Correction: use a hand bulb blower only. A can propels propellant and condensate at pressure, which drives fine dust into the filter coating where it embeds, and it can deposit oily residue. It comes up again and again on photography forums as the reason for a post-clean clean that somehow looked worse.
Blowing with your mouth. Correction: never. Warm, moist breath carries saliva droplets and fine grit, and lands exactly where you are trying to remove dust. This is the single most common habit people need to unlearn.
Touching the filter, or resting a swab-loaded camera on a surface. Correction: clean on a clean mat, keep your fingers off the rim and the glass, and treat every exposed sensor as a fragile surface. Skin oils cause the fingerprints that then need wet cleaning in the first place.
Cotton buds, tissues and paper towel. Correction: buy sensor swabs. Cotton shed fibres, and those fibres end up in the middle of your image. Tissues and paper towel carry dust of their own and can scratch a coated surface under any real pressure.
Household liquids, glass cleaner, WD-40 and rubbing alcohol from the cabinet. Correction: use a solution made for coated optics. Isopropyl alcohol at high concentration strips the anti-dust coating and can craze the filter, and WD-40 is a lubricant, not a cleaner. Neither is recoverable. If someone has already used either, stop and let a service centre look at it.
Scrubbing back and forth, or leaning on the swab. Correction: single-direction strokes, rotate to fresh material, and use pressure light enough to bend the swab slightly. You are wiping a film across glass, not polishing it.
Cleaning on a schedule instead of on evidence. Correction: test first, clean only if the test shot shows spots. Every unnecessary clean is another chance to put a scratch on the filter, and the cost of a professional clean adds up faster than most people realise.
Cleaning the wrong side of a filter. Correction: a UV or protective filter is a separate piece of glass that collects its own dust and smears, often worse than the sensor. Clean or remove it before you diagnose the body, and never assume a soft, hazy image is a dirty sensor. A camera back on a tripod near a bright window makes every dust spot visible before you start.
Two habits worth building into any cleaning session. Back up your important frames before you open the body, so a mishap is never a lost shoot. And know your stopping point: two swab passes per area, then reassess. The people who damage sensors are the ones on pass six.
Frequently Asked Questions
What can you clean a camera sensor with?
For loose dust, a hand-powered rubber bulb blower with the lens mount facing down is all you need. For marks that stay, use sensor cleaning swabs matched to your sensor format, dampened with a solution made for coated optics, wiped in one direction with light pressure. You will also want your camera manual, a clean lint-free cloth, and a loupe or LED light if you have one. Avoid canned compressed air, cotton buds, household cleaners and mouth-blown air entirely.
Is it safe to clean my own camera sensor?
Yes, if you work slowly and follow the manual. Start with the blower, which cannot scratch anything. Wet cleaning carries real but small risk, and the main causes of damage are almost always a low battery, liquid pooling around the filter, or too much pressure. Charge the battery fully, use the manufacturer cleaning or mirror lock-up mode, keep the mount facing down, and stop after two passes if a spot will not move.
Can I use a Q-tip or rubbing alcohol instead?
A cotton bud is not a sensor swab. It sheds fibres, which end up as bright specks in your images, and its tip is the wrong shape and size for a sensor. Household isopropyl alcohol is a poor substitute because at the concentration people buy it can strip the anti-dust coating and craze the filter glass, and it is not a recovery you can undo. Buy proper sensor swabs and a solution specified for coated optics instead.
How often should I clean my camera sensor?
Clean when you can see spots, not on a schedule. Most shooters manage fine with once a year, and some never need to open the body at all. Check by shooting a bright white wall or the sky at f/16 and viewing at 100 percent zoom. If the same dark dots appear in the same place, clean. If your spots return within days of a clean, the problem is lens changing technique or a missing body cap, not the sensor.
Does cleaning the sensor make my photos sharper?
No, and this is the most common misunderstanding. Sensor dust creates discrete dark spots that stay in the same position on every frame. It does not reduce contrast or detail, so a clean sensor will not rescue a soft image. General softness across the whole frame points to focus, camera shake, a dirty or fogged lens element, or a front filter that needs its own cleaning. Judge the sensor only by spot removal.
How much does it cost to have a camera sensor professionally cleaned?
A routine sensor clean at a camera shop or manufacturer service centre is usually a modest fixed fee, often well under the price of a single prime lens, and it is a fraction of what a repair costs after a scratch. A wet clean takes them under an hour; a full service may take a week or two including transit. Check whether your warranty, care plan or insurance covers sensor cleaning first, since authorised work keeps your coverage intact.
If you only do one thing from this guide, make it the white-wall test at f/16 on a fully charged battery. If the dots are there, ten short bursts of the blower with the mount facing down will fix most cases. Save the swabs for what remains, keep the pressure light and the strokes one-directional, and anything that refuses to move after two passes is a job for a service centre rather than a third attempt. That is how to clean a camera sensor without the risks that put a scratch in front of every shot you take next.