To choose a camera bag for a photographer, work backwards from the gear instead of from the product page: measure what you carry, pick the carry style that matches how you shoot, size the capacity to that inventory, then test padding, access and comfort with your own body. The whole process takes about an hour, and doing it before you spend anything saves you from a bag that is too heavy, too small or too obvious in a crowd.
Most people get this backwards. They browse bags, fall for the looks or the brand, then try to force a kit into it. Two hours of careful measuring beats a week of returns.
Table of Contents
- What You Need
- Step-by-Step: How to Choose a Camera Bag for a Photographer
- 1. Inventory the gear you actually carry
- 2. Choose the right bag size and style
- 3. Check protection and internal organization
- 4. Test access, comfort, and carrying method
- 5. Evaluate weather resistance and build quality
- 6. Compare the total cost and return policy
- Common Mistakes
- Frequently Asked Questions
- What is the best camera bag for a beginner photographer?
- Is a camera backpack better than a shoulder bag?
- How much space should I have in a camera bag?
- Can I use a regular backpack as a camera bag?
- Is a water-resistant camera bag safe in heavy rain?
- Should I buy the largest camera bag my budget allows?
- Conclusion
What You Need
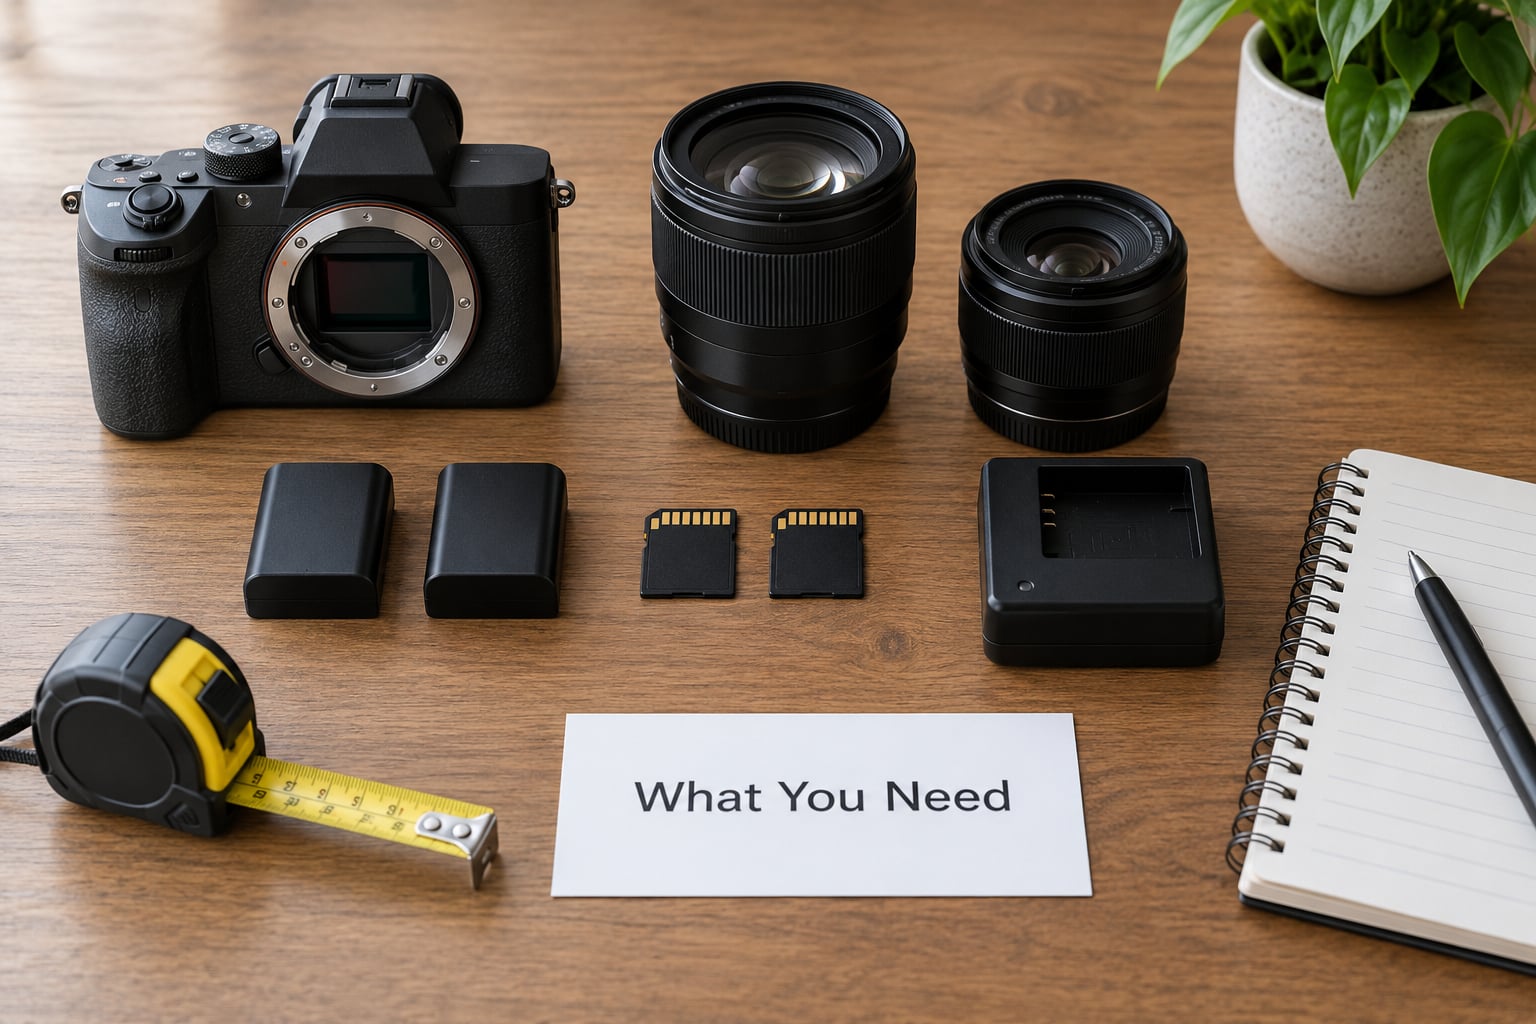
You need very little to start, but you do need specifics. Vague preferences produce vague bags.
- Your gear inventory. Every body, lens, flash, battery, charger, card reader and filter you expect to carry away from a desk.
- A tape measure. For the widest lens diameter, the height of the body with a lens mounted, and your own torso from hip to shoulder.
- A note on your assignments. How long a shoot runs, whether you walk, climb, cycle or stand still, and how often you shoot in rain or dust.
- Your carry method. Two shoulders, one shoulder, on the body, or rolled beside you in a car. You cannot pick comfort without knowing this.
- Your laptop, if you work on set. The exact model, because laptop compartments are the most common sizing failure.
- A budget figure. A ceiling you are comfortable crossing, plus the value of the gear the bag protects.
- Your current bag and accessories. If you already own dividers, a rain cover or an insert you like, that changes what to look for.
Skip the tape measure and the whole exercise turns into guesswork. Cameras and lenses are not the same size as each other, even within one brand.
Step-by-Step: How to Choose a Camera Bag for a Photographer
1. Inventory the gear you actually carry
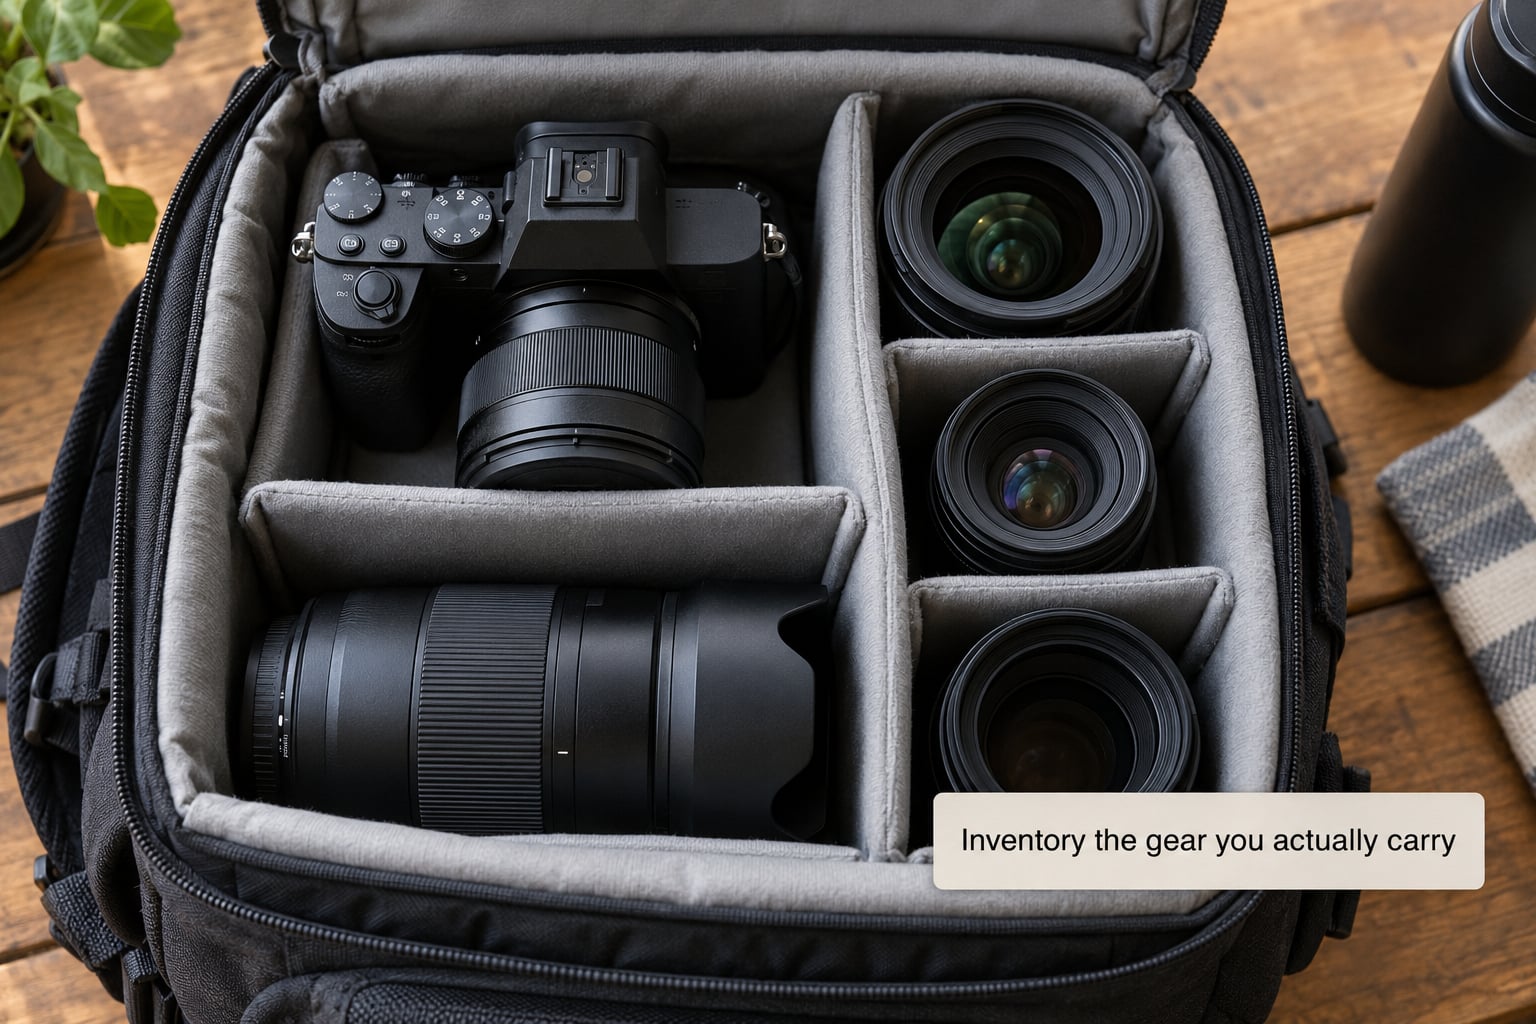
List the gear you carry on a normal working day, not the gear you own. Most photographers own twice what they shoot with, and bags should be sized to the smaller number.
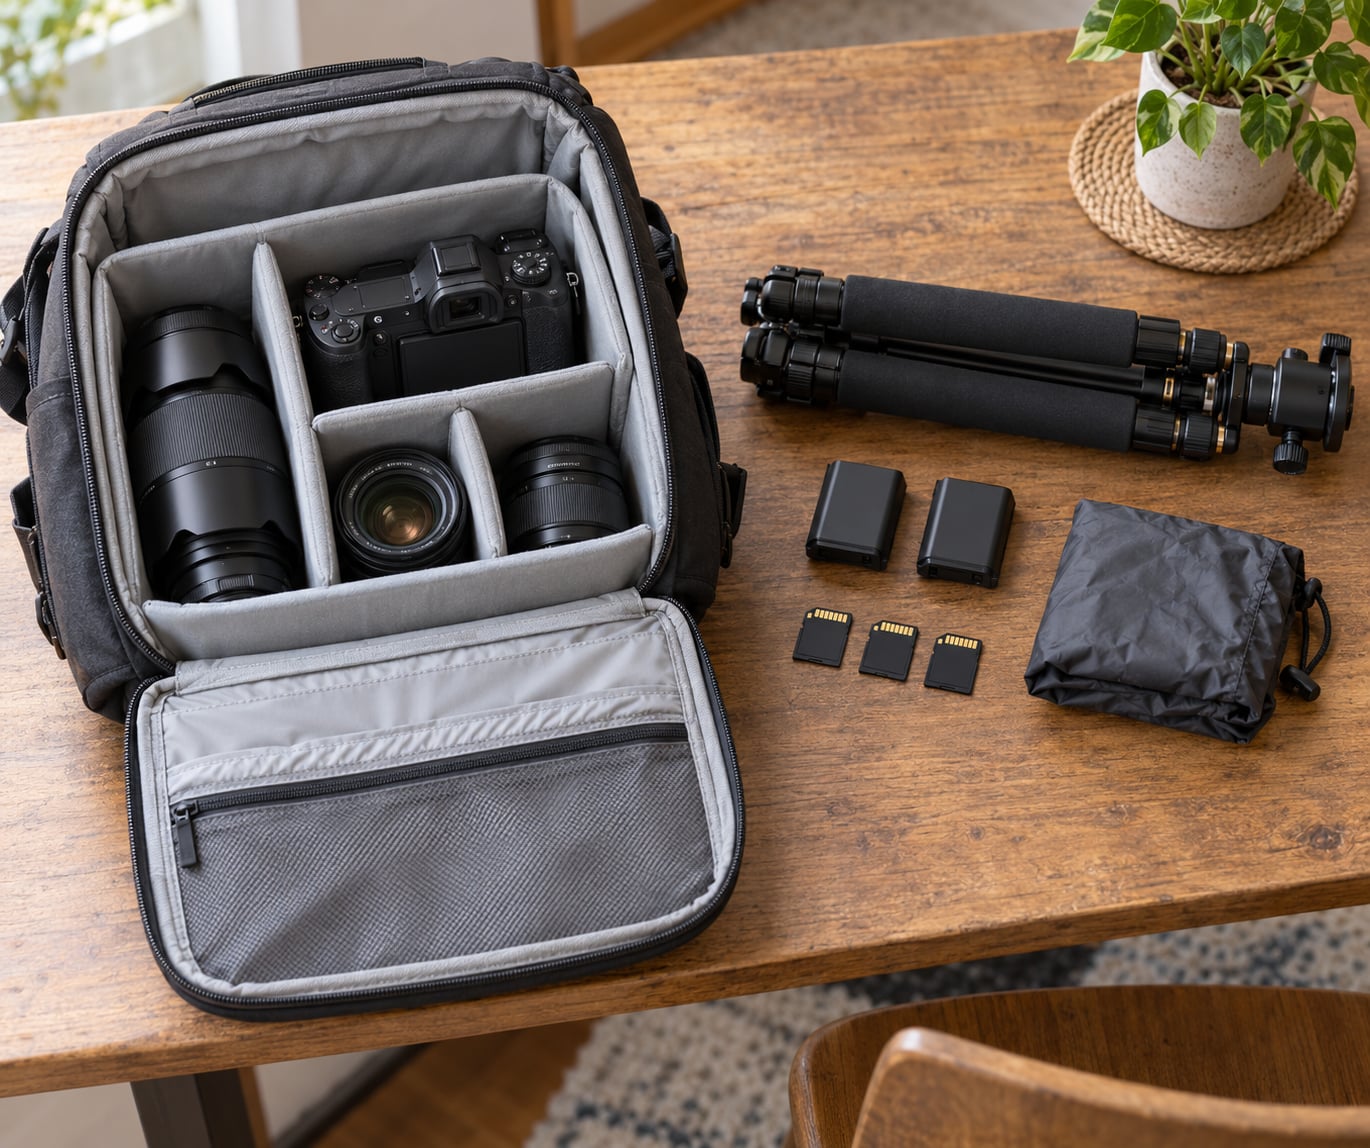
Split that list into two columns: daily essentials and occasional gear. A body, one or two lenses, spare batteries and a card reader usually sit in the first column. A second body, a telephoto, a flash or a lighting kit sit in the second.
Now measure the critical dimensions. Note the diameter of your widest lens, the height of the body with that lens mounted, and the width of your laptop if one comes along. Add 20 to 30 percent to those numbers as clearance, because a bag that fits your gear exactly will not fit your gear plus the spare battery you forgot.
If you work with two bodies or a long telephoto, measure the length of the largest item rather than the width. Pro zoom lenses and monopods do not fit in the compartments sized for primes.
2. Choose the right bag size and style
The carry style matters more than the brand. It decides how fast you can reach the camera and how long you can carry it before your shoulders complain.
| Style | Best for | Typical capacity | Main drawback |
|---|---|---|---|
| Compact shoulder bag | Street work, one body, one or two lenses | 5 to 9 litres | Little room for anything extra |
| Sling bag | Cycling, scrambling, quick access | 7 to 12 litres | Uneven weight on long days |
| Shoulder bag | Events and weddings with two bodies | 10 to 20 litres | One-sided strain over hours |
| Backpack | Hiking, travel, long days on foot | 15 to 35 litres | Slower access to the top lens |
| Roller case | Car travel, studio work, airline check-in | 30 litres and up | Useless on stairs and gravel |
| Everyday backpack with insert | Travel where a camera bag advertises you | 20 to 30 litres | Less padding than a dedicated bag |
Pick the row that matches your working day, not the row that looks best in a photo. A sling feels faster on a bike and worse after four hours of standing, and a roller case is brilliant in an airport car park and hopeless on a cobbled street.
The same reasoning applies to the everyday-backpack-plus-insert route. It looks ordinary, which matters if you work in public places, and the trade-off is thinner padding and a shape that will not follow your body as well as a purpose-built harness.
3. Check protection and internal organization
Protection is the reason the bag costs what it costs. Look at the divider system first, because it decides whether your gear stays put when you move.
Padded dividers should be adjustable and removable, with enough thickness that lenses cannot knock into each other. Reinforced bases matter more than most shoppers expect, because most damage happens when a bag is set down on its bottom edge.
Closures deserve a slow test. Zippers should run smoothly with one hand and, ideally, lock or use sealed pulls. A flap with buckles is harder to open one-handed than a zipper, which slows you down at exactly the moment you need speed.
A bright or light-coloured interior lining is not a gimmick. Dark interiors are the reason so many photographers lose a lens cap or a memory card and only find it at the edit.
To test it, load the bag fully, close it, and shake it hard while you walk around. If anything moves or rattles, the dividers are not doing their job. Do this in the shop if they will let you, or at home within the return window.
4. Test access, comfort, and carrying method
Load the bag with your actual kit, then put it on and walk. Real comfort only shows up after ten minutes of movement, not in the first thirty seconds in an aisle.
Check three things while you move. Can you reach your main lens without taking the bag off? Does the strap dig into your shoulder once the bag holds real weight? Does the load sit close to your back, or does it swing away from you?
Backpacks need a padded back panel with airflow channels, and a hip belt does more for comfort than most people expect. On a full kit, the weight belongs on your hips, not your trapezius. Shoulder bags and slings need wide, structured straps for the same reason.
Then think about how you shoot. Back-access panels, where the camera compartment opens from the back against your body, slow you down slightly but keep your gear between you and the crowd. For street work and public transport that trade is worth making.
On style, plenty of photographers now want a bag that does not read as photographer kit at all. Low-profile, plain fabrics and muted colours blend in better, and a bag nobody targets is the cheapest anti-theft feature there is.
5. Evaluate weather resistance and build quality
Water resistance is a spectrum, and marketing compresses it into one word. Ask what the fabric is and how the seams and zippers are treated, because that is where bags leak.
| Feature | What it actually does | What to check |
|---|---|---|
| DWR-treated nylon or polyester | Sheds light drizzle for a short time | Does the factory quote a water-repellent finish? |
| Waxed canvas | Repels rain, needs re-waxing over time | Is the base sealed rather than just the panels? |
| Sealed seams | Stops water wicking through stitch holes | Look for taped or welded seams inside the body |
| Sealed or storm-proof zippers | Removes the main leak point on a bag | Do the zippers run in both directions? |
| Submersible rated cases | Real waterproofing for wet shoots | Do you need that, or will a cover do? |
Build quality shows up in the details you rarely see: bar-tacked stress points, reinforced stitching at handle anchors, hardware that does not flex, and a stiff base panel. Bags with thin plastic hardware usually mean thin plastic everywhere else.
Thermoplastic and tarpaulin materials shed water well but can trap sweat against your back on a hot day, which is a fair trade in the rain and an annoying one in high summer.
6. Compare the total cost and return policy
The purchase price is only one line in the total. A cheap bag that fails in two years costs more per year of protection than a decent one that lasts a decade.
Look at what happens when something breaks. Is there a warranty, and does it cover zippers and hardware or only the fabric? Are the dividers and inserts sold separately, and can you replace them instead of replacing the bag? Bags with a removable camera cube are easier to live with because the shell keeps working long after the padding does not.
Repairability matters too. A brand with replacement buckles, strap padding and zippers in stock will outlive one where a single failed part ends the bag.
The return policy is the part most people forget. A generous window gives you time to load the bag with your real kit, walk a full day with it and find out what does not work. That trial is worth more than any spec on a product page.
Finally, weigh the bag against the gear it carries. A kit worth several thousand dollars sitting in a thin bag is a bad trade, and so is a bag whose price makes you nervous every time you set it down on a café table.
Common Mistakes
Buying the biggest bag you can afford. Extra space means a heavier bag, more movement and more gear you take out of habit rather than need. Fix: size to the gear you carried on your last ten shoots, and nothing more.
Choosing by appearance alone. A bag can look excellent and still have unusable dividers and a panel that does not open. Fix: check the interior layout and the harness before the colourway.
Ignoring comfort because the store floor is short. Twenty minutes of standing tells you almost nothing about eight hours on your feet. Fix: load the bag fully and walk a street or a long flight-length walk before you commit.
Treating water-resistant as waterproof. Most bags shed drizzle and lose to sustained rain, especially through ordinary zippers. Fix: keep a folded rain cover in the bag and assume you will need it.
Skipping the loaded test. An empty bag feels like it will hold anything. Fix: load your real kit, walk, bend and open it with cold hands, all inside the return window.
Forgetting the laptop. Compartments sized for a 13-inch machine will not take a 16-inch one, and the sleeve is usually at the bottom under everything else. Fix: measure your laptop and check the compartment against the actual dimensions.
A quick rule I fall back on: if you can describe the bag in one sentence, it probably fits your working day. If your pitch needs three sentences, you are shopping for a kit you do not currently carry.
Frequently Asked Questions
What is the best camera bag for a beginner photographer?
For a beginner, a mid-size shoulder bag with adjustable padded dividers is usually the right first bag. It holds a body and two to three lenses, moves between street work and family events, and costs less than a large backpack you will not fill. Skip the smallest bags if you already own more than one lens, and skip the largest ones until you know what you carry.
Is a camera backpack better than a shoulder bag?
A backpack wins when you walk or hike for hours, because a hip belt moves the load off your shoulders. A shoulder bag wins when you shoot fast and often, because you can swing it around and grab a lens without stopping. Most working photographers end up owning both: a backpack for travel and long days, a shoulder or sling bag for events.
How much space should I have in a camera bag?
Enough for your daily kit plus about 20 to 30 percent clearance. As a rough guide, a mirrorless body with two or three lenses sits in a 10 to 15 litre bag, while a body with a telephoto lens plus a laptop needs 18 to 25 litres. Measure your widest lens and your laptop first, then pick the smallest bag that clears those numbers.
Can I use a regular backpack as a camera bag?
Yes, with a padded insert or cube. This is a good route if you want one bag for clothes, laptops and camera gear, especially when you travel and would rather not advertise what you are carrying. The trade-off is thinner padding, less tailored organization and usually no back-access panel. Make sure the cube holds your gear snugly so it cannot swing on a divider.
Is a water-resistant camera bag safe in heavy rain?
Usually not without help. Water-resistant fabrics shed light rain for a while, but ordinary zippers and stitched seams are where sustained rain gets in. Keep a folded rain cover inside the bag, use sealed or two-way zippers when you shoot outdoors often, and dry the bag out at the end of a wet day rather than leaving it damp.
Should I buy the largest camera bag my budget allows?
No. A bigger bag is only better if it fits gear you actually carry. Extra volume adds weight, lets the load shift around and encourages you to bring equipment you will not use. Buy the smallest bag that holds your real daily kit with a little room, and spend anything spare on padding, weather sealing and a warranty instead of capacity.
Conclusion
Start by writing down the gear you carried on your last ten shoots, then measure the widest lens and your laptop. Load a candidate bag with that kit, wear it for a real walk, and check the dividers, the closures and the weather sealing. Only then compare features and narrow it down to two or three options.
That order matters. Get it right and the bag you buy simply disappears into your working day, which is exactly what a good one should do.