Neon portrait photography is a style where colored neon or LED signage does all the lighting, so the face picks up a saturated color cast and the glowing sign itself stays in the frame. To shoot neon style portraits well you need three decisions made before the subject arrives: a dark background, one dominant color with one accent, and manual camera settings that stop the sign from clipping to flat white.
Once those are settled, the actual shooting is quick. Most of the time goes into testing color combinations in a dark room against a small screen, so give yourself thirty to forty-five minutes before the model shows up and ten minutes once they do.
Table of Contents
- What You Need
- Step-by-Step
- Choose Your Neon Color Palette
- Set Up the Background and Lighting
- Set the Camera for Clean Color
- Direct the Pose and Capture Test Frames
- Common Mistakes
- Frequently Asked Questions
- How can I use neon lighting in photography?
- How do I make a photo look neon in post?
- How do I photograph a neon sign without it blowing out to white?
- Can I shoot neon portraits on an iPhone?
- Why does neon light make skin look green, and how do I fix it?
- How do I shoot neon style portraits without strobe equipment?
- Conclusion
What You Need
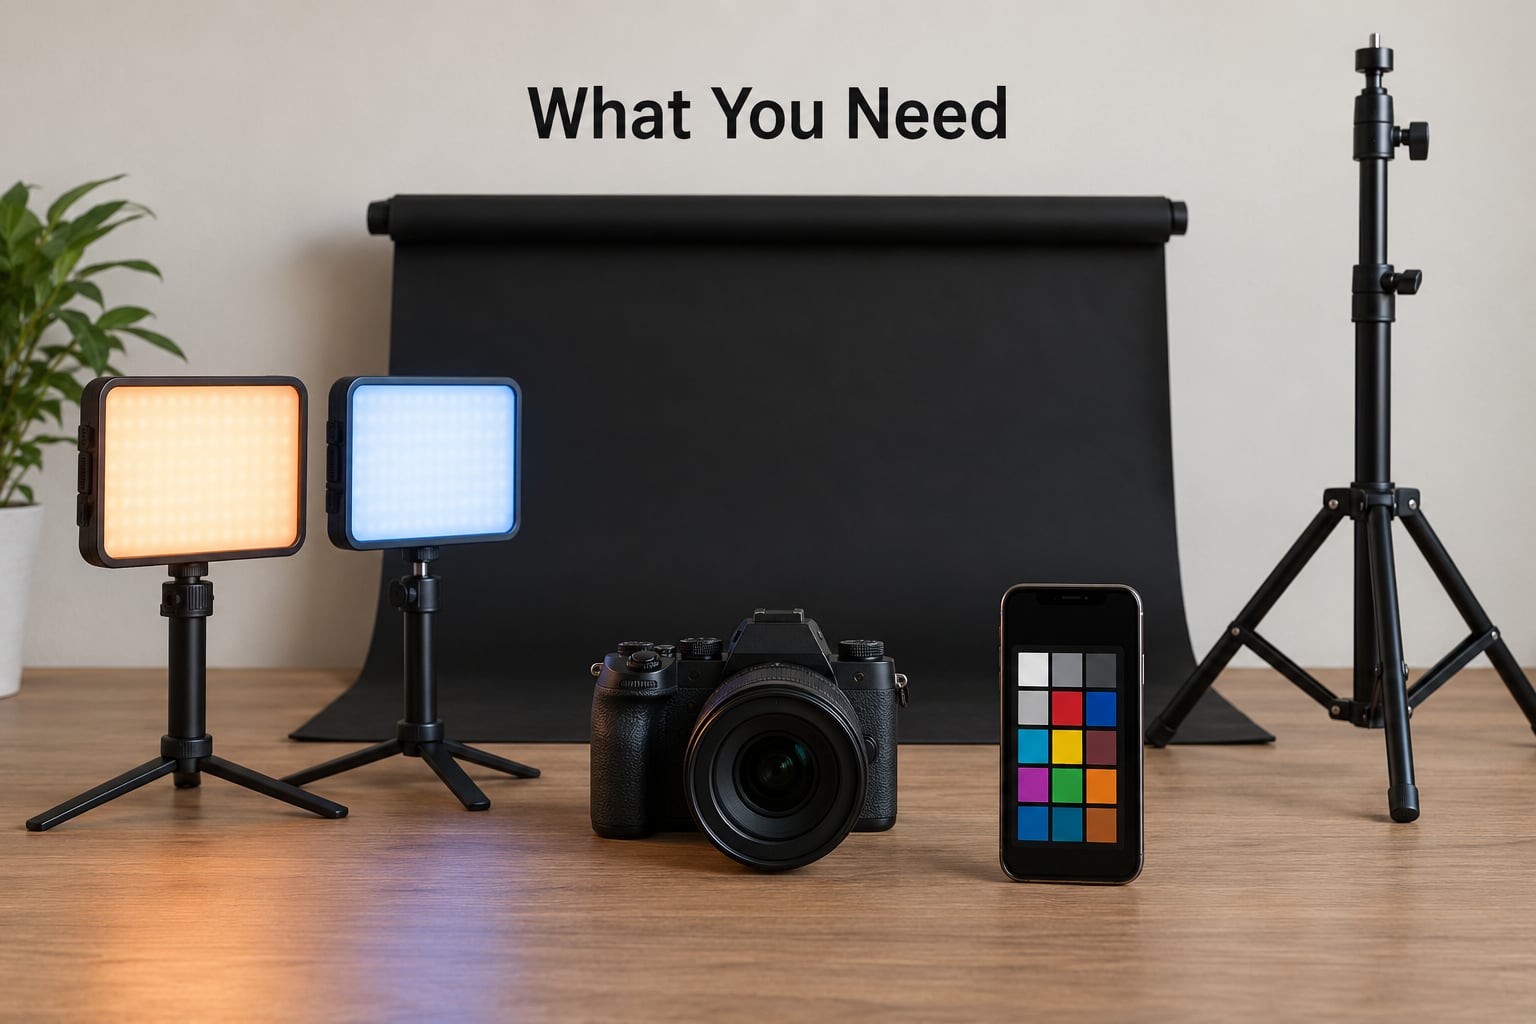
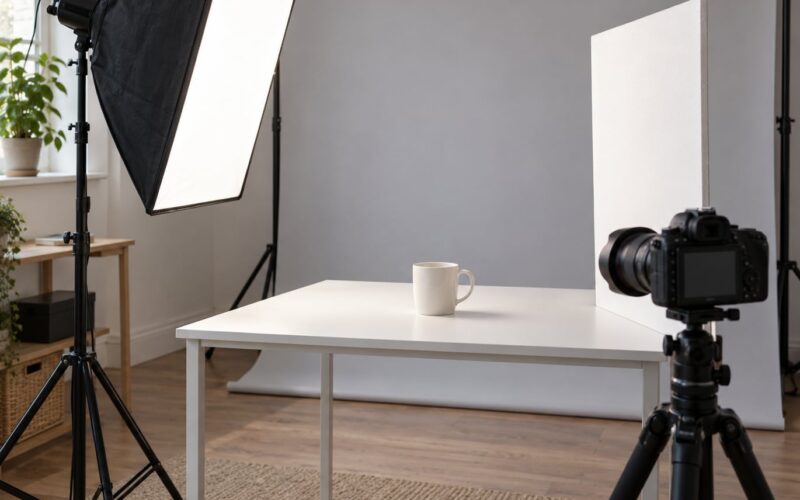
A neon setup is smaller and cheaper-feeling than a strobe kit, mostly because the light source is a prop you can hold in one hand. Here is the honest list.
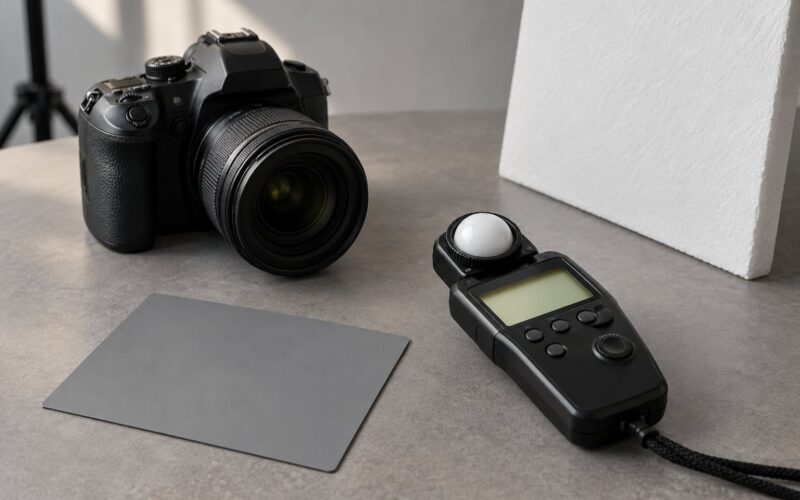
- Camera with manual mode. Any interchangeable lens camera works. A recent phone with manual exposure control is genuinely enough to learn the look on.
- Fast prime lens, 35mm or 50mm. The wide apertures matter more than the focal length because the sign is the only light you have. A kit zoom at f/5.6 will lose the sign to motion blur.
- A colored light source. A neon tube, a neon-look LED sign, a gel-covered LED panel, or a color-gelled speedlight. Real gas neon is dimmer and flickers; LED and RGB tubes are brighter and steadier, which makes them easier for portraits.
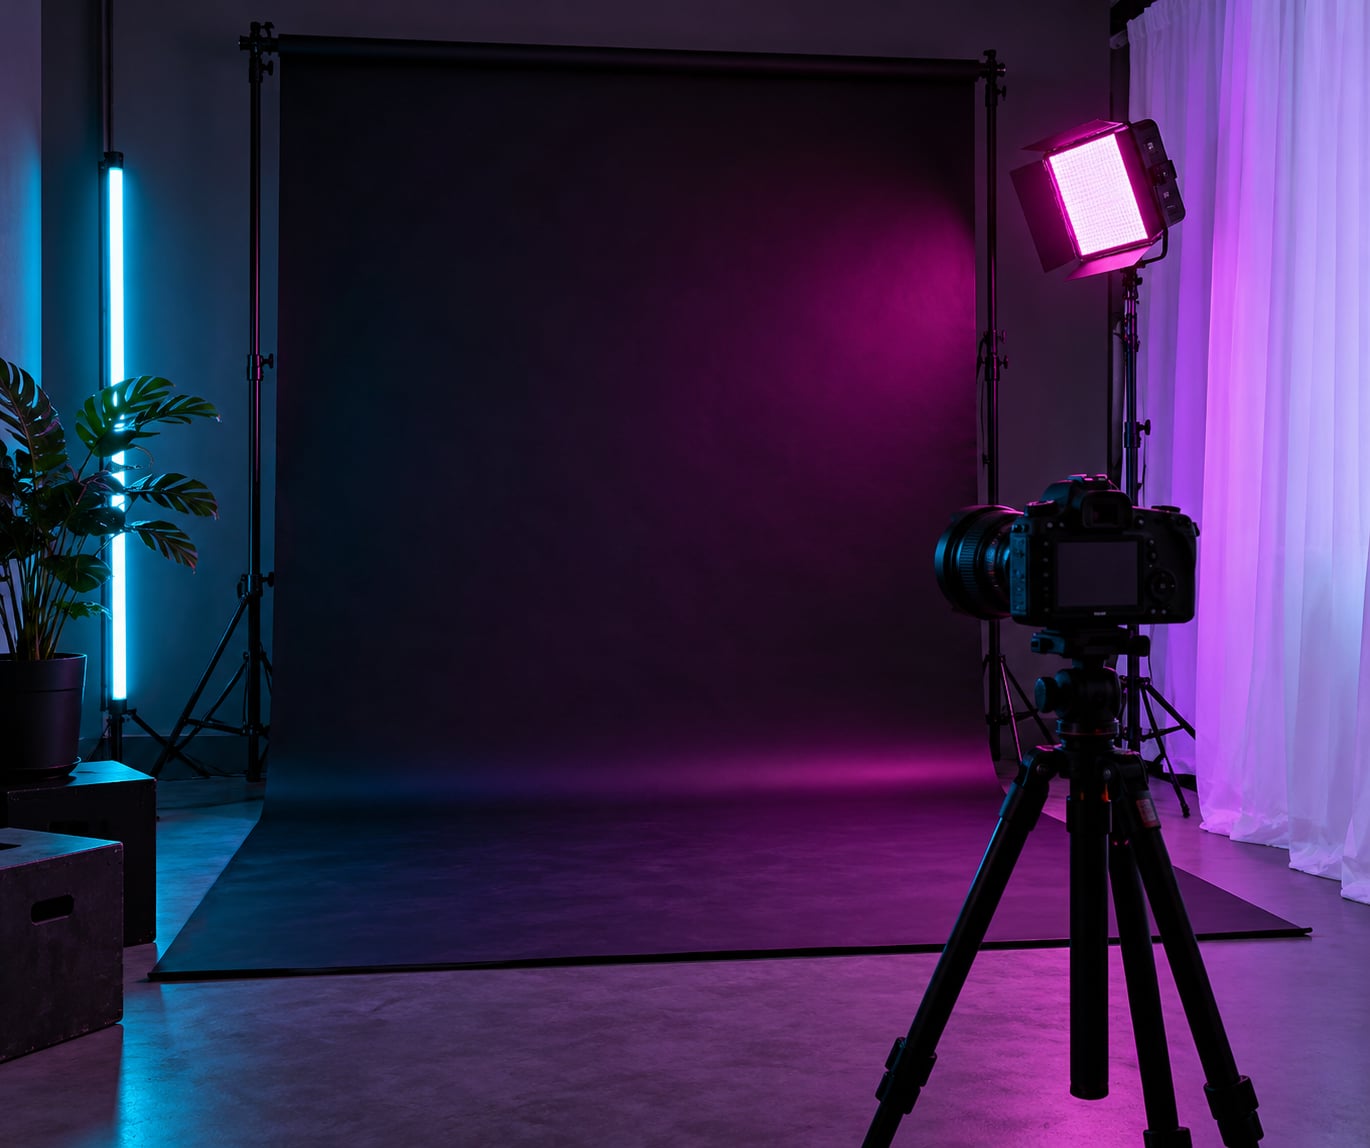
- A black backdrop. A black fabric, a matte wall, or a piece of blackout material. Without it the whole frame goes grey and the glow has nothing to sit against.
- Something to hold the light. A light stand, a clamp on furniture, or a boom arm. Stands with battery-powered LED panels are the easiest to reposition.
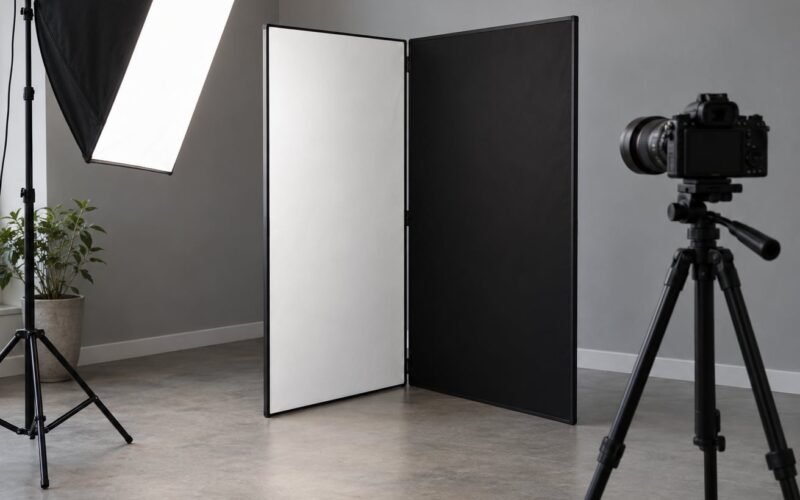
- Diffusion. A white shower curtain or a roll of white poly hung between the light and the subject softens a hard LED panel into something closer to the glow of a tube.
- A warm fill source. A small strobe at low output on the camera-facing side, or a piece of white card. This is the single fix for skin that renders green.
- A tripod. Optional for handheld work, required for light trails and for any shutter slower than a sixtieth of a second.
Skip the light tent, the color-changing panel with dozens of presets, and any gear described as essential for this look. A single panel and a black sheet will get you ninety percent there.
On a phone, use the built-in camera in manual mode or a free app that exposes ISO, shutter speed and Kelvin separately. Lock focus and exposure with a long press on the subject, and use RAW if the phone offers it.
Step-by-Step
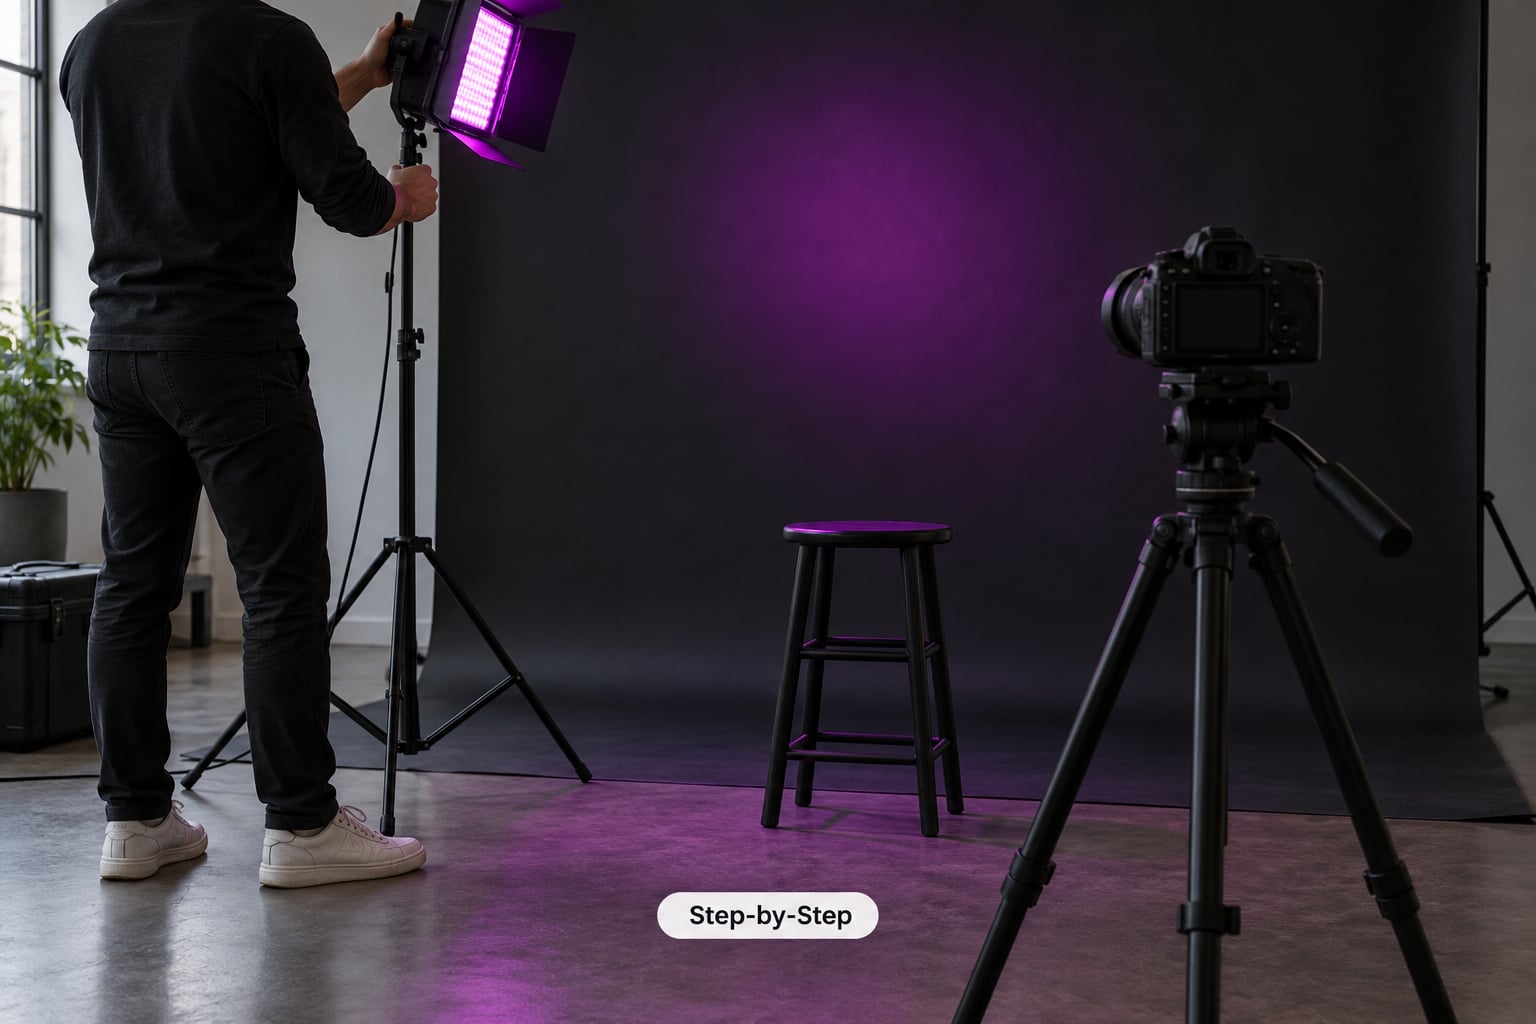
Work in this order: palette, set, camera, pose, then evaluate. Changing the color last is what makes beginners chase their own tail in a dark room.
Choose Your Neon Color Palette
Pick one dominant color and one accent, then keep everything else out of frame. Two colors fighting each other reads as a mess, and a third usually pushes the skin tone somewhere ugly.
The combinations that reliably work, and what each one gives you:
| Color pairing | Resulting look | Best for |
|---|---|---|
| Cyan and magenta | Classic neon noir, heavy contrast | Night street portraits, editorial |
| Red and cyan | Warm and cool split across the face | Half-lit profile looks |
| Green and violet | Sci-fi, cyberpunk edge | Fashion and styling-led shots |
| Blue and warm white | Natural skin against a cold scene | Portraits where skin must still read true |
| Single color only | Cleanest, most graphic | Beginner setups and minimal edits |
Gas neon sits on the green side of the spectrum, so it strips red out of skin and leaves faces looking waxy or faintly sick. That is a color balance problem, not a skin problem, and it is the single most common complaint on photography forums. Three habits fix it: shoot RAW, keep the dominant color on the rim rather than flat across the face, and add a small warm fill from the camera side.
Set Up the Background and Lighting
Place the subject against the darkest thing you have, then start the sign behind and to one side of them, roughly 18 to 36 inches off the shoulder line. That position does three jobs at once: it puts a bright edge down one side of the face and shoulder, it separates the subject from the backdrop, and it gives the colored spill on the wall that reads as glow.
Move the sign closer and the light gets harder and the falloff gets shorter. Move it further back and the rim spreads, softens and wraps more of the subject. Two to three feet is the range where a bare LED panel starts to behave like a photographic light instead of a lamp.
Hang diffusion fabric between the sign and the subject if the panel shows hard edges on the skin. Angle the light slightly down and away from camera so it grazes the backdrop, and the wall behind will glow brighter near the subject and fall off into black a few feet later. That falloff is doing more work than any filter you can add later.
Flag the spill with black foam board or a dark card on the side facing away from camera. The frame should go to black somewhere, and if every corner is lit the image looks flat no matter how good the color is.
Scout a location before the session by finding where the light lands rather than where the sign is. Stand where the subject will stand and look at the wall: if the sign throws color on the wall behind them from that spot, the shot works. A sign across the street that looks great from thirty feet away may put nothing on your background at all.
Set the Camera for Clean Color
Manual everything. Auto white balance will see a saturated sign, decide it is wrong, and neutralize the color you came for. Manual focus matters too, because autofocus in a dark frame with one colored source will hunt constantly.
Start at f/1.8 to f/2.8, 1/60 to 1/125 second, ISO 400 to 800, manual white balance in the RAW capture, and underexposed by 0.3 to 0.7 EV. That last step is what keeps the tube glowing instead of turning into a white rectangle. Adjust the Kelvin until skin looks like skin and the sign stays colored; on most tubes you will land somewhere between 3000K and 5000K depending on how saturated the tube is.
| Situation | Aperture | Shutter | ISO | White balance | Notes |
|---|---|---|---|---|---|
| Handheld neon portrait | f/1.8 to f/2.8 | 1/60 to 1/125 | 400 to 800 | Manual, 3000K to 5000K | Shoot RAW, underexpose 0.3 to 0.7 EV |
| Light trails around the subject | f/8 | 1 to 3 seconds | 100 | Manual | Tripod required, ask the subject to move during the exposure |
| Glow-in-the-dark or blacklight | f/4 | 1/125 | 800 to 1600 | Manual, 4000K | Reactive paint needs the blacklight close, camera slightly further back |
| Single panel at home | f/2 | 1/100 | 400 | Manual, matched to panel | Bracket two frames two stops apart |
| Group or duo | f/4 | 1/125 | 800 | Manual | Keep faces within a foot or two of the sign or edges fall off |
| Phone | f/1.8 if available | 1/30 to 1/60 | Auto, capped low | Locked | Long press to lock focus and exposure |
If you are using continuous LED light rather than flash, nothing changes about the ratio because both sides of the frame are lit by the same brightness. If you mix in a small strobe to lift the face, drop the strobe about two stops below the ambient exposure or the flash becomes the neon look’s undoing.
Direct the Pose and Capture Test Frames
Under a single colored source the subject needs somewhere to look, and you need to give them one. Have them angle their body about 45 degrees to the sign and turn the face back toward camera; that keeps the lit edge visible on the cheek and jaw while the far side falls into shadow.
Half-lit profiles work better than straight-on faces here. Ask for the head turned toward the sign with the shoulder toward camera, and you get a clean color edge along the nose and cheekbone. Straight-on with the light beside them gives a green nose and a dark eye socket, which is not the look anyone is after.
Watch the catchlights. A rectangular catchlight from a neon tube in both eyes immediately tells the viewer the light source is in the room, and that sells the shot.
Before the real frames, take three test images and check them at full brightness on the camera screen: the histogram for clipping on the tube, the face for a green or magenta shift, the edges for focus, and the background for spill you did not intend. Then shoot a short list and cover the ground so you are not changing lenses later: one wide, one medium, one tight close-up, one profile toward the sign, one with the subject holding or touching the sign, one with the reflection in a puddle or window, and one with the subject walking through the frame for a light trail.
Common Mistakes
The sign blows out to a white blob. Expose for the face and you lose the tube. Underexpose by half a stop and recover the sign in the edit; bracket two frames two stops apart and blend them if the difference is too wide.
Skin looks green or blotchy. The green is in the file, not your monitor. Shoot RAW, switch off auto white balance, warm the skin mask in the edit, and add a warm fill card or a low strobe at capture.
The color drains out after editing. Automatic white balance in the raw converter does the damage. Set the temperature and tint by hand before touching any other slider.
Unwanted reflections everywhere. Wet pavement, glass, chrome, even a glossy phone screen will double every highlight. Reposition slightly to break the symmetry, or frame the reflection deliberately rather than half of it.
Harsh shadows with no detail. Diffusion fabric, or move the light further back. A sign at two feet throws hard shadows; at three feet plus a curtain it behaves.
Autofocus keeps hunting. Switch to manual focus and set it once on the subject’s near eye. In a frame this dark there is nothing for the system to lock onto.
The edit looks over-processed. Saturation past the point where skin turns orange, heavy clarity on the glow, and sharpened halos around the tube all give the fake look. Desaturate the base image first, then add the glow selectively.
Frequently Asked Questions
How can I use neon lighting in photography?
Neon works in four roles: key light when a sign is close and bright enough to light a face, rim light when it sits behind the subject, background element when the tube carries the composition, and practical when the glow stays visible in frame. Most portraits combine two roles at once, which is how one sign can carry a whole frame on its own.
How do I make a photo look neon in post?
Duplicate your layer, desaturate the copy until it is pure white, then apply a strong outer glow in the color you want with a Screen or Add blend mode and mask it back to the light source only. Then drop overall saturation, push shadows toward blue and highlights toward magenta in the color mixer, and add fine grain. Photographers on r/photoshop recommend desaturating the shape first every time.
How do I photograph a neon sign without it blowing out to white?
Expose for the tube, not the wall around it. Use manual focus, ISO around 200 to 400, a shutter between 1/125 and 1/250, and set the Kelvin to match the tube’s color. If it still clips, bracket two exposures two stops apart and blend them. Real glass neon flickers for a few seconds at startup, so wait before the final frame.
Can I shoot neon portraits on an iPhone?
Yes, for social frames and for learning how the light behaves. Use the built-in camera in manual mode or a free manual camera app, long press the subject to lock focus and exposure, and capture RAW where the phone supports it. Turn night mode off, since it forces a slow shutter and smears motion, and brace the phone on a wall or stand instead.
Why does neon light make skin look green, and how do I fix it?
Gas neon sits far on the green side of the spectrum, so it removes the red your skin needs and leaves a green cast that shows up in the file, not on your screen. Shoot RAW, switch auto white balance off, set Kelvin manually between 3000K and 5000K for most tubes, and add a small warm fill from the camera side at capture.
How do I shoot neon style portraits without strobe equipment?
You need a colored light source, a black backdrop, and manual camera settings. Set the sign behind and to one side of the subject for a rim, hand-hold or clamp it, and expose so the tube stays colored rather than white. A phone with manual controls is enough to start; a tripod only becomes necessary once you want light trails.
Conclusion
To shoot neon style portraits, the sequence never changes: choose one dominant color and one accent, put the subject against black, place the sign behind and to one side for a clean rim, then set manual white balance and underexpose by about half a stop so the tube stays colored.
Do the first three things tonight with any light you already own, even a colored bulb in a dark room. Shoot twenty test frames, pick the combination that kept skin looking like skin, and build the rest of the session around it.