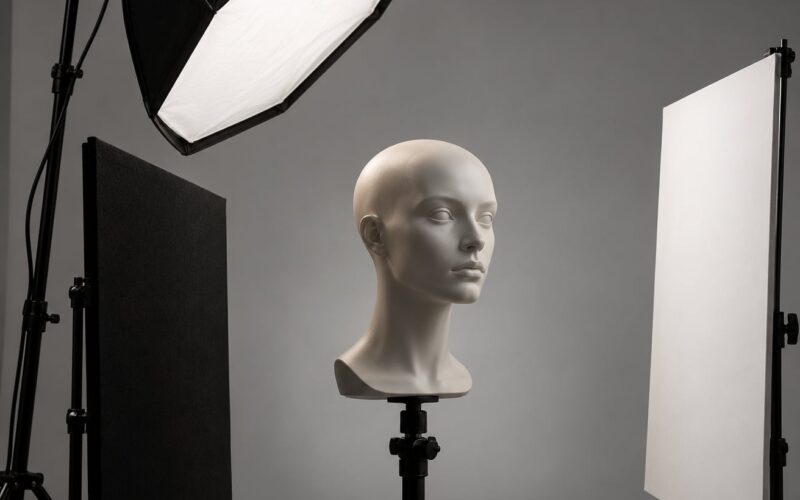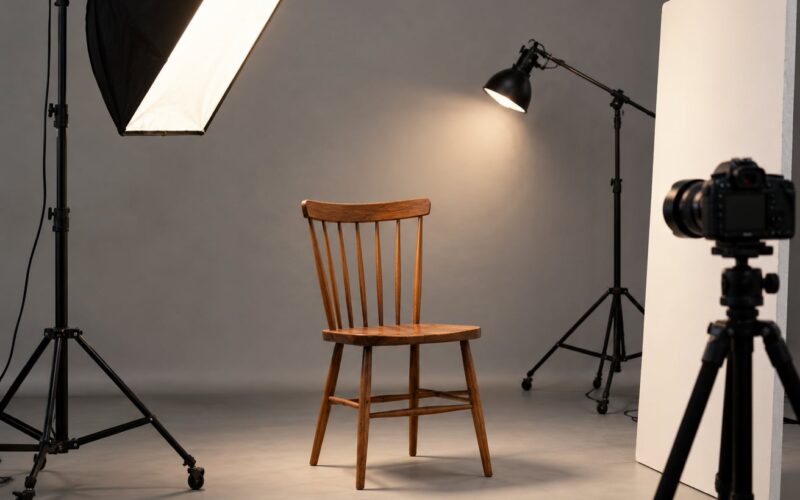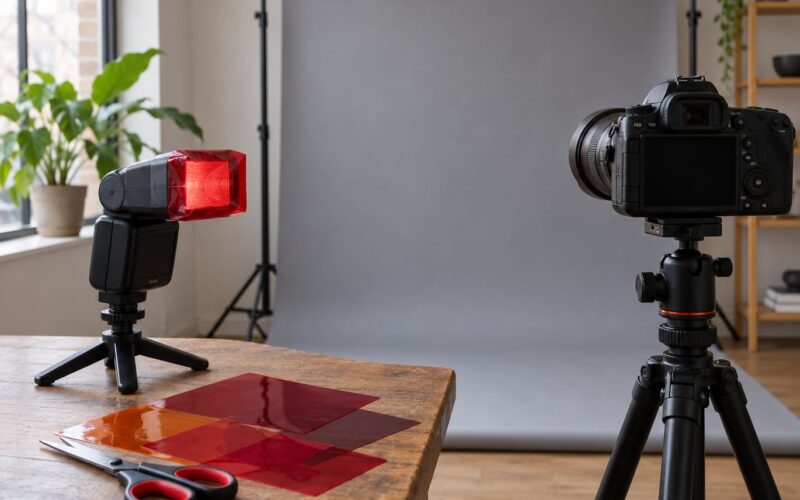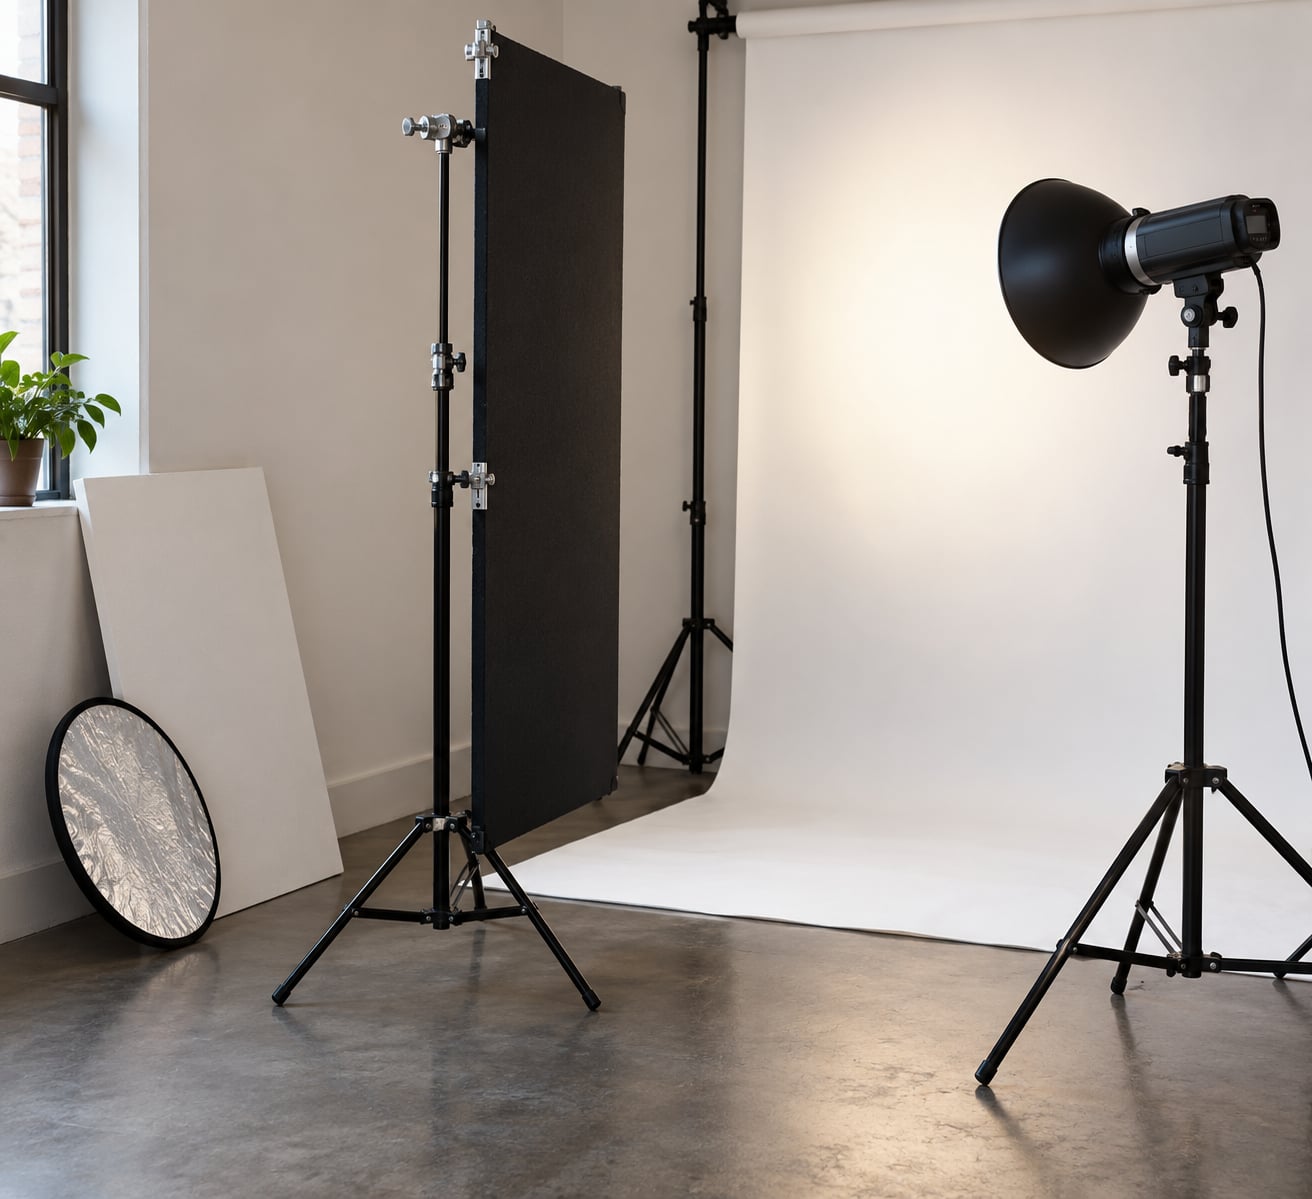
To avoid flash shadows on the background, move your subject 4 to 6 feet away from the wall or backdrop, then reposition or enlarge the light so it does not throw the shadow into frame. Most background shadows come from one of three things: the subject standing too close to the wall, light spilling past the subject, or a hard source pointed at the backdrop.
Flash shadows happen because light travels in straight lines. The part of the flash beam your subject blocks never reaches the wall behind them, so a darker silhouette is left where the subject was. A speedlight is a small, hard source held close, so that silhouette is sharp and dark.
The fix is geometry before gear. Push the subject back, get the light off-axis or higher, and flag anything spilling toward the backdrop. You can do most of it with a flash, a wall, a piece of white poster board and about ten minutes of testing.
This guide works for studio portraits, headshots, product shots on white seamless, and small living-room setups. If you are shooting on a phone, the section further down covers what can be fixed after the shot.
Table of Contents
- What You Need
- How to Avoid Flash Shadows on the Background Step by Step
- Confirm the Shadow Source With a Test Shot
- Move the Subject Farther From the Background
- Change the Flash-to-Subject Angle
- Use Flags to Avoid Flash Shadows on the Background
- Add or Adjust a Background Light
- Control the Light With Your Modifier
- Refine Exposure and Camera Settings
- Test Again at the Final Shooting Position
- Common Mistakes
- Fixing Flash Shadows on a Phone
- Frequently Asked Questions
- Can I remove a background shadow without adding another light?
- Why does my flash create a shadow even when the background is white?
- Should I use a reflector to prevent shadows on the background?
- How far should my subject be from the background?
- Is a hard or soft flash better for avoiding background shadows?
- Can I erase a flash shadow on my phone after taking the picture?
- Conclusion: Make the First Fix
What You Need
The honest answer is that most people do not need to buy anything. They need to stop treating a shadow as an exposure problem when it is a placement problem. Here is what each piece controls.
Your existing flash. A speedlight, strobe or continuous light all work. What matters is how far you can move it from the camera axis, not which one it is.
Something to flag with. Black foam board, a black card, flagging cloth or the flap of a reflector. This is the cheapest tool in the whole process and it solves spill instantly.
Something white to bounce with. White poster board, a foam board, a bedsheet on a chair or a reflector. It fills the shadow area without adding another light.
A larger modifier. Optional, but useful. A softbox or umbrella makes edges softer, and a grid or snoot on a strobe narrows the beam so less light reaches the backdrop at all.
A camera with a modelling light. Also optional. If your flash has one, it is the fastest diagnostic tool you own.
If you have only one light and one wall, that is enough. The steps below assume exactly that setup.
How to Avoid Flash Shadows on the Background Step by Step
Work through these in order. Each step is cheap, and skipping ahead usually wastes money because later fixes cannot rescue a bad position. The order matters: geometry first, light control second, exposure last.
Confirm the Shadow Source With a Test Shot
Before changing anything, find out what is actually casting the shadow. Turn on the modelling light or take a single frame with the room lights off, so you can see the shadow clearly. Then remove suspects one at a time: move the light stand, take the reflector out of frame, step the camera sideways.
Watch for the difference between a shadow and light spill. A shadow is a defined shape with edges. Spill is a soft bright wash across the whole backdrop, and it is not a shadow at all. Beginners read spill as a shadow because the wall looks uneven.
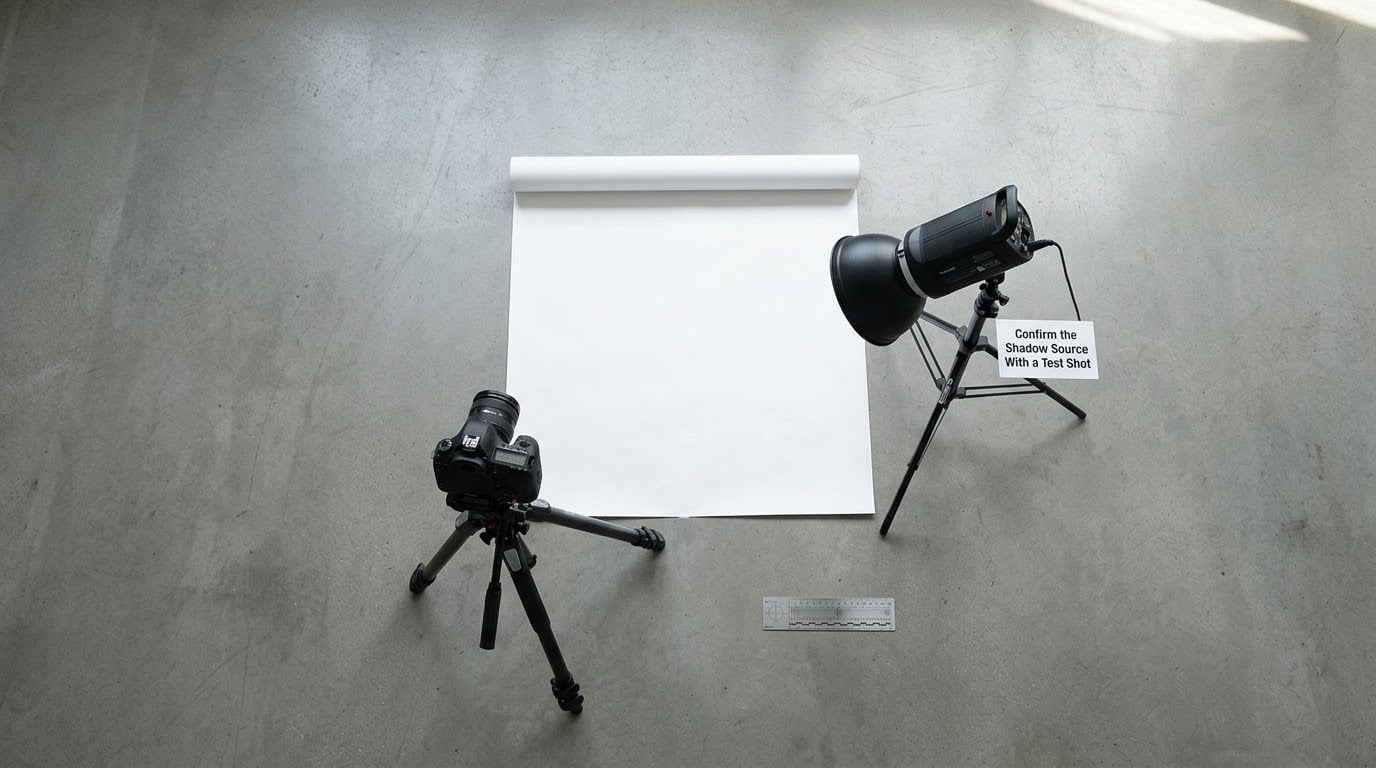
The list below maps what you see to what is actually happening.
- Hard-edged silhouette beside the subject. A small hard light sitting close to the subject. Move the subject back 4 to 6 feet, or enlarge the source.
- Soft grey blob with no clear outline. The light is far from the subject and the subject is close to the wall. Increase the distance, then bring the light closer to the subject.
- Shadow plus a bright halo on the wall. Your key light plus spill or a second source hitting the wall. Flag the spill, then check again.
- Two or three shadows. More than one light is reaching the backdrop. Flag or move every source except the one you want.
- Shadow only on one side of the subject. The light is placed far off-axis. Bring it closer to the camera axis.
- Shadow visible only on white seamless. A bright background reveals every defect. Light the background separately or darken the backdrop.
- Shadow from the light stand itself. The stand sits between the light and the wall. Reposition it, flag it, or raise it out of the beam.
Move the Subject Farther From the Background
This is the single highest-impact change you can make, and it costs nothing. Shadows grow sharper and darker the closer they are to the object casting them. Move the subject away from the wall and the shadow spreads out, softens and often fades below the visible range of your background.
Use 4 to 6 feet as your working range. Children and small pets need less because they are shorter, so scale the distance down by their height. A good test: put your hand flat on the wall behind where the subject will stand and reach forward. If you cannot comfortably touch the wall with your arm extended, you are too close.
The same principle applies to product work. Objects placed a few inches behind a white sweep will always throw a shadow. Push them forward toward the camera and let the shadow fall out of frame instead.
If your room is too small for 6 feet of depth, you have three options. Shoot at an angle so the shadow falls to the side and outside the frame. Use a darker or textured backdrop, which hides shadows far better than white. Or light the wall on purpose so the shadow sits inside an evenly bright area rather than against a dark one.
Change the Flash-to-Subject Angle
A shadow that lands on the wall is a shadow that lands where you cannot hide it. Change where it goes instead. Move the light toward the camera axis and the shadow slides behind the subject where the eye ignores it.
The classic portrait placement is about 45 degrees off camera and roughly a foot above the subject’s head. From that position the shadow falls behind and below, not onto the backdrop. Take the light higher and the shadow drops toward the floor, which is often off frame entirely.
On-camera flash is the worst case for background shadows because the source sits right on the lens axis and throws the shadow straight back. Even a swivel head aimed at the ceiling helps, because bounced light comes from a wide angle and is far softer than direct flash.
If you shoot on a tripod, take the flash off the camera entirely. Two or three feet to the side is enough to move the shadow off the wall.
Use Flags to Avoid Flash Shadows on the Background
Flagging blocks light before it lands anywhere. It is the fastest way to stop a shadow without moving anybody, and it costs almost nothing. Black foam board cut at about 20 by 30 inches handles a speedlight on a small stand.
Place the flag between the light and the backdrop, close to the light, so it casts a shadow of its own that is hidden behind the light body. The closer the flag sits to the source, the smaller it needs to be to block the beam.
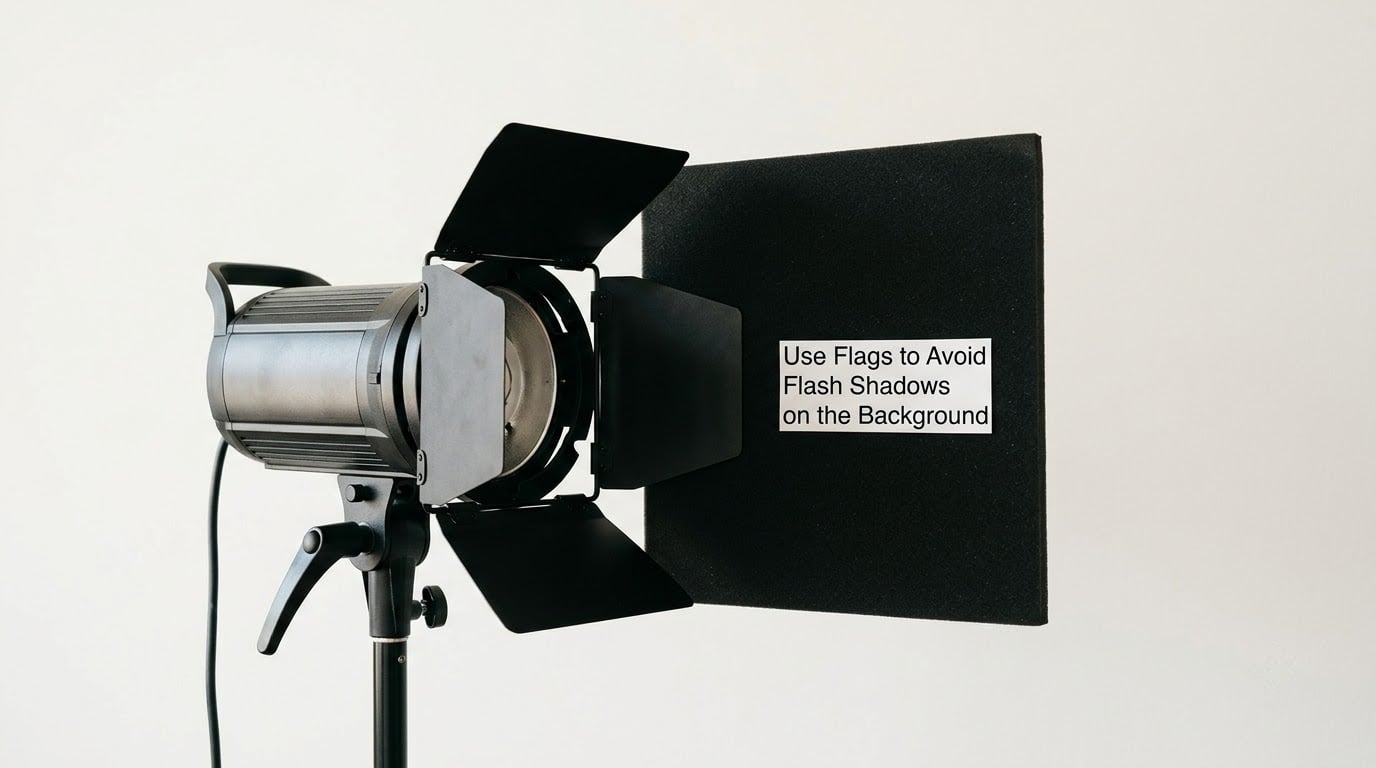
Two placement mistakes are common. A flag sitting between the light and the subject will steal the key light and make the subject look flat and dark. A flag too close to the backdrop will make its own shadow visible on the wall, which defeats the whole exercise.
Grid and snoot attachments work on the same principle in a more precise way. A grid narrows the spread of the beam so it reaches the subject and stops, while a snoot projects a tight circle you can place on the backdrop if you want separation. Barn doors do the job with simple flaps, one pair for the sides and one for top and bottom.
Add or Adjust a Background Light
A second light aimed at the backdrop is the only reliable way to get a clean, evenly lit white background when the key light still hits it. Place it behind and above the subject, aimed at the wall, and let it render the background brighter than the subject.
Aim it from roughly the same side as your key light. When the background light comes from the opposite side, the subject casts a shadow across a differently lit area and you get a visible edge. Same side, slightly higher, and the two sources blend.
Set the background light to about one stop brighter than you think it needs, then dial it back. Backgrounds read too bright on a camera screen because the screen shows shadow detail far more aggressively than your eye does. Check the histogram and shoot for the wall just short of clipping.
You do not always need the full brightness. If the subject already stands far enough from the wall to break the shadow’s shape, a weak background light only needs to lift the area where the shadow was, so reduce its output until the difference disappears.
Control the Light With Your Modifier
How close a light is to its subject relative to its size decides how hard the shadows are. A large source close in gives soft, forgiving shadows. A small source far away gives the hard, graphic ones that make background shadows so obvious.
A softbox or umbrella does more than soften the subject. Held close to the person, it wraps light around them and spills less onto the wall behind. Move that same softbox two feet further back and the spill increases sharply while the subject stays lit, which is why distance from the subject matters as much as size.
Diffusion works the same way. A white sheet, a frosted shower curtain or a layer of diffusion fabric over the flash head shrinks the apparent size of the source and softens every edge it casts.
Bouncing off a ceiling or side wall is the cheapest softness available. Tilt the flash back until the head nearly touches the ceiling, and the ceiling becomes a large, dim source. Keep in mind the bounce also changes colour toward whatever the ceiling is painted.
Refine Exposure and Camera Settings
Here is the part most articles get wrong. Camera settings change how bright your shadow looks, but they do not change where the shadow falls. Stopping down to f/8 will not remove a shadow on the wall, and it will make your subject look soft if the light was already dim.
What settings do control is the relationship between subject and background. Aperture changes how much of the background is in focus, not how bright it is. Shutter speed changes ambient light contribution, which matters indoors. ISO changes sensitivity, which matters if you are trying to keep flash power down.
A workable baseline is manual mode at f/5.6, shutter between 1/125 and 1/200, and ISO set to whatever keeps the flash at a comfortable power. Flash output is then the real exposure control, and it is the setting that changes how much light spills onto the wall.
Watch the ambient balance. In a room with windows or lamps, the shutter speed controls how much room light joins your flash. Once you pass about 1/60 indoors, the room light starts contributing a second, softer light from a different direction, and you can get a second shadow that has nothing to do with your flash position. If that happens, drop the shutter, close the curtains, or raise the flash power to dominate.
Watch the dynamic range too. If you expose the background to near white, you may lose the shadow in the highlights without ever adjusting the light. Turning the histogram up or down changes brightness, not shadow geometry, so if the shadow is still there, go back to position.
Test Again at the Final Shooting Position
Once a step works, put everything back exactly as it will be on the day: subject in place, flags in place, camera at its final height, settings dialled in. Small changes between tests hide real problems.
Shoot one frame and inspect the edges of the background, not the centre. Shadows read worst where they cross a tonal boundary. Look at the corners behind the subject’s shoulders and along the floor line, which is where most people forget to check.
Make the smallest adjustment that removes what is left. Nudge the subject back a few inches rather than rebuilding the setup. Move the flash a few inches rather than changing modifiers. If you find yourself rebuilding lights to fix a small shadow, the position is slightly wrong and a small move would have done it.
Common Mistakes
Treating the shadow as an exposure problem. Widening the aperture, raising ISO or switching to manual mode will not remove a cast shadow, because the shadow is not a brightness problem. Move the subject or the light instead.
Stopping down to f/8 to chase a clean background. This is the most repeated piece of bad advice on this topic. Aperture affects depth of field, not shadow placement, and the softer focus is a real cost for no benefit.
Putting the subject against the wall. Most small rooms force this, and it is the root cause of most background shadows. Angle the subject, use a darker backdrop, or light the wall so the shadow stops reading.
Pointing a bare flash at the wall. A bare head aimed at the backdrop lights the wall directly, so the subject’s shadow appears as a dark shape inside a bright field. Aim the head at the subject and let the light spill, then flag the spill.
Expecting a reflector to erase a shadow. A reflector fills darkness on the subject’s face. On the wall, it adds its own light to the spill, which can make the shadow less obvious without removing it.
Using one light for both subject and background with no control. When the key light does both jobs, the background can never be brighter than the subject without going flat. Either flag, or accept a background that falls off into shadow on purpose.
Moving the flash after setting exposure. Any position change alters both the subject and the spill. Re-check your exposure every time you touch a stand.
Leaving the light stand in the beam. The stand, the arm and a spare backdrop can all cast shadows of their own. Check the frame with the subject out of it.
Fixing Flash Shadows on a Phone
Phone shooters have two options, and the first one always wins. Use the rear camera and move off the built-in flash. On iPhone and Samsung Galaxy models, the LED flash sits close to the lens and throws a hard shadow straight down and to one side, close to the subject.
Instead, open the flash panel and pick a different source, or turn the flash off entirely and increase exposure compensation by one to two stops. Turning the flash off removes the shadow but you need more light in the room for the exposure to work.
For flash off the lens, a small Bluetooth or remote-triggered flash held to the side and above at 45 degrees gives the same geometry fix as a full studio light. It is the cheapest way to move a phone off the flash axis.
If the shot is already taken, iPhone editing has no dedicated shadow removal, but the HSL and Curves sliders in the Photos edit panel will lift the shadow region. On Samsung Galaxy, the Gallery editor exposes a Shadows slider that lifts dark areas directly, and Snapseed offers a selective control with a brush.
Expect a mediocre result. Post removal works best on a flat, evenly lit, textureless background, which is a decision you make on set rather than in the app. A patchy wall with visible texture is the hardest case, because lifting the shadow destroys the texture with it.
Frequently Asked Questions
Can I remove a background shadow without adding another light?
Yes, in most cases. Move the subject 4 to 6 feet away from the background first, since distance softens and spreads the shadow. Then get the light off the camera axis, raise it above head height, and flag any spill hitting the wall with black foam board. A white poster board placed near the subject can fill the darkest part of the shadow. A second light only becomes necessary when you need the background evenly brighter than the subject.
Why does my flash create a shadow even when the background is white?
A white background does not prevent shadows, it reveals them. Because a flash is a small, hard source held close to your subject, the light reaching the wall comes from a small area, which produces a crisp silhouette. White seamless paper also reflects light back toward the subject, so the shadow edge reads clearly against the bright field. Darkening the backdrop or lighting the wall separately hides the same geometry.
Should I use a reflector to prevent shadows on the background?
Only as a supporting tool. A reflector adds fill light back toward the subject, which softens shadows on the face and can reduce the contrast of a shadow seen on the backdrop, but it does not remove one. For the background itself, blocking unwanted light with a flag or raising the background exposure works better. Use a reflector for the subject, and distance, angle or flags for the backdrop.
How far should my subject be from the background?
Start with 4 to 6 feet and adjust from there. Shadows get softer and less dark as the distance grows, so more space is almost always better. Scale the distance to your subject: children and small pets need less room because they are shorter. If your space does not allow it, shoot at an angle so the shadow falls out of frame, or light the wall evenly so the shadow blends into an equally bright area.
Is a hard or soft flash better for avoiding background shadows?
Soft is better, because a large source close to the subject produces gentle shadow edges that are far less noticeable on a backdrop. A speedlight fitted with a softbox or umbrella, held close, wraps light around your subject and spills less behind them. A bare flash creates hard, graphic shadows. Softening reduces the shadow but rarely erases it, so distance and flags still do most of the work.
Can I erase a flash shadow on my phone after taking the picture?
Partly. iPhone has no dedicated shadow removal tool, but the HSL and Curves sliders in the Photos edit panel can lift a shadow area when the background is simple and evenly lit. Samsung Galaxy exposes a Shadows slider in the Gallery editor, and the Selective tool in Snapseed lets you target a region directly. Expect soft results on textured walls, and remember that moving the subject or the light is faster than retouching.
Conclusion: Make the First Fix
To avoid flash shadows on the background, work through the sequence in order: confirm what is casting the shadow with a modelling-light test, move the subject 4 to 6 feet back, take the light off the camera axis and above head height, flag whatever still spills onto the wall, then light the background only if it needs to read brighter.
Start with the first two. Both are free, both take under a minute, and between them they remove the large majority of background shadows. Buy a second light or a bigger modifier only after the geometry is right and the shadow is still there.
Settings come last. Aperture, ISO and shutter speed change brightness and depth of field, never shadow position, so leave them alone until the placement is finished.