To photograph tall and short people together, control three things: camera height, distance from the lens, and posture. Drop the camera below eye level, stand the shorter person closer to the lens, and turn both bodies about 45 degrees toward each other. That combination closes most of a gap of ten inches or more without props, lifts, or editing tricks.
It takes about twenty minutes per setup once you know the moves, and the difficulty sits in directing, not gear. Almost any camera will do, including a phone on a low surface with a timer running.
Table of Contents
- What You Need
- How to Photograph Tall and Short People Together: Step-by-Step
- Choose a pose that creates a level visual line
- How to photograph tall and short people together in one setup
- Lower the camera and shoot from a stable height
- Use posing, angles, and space to balance the pair
- Choose framing based on the final use
- Place lighting to preserve natural proportions
- Focus, shoot test frames, and refine the pose
- Common Mistakes
- Forcing both subjects into the same posture
- Leaving excessive headroom above tall subjects
- Shooting straight on from a low angle
- Using direct overhead light
- Cropping joints awkwardly
- Failing to inspect the test image
- Stacking heads in post to fake equality
- Frequently Asked Questions
- How do you photograph two people with a big height difference?
- Should the taller person bend down when taking portraits?
- What lens is best for tall and short people together?
- How do you avoid making a short person look shorter?
- Is it better to shoot full body or crop at the waist?
- How do you light a group when people are different heights?
- Conclusion
What You Need
You do not need a second body or a lighting kit to start. You need somewhere to put the camera below waist height and something to hold the frame still.
- A camera with manual or aperture-priority mode. Manual exposure keeps every test frame consistent, so you can judge the pose rather than the settings. Aperture priority at f/4 to f/5.6 works too.
- A lens in the 50-135mm range. Anything wider exaggerates the gap from a distance. A zoom lets you reframe without walking backwards.
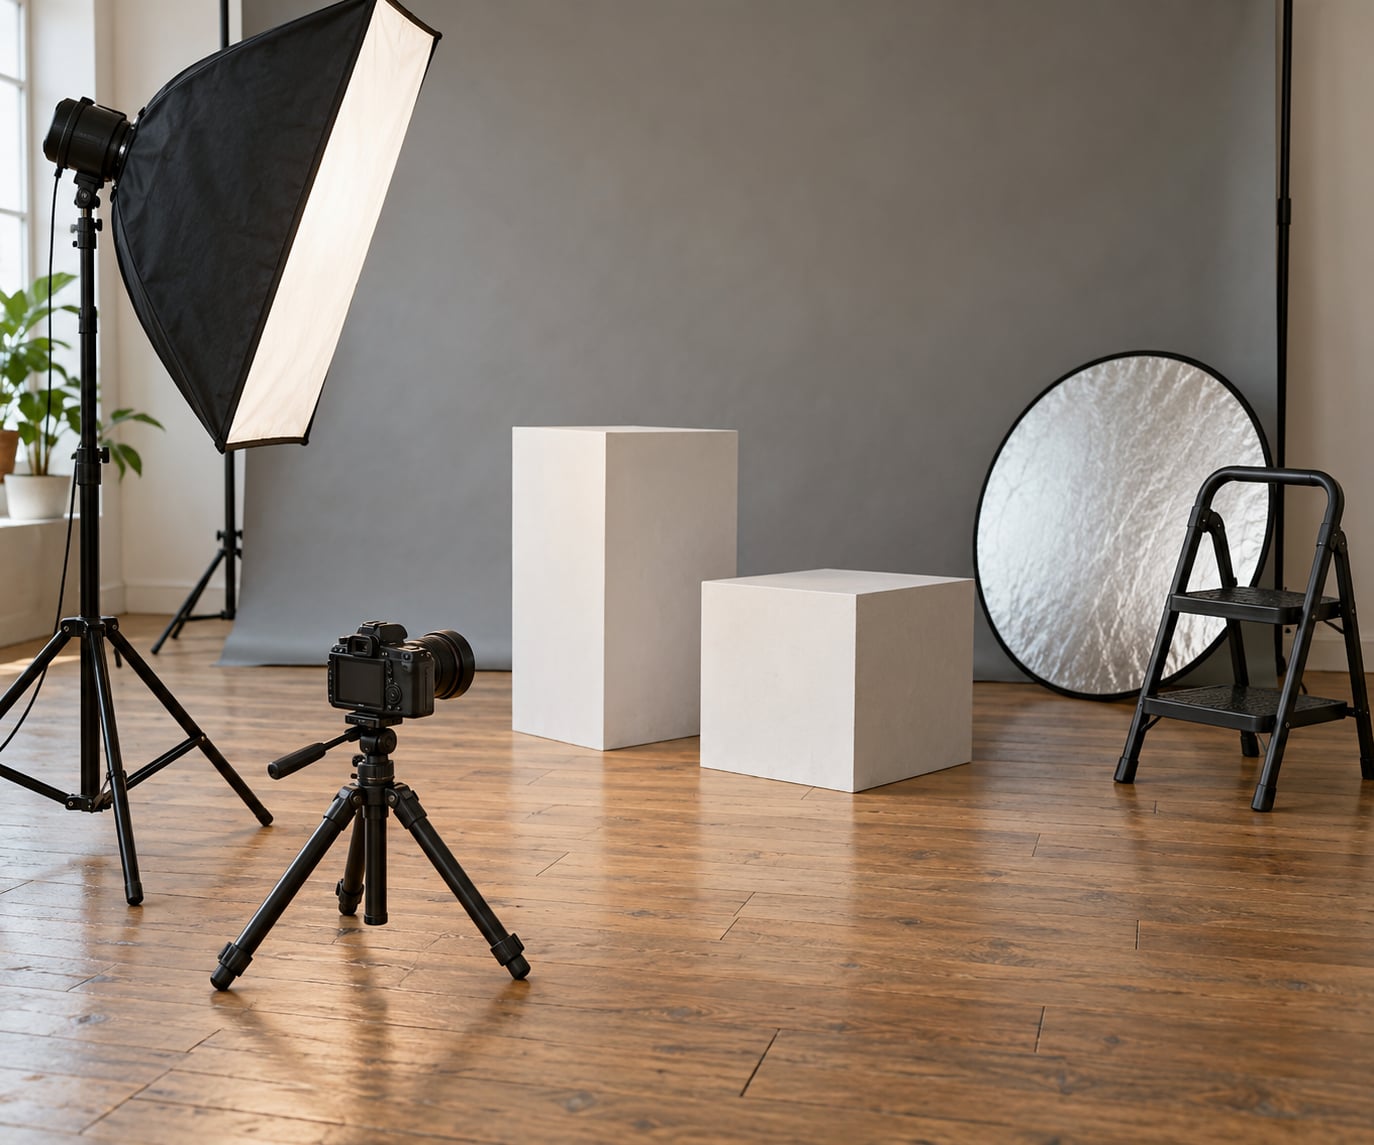
- A tripod, or a low flat surface. A tripod lets you drop the camera to knee level. A floor, a step, or a wall works nearly as well with a self-timer.
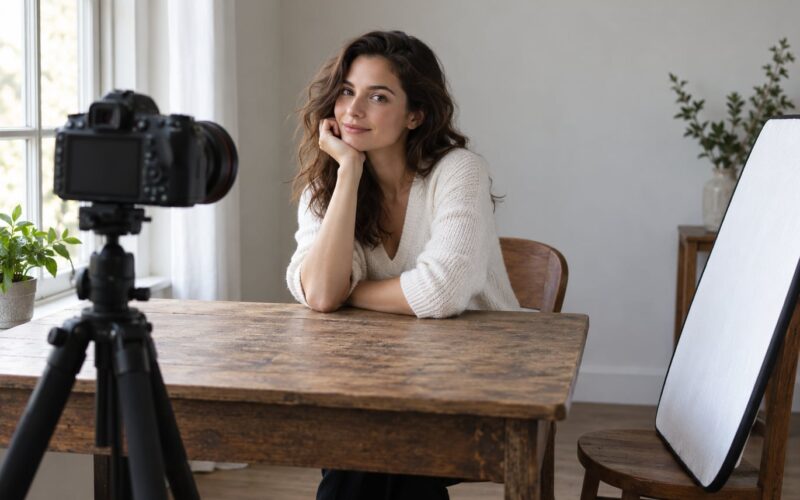
- A reflector or a sheet of white card. This fills the shadow side of the shorter person’s face, which is where the height difference tends to read most harshly.
- A step, curb, stool, or low wall. Natural elevation is better than asking anyone to hold a pose on tiptoe for a full minute.
- Ten minutes of agreement. Tell the shorter person in advance that the plan is to level the frame, not to shrink them. People relax fast once they know nobody is comparing them.
How to Photograph Tall and Short People Together: Step-by-Step
Choose a pose that creates a level visual line
The problem with standing two people squarely side by side is that the camera sees a straight line between their heads, and your eye follows it. Break that line and the gap stops registering as a measurement.
Ask the taller person to bend slightly at the waist and angle the torso toward the shorter one. Angle a shoulder rather than the whole body, or bring one foot forward a half step so the stance sits on a diagonal.
Ask the shorter person to lengthen the neck without tensing it, shift the weight onto the back foot, and let the hips follow the shoulders. On a seven-step workflow like this one, the pose comes before the camera moves, because a pose that already runs diagonally can be fixed from almost any position.
How to photograph tall and short people together in one setup
One setup can hold several frames if you vary the pose instead of rebuilding it from scratch. Turn both bodies about 45 degrees toward each other and stagger their feet so one pair is nearer the lens than the other.
Change the arm positions between frames: hands joined at waist height, one arm around the other’s shoulder, both hands in pockets with thumbs hooked. The shorter person can put a hand on the taller person’s hip, which adds a diagonal across both torsos and pulls the eye inward.
A shared object works well too. A coffee cup, a book held between two pairs of hands, or a jacket over one set of shoulders gives the hands something to do and gives the frame a focal point in the middle of the gap.
Lower the camera and shoot from a stable height
Camera height does more work than anything else you control. When the lens sits at eye level, a tall person rises above the frame and a short person sinks below it. Drop the camera to chest height on the taller person, or to their waist, and the two heads land much closer together in the picture.
Mount the tripod low, put the camera on the ground on a floor-sitter, or rest it on the step you put the shorter person on. Keep the lens axis level with the middle of the pair rather than tilting it up or down; a tilt changes the lines of the bodies and makes the frame feel crooked.
Do not go extreme. A camera flat on the floor throws a low-angle stretch that widens feet, lengthens noses, and pushes the ceiling into the background. Somewhere between knee and chest height does the work without the distortion.
Use posing, angles, and space to balance the pair
Space is the quietest lever in the whole setup. Standing the shorter person roughly a step nearer the lens than the taller one shrinks the apparent gap, because perspective makes the nearer body read larger.
Make the shorter person lean toward the camera and the taller person lean slightly away, which evens out the two silhouettes. Crossing the ankles or pointing the toes toward a long lens lengthens a leg. A hand resting at the waist creates a waistline and stops the torso looking like a block.
Seated poses solve the gap instantly, but photographers who default to sitting for every frame produce the same stiff series all afternoon. Save sitting for one or two images in the set.
Choose framing based on the final use
Pick the crop to match where the picture goes. Full-body frames suit prints and standing portraits, and they need generous headroom above the taller person so the tallest head is not jammed into the top edge.
Three-quarter framing from the waist up removes almost all of the height issue and works well for frames that will be cropped square for social media. Chest-up crops are even safer and keep the faces large.
One warning on tight crops: cut at the knee, mid-calf, or the wrist and the result looks accidental. Crop at the waist, mid-thigh, or clean at the shoulders instead. If you crop a tall person’s head out of a shared frame, decide that deliberately and check both faces survived.
Place lighting to preserve natural proportions
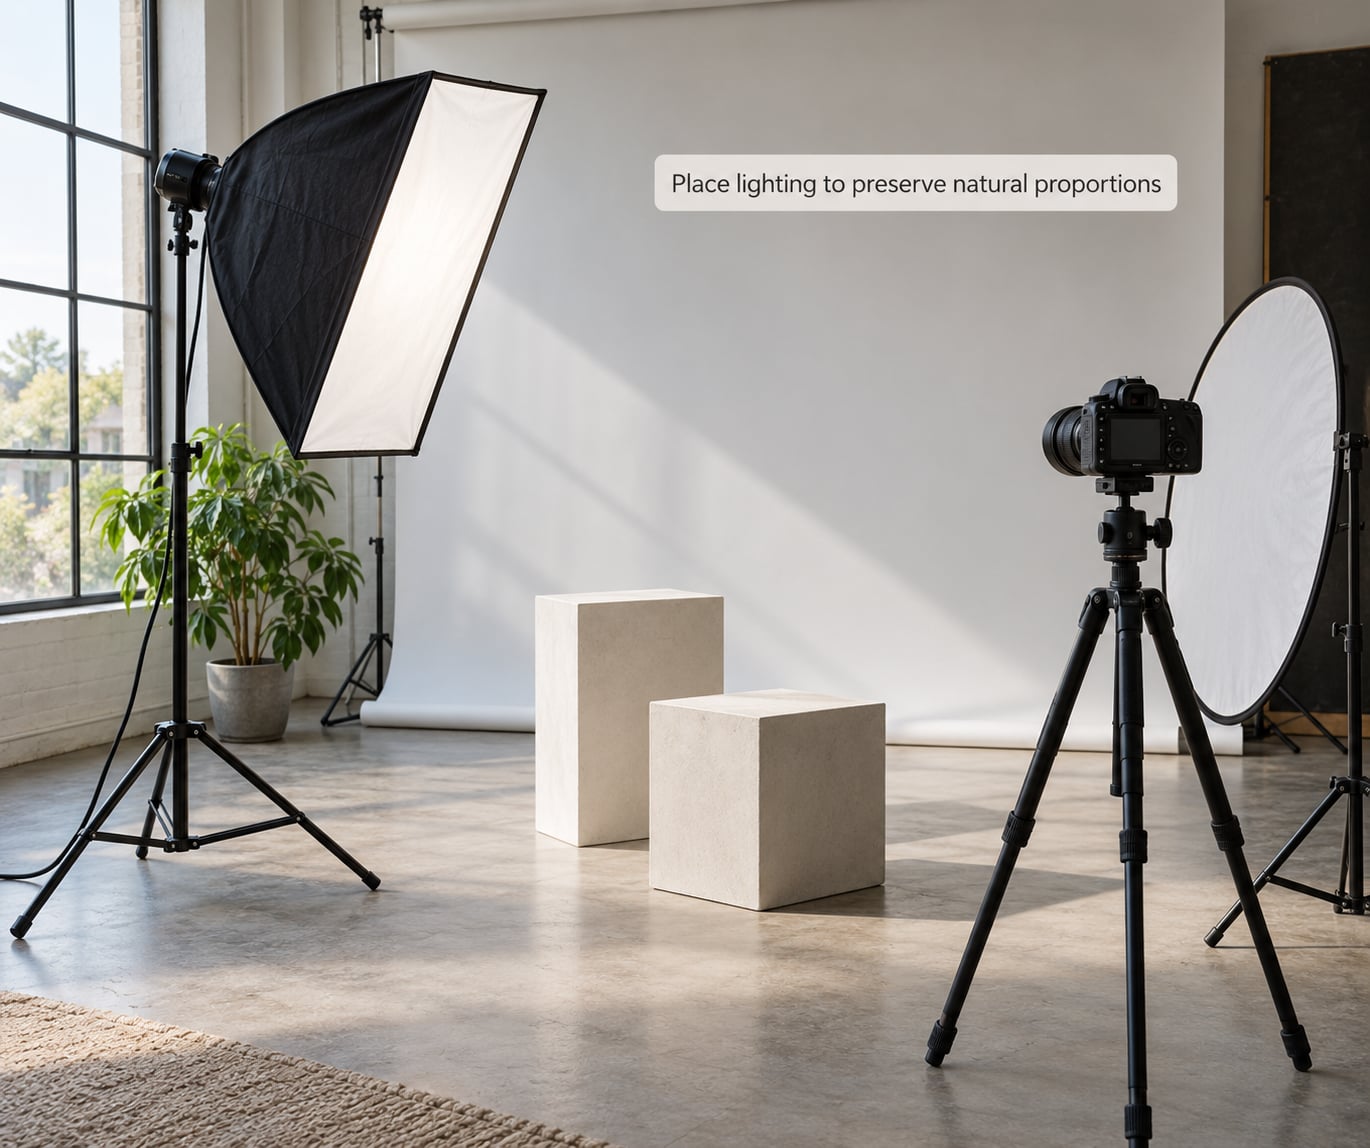
Light changes how big a person looks. Soft light from slightly above and in front falls evenly across both faces, which keeps the proportions you worked on in the pose intact.
Direct light from overhead drops a shadow under every chin, and the deeper shadow reads as a shorter face. Light from low down or straight to one side exaggerates the angle between the two heads and throws half the shorter person’s face into darkness.
Put the key light about 30 degrees above eye level and off to one side, then use the reflector or white card on the shadow side. Check the frames for shadow under the chin and for dark eye sockets. If both appear, raise the light or bounce it back in.
Focus, shoot test frames, and refine the pose
Focus on the nearer eye using a single autofocus point, then check the second face before you commit to the whole set. Shoot a wide gap between subjects at f/5.6 or narrower so both faces are sharp, and keep the shutter above 1/250s so nobody blinks.
Shoot four or five small variations instead of one big one. Inspect the images at full size and look at the feet, the hands, and the gap between the two heads. Most of the time the problem is a foot turned outward or a hand hanging away from the body rather than the height itself.
Make one small change at a time, usually the camera height or a single pose adjustment. That way you know what fixed it, and you can repeat the move for the rest of the session.
Common Mistakes
Forcing both subjects into the same posture
Two identical stances side by side create the flat police-line-up look that makes the height gap obvious. Turn one body 45 degrees, stagger the feet, and give each person a different arm position. Variety in shape does more work than any correction.
Leaving excessive headroom above tall subjects
A tall subject with a foot of empty sky above the head looks smaller than they are. Frame so the tallest head sits close to the top edge with a small margin, and re-check after every pose change since a straightened body can add several inches.
Shooting straight on from a low angle
A very low camera stretches everything above the lens and makes the frame feel like a novelty shot. Drop the camera to chest or knee height and keep the lens level with the pair.
Using direct overhead light
Overhead light stacks shadows under chins and brows, and those shadows undo all the balancing work you did in the pose. Raise and soften the light, then bounce it back into the shadow side with a reflector or card.
Cropping joints awkwardly
Cutting at the knee, ankle, elbow, or wrist looks like a mistake to anyone viewing it. Crop at the waist or mid-thigh, or frame the whole body with room around the feet.
Failing to inspect the test image
Most weak height-difference frames were fixable at the moment of capture, and nobody looked. Check one frame on the back of the camera before running through twenty more. Ten seconds of checking beats a reshoot.
Stacking heads in post to fake equality
Moving one person’s head down in editing flattens their neck and shoulders and usually shows up as a defect. Leave the heads where they were and fix the pose and camera height next time instead.
Frequently Asked Questions
How do you photograph two people with a big height difference?
Put the shorter person a step nearer the lens, drop the camera to chest height on the taller person, and turn both bodies about 45 degrees toward each other. Add a shared gesture or object between them so the eye connects the pair instead of measuring them. Shoot several test frames and adjust the camera height before changing the pose.
Should the taller person bend down when taking portraits?
A slight bend at the waist with the torso angled toward the shorter person works well and looks natural. A deep bend to match head height does not; it strains the back and pushes the taller person into the back of the frame. Bring the camera down instead and let the taller person stand naturally.
What lens is best for tall and short people together?
A focal length between 50mm and 135mm is the useful range. Long lenses compress the gap so the two bodies read at similar sizes, and they reduce the perspective stretch that makes the nearest person look bigger. Avoid shooting a wide lens from far back, since that combination exaggerates the difference rather than hiding it.
How do you avoid making a short person look shorter?
Keep the camera low rather than high, place the shorter subject slightly closer to the lens, and have them lean toward the camera while the taller person leans gently away. Lengthen the neck, shift weight onto the back foot, and point the toes. Frame from the waist up when the picture is going into a small space.
Is it better to shoot full body or crop at the waist?
Shoot full body for prints and standing portraits, leaving a small margin of headroom above the tallest person. Shoot from the waist or chest up when the image will be cropped square or shown small, since tight framing removes most of the height issue. Whichever you choose, avoid cutting at the knee, ankle, elbow, or wrist.
How do you light a group when people are different heights?
Use one broad, soft source placed slightly above eye level and off to one side, then bounce it into the shadow side with a reflector or white card. Light from one point reaches everyone’s face at a similar angle, so nobody’s face reads smaller because of the lighting. Check the test frame for chin shadows and dark eye sockets.
Conclusion
Learning how to photograph tall and short people together comes down to three adjustments you can make in any location: turn both bodies about 45 degrees toward each other, lower the camera slightly below eye level, and take one test frame before shooting the set.
Then check that frame at full size, change one thing, and shoot again. That loop is the whole technique, and it works on a phone resting on the ground just as well as it does on a tripod.