To shoot a portrait with one window and a reflector, treat the window as your key light, turn your subject about 45 degrees to it, and bounce that light back into the shadow side of the face with a white or silver reflector. The setup takes roughly ten minutes to build and costs nothing beyond a reflector you may already own.
That is the whole method. Everything below is just the detail that turns a snapshot into a photograph you would print, including where exactly to stand, how close the reflector needs to be, and what to do when the window behind your subject blows out to white.
If your home light has seemed hopeless, this is usually the fix. Photographers on photography forums keep saying the same thing: the room was never the problem, the light was simply going straight past the subject instead of across it.
Table of Contents
- What You Need
- What each item actually does in the setup
- Step-by-Step: How to Shoot a Portrait With One Window and a Reflector
- Step 1: Choose the Window and Control the Light
- Step 2: Position the Subject and Camera
- Step 3: Place the Reflector to Fill Shadows
- Step 4: Set Exposure and Focus
- Step 5: Capture Several Portrait Looks
- Common Mistakes
- Frequently Asked Questions
- What color reflector should I use for a one-window portrait?
- Should the subject face the window or stand at an angle?
- How far should I place the reflector from the subject?
- Should I turn off the room lights when shooting near a window?
- How do I prevent the window highlights from being overexposed?
- Can I use a white wall or piece of foam board instead of a reflector?
- Conclusion
What You Need
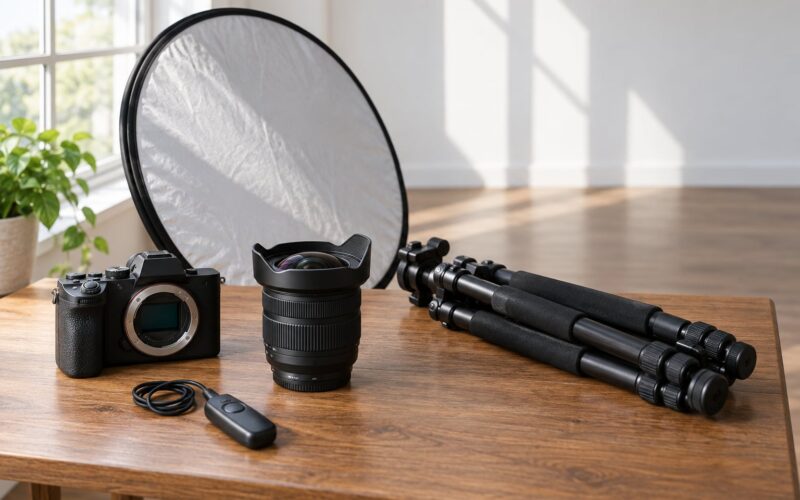
Start with the camera and lens you already own. A 35mm or 50mm prime is the most forgiving choice indoors because it lets you stand back and keep the whole face in focus. For headshots, an 85mm gives you that compressed, background-blurred look, though you will need more room between yourself and the subject.
The reflector is the item that actually changes your results. A 5-in-1 reflector gives you white, silver and gold surfaces plus options for diffusion and cutting light. If you have nothing like that, a sheet of white foam core propped against a chair works, and so does a blank wall painted a flat white.
You also need a way to hold the reflector steady. This is where most DIY setups fail. A clamp, a couple of books, a heavy bag on a chair back, or the subject resting it against their knees will all do more for your portraits than any extra piece of gear.
A small step stool or a stack of books to raise the reflector to chin height is worth having. Fill that lands on the chest instead of the face leaves the eyes in shadow, and eyes in shadow are the fastest way to look tired.
Finally, shoot RAW and bring a grey card or a white sheet of paper if you own one. Window light has a strong colour cast that is much easier to correct in the raw file than by guessing at settings while you work.
What each item actually does in the setup
The window is your key light. It supplies the brightness and the direction, and its size is what makes the light soft.
The reflector is your fill light. It does not create anything new; it returns a portion of the key light to the darker side of the face and controls your contrast ratio.
Gaffer tape or a chair position marks where the subject stands, so the light stays consistent while you move around with the camera.
A sheer curtain hung over the window is the cheapest diffusion tool available and it turns harsh direct sun into something usable.
Step-by-Step: How to Shoot a Portrait With One Window and a Reflector
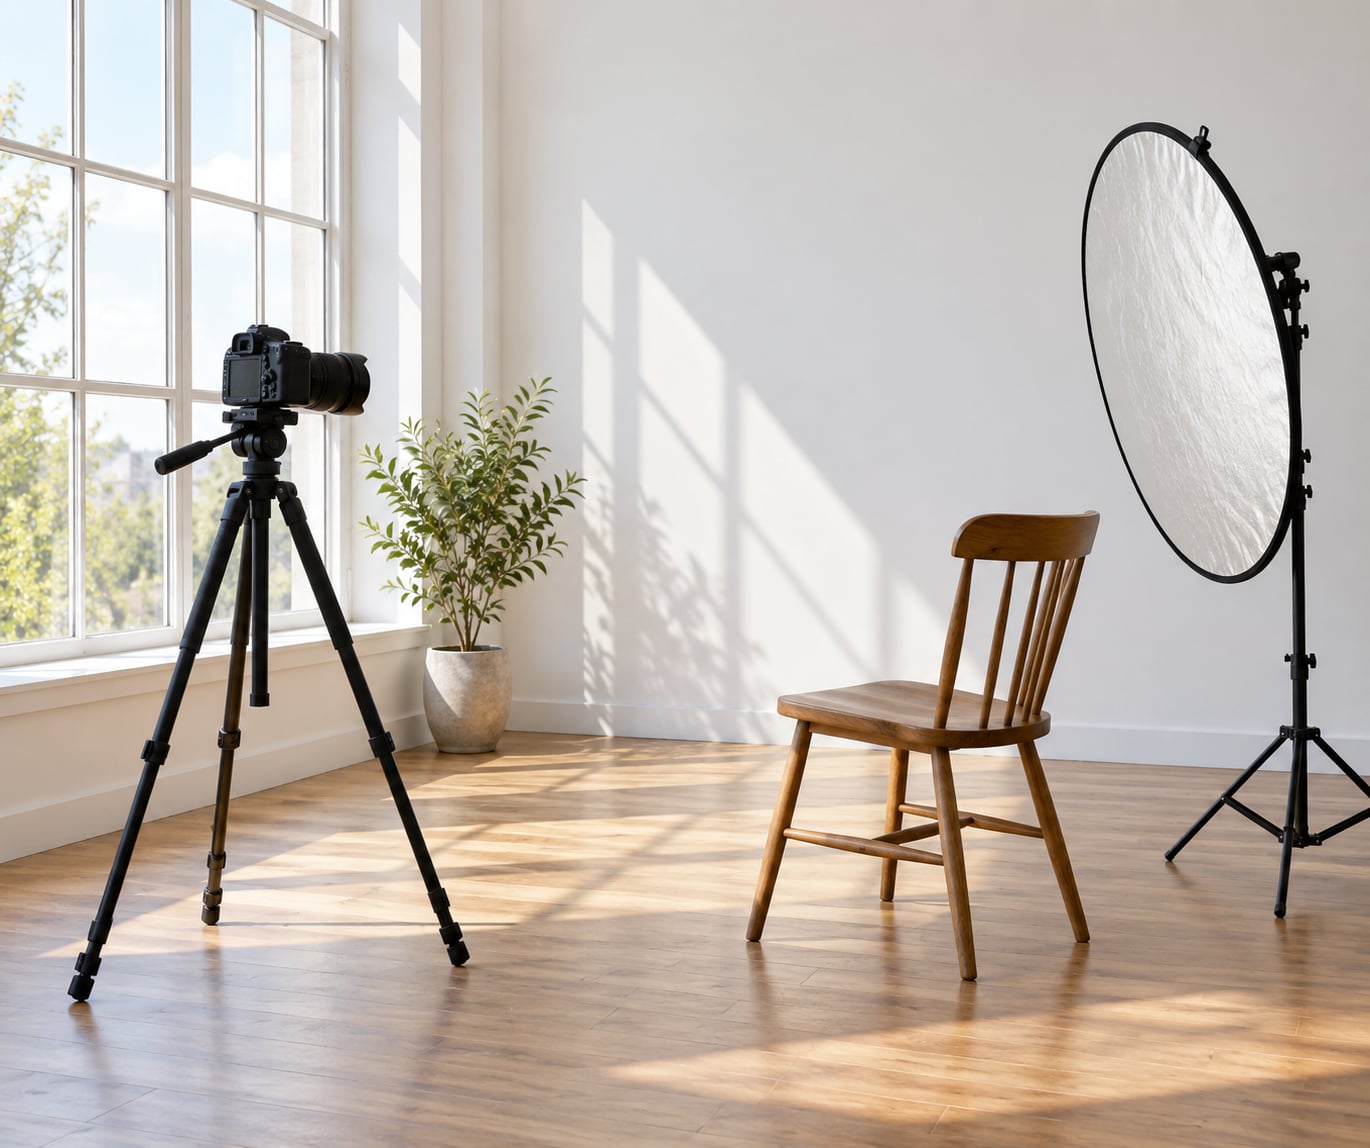
Each step below assumes the subject is seated or standing about 1 to 1.5 metres from the window, turned roughly 45 degrees toward it. That distance gives you a soft, wrapping light that falls off gently across the face instead of stopping dead at the cheekbone.
Step 1: Choose the Window and Control the Light
Pick the window with the best light, not the one that looks nicest in the room. Direct light from a single side gives you shape and dimension. North-facing windows deliver even, consistent light all day and are the easiest to work with. South-facing windows swing from bright and warm to harsh and contrasty through the day.
Then turn everything else off. Overhead lights, floor lamps, the glow from a television, and any other window in the room all add light with a different colour temperature, and mixing them produces the muddy skin tones that make beginners think their camera is faulty.
Check for direct sun before you commit to a spot. If a hard-edged rectangle of sun is landing on the floor or the subject’s shoulder, hang a sheer curtain or move the subject half a metre back from the glass. Deep shade on the far side of the building works too, but it is dimmer, so plan on a wider aperture or a higher ISO.
Run the hand test. Hold your hand up into the light at the height of your subject’s face and study the shadow it throws on the wall. A broad, soft-edged shadow means soft light and a forgiving setup. A small, sharply defined one means you need diffusion or a different window.
Step 2: Position the Subject and Camera
Turn the subject about 45 degrees to the window rather than square to it. Facing the glass straight on flattens the face into a single evenly lit plane. At 45 degrees you get a lit side, a shadow side and a soft transition between them, which is the structure most flattering portraits are built on.
Have the subject look toward the camera or slightly past it rather than toward the window. Looking into the light squints and pulls the face into shadow, while looking toward the camera keeps the eyes open and catches the light.
Place the camera on the same side as the window, roughly level with the eyes of a seated subject. Shooting from above adds a dark shelf under the brow and shortens the face. Moving further to the side toward the window gives you more shadow side and a more dramatic result, which is a good look to try after you have the basics down.
Mark the spot with a piece of gaffer tape on the floor. When you step forward to check the frame and then step back to adjust the camera, you will otherwise lose two centimetres of positioning every time and the light on the face will change with it.
Step 3: Place the Reflector to Fill Shadows
Put the reflector on the opposite side of the subject from the window, out of the camera’s view. Start about half a metre from the subject’s shoulder and roughly at chin height, angled so it faces the window and catches as much light as it can.
Distance is the control you actually have. A reflector held close to the face produces strong, flattening fill that opens the shadows almost completely. Move it further away and the same surface gives you weaker fill, so the shadow side stays darker and more three-dimensional. Start close, then push it back until you are happy with the contrast.
Use the white side for soft window light and for beginners in general. Silver is noticeably brighter and adds a touch of hardness, which can overwhelm an already soft source and create a second, mismatched-looking light. Silver earns its place when the room is genuinely dim or when you want a defined edge on the shadow side. Gold adds warmth and suits darker skin tones or a cool blue-toned room, but it is an accent rather than a neutral fill.
Adjust the height before the angle. Most of the time the reflector is too low, and the light bounces up under the chin instead of reaching the eye sockets.
Step 4: Set Exposure and Focus
Switch on the highlight alert or the histogram, then expose so nothing on the face clips. A clipped highlight on skin cannot be recovered in editing, whereas slightly shadowed skin recovers cleanly. If the window is blowing out, that is expected and acceptable as long as the face is correct.
Meter for the lit side of the face. Automatic metering sees a bright window and a dark room, averages them together, and underexposes the subject. Dial in exposure compensation of about +0.3 to +1.0 stops and watch the histogram until the face sits in the middle range.
Start at a wide aperture for separation, usually f/2.8 to f/4, then set the shutter speed fast enough for your subject to hold still without motion blur. 1/125 second or faster is a safe floor for a seated person, and most cameras will pick the matching ISO automatically in aperture priority mode.
Put your single autofocus point on the nearest eye and use single-shot autofocus rather than continuous. One sharp frame of the eye is worth more than a burst where half the frames land between blinks.
Shoot RAW and set a custom white balance from the grey card if you have one. If you are working in JPEG, daylight around 5200 to 5500 Kelvin is a solid starting point for north light, and you can pull the tint slider slightly toward magenta if green walls or foliage outside are pushing the skin the other way.
Step 5: Capture Several Portrait Looks
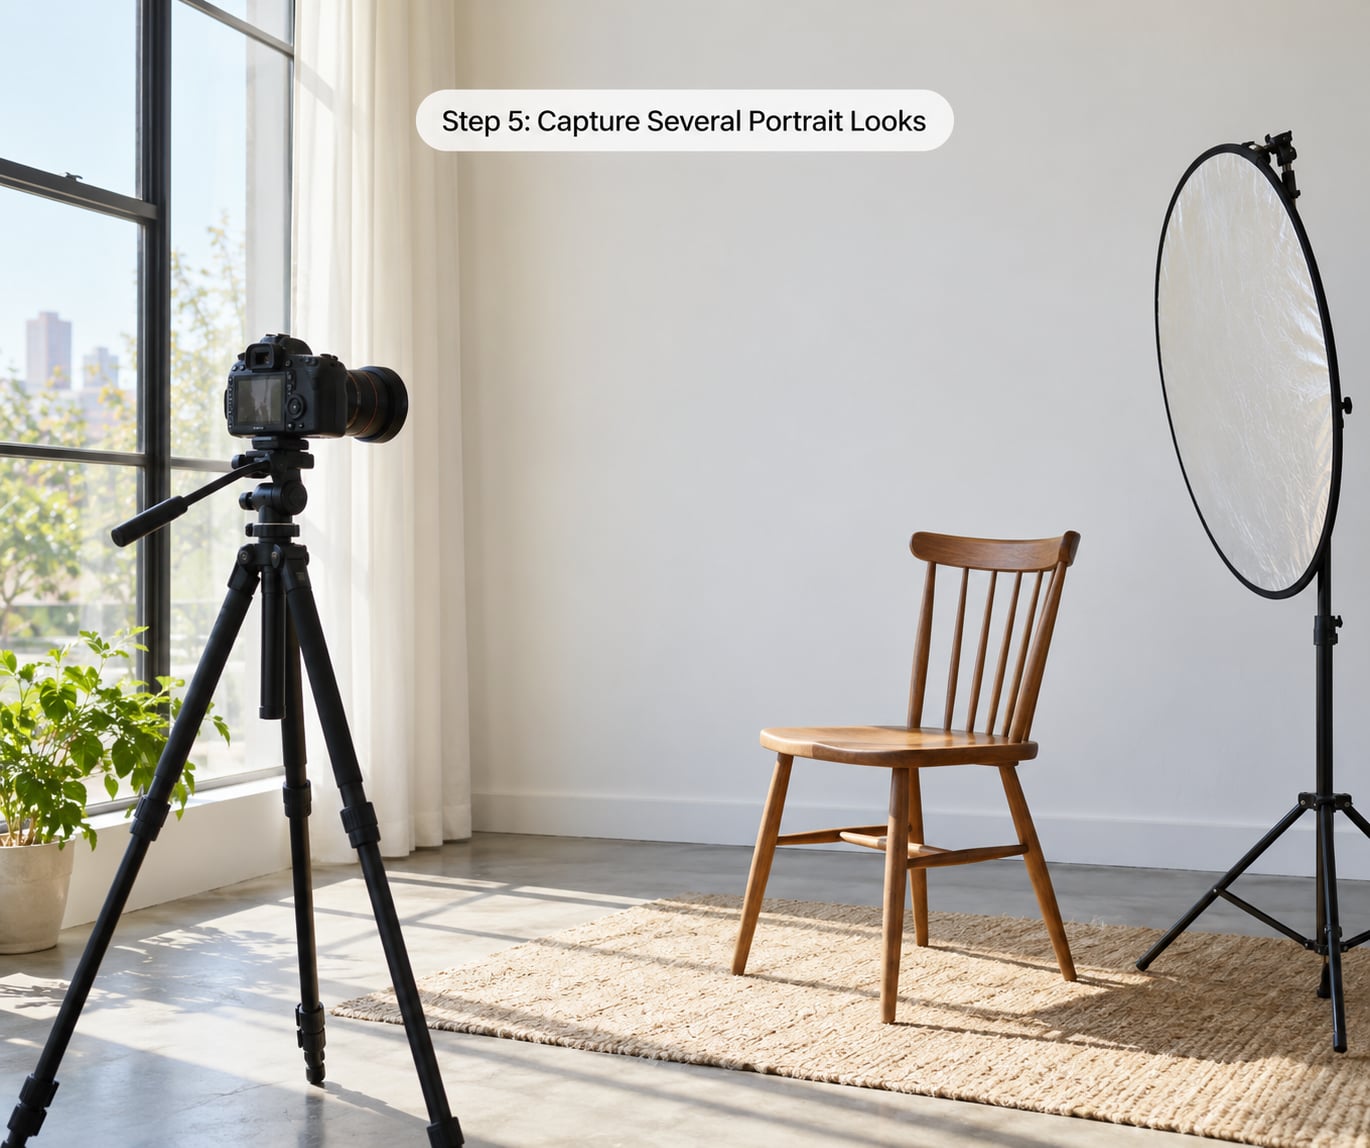
One setup supports an entire short series. Push the reflector back 30 centimetres for more shadow and a moodier frame, then bring it close again for a brighter, friendlier one. Move the subject 20 centimetres nearer the window to brighten the whole face, or further away to introduce falloff and a darker background.
Change the camera height too. Dropping to chest level for a seated subject creates a more intimate frame, while standing up gives a taller, more formal portrait. Ask for expression changes rather than pose changes, because a laugh between two steady poses will outperform ten identical stances.
Watch for the reflector drifting. Flimsy foam core warps and poster board slides out of position the moment someone breathes on it, so support the bottom edge with a chair or a bag rather than balancing it on an edge.
Common Mistakes
Mixed lighting. Any other lamp, window or screen in the room acts as a second source with its own colour, and the result reads as flat, slightly sickly skin. Turn them all off, or accept the second source deliberately and match the white balance to whichever one is dominant.
Blown window highlights. The window behind the subject will almost always clip. Meter off the face and let it go. If the window must hold detail, back the subject further into the room and expose for the glass, then lift the face in editing.
Harsh shadow side. Usually one of three things: the reflector is too far away, too small for the frame, or angled to miss the face. Bring it closer and watch the ratio change frame by frame.
Wrong surface for the light. Silver under soft window light produces a second, harder light that does not match the key. A lighting tip worth remembering: switch sides with the reflector out and in, and keep whichever version looks more natural. You are not obliged to fill the shadows at all, and a deliberate chiaroscuro ratio of light to shadow is a valid portrait style.
Working too far from the window. Inverse square law means light intensity drops as you move away from the source. Two metres back from the glass is a completely different exposure from one metre back, and the softer light there is often too weak for a fast lens. Keep the subject within about 1.5 metres of the window and compensate with aperture.
No assistant to hold the reflector. Clamp it, prop it, or let a seated subject hold it at waist level, which works well for headshots and upper-body frames. Avoid asking the subject to hold it near their face, since the effort shows in their expression.
Background competing with the subject. Simplify it. Turn the subject so the brightest part of the window sits behind their shoulder rather than directly behind their head, or hang a plain sheet on the opposite wall to give yourself a clean, darker backdrop.
Glasses deserve their own note. Turn them so the window reflects at an angle away from the lens, and raise them slightly toward the window if you can, since lenses reflect whatever is directly in front of them and that is the viewer’s side.
Frequently Asked Questions
What color reflector should I use for a one-window portrait?
Start with the white side. Window light is already large and soft, and white returns that same quality, so nothing looks out of place. Silver roughly doubles the output and adds a little hardness, which helps in a dim room or when you want a defined edge on the shadow side. Gold warms the light and suits cooler rooms or darker skin tones. Test each side from the same position before deciding.
Should the subject face the window or stand at an angle?
Stand at roughly 45 degrees to the window. Facing the glass straight on lights both sides of the face almost evenly and flattens it. At 45 degrees you get a lit side, a shadow side and a transition between them, which reads as shape and depth. Have the subject look at the camera or slightly past it, since looking toward the light causes squinting and drops the eyes into shadow.
How far should I place the reflector from the subject?
Begin about half a metre from the shoulder at chin height, then adjust. Closer produces stronger fill and opens the shadows almost fully, which can look flat on close portraits. Further away gives weaker fill and keeps more shadow structure. The practical rule is that the reflector should fill the shadows without erasing them. Change one variable at a time and compare the two frames on the camera screen.
Should I turn off the room lights when shooting near a window?
Yes, for the cleanest single-source look. Overhead lights, lamps and other windows add light with a different colour temperature, and mixing sources produces muddy skin tones and confusing shadows. If you want a second source on purpose, turn it on deliberately and set your white balance to match it. Half-on, half-off is the worst option, because you get the colour problems without any of the benefit.
How do I prevent the window highlights from being overexposed?
Expose for the face and accept the clipping window. Turn on the histogram or highlight alert and meter off the lit side of the face, not the window, since the camera averages bright and dark areas and will underexpose the subject. Clipped window pixels are fine when the background is meant to be bright. If you need detail in the glass itself, move the subject deeper into the room and lift the face during editing.
Can I use a white wall or piece of foam board instead of a reflector?
Yes, and most beginners should. A flat white wall, white foam core, or a sheet of poster board held against a chair reflects the same light a reflector does. The difference is control: a reflector can be angled, moved closer and swapped between surfaces, while a wall stays where it is. Prop the board on something solid so it does not warp or slide mid-shoot.
Conclusion
Learning to shoot a portrait with one window and a reflector is really about learning to see where the light already is. The window gives you a large, soft key; the reflector decides how much shadow survives on the far side of the face.
On your next session, put the subject 1 to 1.5 metres from the glass and turn them 45 degrees, kill every other light in the room, prop the reflector at chin height on the shadow side, and set exposure from the face with the histogram switched on. Take one frame with the reflector in and one with it out, then decide how much fill you actually wanted. Everything else, from camera position to expression, is a variation on that one decision.