Knowing how to make studio light look like daylight comes down to three things: one large soft source placed off-axis at roughly 45 degrees, matched to about 5200-5600K, and softened on the shadow side with a white reflector. Get those right and the room stops reading as a studio. It takes about twenty minutes to set up, costs almost nothing beyond a light and a piece of white board, and works in a basement with no windows at all.
This guide is aimed at portrait, headshot, product and food photographers who shoot indoors on a schedule the sun does not cooperate with. The whole method rests on one idea: outdoor daylight is a huge, distant, slightly directional source, and the faster you copy those three traits, the more natural the frame looks.
Table of Contents
- What You Need
- Step-by-Step: Build a Natural Daylight Look
- How to Choose the Light Direction
- How to Make the Light Soft and Wrapping
- How to Match Daylight Color
- How to Control Shadows and Background Contrast
- How to Set Camera Exposure for a Daylight Look
- Common Mistakes
- Frequently Asked Questions
- How do you simulate sunlight indoors?
- What white balance makes studio light look like daylight?
- How far should a light be from the subject?
- What is the 3 lighting rule?
- Can a white reflector replace a fill light?
- Do I need post-processing to sell the daylight look?
What You Need
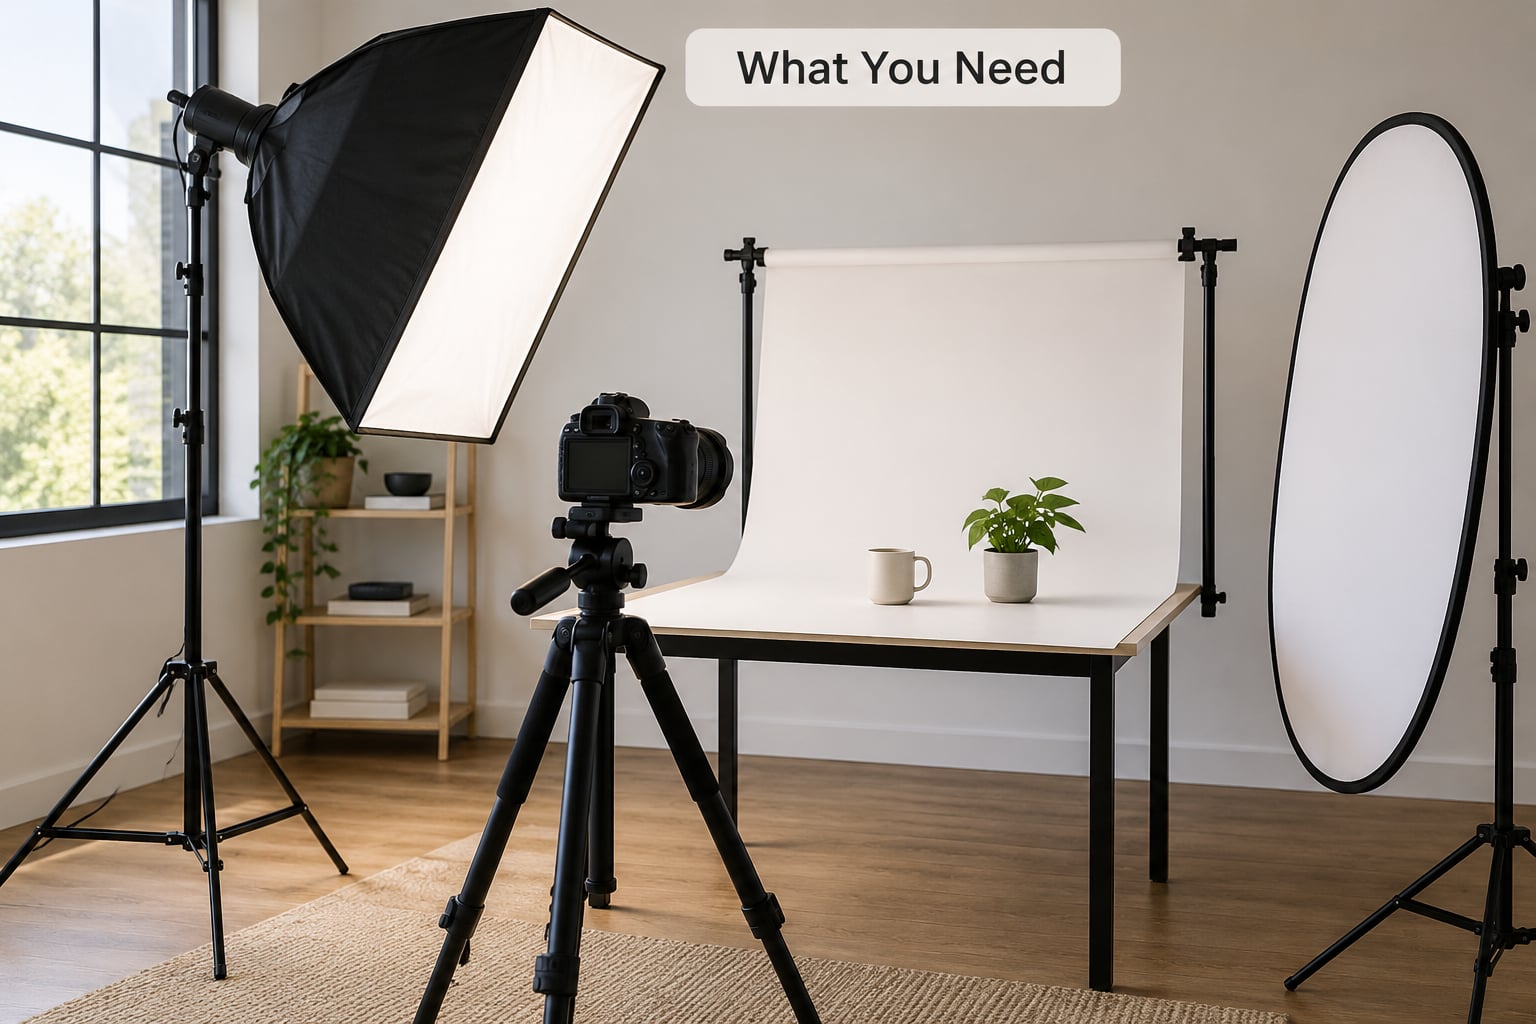
You can do this with a single light. Everything else is optional but makes the job easier.
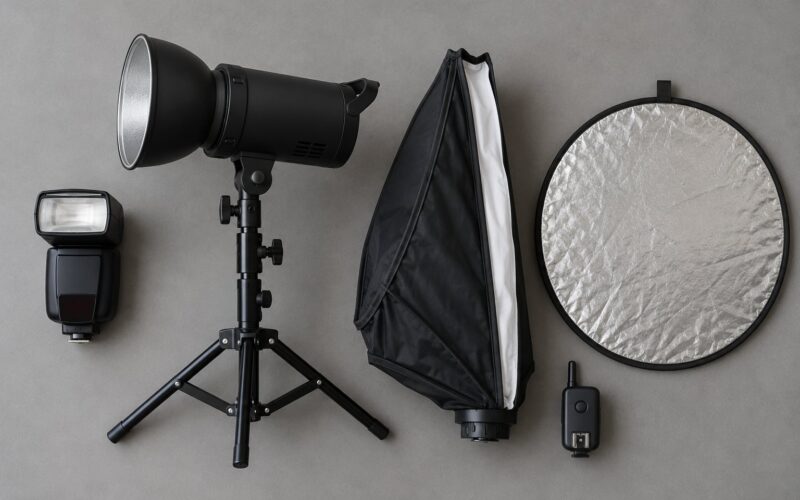
- A light with a large modifier. A softbox, a stripped umbrella, or a bare strobe fired into a scrim. Bigger is better here. Daylight is enormous, so a two-foot panel will always look like a lamp no matter how you set it.
- A white reflector or foam board. This is your fill. A 4-by-8 sheet of white foam core or a collapsible white reflector does the job of the bright wall you would normally bounce off.
- A stand or a boom arm. You want the light at a precise angle and height, which is hard to do by hand once you start moving it back and forth.
- A camera set to manual. Automatic modes will fight you here. You are making three exposure decisions in sequence and you want to hold all three.
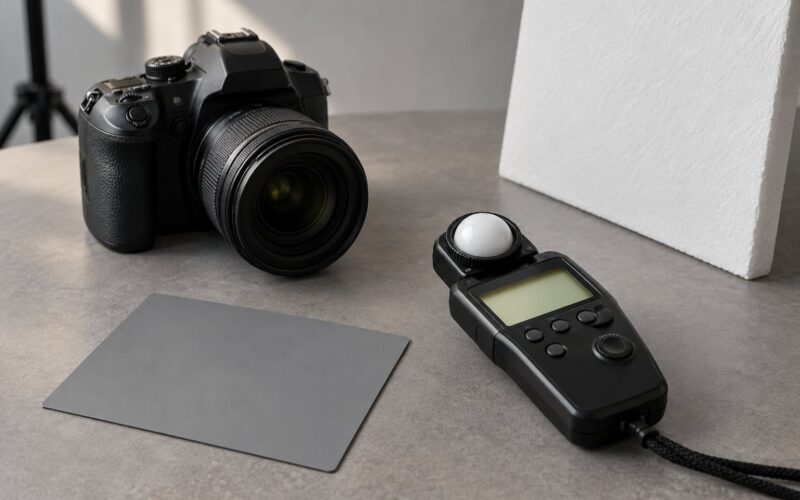
- A grey card or colour checker, if you have one. Not required, but it takes ninety seconds out of the colour guessing.
The expensive part of this setup is usually the modifier, not the light. Photographers on photo.net and dpreview forums repeatedly describe getting convincing results from a single entry-level strobe with a fabric diffuser, because the size of the source does the heavy lifting, not the wattage.
Step-by-Step: Build a Natural Daylight Look
In short: set the key at 45 degrees, make it big and close enough to wrap, dial white balance to 5200-5600K, lift the shadow side to roughly a 3:1 ratio, then expose so the background sits a stop or so above mid grey. Here is each step in detail.
How to Choose the Light Direction
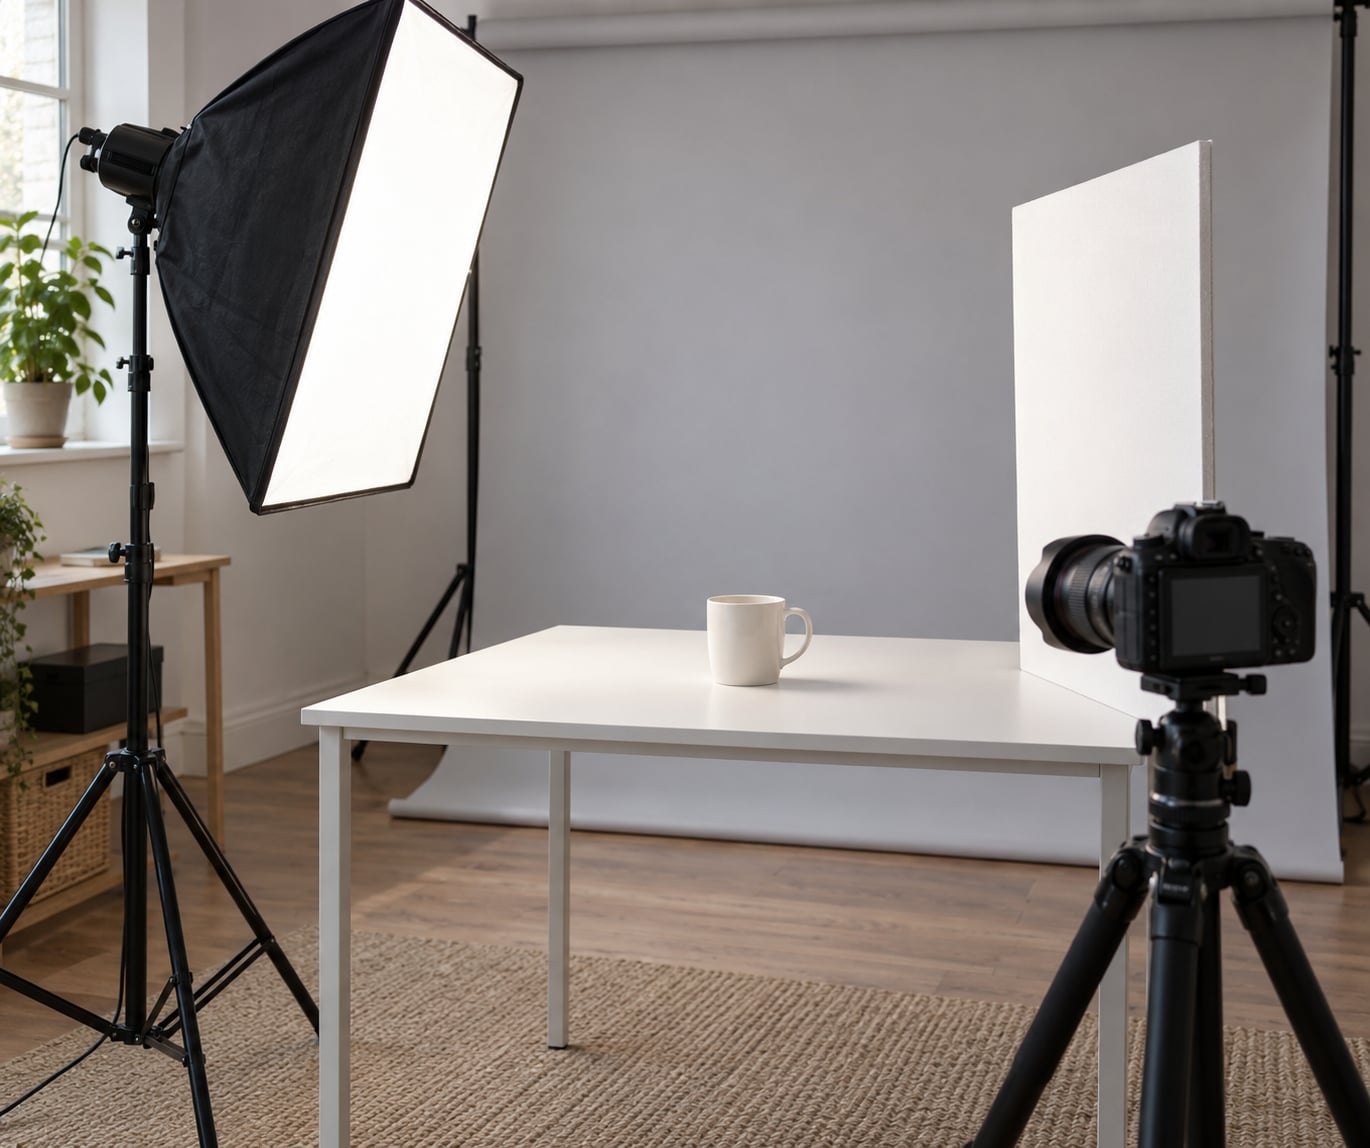
Start with the key light at roughly 45 degrees to one side of your subject, raised above eye level and angled down about 30 to 45 degrees. That is the position the sun spends most of a morning in, so shadows land somewhere believable and facial features get modelled rather than flattened.
How you know it worked: look for a small shadow under the nose that points off to one side, and a lit edge on the cheek nearest the light. If both sides of the face read at the same brightness, the light is too frontal and the frame will look like a passport photo.
Raise the light higher and pull it more to the side for a late-afternoon feel with longer shadows and more drama. Lower it toward eye level and push it further around for the flat, wrapped look of an overcast afternoon.
How to Make the Light Soft and Wrapping
Move the light close to your subject and make it large. Softness comes from the size of the source relative to the distance from the subject, not from the diffuser material itself. A one-metre softbox at one metre gives hard edges; a three-metre softbox at one and a half metres gives the wrapping, gradual falloff you see outdoors.
Then fill. Place the white reflector on the shadow side, close in, and the shadow side comes up to roughly a third of the key side. That is a 3:1 ratio, which is what most daylight portraits actually look like. A beginner with a softbox on a stand once described the same move in fewer words: the reflector is the cheapest fill flash there is.
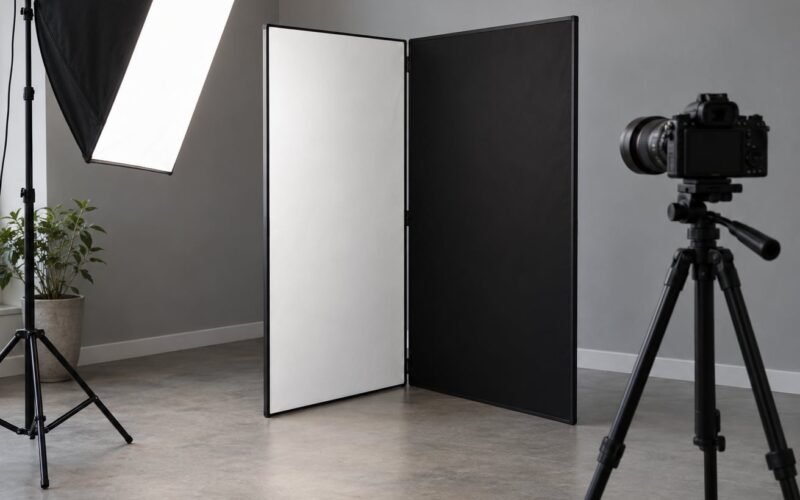
If you need the shadow side darker, use negative fill instead. A black V-flat panel absorbs the bounce and deepens the shadow without adding a second light or a colour shift.
How you know it worked: shadow edges should have a visible but soft transition you could blur with your thumb. If you can trace the edge with a fingertip, add diffusion. If the edge is a gradient with no defined line at all, pull the source closer.
How to Match Daylight Color
Set your camera white balance to a fixed value between 5200K and 5600K, shoot RAW, and stop guessing per frame. That range covers most of what people picture when they say daylight: neutral to faintly warm, clean skin tones, no blue cast on white surfaces.
| Color temperature | What it looks like | Use it for |
|---|---|---|
| 3200-3500K | Warm, golden, late afternoon | Matching low sun through a window |
| 5200-5600K | Neutral, clean, faintly warm | The standard daylight look |
| 6500K | Cool, slightly blue | Open shade and bright overcast |
| 7000-7500K | Very cool, blue-grey | Full blue sky light, heavy cloud |
If your flash has a daylight-balance setting, turn it on and leave the camera at 5400K. If you mix a strobe with an existing window, gel or correct the flash to match the window’s color, otherwise you get the mixed color temperature casts that people complain about most often on mixed-source shoots.
How you know it worked: check a white surface in the frame. If it reads faintly yellow, lower your Kelvin. If it reads faintly blue, raise it. Correct the color before you touch exposure, because changing exposure will not fix a cast.
How to Control Shadows and Background Contrast
Daylight backgrounds are bright. A real outdoor frame has the background sitting at or slightly above the brightness of the subject, and that contrast is a big part of why it looks open and airy rather than studio-flat.
Move your subject further from the background and light the background separately, or put a white or light grey surface behind them so the spill from your key does the work. Keep some distance between the subject and a white wall, or you will get a hot spot on it from the softbox.
For windowless rooms, the same principle applies with a different tool: keep the background two to three metres behind your subject and place the key close to the subject. The inverse square law means the background receives far less light than the subject, so the falloff does the separation for you without any extra gear.
How you know it worked: the background should be a touch brighter than the subject’s mid tones and free of visible falloff gradients, edges of your own gear, or cables.
How to Set Camera Exposure for a Daylight Look
Shoot in manual with a repeatable starting point: ISO 100 to 200, aperture around f/4 to f/5.6 for portraits and f/8 to f/11 for products, and the fastest shutter speed your camera allows at your flash sync speed, commonly 1/200 or 1/160.
Then work in this order: set your aperture, adjust the light power until the background is roughly one stop brighter than mid grey, then check the histogram. You want no clipped highlights on skin or on a white product surface, and you want the deepest shadows to sit just above pure black.
If your camera has a sync speed limit, remember that faster shutter speeds with flash reduce effective power. Compensating by cranking the flash re-introduces exactly the artificial look you are trying to avoid, so shoot at sync speed and adjust aperture instead.
How you know it worked: highlights off to the right but not touching the edge, shadows off to the left with a little breathing room, and skin tones sitting in the upper middle of the range.
Common Mistakes
The light is too small for the room. A bare strobe with a small reflector produces hard nose shadows and bright eye highlights that instantly read as studio. Fix: double the apparent size of your source by moving closer or using a bigger modifier.
Everything is lit equally. If the fill reflector is too close or too bright, you get flat, shadowless light that no outdoor scene produces. Fix: pull the reflector back until the ratio is closer to 3:1.
Color is corrected after exposure. Adjusting brightness on a frame with a blue cast makes the cast worse. Fix: set white balance first, expose second.
There is a visible hot spot on the backdrop. Move the key closer to the subject and further from the background, or angle the background away from the light.
The flash power is overwhelming the room. On mixed-source shoots, people often add flash to get more light and end up destroying the natural feel. Fix: expose for the ambient light first and treat flash as fill only, the approach photographers on r/AskPhotography recommend for interior work.
The background gives the room away. Visible light stands, a patterned wall, or a bright window behind your subject destroy the illusion instantly. Fix: reposition, or flag with black fabric and let the background fall off.
Chasing the daylight look in full sun. Not every image needs it. A crisp, high-contrast look with hard shadows is just as valid for direct midday sun. Match the look to the light you are pretending to have.
Frequently Asked Questions
How do you simulate sunlight indoors?
Place one large soft source at roughly 45 degrees to your subject and above eye level, set it to about 5400K, and soften the shadow side with a white reflector or a low-power fill. Brighten the background one stop above the subject so the contrast matches an outdoor frame. Shoot in manual at your flash sync speed and check the histogram for clipped highlights.
What white balance makes studio light look like daylight?
Between 5200K and 5600K. That range gives a neutral to faintly warm result that most people recognise as daylight. Shoot RAW, set a fixed value rather than auto, and check a white surface in frame to fine-tune. Correct color before you correct exposure, since exposure changes will not remove a cast.
How far should a light be from the subject?
Close enough that the modifier fills more of your subject’s view of the light. For a soft, wrapping look, most people end up with a two to three metre source one to one and a half metres away. To imitate direct sun with sharper edges, keep the source compact and more than five or six feet out.
What is the 3 lighting rule?
Three points: key, fill, and background. The key is the main source that shapes the subject, the fill controls how dark the shadow side gets, and the background light separates the subject from what is behind them. For a daylight look you can get away with one light plus a reflector, since the fill role is handled by bounce.
Can a white reflector replace a fill light?
Yes, and it is usually the better first choice. A white board on the shadow side, close to the subject, matches the color of your key automatically, so there is nothing to white balance. You compensate for the lost light by opening the aperture or raising ISO a stop, never by pushing the key brighter.
Do I need post-processing to sell the daylight look?
Only lightly. Most of the work happens in the setup, so grading should just correct what the setup missed. Raise exposure slightly on the background, lift shadows a touch, match white balance to about 5400K, and pull saturation down a little. Heavy colour grading on top of a hard-lit frame tends to look worse, not better.
If you only do one thing, put a single large source at 45 degrees, put a white board opposite it, and shoot one frame at 5400K. Judge that test shot before you add anything else, because every extra light you add takes you further from the open, directional, honest look that daylight gives you for free outdoors.