Most people do not dislike having their photograph taken. They dislike the four seconds when the camera comes up and they have to decide, instantly, what their hands are doing. The trick to learning how to pose hands in portraits is much simpler than it sounds: shake the tension out, keep the fingers soft and close, give every hand a small job, and angle it away from the lens. Ten minutes of practice will get you most of the way there.
The awkwardness is not about how your hands look. It is about tension, and tension is the first thing a camera picks up. A subject whose shoulders have risen half an inch, whose fingers have curled inward and whose wrist is locked mid-bend will read as uneasy no matter how good the light is. The good news is that hands are mechanical to fix.
This guide covers both sides of the camera. If you are the one being photographed, each step tells you what to do with your own hands. If you are directing someone, the same steps work as a script you can say out loud.
Table of Contents
- What You Need
- Step-by-Step: How to Pose Hands in Portraits
- Start With a Relaxed Hand Position
- Choose a Pose That Matches the Body
- Use the Hand to Create Leading Lines
- Add Meaning With Simple Gestures
- Try Poses for Common Portrait Looks
- Create a Hand Pose With a Prop
- Adjust the Pose for the Camera Angle
- Photograph Several Variations
- Common Hand Posing Mistakes and Fixes
- Tips for Natural Hand Posing
- Frequently Asked Questions
- What is the most natural way to pose hands in portraits?
- How do you keep hands from looking stiff in a photo?
- Should portrait subjects wear rings or keep their nails visible?
- What should I do if my subject does not know what to do with their hands?
- How can a photographer pose hands when the subject has short fingers?
- What props work best for natural-looking hand poses?
- Conclusion
What You Need
Nothing. That is the honest answer, and it is the part most guides bury. Hand posing is a placement and breathing problem, not an equipment problem. No lens, light or accessory will fix a clenched fist.
A few optional things do make practising easier before a real session:
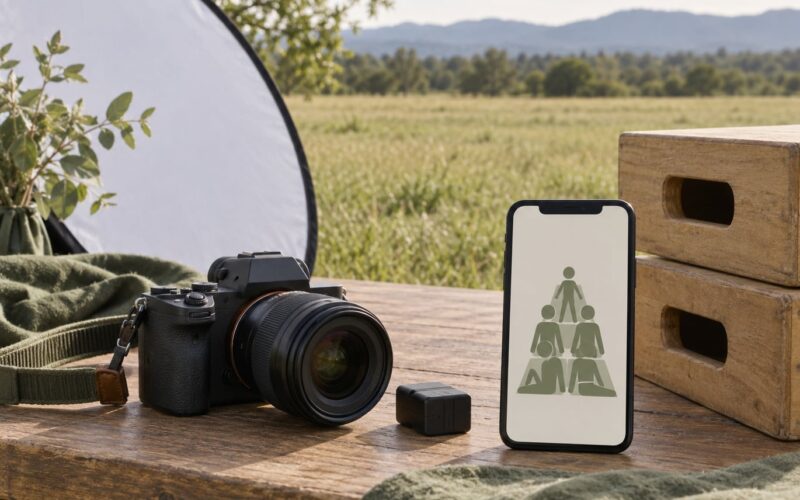
- A phone camera or any camera with a self-timer. Ten seconds of shots on a timer is enough to see which hand positions actually hold still.
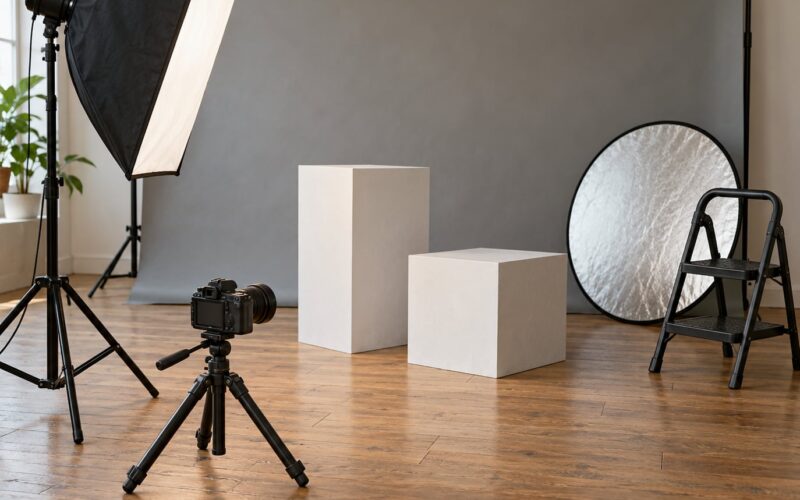
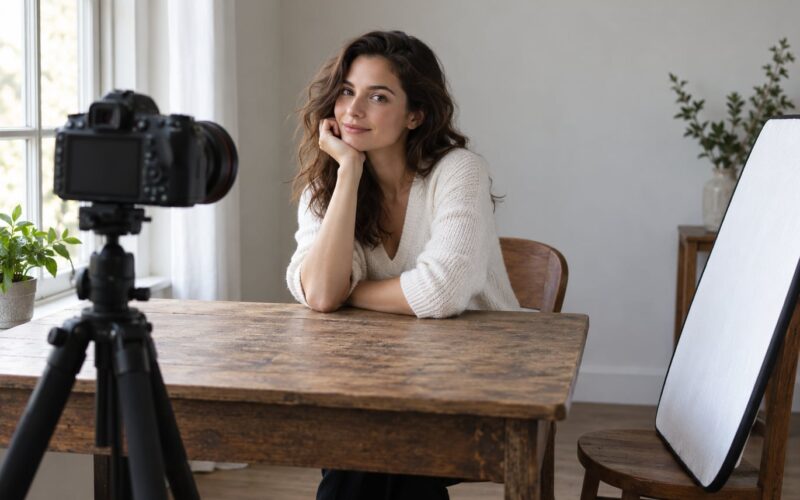
- A tripod, if you have one. It frees you to stand where your subject is standing and look at the pose from their eye line.
- A mirror. Best tool for the person being photographed, because you can see your own hands without anyone else in the room.
- A full-length outfit that fits well. Pockets, cuffs and lapels are half the props you will ever need, and a badly fitting jacket ruins the pose before the hand is even visible.
If you are shooting professionally and want a place to keep coming back to, the shot sequence further down works well as a printable reference card.
Step-by-Step: How to Pose Hands in Portraits
Start With a Relaxed Hand Position
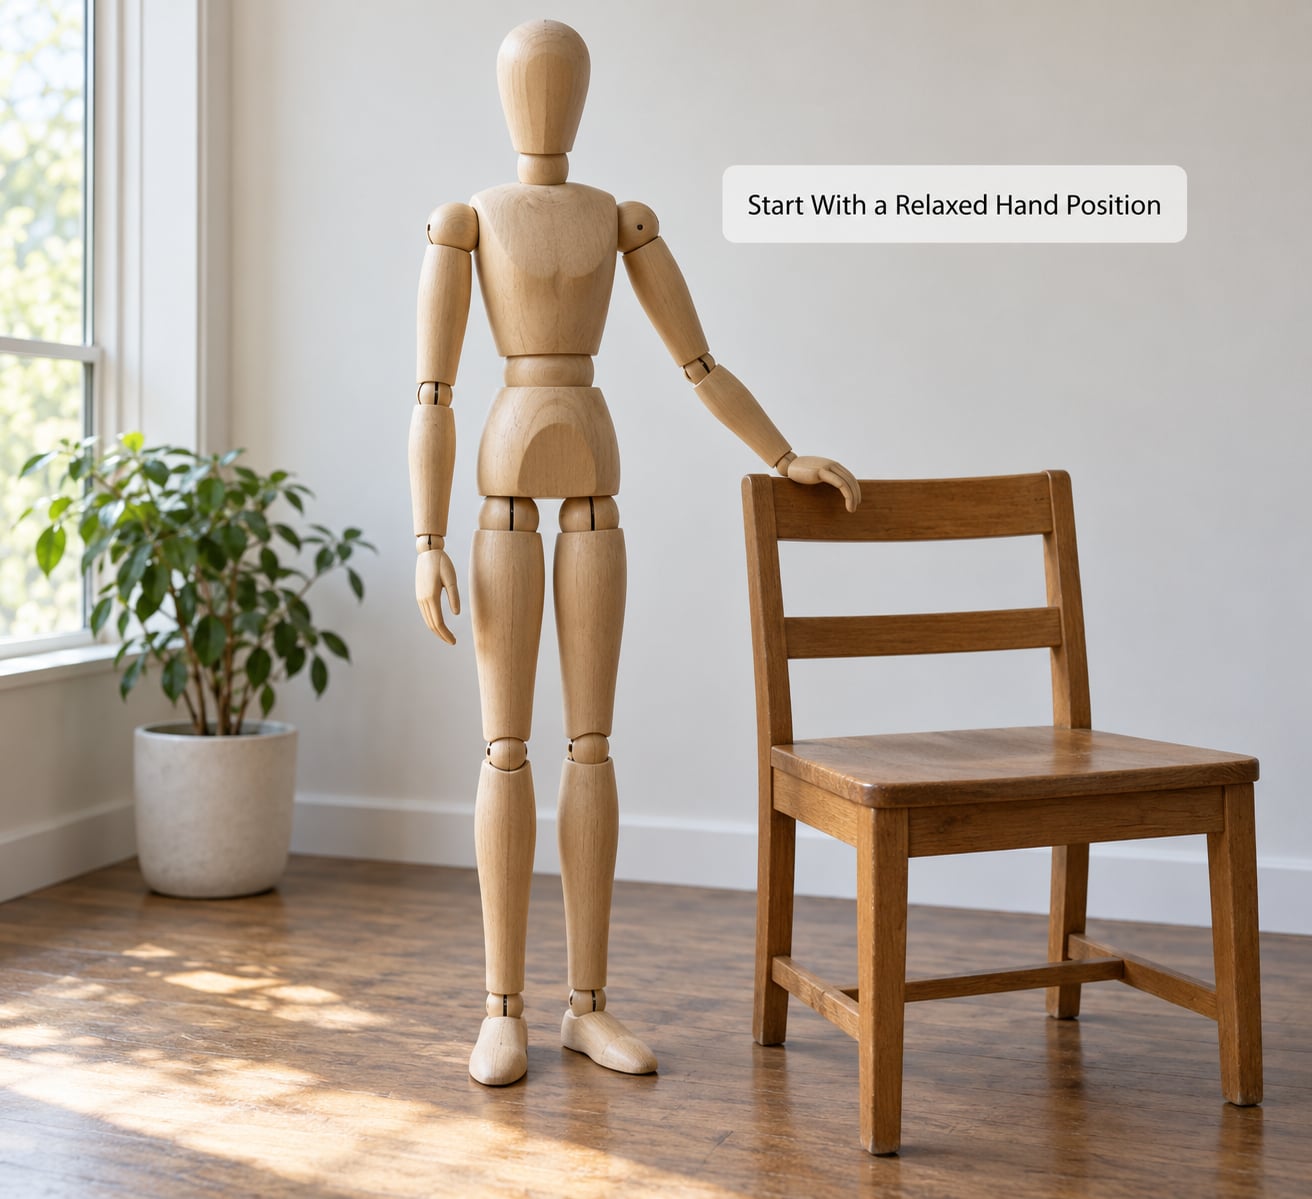
Start every portrait from the same base shape: fingers close together without touching, a small soft bend in the knuckles, the thumb resting lightly against the side of the index finger, and the wrist continuing the line of the forearm rather than angling away from it.
How do you actually get there, especially if you are the one being photographed? Almost every photography forum thread on this topic lands on the same answer: telling someone to relax makes it worse. The word itself puts more attention on the hands, and the hands clamp up. A physical drill works far better.
- Shake both hands loose for five seconds, like you are flicking water off your fingers.
- Drop both arms straight down and let them swing.
- Exhale slowly, longer than the inhale, and only then lift one hand into position.
You can tell a hand looks natural when the knuckles are not white, no finger is floating apart from its neighbours, and the hand would fall the same way if nobody were watching it. Stiffness in a photograph reads as a locked wrist, and a locked wrist reads as a broken wrist.
Choose a Pose That Matches the Body
The base shape matters, but the position on the body matters more. Waist, hip, pocket and lap each work, and each one flatters a different body and a different outfit.
- At the waist: fingers resting just above the hip bone, thumb forward so the camera can see it. Bring the hand up a touch and then let it settle back, which is the single most useful micro-adjustment in portrait posing.
- On the hip: elbow angled forward and away from the torso, not squared to the camera. A pointed elbow draws a hard diagonal straight into the frame.
- In a pocket: partial, with the fingertips or thumb showing. A full pocket hand reads as closed off. The thumb through a belt loop is a small classic that works on almost every body type.
- In the lap when seated: one hand resting over the other, loosely, rather than flat and symmetrical on both thighs. Flat hands on thighs flatten the whole seated shape.
Then check the clothing. A deep pocket swallows a hand completely, and a bulky cuff hides the wrist you just carefully softened. A stiff new jacket pushes the elbow forward on its own, which is useful, but it also makes any hand resting on it look like it is bracing.
Use the Hand to Create Leading Lines
A hand held away from the body does more than fill space. It draws a line through the photograph, and you decide where that line goes. Extend a hand gently toward the collar, the jacket lapel, a pocket, the strap of a bag or the other person’s shoulder, and the eye travels along the arm and lands where you want it.
Keep the line soft. A fully extended, straight-armed point is a gesture of command, not relaxation, and it pulls focus away from the face toward the fingertip. Bend the elbow a little, angle the palm down or inward, and let the fingers extend only as far as the wrist can do without stiffening.
The other option is to point the line out of frame. A hand just beyond the edge of the crop, or resting on something outside the picture, quietly says there is a world beyond the photograph. It also gives you somewhere natural to look if the subject is uncomfortable with eye contact.
Add Meaning With Simple Gestures
The most convincing hand poses are small actions rather than positions. Touching a jacket lapel, adjusting a necklace chain, brushing a lock of hair away from the forehead, resting fingertips on a collarbone or turning a cup in both hands all read as mid-moment rather than mid-pose.
One hand should be active and the other should rest. That asymmetry is what separates a person from a stock photograph, and it is worth building into every pose you plan.
Nobody watching a photograph can tell whether you just touched your collar or have been holding it for a minute. They only notice if it looks staged.
Try Poses for Common Portrait Looks
These twelve are the ones that come up in almost every portrait session. Work through them once, note which ones suit your subject, and you will never freeze again.
- Relaxed arms at the sides, fingers lightly curled. The default. Keep the thumbs forward and a couple of centimetres of space between arm and body.
- One hand in a pocket, the other arm loose. The other hand can rest on the strap of a bag or hang naturally.
- Thumb hooked through a belt loop. Casual, works with denim, and it fills the space between waist and hip.
- Hand on the waist, elbow forward. Works for most adults and reads as confident without being stiff.
- Hand on the hip, angled away from the camera. A variation of the previous one, softer and more editorial.
- Both hands lightly clasped in front, low and loose. Keep the clasp below the sternum, not across the stomach, and never weave the fingers together.
- One arm folded, the other hand touching the opposite elbow. This is the fix for the crossed-arms pose, where fingers usually disappear. The supporting hand keeps them visible.
- Fingertips at the collarbone. Light contact, no pressing. Fingertips on the neck or jaw push toward a different, more intimate register.
- Hand brushing hair back from the face. Gives the elbow a purpose and creates movement in an otherwise static frame.
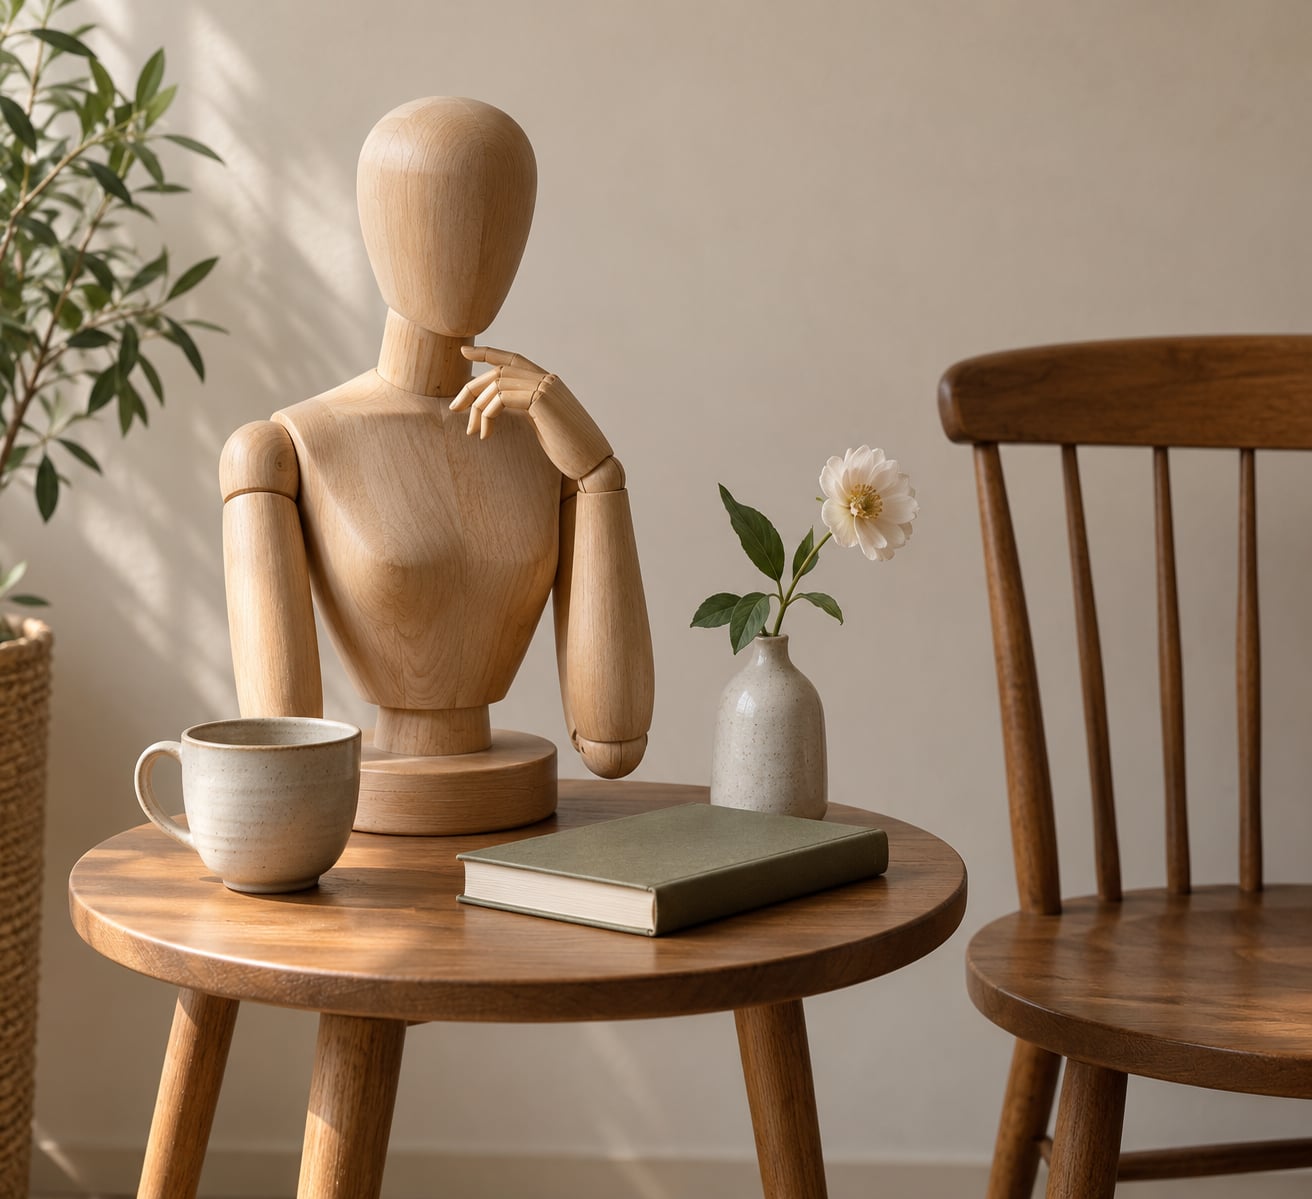
- Both hands holding a cup, a book or a hat. The most reliable option for a subject who has no idea what to do.
- Hands behind the back, one wrist held by the other. Watch the shoulders, they will pull back. Best used from a slight angle rather than straight on.
- Resting a hand on the back of a chair, or on a wall. A real surface gives the fingers somewhere to go and stops them from dangling.
Create a Hand Pose With a Prop
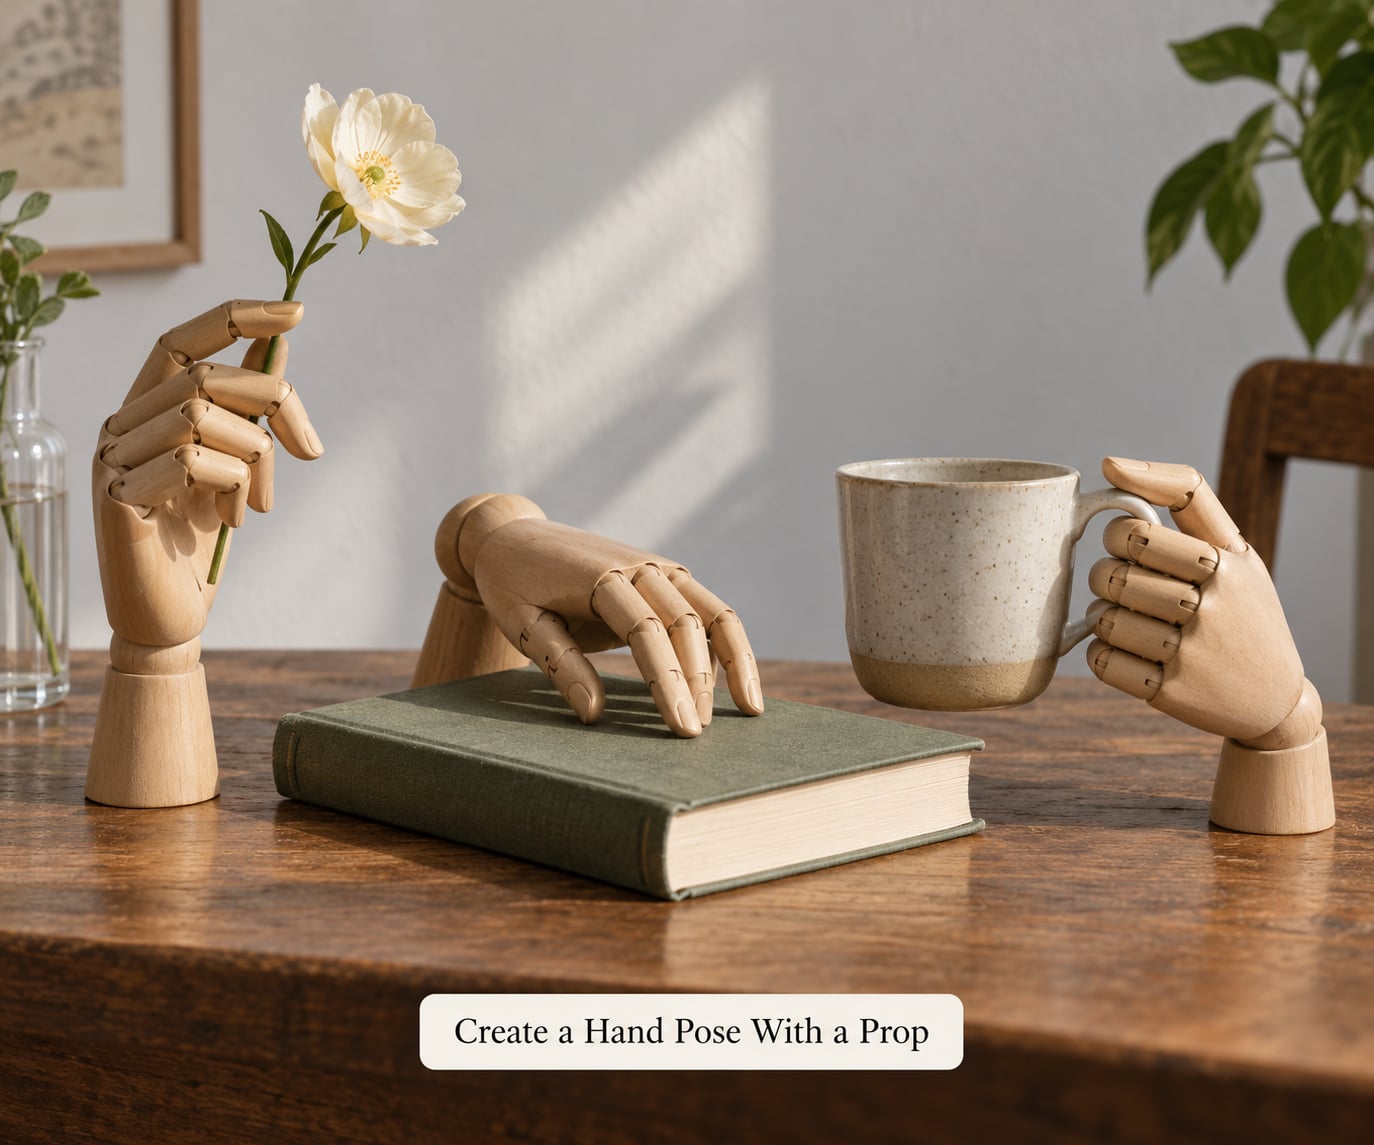
A prop solves the empty-hand problem in one move, and it is the fastest rescue when a subject has been holding a rigid pose for five minutes. The rule is that the object has to belong to the scene. A coffee cup in a cafe, a book in a library, a hat outdoors, a bouquet at a wedding.
Hold it loosely, with the fingers wrapping rather than clamping, and keep the object low or to one side. A cup held at chest height covers the shirt front and flattens the torso. The common error is holding the prop too close to the camera, where perspective makes the hand and the object swell and the face shrink behind them.
A handful of props that photograph well:
- A ceramic cup or glass – two hands wrapped around it reads as warmth and calm.
- A book held closed, resting against the body – tucks one elbow neatly against the ribs.
- A single flower or small bunch – a natural reason to look at the hands instead of the lens.
- A hat held by the brim – the fingers spread slightly across the edge, which is one of the few places where slightly separated fingers look right.
- Glasses, held by one temple arm – small, fast, and it keeps one hand occupied while the other stays free.
- A phone or camera – only if the portrait is about that. Otherwise it pulls the eye to the screen.
Adjust the Pose for the Camera Angle
Photographers get this wrong more than subjects do. A hand that looks lovely head-on can look stubby and strange from three-quarter left, and the same pose collapses entirely if the hand is pointed straight down the lens.
Three rules cover almost every situation:
- Keep the hand roughly parallel to the sensor. A hand angled sharply toward the camera is foreshortened, and foreshortening is what makes fingers look short and stumpy.
- Show the side or the back of the hand, not the flat palm. Shooting a palm straight on flattens it into a shapeless shape. Turn it about 45 degrees.
- When a hand comes near the lens, use a longer focal length. A 50mm or 85mm keeps the hand in proportion with the face. A wide lens close to the subject will always exaggerate a hand that is nearer the camera than the face is.
Check the pose from the position you will actually shoot from, not from the side. The quickest way to test a hand is to look at it in the mirror at eye level, then crouch and check again from waist height.
And if a subject cannot relax their hands no matter what you try, crop. A head-and-shoulders frame that cuts cleanly above the wrist solves the problem completely, and nobody reading the photograph knows what was excluded. A clean crop is a decision; a dangling hand is a mistake.
Photograph Several Variations
Stop searching for one perfect pose. Take a short sequence instead, and change one thing at a time so you know which change actually helped.
The most efficient method is to fix everything else, then move only the hands. Shoot pose one, then move one hand without changing the other, shoot again, then change the wrist angle on that same hand. Six frames in this pattern will beat six random poses, because you end up with a comparison instead of a guess.
Sit down afterwards and look at the sequence at small size. The pose that reads best when you squint is the one that will read best in a printed album or on a screen. Most people pick the pose they liked while standing close to the monitor, and that is usually not the pose that works.
Common Hand Posing Mistakes and Fixes
Nearly every awkward hand in a portrait comes from one of a handful of causes. Find the description that matches what you are looking at, apply the correction, then check the result before the next frame.
- Claw hand, fingers bent at the knuckles. The subject was told to relax and concentrated on the hands. Shake the hands loose, drop the arms, then rebuild the pose from the base shape. Check the knuckles are not white.
- Fingers pressed hard together. Usually a grip used to hide a hand. Loosen until there is a hair of space between the fingers, and confirm no finger looks squeezed.
- Fingers splayed flat like a starfish. An overcorrection from a fist. Splay only slightly and keep the natural curve, so the fingertips never form a fan.
- Wrist bent at an angle the forearm does not follow. The hand was positioned before the arm was. Straighten the wrist first, then place the hand, and check that the line from forearm to hand is unbroken.
- A hand missing behind an arm. Crossed arms or a bent elbow hid it. Rotate the forearm until the fingers are visible, or cup the opposite elbow, then confirm both hands are accounted for.
- Both hands flat and symmetrical. Mirror posing copied from stock photographs. Make one hand active and the other resting, so the two hands are doing different jobs.
- Hands pressed over the stomach. No other option was offered. Drop one arm, or place both hands on a pocket or a prop, and keep the midriff clear.
- Hands cut off awkwardly at the wrist. A loose crop rather than a deliberate one. Reframe higher for a clean head-and-shoulders crop that sits at the shoulder or above.
- Fingers missing behind a cup or a phone. The prop was held too high or too close to the lens. Lower it and angle the hand about 45 degrees, until two or three fingers read clearly.
- Hands hanging dead by the sides. No job and no space between arm and body. Put a thumb in a pocket or bend the elbow slightly until there is a visible gap at the elbow.
Two of these deserve extra attention because they come up in almost every beginner session. Intertwined fingers make a hand look larger and darker than it is and drag attention away from the face, so keep fingers together and loose instead. And a hand held flat against the thigh when seated compresses the legs and shortens the torso, so rest one hand over the other with a slight gap.
Tips for Natural Hand Posing
A few habits separate a photograph that looks relaxed from one that merely looks correct.
- Breathe out before the shutter. An exhale drops the shoulders and softens the hands at the same time, which is why it works better than any verbal instruction.
- Make micro-adjustments. A finger that lifts a millimetre between frames changes the whole read of a hand. Move less than you think you need to.
- Keep hands away from the face unless the portrait is about intimacy. A hand near the cheek competes with the eyes for attention, and the eye almost always loses.
- Keep one elbow visible. Visible elbows create a triangle in the composition and open up the space between arm and torso.
- Do not press. Pressing a hand against the body, a chair or a wall flattens the skin and creates folds. Light contact, resting rather than leaning.
If you are directing someone, specific beats vague every time. Instead of saying relax, try: shake your hands out, then let them fall. Instead of put your hand on your hip, try: lift your hand to the belt loop, then let it settle. Instead of look relaxed, try: take a breath in, and let it go slowly.
Hand preparation also changes how hands photograph, and it is rarely discussed. Clean, trimmed nails and a little lotion on dry hands make a real difference under a bright key light. Rings are a choice: a stack of thin bands catches light and draws the eye, so keep or remove them deliberately rather than by accident. If hands are cold, run them under warm water first, because cold hands tighten quickly and cold fingers curl.
One last thing. Frame this as technique, not as judgement. Hands vary in size, shape, age and skin tone, and none of that is a posing problem. Stiffness is a posing problem, and stiffness is fixable in about five minutes.
Frequently Asked Questions
What is the most natural way to pose hands in portraits?
The most natural hand pose is the one with a job attached to it. Resting fingertips on a jacket lapel, holding a cup in both hands, or hooking a thumb through a belt loop all photograph as a moment rather than a pose. Whatever the position, keep the fingers close together without pressing, the knuckles loose, and the wrist in line with the forearm.
How do you keep hands from looking stiff in a photo?
Shake the tension out physically before you pose. Tell the subject to shake both hands for five seconds, drop the arms, then take one long exhale before the hand is lifted back into place. Telling someone to relax tends to make it worse, because the instruction focuses their attention on the very thing that needs loosening.
Should portrait subjects wear rings or keep their nails visible?
Both are fine, but decide deliberately. A stack of thin rings catches light and pulls the eye away from the face, so remove them for tight head-and-shoulders work. Nails read better when the hand is turned about 45 degrees, showing a slight edge of the fingertips rather than the full flat of the palm. Wiping off shiny lotion also stops hotspots under the key light.
What should I do if my subject does not know what to do with their hands?
Give them something to hold, then let the pose evolve from it. A cup, a book, a hat, a pair of glasses or even a phone will occupy both hands and produce a far more natural result than verbal direction. Then move one hand at a time while they keep holding the object, so the change is small enough that they do not brace against it.
How can a photographer pose hands when the subject has short fingers?
Never pad or lengthen fingers with a pose. Short fingers photograph best when the hand is slightly curled, angled about 45 degrees to the sensor, and given a job, because a purpose keeps attention on the gesture instead of measuring the fingers. A prop held in both hands hides the hand almost entirely, and a tighter crop does the rest.
What props work best for natural-looking hand poses?
Choose props that belong in the scene: a cup in a cafe, a book in a library, a bouquet at a wedding, a hat outdoors. Hold the object low and off-centre with a loose wrap, and keep it away from the lens or it will swell in perspective. A prop that does not fit the location reads as borrowed and pulls attention away from the face.
Conclusion
Start with a relaxed hand, give it something believable to do, check it from the angle you will actually shoot from, and adjust one small thing at a time. Do those four things and awkward hands stop being a problem in any portrait session.
Shake out your hands, drop your arms, take one long breath out, and try pose number one from the list above. It takes ten seconds and it is the whole trick.