To measure light ratios, meter the fill light at the position of your subject’s face, then meter the key light from that same spot, and count the stops between the two readings. One stop of difference doubles the light, so one stop reads as a 2:1 ratio and two stops as 4:1. That is the whole procedure, and it takes about two minutes once you know where to stand.
Most beginner ratios go wrong because of placement rather than math. The meter ends up under a chin, aimed at a white wall, or shaded by the photographer’s own shoulder, and the numbers that come back are confidently wrong. Get the position right and the arithmetic is trivial.
This guide covers the meter method, the no-meter alternatives, the conversion table, and how to measure a background or hair light without overthinking it.
Table of Contents
- What You Need
- Step-by-Step: How to Measure Light Ratios
- Choose the measurement method
- Set up a repeatable lighting test
- Calculate or estimate the light ratio
- Apply the result and verify the look
- Common Mistakes
- Frequently Asked Questions
- What light ratio is best for portraits?
- How many stops are in a 2:1 lighting ratio?
- Can I measure light ratios with a smartphone app?
- Do I need a gray card to measure light ratios?
- Should I meter the key light or the shadow side first?
- How do I adjust lighting after measuring the ratio?
- Conclusion
What You Need
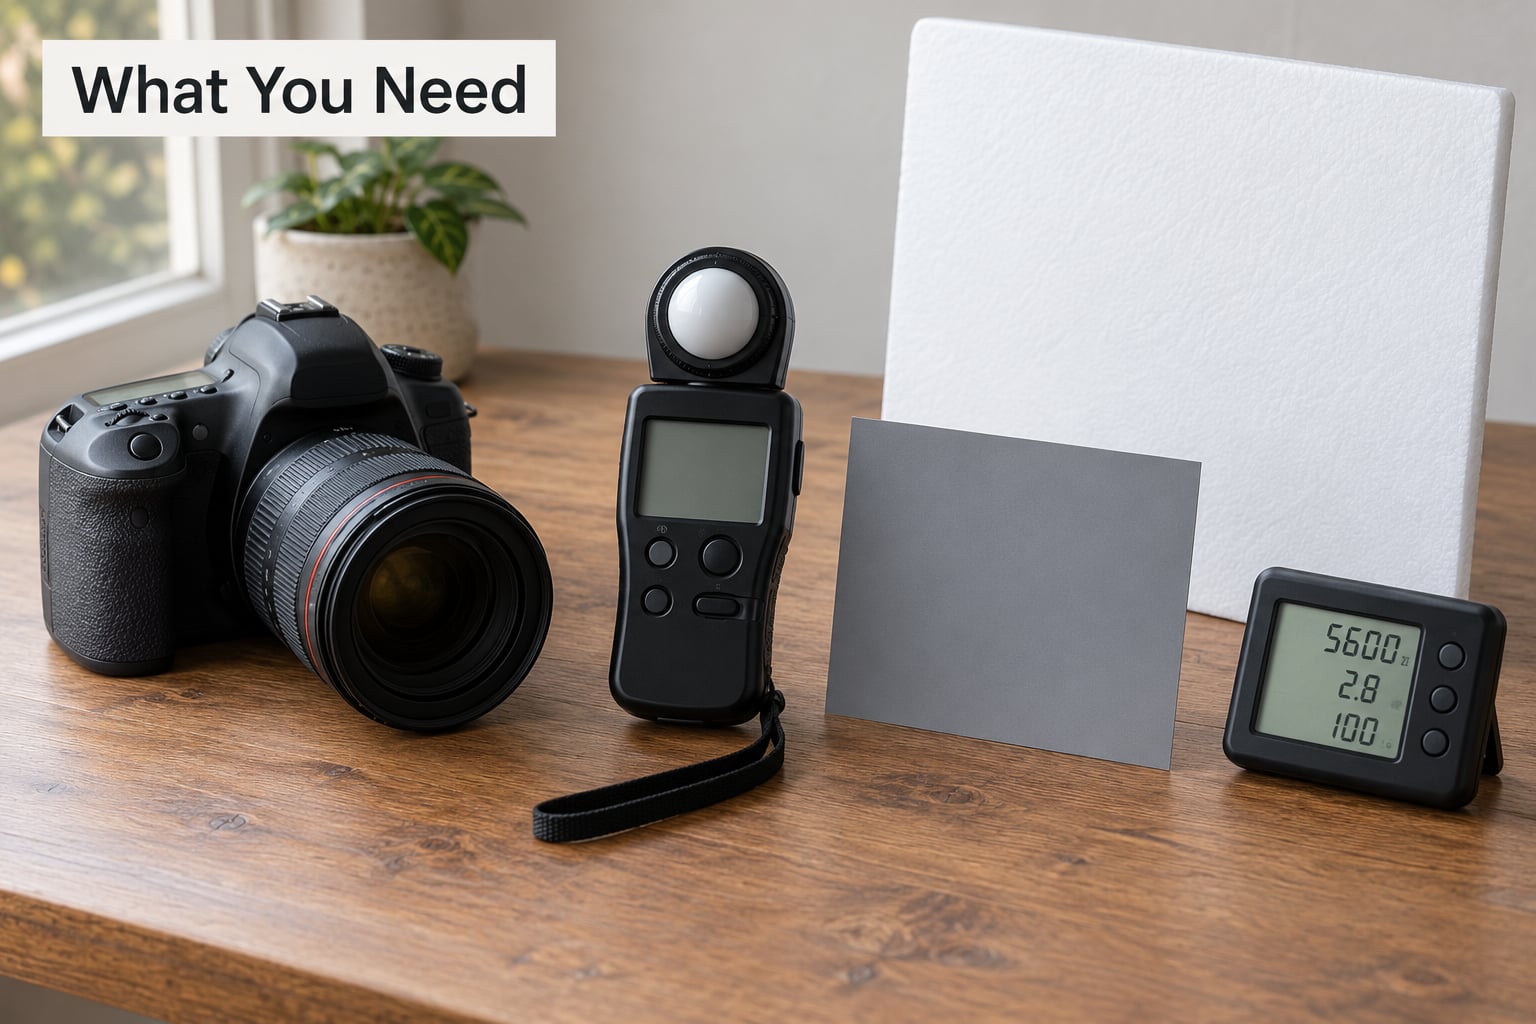
You need very little. A working setup has a light source, a subject position and something that tells you the brightness at that position. Everything else is convenience.
Essential:
- A camera with settings you can lock. Manual mode, fixed ISO, fixed shutter speed. If aperture or ISO drifts between readings, the comparison is worthless.
- A subject position you can mark. A tape mark on the floor saves you guessing where the face was each time.
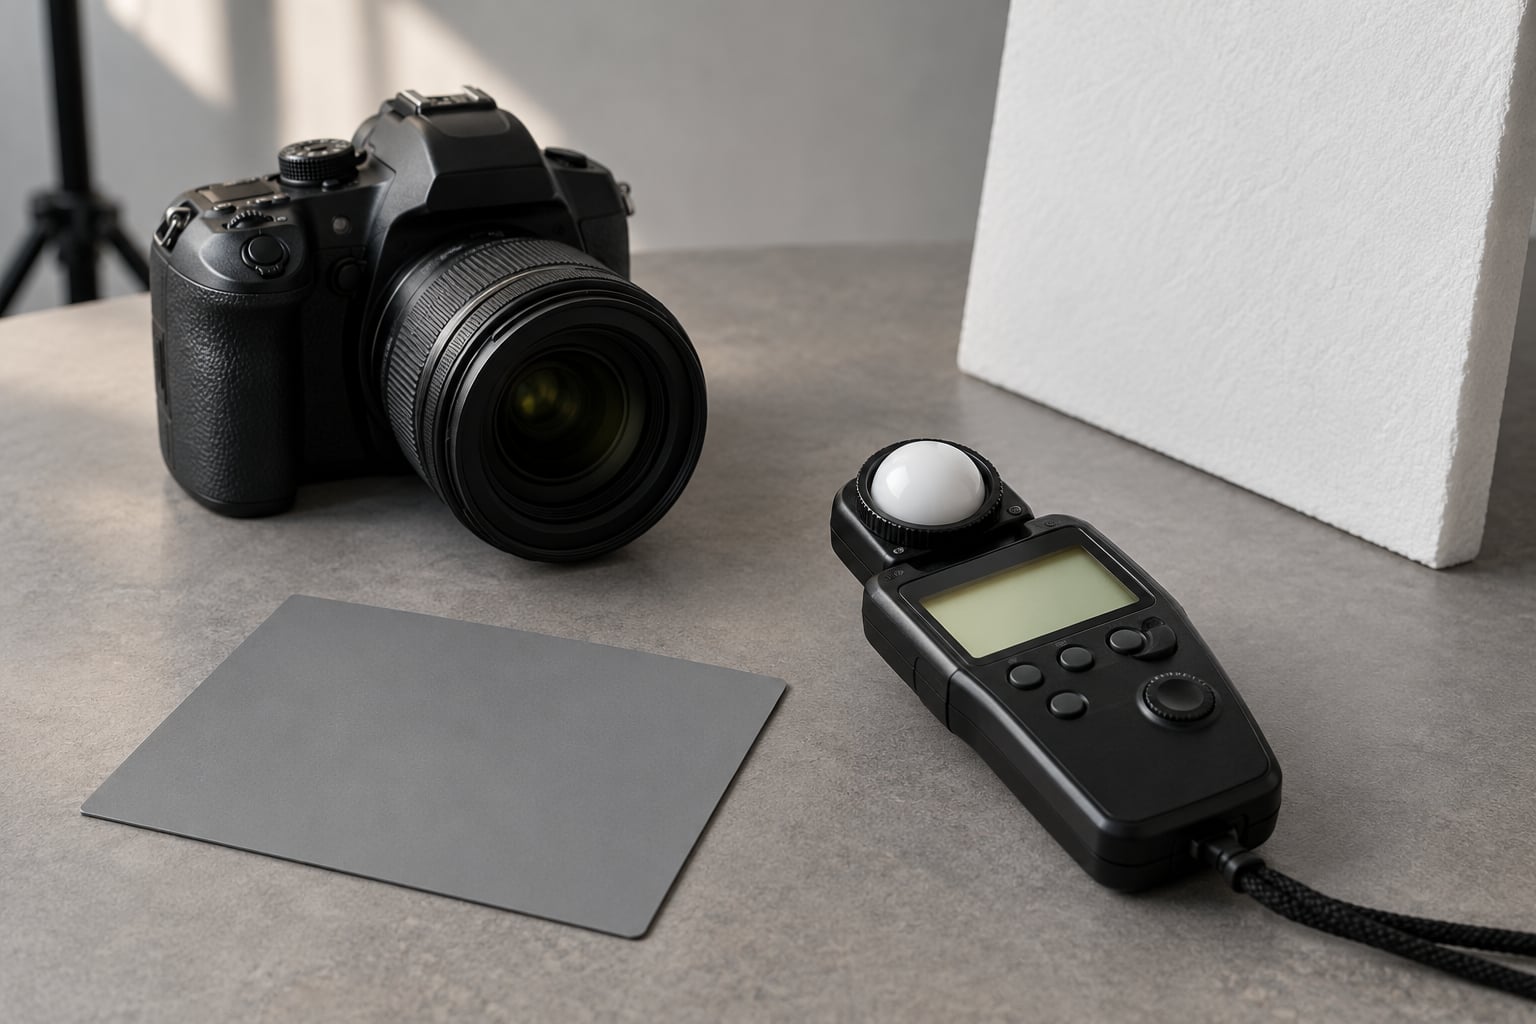
- An incident light meter with a flat disc. This is the one real purchase worth making. The flat disc is what you use for ratios; the white dome is for exposure.
- A fill source or reflector. A white card or foam board bouncing the key back into the shadow side works for a 2:1 start. Without any fill, you are measuring key against ambient, which is a different job.
Optional but useful:
- An 18 percent grey card. Needed if you want a reflected reading or want to verify a spot meter against the film or sensor.
- A phone light meter app. Handy as a sanity check, not as the primary tool.
- A flag or black foam board. Negative fill is the fastest way to raise contrast without adding power.
- A stand with a boom. It holds the fill at a fixed distance so you are not re-guessing the ratio after every adjustment.
If you own one light and no fill, ratios still apply. Measure key against background, or key against the shadow side your own flag creates.
Step-by-Step: How to Measure Light Ratios
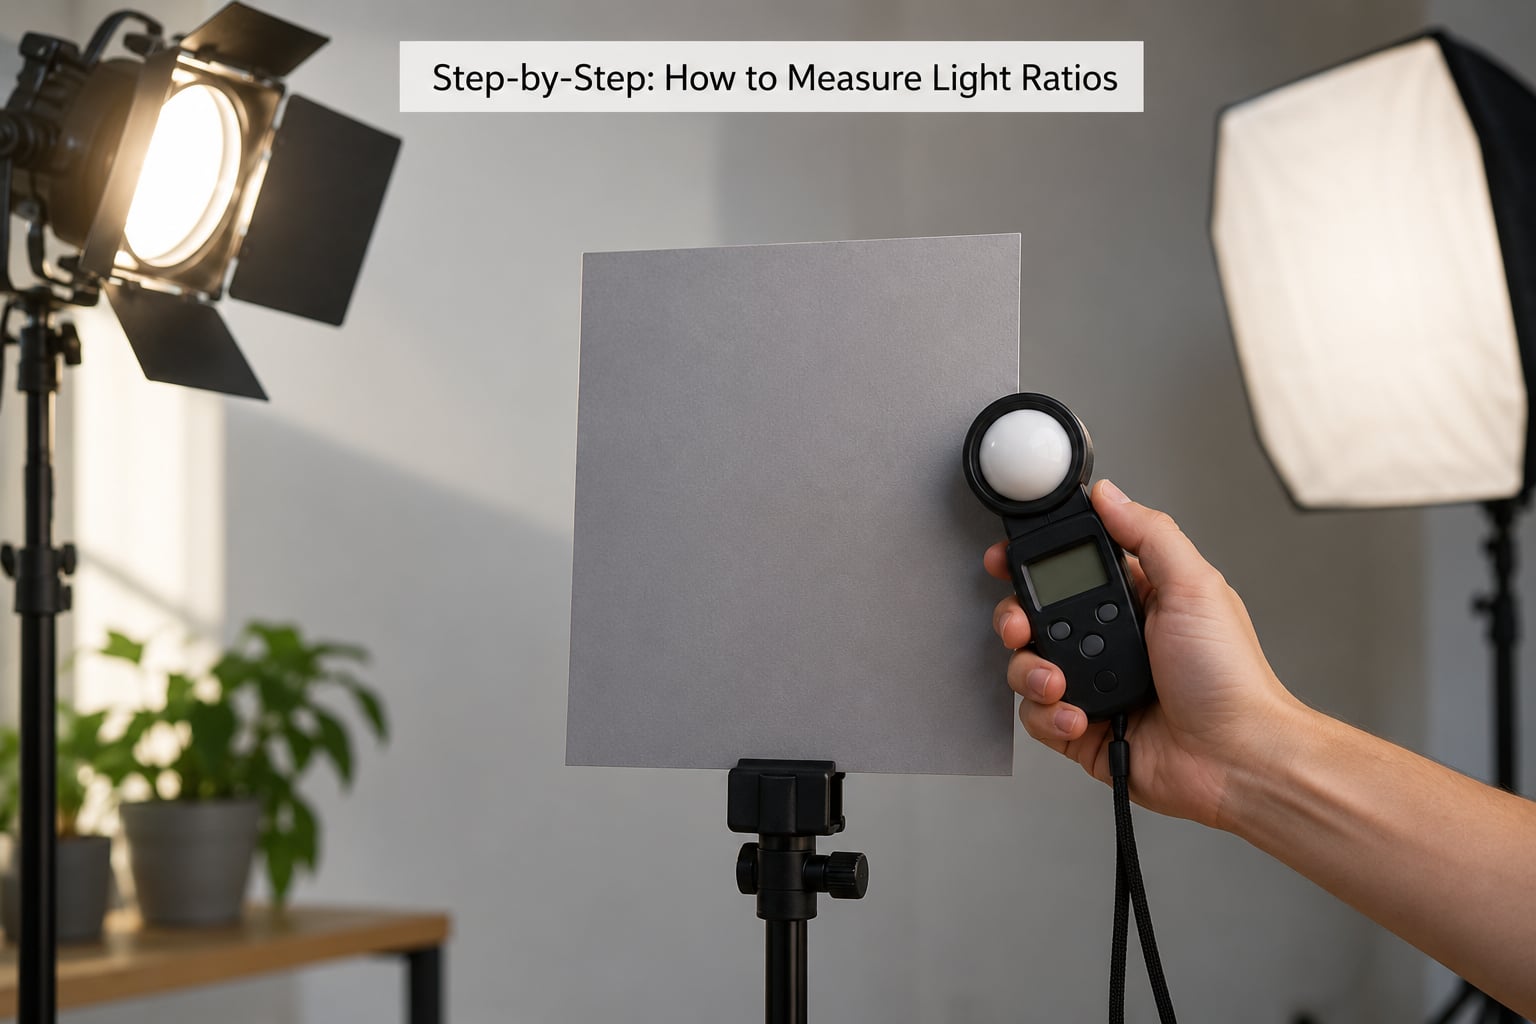
The procedure below is the one most working photographers settle on: meter at the subject, point at the source, and never change anything between readings. Work through it in order and the ratio follows.
Choose the measurement method
For ratios, use an incident meter in flat disc mode. Hold the disc at the position of your subject’s face, roughly a few inches in front of it, and point the sensor at the light you are measuring. Repeat for each source. This measures the light arriving at the subject rather than the brightness of a surface, which is what a ratio describes.
Keep the dome flat. The distinction matters more than any other in this guide: the disc is the ratio tool, and switching to the white dome turns the meter into an exposure meter and gives you a different number entirely. Exposure reading means aim the dome at the camera from the subject’s position. Ratio reading means aim the flat disc at the source from the subject’s position. Mixing those two up is the most common beginner error.
| Meter type | What it reads | Use it for ratios | Watch out for |
|---|---|---|---|
| Incident, flat disc | Light falling on the subject from the direction of the source | Yes, the preferred method | Keep the disc out of shadow and out of your own shadow |
| Incident, white dome | Average light arriving from a wide angle | No, use it for overall exposure | Dome diffuses the light and hides a strong backlight |
| Spot or reflected | Brightness of the surface under the sensor | Only if you measure one consistent grey surface | Skin tone, a white shirt or a shiny surface all give different answers |
| Grey card in camera | 18 percent reflectance as a fixed reference | Yes, by comparing highlight and shadow card readings | Card must sit in the plane of the face, not on the chest |
| Phone app | Whatever the phone camera’s sensor can infer | For a rough check only | Uncalibrated, and it meters the scene rather than the source |
Whatever method you pick, the rule stays the same: the two readings must come from the same measurement point, on the same kind of surface, with nothing else changed in between.
Set up a repeatable lighting test
Lock your camera first. Manual mode, fixed ISO, a shutter speed fast enough to freeze your strobes or bright enough that continuous light registers, and a fixed aperture. Write the settings down. A test that cannot be repeated is a coincidence.
Mark where the subject stands. Have them face the camera, then note the distance from the face to each light. Meter the fill first, because the fill is the baseline value every other reading is compared against.
Now check the parts of the body that sit closer to the key than the face does. Chest, shoulder and the near hand often sit a foot or more forward, and a bare shoulder can pick up two extra stops of light. The practical fix is straightforward: flag the key off a shoulder that sits closer than the face, or angle the key down more.
If you are using a hair light, measure it too and aim for the same reading as the key. A hair light brighter than the key draws the eye to the hair instead of the face. For the background, place the flat disc in the frame area directly behind the subject’s head and point it at the background light, which gives you a true separation reading rather than one contaminated by spill from the subject.
Calculate or estimate the light ratio
Take the difference between the key reading and the fill reading in stops. If the fill reads f/8 and the key reads f/11, that is one stop, and one stop of light is twice as much light. The result is a 2:1 ratio.
For three stops or more, use the full-stop series 4, 5.6, 8, 11, 16, 22 and 32, since each number is half the light of the one before it.
| Stops between key and fill | Key divided by fill | Ratio, fill counted separately | Typical use |
|---|---|---|---|
| 0 | 1x | 1:1 | Shadowless beauty and flat commercial work |
| 1 | 2x | 2:1 | Soft, friendly portraiture |
| 1.5 | 2.8x | 3:1 | Classic portrait with gentle shaping |
| 2 | 4x | 4:1 | Dramatic portraits, older and male subjects |
| 3 | 8x | 8:1 | Low key and film noir looks |
| 4 or more | 16x or more | 16:1 or higher | Silhouettes and graphic treatments |
Here is where the confusion in most published guides starts. Two conventions are in use. One compares key to fill directly, which is the column above. The other, borrowed from set lighting, adds the fill into the lit side: (key plus fill) divided by fill. Because the key light spills a little onto the shadow side and overlaps the fill, the second convention gives 3:1 for a one-stop difference. Neither one is wrong. Pick one and use it for every setup you want to reproduce.
Apply the result and verify the look
Adjust one light, not both. Move the key closer, or drop the fill one stop, or slide a black board into the shadow side for negative fill. Reset the meter, re-measure both sides, and check that the stop difference matches what you wanted.
Then look at the histogram. Highlight and shadow readings should sit where you left them, with no clipping at either end. A ratio you measured correctly but exposed too hot still gives you blown skin.
You can also check the ratio in post. Open the file, sample the brightest part of the lit cheek and the darkest part of the shadow cheek with an eyedropper, and compare the tonal values in the info panel. Work in a non-colour profile for a meaningful comparison. One caveat matters here: that reading gives you tonal separation in the file, not physical reflectance, so an 18 percent card rendered as a middle grey tells you nothing about how much light fell on it. Use it to compare like against like, never as an absolute.
| Ratio | Shadow density | Mood | Best for |
|---|---|---|---|
| 1:1 | None | Clean, commercial | Beauty close-ups, flat lay, e-commerce |
| 2:1 | Very light, open shadows | Approachable | Children, casual portraits, group shots |
| 3:1 | Light but defined | Natural | Everyday portraiture, blog and headshot work |
| 4:1 | Moderate, detail in the shadows | Serious | Men, older subjects, editorial portraits |
| 8:1 | Dense, shadow swallows detail | Dramatic | Low key, cinematic, film noir |
| 16:1 and up | Black | Graphic | Silhouettes, mood pieces, hard separation |
Older photographers tend to think in f-stops rather than ratio numbers, and they have a point. Three stops of fill difference is 8:1, two stops is 4:1, one stop is 2:1. Once you can see the look without reading the number, the ratio stops mattering much.
Common Mistakes
Comparing readings taken from different surfaces. Metering the cheek and then the hair does not give you a ratio, because hair and skin reflect very differently. Use one consistent grey card or one consistent disc position.
Changing exposure between readings. Anything that alters the reading without altering the light, such as a different ISO or an auto ISO in the camera, invalidates the comparison. Lock everything.
Shading the disc with your own body. Stand off to the side rather than directly behind the meter, and keep white or reflective clothing out of the dome. This is the most common reason readings come back wrong.
Reading the face when you meant to read the source. Point the flat disc at the light, from where the subject’s face sits.
Treating a stop difference as a shadow size difference. One stop doubles the light, but the shadow’s appearance depends on the subject and the ratio convention you chose. A one-stop difference labelled 2:1 in one system and 3:1 in another still produces a photo that looks like one and a half stops of separation.
Trusting an uncalibrated app. Phone meters are good enough to tell you a light is twice as bright as another and rarely good enough to a third of a stop. Use them to check your work, not to set it.
Ignoring the parts closer to the light. Shoulders and chests sit closer to the key than faces do. Measure them or flag them.
Thinking you need two lights. Key against background is a legitimate ratio, and it is the one that matters most for separation.
If you have no meter at all, a simple distance method is worth knowing. With two identical lights, put the fill at 11 feet and the key at 8. That gives a 3:1 ratio by the inverse square law, because halving the distance quadruples the light. The catch is real: modifiers make two nominally identical lights unequal, and moving a light changes its quality as well as its intensity, since a softbox loses its wrap past roughly its own diameter. Use the distance method for planning, then verify.
Frequently Asked Questions
What light ratio is best for portraits?
Start at 2:1 for children and casual work, and use 3:1 for most adult portraits because it shapes the face without hiding skin texture. Move to 4:1 for men, older subjects or editorial work where you want more seriousness. Ratios above 8:1 suit low key looks and silhouettes rather than general portraiture.
How many stops are in a 2:1 lighting ratio?
One stop. A stop is a doubling of light, so a one stop difference between key and fill gives you twice the light on the lit side, which is the 2:1 ratio. Two stops gives 4:1 and three stops gives 8:1. If your meter shows a larger gap than you expected, check that the fill is actually reaching the subject.
Can I measure light ratios with a smartphone app?
Roughly, yes. Phone light meter apps can confirm that one source is clearly brighter than another, which is enough for a sanity check on a location shoot. They are not calibrated, they read the scene in front of the phone rather than a source, and they struggle with strobes. For repeatable work, use them alongside a handheld meter, not instead of one.
Do I need a gray card to measure light ratios?
No, a gray card is optional. A flat disc incident meter reads the light arriving at the subject, so no surface reference is required. A card becomes useful when you are verifying readings with a spot meter or checking exposure later. If you do use one, keep it in the plane of the face rather than resting it on the chest.
Should I meter the key light or the shadow side first?
Meter the fill first, because it is the baseline everything else is compared against. Place the flat disc where the subject’s face sits, aim it at the fill source, and note the reading. Then keep the meter in exactly the same position and aim it at the key. Moving the meter between readings is what produces inconsistent results.
How do I adjust lighting after measuring the ratio?
Change one thing and re-measure. Move the key a foot closer or further away, drop the fill by a third of a stop, or slide a black board into the shadow side for negative fill. Then check both readings again and confirm the stop difference matches your target. Finish with a histogram check so the ratio is right and the exposure is still inside range.
Conclusion
Meter the fill at your subject’s position, meter the key from the same spot, count the stops, and adjust one light until the difference is what you wanted. That single loop takes two minutes and gives you a ratio you can reproduce next week on a different subject.
The number is a reference point, not the finish line. Once you have measured a 3:1 setup often enough to recognise it on sight, you will set the light by feel and check it with the meter after. That is the point of measuring light ratios: repeatable contrast instead of guessing.