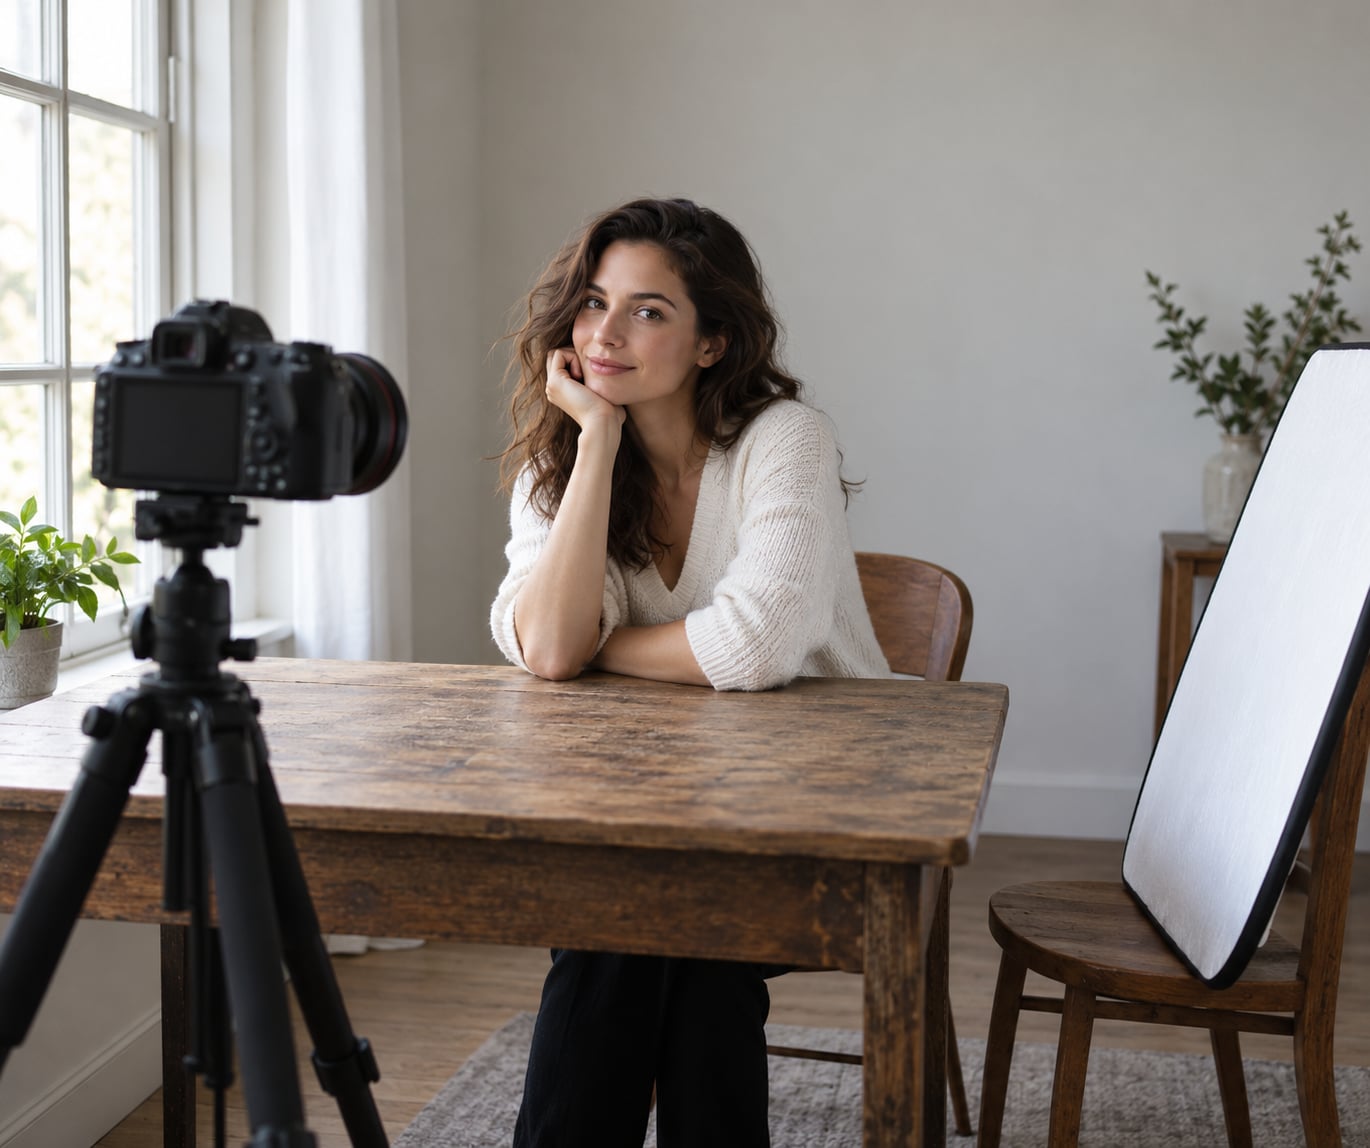
To photograph someone with a crooked smile, move the camera off the subject’s centre line, step back and shoot on a longer lens, then direct a real expression instead of a commanded one. Most of the tilt people see in a photo is created by the camera, not by the face.
That surprises people. In person you see a face at an angle, moving, mid-expression, and your eye quietly corrects for the tilt. A photograph freezes that, flattens it, and parks the mouth line right beside a dead-level frame edge, so any unevenness suddenly reads as a defect.
A crooked smile simply means the line between the corners of the mouth sits at an angle, with one corner riding higher than the other. In dental terms a bite that lands that way is called malocclusion, but you do not need a diagnosis to photograph it well. Almost every face has some version of this, and the fix lives in camera position and directing, not in editing.
Table of Contents
- What You Need to Photograph a Crooked Smile
- Step-by-Step: How to Photograph Someone With a Crooked Smile
- 1. Prepare the Subject and the Shot
- 2. Turn the Head Slightly to Soften the Tilt
- 3. Use a Flattering Camera Angle
- 4. Direct a Natural, Uneven Smile
- 5. Shape the Light So One Side Does Not Dig In
- 6. Take Variations, Review Live, and Fix in Post
- Common Mistakes and the Fix for Each
- Frequently Asked Questions
- Why does my smile look crooked in pictures?
- Why do my teeth look more crooked in photos than in person?
- Should you tilt the head when the smile is crooked?
- What is the tongue trick for smiling in photos?
- Is a lopsided smile attractive?
- How do you fix a crooked smile in post without warping the teeth?
- Conclusion
What You Need to Photograph a Crooked Smile
You need very little. A short list covers it, and most of it is stuff already in your camera bag.
- A camera with a normal-to-short telephoto lens. Roughly 50mm to 85mm on full frame, or the closest equivalent on a smaller sensor. Phone cameras work too, but you need the 2x or telephoto setting rather than the wide one.
- Soft light from one direction. A north-facing window is the classic, and a large softbox on a stand does the same job at night.
- A reflector. A white piece of card, a sheet of foam board, even a bedsheet on a chair. It fills the shadow side so one half of the smile does not sink.
- Room to back up. Two to three metres of floor between you and the subject is the difference between a flattering face and a stretched one.
- A laptop or a screen you can turn around. Reviewing frames while the subject is still there is the single most useful habit on this whole list.
- Five minutes of conversation before the first frame. This is the item people leave off the list and it does the most work.
A tripod is optional. It helps when the light is low and you are stepping back for the lens, but a steady stance and a faster shutter will carry a headshot just as well.
Step-by-Step: How to Photograph Someone With a Crooked Smile
1. Prepare the Subject and the Shot
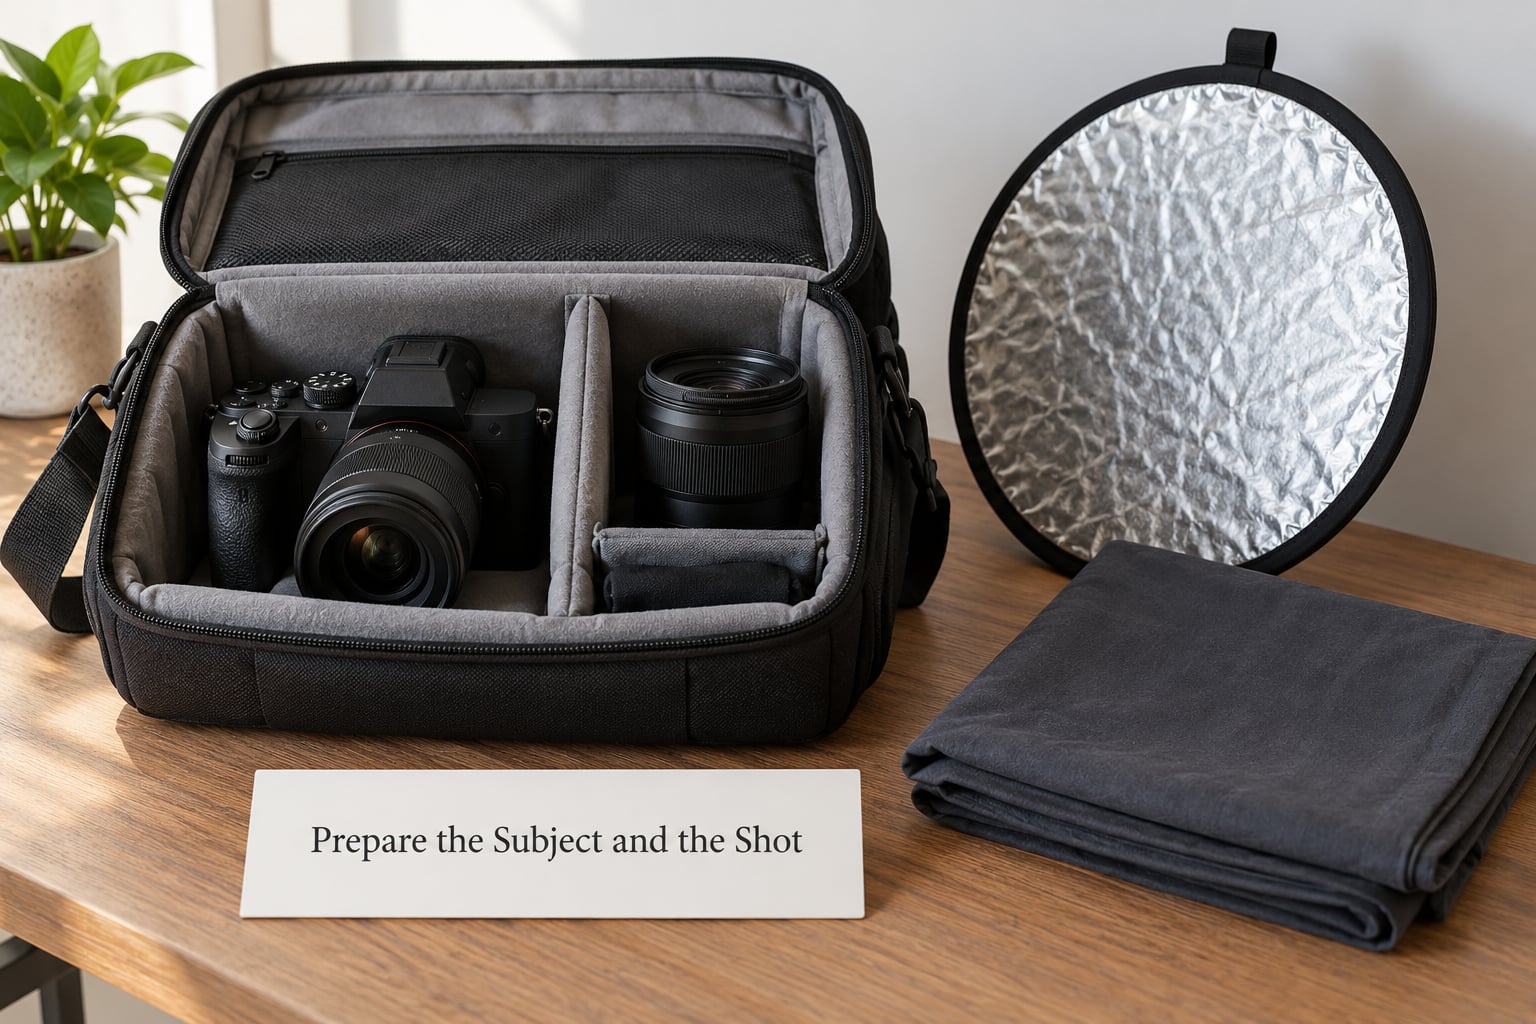
Talk before you lift the camera. Ask what they have been doing lately, what they are comfortable being photographed in. The goal is a face that is doing something other than being aware of itself.
Never ask which side they think looks better. Almost everyone guesses wrong, and the question plants the exact worry you are trying to remove. If you want their input, offer it as permission to try both: I will shoot you turning each way and we will look at them together.
Then set the frame. Decide whether this is a tight headshot, a half-body environmental portrait, or a casual snapshot, and clear the background before the subject is standing in it. A tidy background buys you more tolerance for a tilted mouth line than any amount of retouching.
2. Turn the Head Slightly to Soften the Tilt
A few degrees of rotation is usually enough. Turn the head 10 to 20 degrees away from the camera, keep the eyes on the lens, and the far side of the mouth naturally foreshortens so the raised corner loses some of its height.
Pair that with a chin pushed slightly forward and a touch down. It lengthens the neck, softens the jaw, and reduces how much tooth shows, which takes the pressure off the part of the face your subject is already self-conscious about.
What you are avoiding is a head tilt. Tilting an already uneven mouth line stacks one angle on top of the other and usually makes the tilt more obvious, not less. A small tilt can look wonderful when you choose it deliberately, but it should never be a reflex instruction like tilt your head for me.
3. Use a Flattering Camera Angle
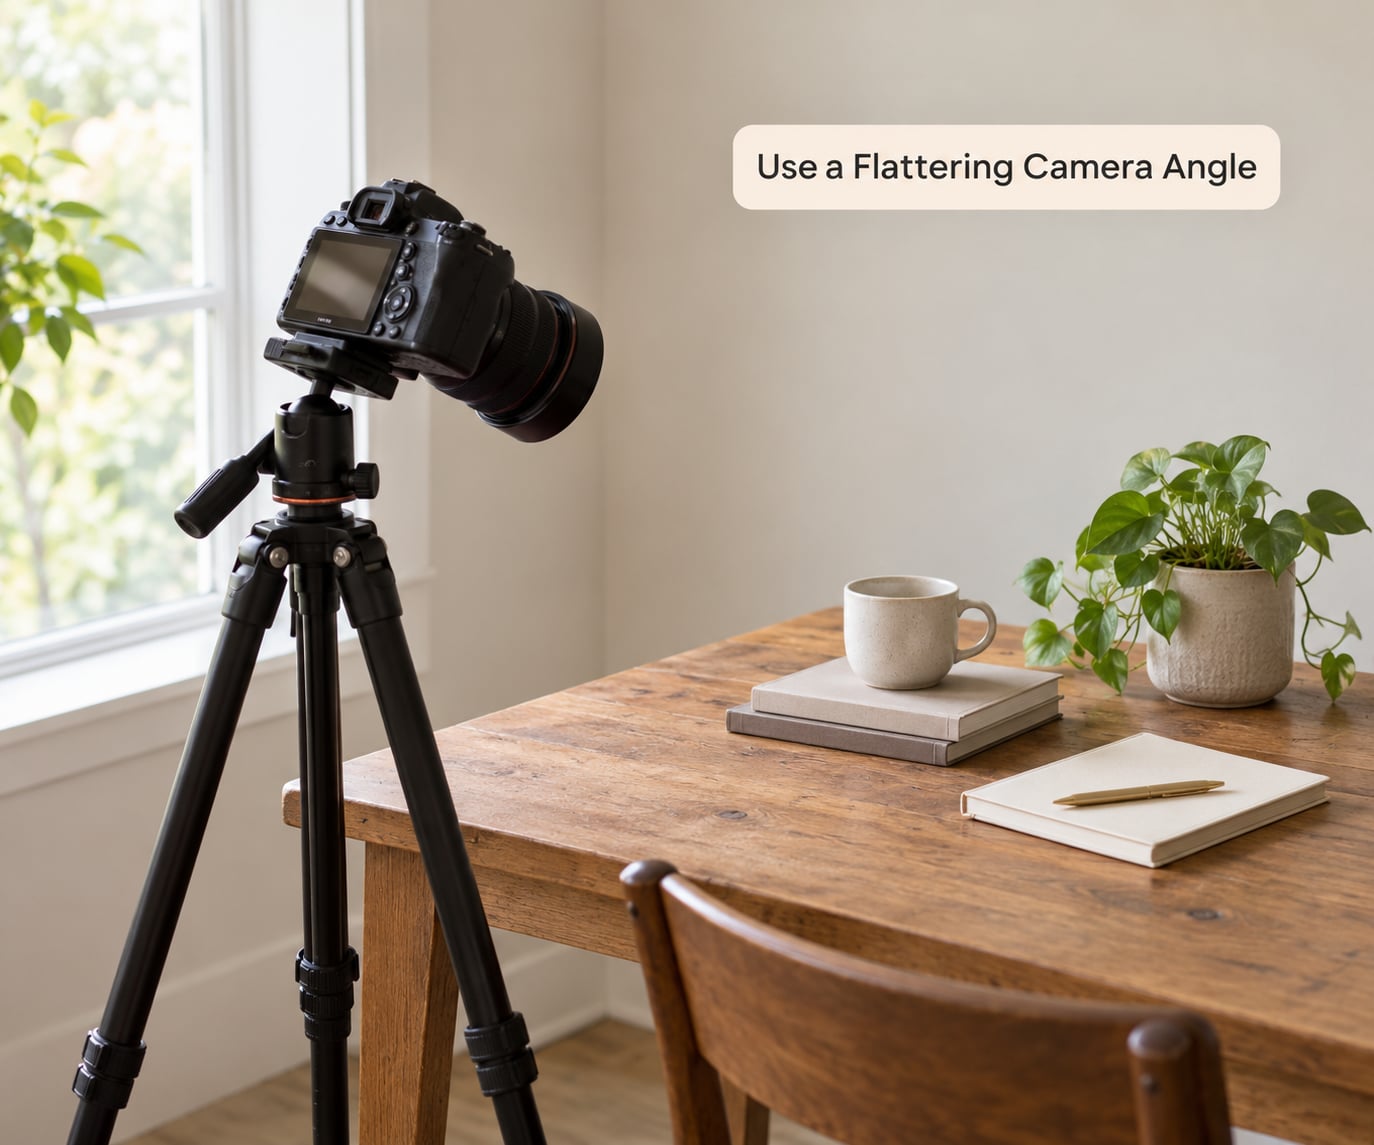
This is the move that does the real work. Anyone learning how to photograph someone with a crooked smile lands on the same two culprits: a short focal length held close, and a dead-on frontal frame. Fix either one and the same smile reads much closer to how it looks in person.
Step back until the lens is around 85mm equivalent. That flattens perspective so the near cheek stops ballooning, and it compresses the face so both sides sit at a similar depth. Then move the camera itself about 10 to 15 degrees off the subject’s centre line rather than asking the subject to move more.
Keep the camera at eye level or a few centimetres above it, and never tilt the camera to match the smile. A camera angle applied to the frame breaks the parallel between the mouth line and the edge of the photo, so the eye stops measuring one against the other.
Here is how the common setups change an uneven mouth line.
| Setup | What happens to the smile line | Verdict |
|---|---|---|
| Straight-on, camera at eye level | Mouth line runs parallel to a level frame edge, so the tilt is measured against it | Avoid as your only frame |
| Straight-on, camera a little above | Downward view shortens the face and reads as more level | Easy win, keep as a backup |
| Camera off-axis by 10 to 15 degrees | Mouth line no longer parallels the frame edge | Most reliable single move |
| Head turned 10 to 20 degrees | Far side of the mouth foreshortens, hiding part of the tilt | Strong default for portraits |
| Head tilted toward the raised corner | Adds a second angle on top of the existing one | Deliberate only, never reflexive |
| Chin forward and slightly down | Jaw softens and less tooth shows | Pair with any of the above |
If you are shooting a group and one person has a noticeably uneven smile, the same logic applies at a larger scale. Keep the camera off-axis to the group centre, watch the height of every mouth line, and choose the frame where the odd one out reads as personality rather than as the only face in the room that is not straight.
4. Direct a Natural, Uneven Smile
Say cheese and you get a flat, stretched grin. The cheeks lift evenly, the eyes squeeze shut, and the mouth goes wide, which is exactly the combination that makes an uneven line impossible to ignore.
Use a word or a moment instead, and take the frame a beat late so the expression settles into something natural. Cues that reliably work:
- Money. Say something about a bargain, a bill, or an expensive mistake. People hold a real expression longer than they hold a commanded one.
- A laugh, not a smile. Tell a short story you know lands, or joke with the crew. A chuckle opens the mouth naturally without a teeth-baring grimace.
- Yeah? Ask them to say yeah, or huh, in a neutral tone. It produces an asymmetric expression that suits an uneven smile because it is supposed to be uneven.
- A closed-mouth smile. A closed smile hides the tilt of the tooth line while keeping the whole face warm. For corporate headshots it often reads more confident than a wide grin.
- The tongue trick. Ask them to gently press the tip of the tongue behind the front teeth. The lower lip relaxes, the smile line evens out, and the teeth look larger. Ask for a normal smile otherwise, because people force it.
Watch the cheeks, the eyes and the jaw as they hold the frame. Tension in the jaw means they are clenching. Eyes squeezed to slits mean the smile is being held rather than felt. In both cases, relax the frame, say something else, and shoot again a second later.
There is one rule about language. Never mention the crooked smile, and never say a frame is perfect. Forum threads about this run on the same sentence from people who hate their own pictures: nobody in the room is examining the teeth. The subject is always the most aware of it in the room, so your job is to stop bringing it up.
5. Shape the Light So One Side Does Not Dig In
Put the key light about 45 degrees to the side and above eye level, close enough to the face that the shadow edge stays soft. Then bounce or fill the shadow side with the reflector. The goal is even, gentle modelling, not drama.
Hard light from directly in front is the common mistake. It flattens the whole face, removes the cues that give a smile shape, and leaves the mouth line as the only feature the eye can measure. A little side light and a weak fill give the smile structure, and a structured smile reads as intentional.
If your subject has a deep malocclusion where one corner of the mouth sits noticeably forward, keep the light slightly more even across the mouth than you would on a straight smile. You are looking for no more shadow than depth demands, not for shadow to hide the difference.
6. Take Variations, Review Live, and Fix in Post
Shoot five rounds and change one thing per round. First pose straight on, then 15 degrees one way, then 15 degrees the other. Next keep the better turn and lower the camera slightly. Last, swap the expression cue. Anything more than one variable per round and you learn nothing from the comparison.
Show the subject the frames on a laptop before they leave. A quick shared decision about which of two similar frames is better settles in seconds what an hour of reassurance cannot.
One trick for judging the smile line objectively: turn the image upside down. The tilt of the mouth line still shows up, but the brain stops reading it as a face, so you can see the angle without the rest of the face biasing you.
Then remember that a photo is a left-right flip of the mirror. A subject who ducks a side in the mirror is describing the opposite side in the frame, which is why they so often talk you into the worse option. Compare both, and trust the frame on the screen over the one in their head.
Post-production comes last, and most of the time it is a crop. Crop tighter to a head and shoulders, straighten the horizon a degree or two, and check the mouth line against the edge of the frame again. If the tilt still bothers you, a gentle warp or liquify on the smile line at low opacity can level it, and this is where retouching goes wrong: warping teeth changes the tooth line itself, and viewers read the result as wrong long before they can say why.
Children, older adults and anyone in braces are a separate set of cases. Loose or missing baby teeth are normal and photographing them as a normal feature removes the whole problem. An orthodontic retainer or a brace line catches light, so a slightly lower key light and a reflector on the shadow side keeps the glare off it.
Common Mistakes and the Fix for Each
Almost every weak frame with an uneven smile comes from one of six habits. All of them are fixable in the moment, without editing.
| Mistake | Fix |
|---|---|
| Commanding a big say cheese grin | Use money, a laugh, or yeah? and shoot a beat after the word |
| Asking the subject to tilt their head | Move the camera off-axis instead, and turn the head only slightly |
| Shooting from too close with a wide lens | Step back to about 85mm equivalent, even on a phone by using 2x |
| Asking which side they think is better | Shoot both, compare on screen, and let the frames decide |
| Hard light straight from the front | Move the key 45 degrees to the side and fill the shadow with a reflector |
| Changing pose, angle and expression at once | Run five rounds with one variable each so you know what fixed it |
A few habits carry across every portrait session. Keep the camera off-axis whenever you can. Shoot more frames than feels necessary, then stop the subject while the setup is still working. And talk about the picture rather than the smile, because a subject who is thinking about their teeth cannot give you a real expression.
If you also shoot profiles, family sessions or school portraits, the same three principles carry over unchanged: control the camera, control the light, control the prompt. Nothing about a crooked smile needs special software, only those three in the right order.
Frequently Asked Questions
Why does my smile look crooked in pictures?
Two things do it. A short focal length held close exaggerates whatever is nearest the lens, so the near cheek and near mouth corner grow. And a flat, dead-on frame puts the mouth line right next to a level edge of the picture, so the eye measures the two against each other. Step back, use a longer lens, and move the camera off-axis.
Why do my teeth look more crooked in photos than in person?
Teeth close to the lens render larger and more prominent than they are in life, and camera white balance usually renders them brighter and cleaner-looking than reality. That exaggeration pulls attention to a small irregularity that other people never noticed in the room. Backing up to around 85mm equivalent removes most of the effect without touching the teeth.
Should you tilt the head when the smile is crooked?
Not as a default. Tilting adds a second angle on top of the uneven mouth line and usually makes the tilt more visible. A small deliberate tilt can look good, but place it on purpose rather than asking every subject to do it. Moving the camera 10 to 15 degrees off the subject’s centre line corrects the same problem without changing the pose.
What is the tongue trick for smiling in photos?
Ask the subject to place the tip of the tongue gently behind their front teeth, then smile normally without forcing anything. The lower lip relaxes and settles, which evens the smile line and lets the front teeth show a little more fully. It works best when the photographer mentions it casually and the subject keeps thinking about the story, not their mouth.
Is a lopsided smile attractive?
Most people do not read an uneven smile as a flaw. It shows up constantly in faces people find warm and memorable, and a small asymmetry tends to make a smile look like it is actually happening rather than being held for the camera. In portrait work the useful question is not whether it is attractive but whether the light and angle let it read as character rather than as a problem.
How do you fix a crooked smile in post without warping the teeth?
Crop tighter and straighten the frame first, then recheck the mouth line against the new edge. A gentle liquify or warp at low opacity can level the smile line itself, but stop before you touch tooth edges, because warping the teeth changes the smile line itself and viewers read the result as wrong. Most of the time the crop is enough, and it never looks retouched.
Conclusion
Start with the first thing you change in the next session: move the camera 10 to 15 degrees off your subject’s centre line and step back to an 85mm equivalent. That single adjustment does more for a crooked smile than any edit, and it costs nothing.
From there, work through the rest in order. Turn the head slightly, chin forward and down, keep the key light soft and to the side, and direct a real expression with money, a laugh, or a closed-mouth smile. Shoot both sides, compare them on screen while the subject is still there, and stop talking about the smile entirely.
A crooked smile is not a flaw to be corrected. With the right angle and a genuine expression, it usually becomes the part of the portrait people remember. Keep experimenting with camera position, light and prompts, and take the frame where the face looks like the person rather than like a pose.