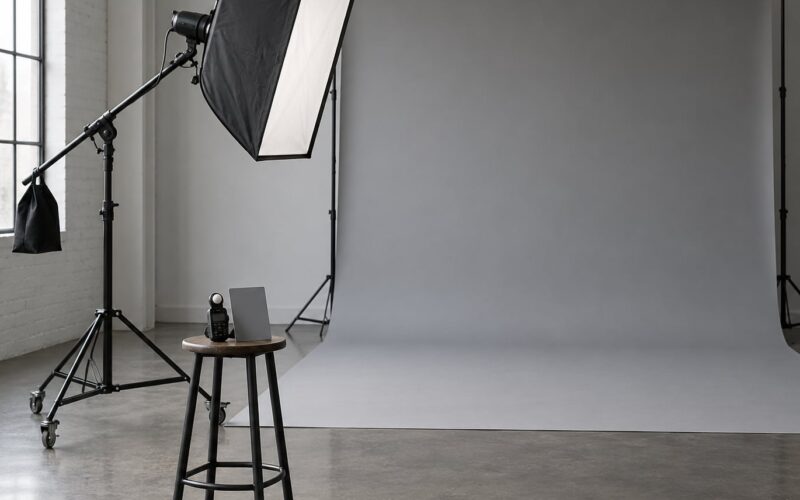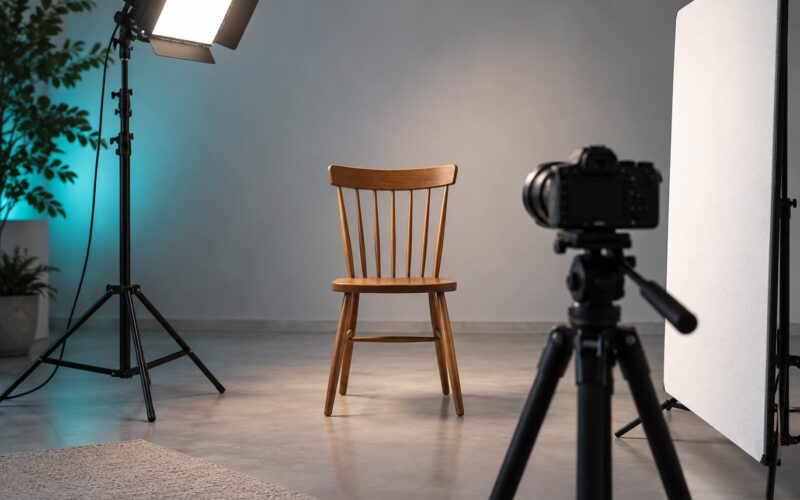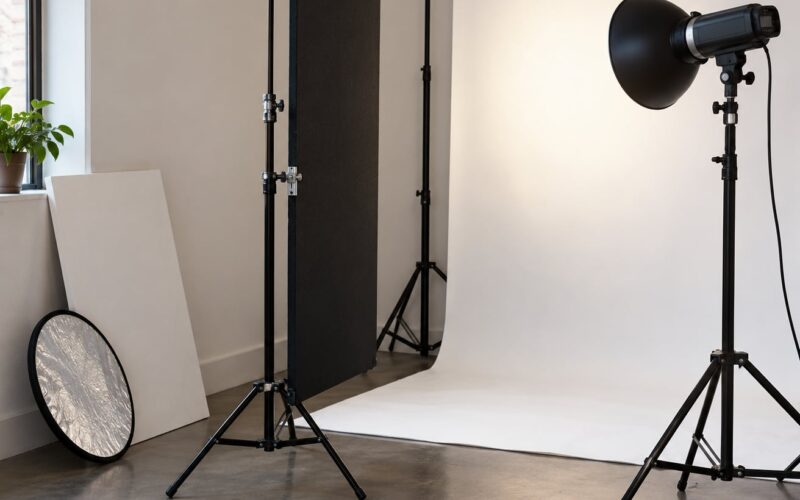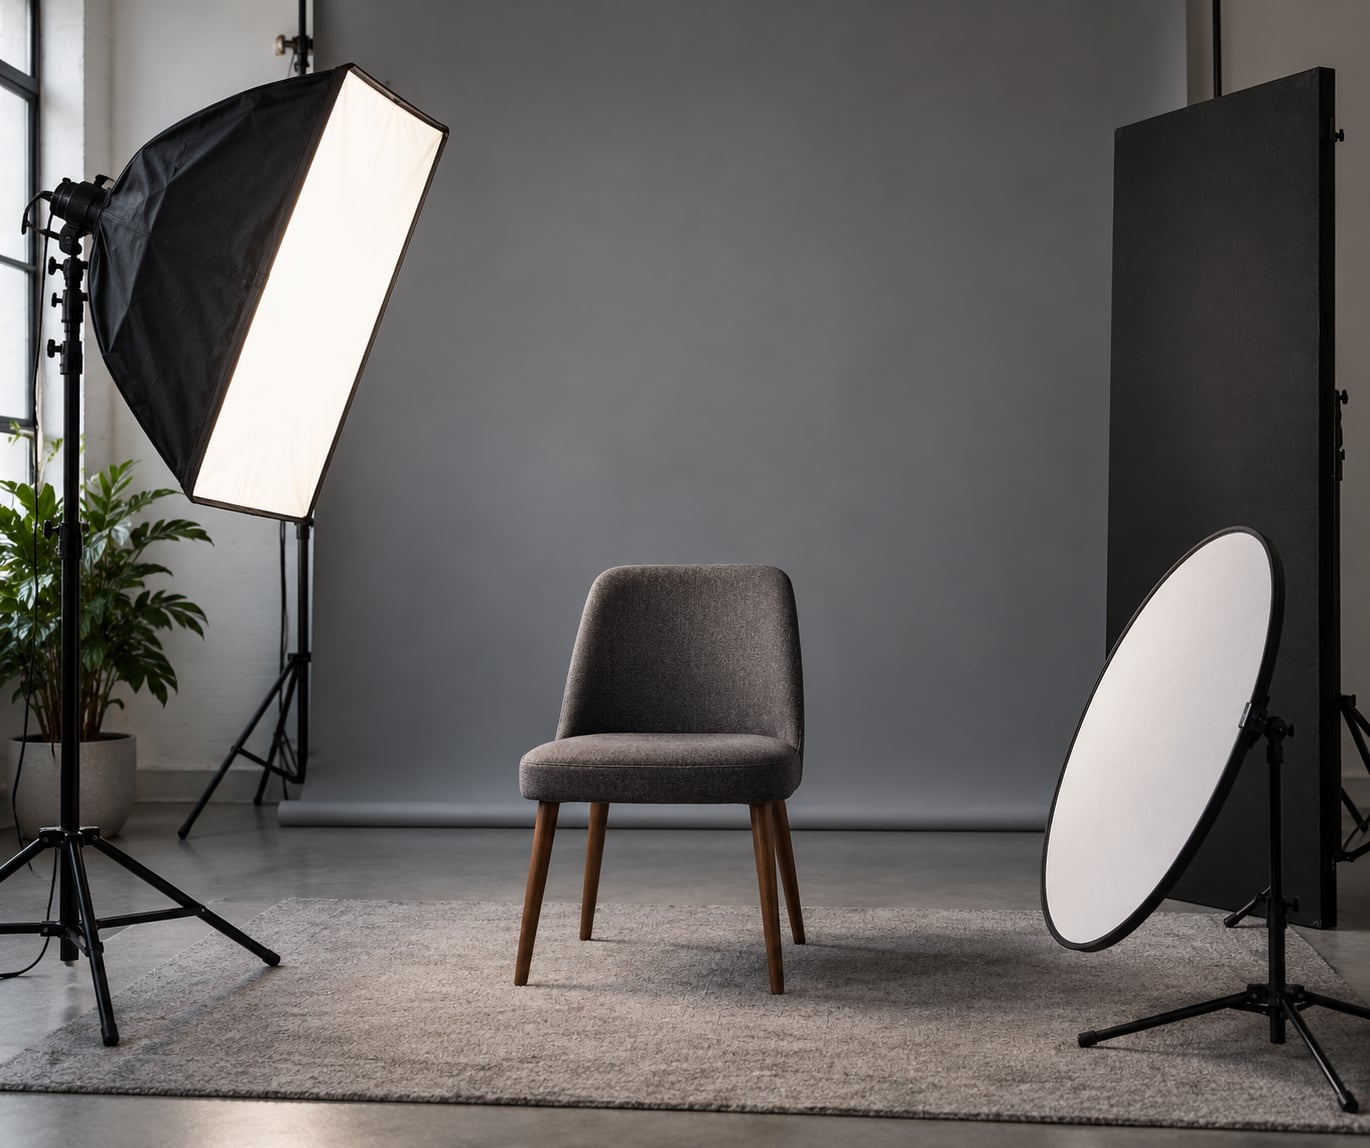
Negative fill is the practice of putting a black, light-absorbing surface on the shadow side of your subject to soak up stray light and let the shadows fall where the key light puts them. Learning how to use negative fill is what separates a flat snapshot from a portrait with shape, and the whole technique takes about two minutes to set up once you know where the panel goes. Set your key light first, place a black flag or the black side of a reflector opposite it, and move that panel closer or farther until the shadow edge looks right.
The reason it works is simpler than most lighting books make it sound. A face in shadow is not black, it is dark grey, because light is hitting it from somewhere. Every bounce, every pale wall, every piece of sky is quietly adding fill you never aimed. Block that light and the shadow stops being grey and starts being shadow.
Here is what you need, the order to put it together in, and the mistakes that trip up almost everyone the first few times.
Table of Contents
- What You Need
- Step-by-Step
- 1. Set Up Your Main Light
- 2. Position the Negative Fill
- 3. Adjust the Shadow Detail
- 4. Check for Reflections and Distortion
- 5. Refine the Lighting for Your Look
- Common Mistakes
- Flag placed too close to the subject
- Using a surface that reflects light
- Making shadows too dense
- Blocking the key light
- Leaving a bright gap behind the subject
- Expecting negative fill to replace a key light
- Forgetting wind outdoors
- Frequently Asked Questions
- How does negative fill work?
- What is the best material to use for negative fill?
- Can you use negative fill outdoors?
- How far should negative fill be from the subject?
- What is the difference between negative fill and a fill light?
- What is the 60-30-10 rule in filmmaking?
- Conclusion
What You Need
Start with a main light you are happy with, because negative fill only shapes the shadow the key creates. It never fixes a key light pointed wrong or a face lit from directly overhead.
- A main light. A softbox, an umbrella, or even the sun standing in for one. Set and meter it first, on its own.
- A black surface. A 5-in-1 reflector’s black panel, a black flag, a floppy flag on a stand, a V-flat, or a foam board painted matte black.
- Something to hold it. A light stand, C-stand with arm and knuckle, a grip head, or an assistant. Outdoors, a stand with a sandbag on the base is the minimum.
- Clips or ties. Black and white gaffer tape or spring clamps. Black clips on black fabric disappear; white ones look like barnacles in frame.
- An optional white or silver reflector. You may want it later to bring detail back into a shadow that went too dense. Carrying both lets you swing between soft and dramatic without repacking the car.
Size matters more than most people expect. A panel too small for the shot blocks only part of the frame and leaves an obvious bright strip behind the subject’s head or shoulder. As a working guide, a 20 to 32 inch 5-in-1 handles headshots and tight crops, a 3 by 6 foot floppy flag covers a standing subject, and anything wider than the subject’s shoulders covers full body work and couples. V-flats, which are the full 4 by 8 foot, are the studio version and impossible to chase around on location.
Step-by-Step
1. Set Up Your Main Light
Put the key light where you want it and meter the subject with nothing else in the room helping. Look at the falloff across the face: the shadow side is currently getting filled by ambient light, so it looks flatter than it should. This is the baseline. Every change you make from here is measured against this frame, and taking that one comparison shot saves you an hour of guessing later.
2. Position the Negative Fill
Place the black surface on the opposite side of the subject from the key, and the standard spot is the camera side, close to the lens axis. That position sets the face in broad light, where the shadow falls across the far cheek and the far side of the face, and the remaining light keeps a bright edge on the short side. Broad light widens the face and, with the shadow deepening, the whole head reads as three-dimensional instead of flat.
If you put the panel on the key side instead, you get short lighting, where the shadow falls on the camera side of the face and the lit cheek dominates. It is a leaner, more editorial look and it flatters angular faces. Same tool, opposite side, different portrait.
3. Adjust the Shadow Detail
Distance is the control you will use constantly. Slide the panel toward the subject and it covers more angles, killing more stray light and driving the shadow darker. Pull it back and light sneaks around the edge, softening the transition.
A useful starting point is the length of your arm, roughly two to three feet from the subject, positioned high enough that its edge falls just below the cheekbone. Most portraits sit somewhere between one and four feet. The honest test is not a number, it is the shadow itself: you want a defined edge on the nose and jaw with detail still living inside the shadow.
Watch your meter as you move the panel. Adding negative fill subtracts light, so exposure will read brighter and your camera will compensate by opening up, which fills the shadows back in and underexposes the skin. A good habit is to meter on the key side of the face with a reflective reading, then hold that setting and move the panel with exposure locked.
4. Check for Reflections and Distortion
Now hunt for what the black surface broke. Check glasses first, because a single reflection in one lens is the most common thing that gives away a home setup. Turn the subject a few degrees or shift the flag slightly and the highlight moves.
Then look at skin highlights, jewelry, and the shoulder closest to the panel. Specular spots on the shadow side that were invisible under ambient light will now read as bright dots, because nothing is bouncing into them. Check the background too. A black panel creates a soft, uneven falloff on a wall behind the subject, and near a light-colored background that falloff is obvious. Step back and squint at the frame edges before you shoot.
5. Refine the Lighting for Your Look
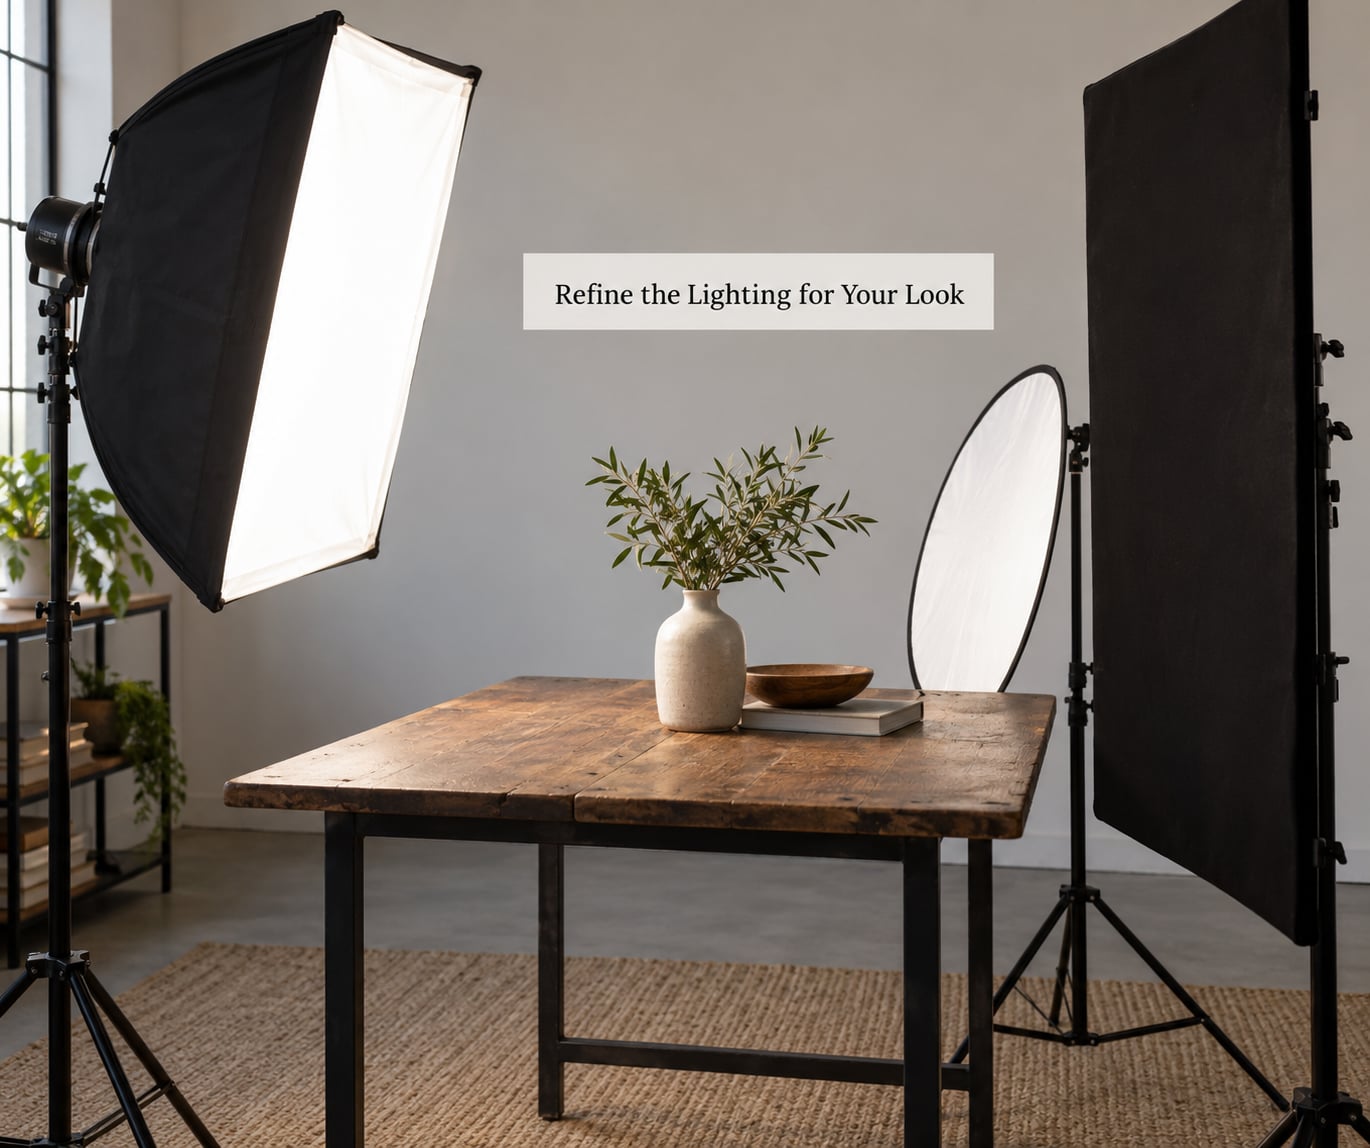
Now move from setup to style. Raise the key and push the flag higher for short light on the cheek and a stronger jaw. Keep both at the same height for a Rembrandt triangle, where the shadow under the cheek blends into the shadow of the nose. Drop the key, lift the flag slightly, and the shadow rolls across the eyes for a moodier frame.
For the softest version, keep the key low and close and let the white reflector sit just outside the flag, lifting the shadow one stop without erasing it. For the most dramatic version, remove the white side entirely, add a net or a bare-bulb kicker behind the subject for edge separation, and let the shadow side go almost solid.
Diffusion and negative fill work well together, which surprises people who think one cancels the other. A softbox gives you a light so soft it wraps around, and the flag gives you an edge to stop that wrap at. The face ends up with a wide gradient on the lit side and a clean, deliberate falloff on the dark side.
Outdoors, the same rules apply with one extra variable: the sun and the sky are two lights, and the sky is huge. At midday, the sky alone will fill a shadow side faster than any reflector can fight. A black panel on the camera side, positioned to sit between the subject and the open sky, is usually the difference between a usable portrait and a flat one. Watch for wind, because a foam board on a light stand outdoors is a sail. Weigh the base and you can leave it standing while you work.
When you get home you can simulate the effect and learn from the result: drop the shadows on the subject mask, pull the black point down, and lower clarity or texture on the shadow side only. It gets you close on a flat frame. It does not restore detail that was never recorded, which is why shooting it correctly beats faking it.
Common Mistakes
Flag placed too close to the subject
The shadow goes solid and the subject looks like they are wearing a mask. Back the panel off until detail returns inside the shadow.
Using a surface that reflects light
Matte black fabric absorbs. Glossy black plastic, dark grey foam board, and any surface with a slight sheen bounce light right back at the subject and undo your work. Black velvet and duvetyne work because of how they scatter.
Making shadows too dense
Full black on the shadow side reads as a mistake, not drama. Keep some shadow detail, or bring a white reflector back in on the other side at half the strength of the key.
Blocking the key light
A panel wider than needed or angled wrong can creep into the key’s path and cut your main light. Watch the edge of the softbox, not just the subject.
Leaving a bright gap behind the subject
A panel smaller than the subject’s shoulder lets light hit the background on that side, producing a bright wedge that no amount of editing hides. Size the panel to the subject, plus a hand span on each side.
Expecting negative fill to replace a key light
Black surfaces only subtract. If you have no key, you have a silhouette, not a portrait. Fix the key first, every time.
Forgetting wind outdoors
Lightweight DIY panels tip over mid-shoot, usually while you are mid-conversation. Sandbags on the base, or a weight laid across the foot, and the problem disappears.
Frequently Asked Questions
How does negative fill work?
Negative fill blocks ambient and reflected light from reaching the shadow side of your subject. A black surface absorbs that light instead of bouncing it back, so the shadow created by your key light stays dark and defined. The result is a stronger key-to-fill ratio, a clearer shadow edge on the nose and jaw, and a face that reads as three-dimensional.
What is the best material to use for negative fill?
Matte black materials with no sheen, including black duvetyne or commando cloth, black flag fabric, black foam board, and the black panel of a 5-in-1 reflector, all work well. Avoid glossy or dark grey surfaces, which bounce light back at the subject. Match the size to the shot: a 20 to 32 inch reflector for headshots, a 3 by 6 foot floppy flag for standing subjects.
Can you use negative fill outdoors?
Yes, and outdoor portraits are where it earns its place. Sun and sky are both large light sources, and open sky fills a shadow side faster than most people expect. Put a black panel on the camera side of the subject so it sits between them and the bright sky. Weigh the stand base with a sandbag, because wind is the only real enemy of a portable setup.
How far should negative fill be from the subject?
Start about two to three feet away, roughly an arm’s length, with the top of the panel sitting just above the cheekbone. Move it closer to cover more angles and drive the shadow darker. Pull it back when light creeps around the edge and the transition goes soft. Judge the distance by the shadow in frame rather than by measurement, since every key light behaves a little differently.
What is the difference between negative fill and a fill light?
A fill light adds light to the shadow side to open it up, usually with a reflector or a low-power strobe. Negative fill subtracts light so the shadow closes in. Use positive fill for airy, commercial, or high-key portraits where shadows should barely exist. Use negative fill for dramatic, dimensional, or cinematic looks where the shadow does the work.
What is the 60-30-10 rule in filmmaking?
It is a lighting ratio guideline: roughly 60 percent key light, 30 percent fill, and 10 percent background or accent light. Negative fill sits inside the 30 percent side. If your fill area is already dark because of a negative fill panel, you are effectively near 70-30 or higher, which is why negative fill gives cinematic contrast without needing a second lamp.
Conclusion
Start with one move. Set your key light and meter it with nothing else in the frame, then set a black panel opposite it on the camera side, roughly an arm’s length away and level with the cheekbone. Walk the panel closer until the shadow edge on the nose goes defined, then step back until you can still read detail inside the shadow.
Keep one comparison frame from before the panel went in. That single shot teaches the technique faster than any diagram, and it is the reason the next shoot takes half the time.