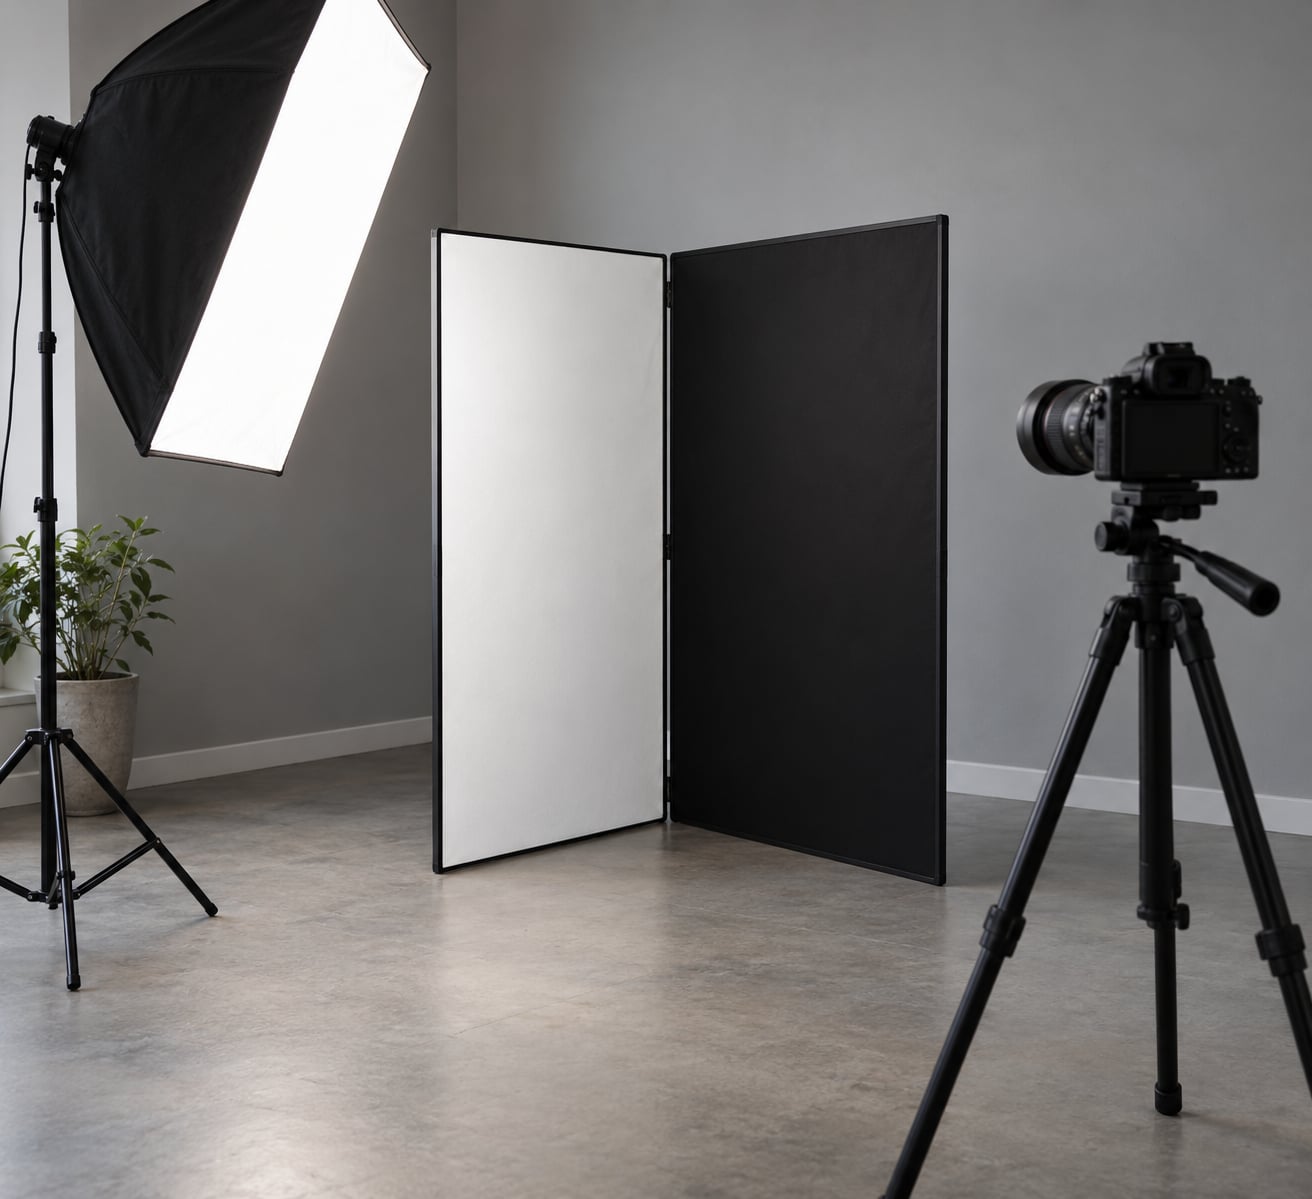
Learning how to use a v flat for portraits comes down to one move: stand the panel opposite your key light, close to your subject, and angle the white side inward until the shadow side of the face opens up. Everything after that is adjusting distance and angle. A V-flat is two hinged panels, white on one face and black on the other, and it is the cheapest way to control the ratio between light and shadow without buying or powering a second light.
Most beginners treat a V-flat like a bigger reflector and hold it too far away, which flattens nothing and fixes nothing. The panel works because of size and proximity: the closer it sits to your subject, the broader and softer the fill it returns, and the further away it sits, the more open the shadows get.
This guide covers the equipment you actually need, a five-step setup you can repeat, and the mistakes that waste whole sessions. I shoot headshots in small rooms with one light more than anything else, and the V-flat is the tool that makes a single light look like two.
Table of Contents
- What You Need
- The V-flat itself
- A key light
- A stand and a way to reach over the subject
- Support kit
- Step-by-Step: How to Use a V-Flat for Portraits
- 1. Choose the V-Flat Side for the Effect You Want
- 2. Position the V-Flat in Front of Your Subject
- 3. Place Your Main Light and Turn Off Unwanted Shadows
- 4. Set Exposure and Check the Reticle
- 5. Refine the Portrait with Distance, Angle, and Texture
- Common Mistakes
- Quick setup tips
- Frequently Asked Questions
- Can a V-flat replace a separate reflector for portraits?
- Which side of a V-flat should I use for portraits?
- How far should a V-flat be from the subject?
- Can I use a V-flat outdoors?
- Does a V-flat make portraits look flat?
- Can a V-flat be used as a diffusion panel?
- Conclusion
What You Need
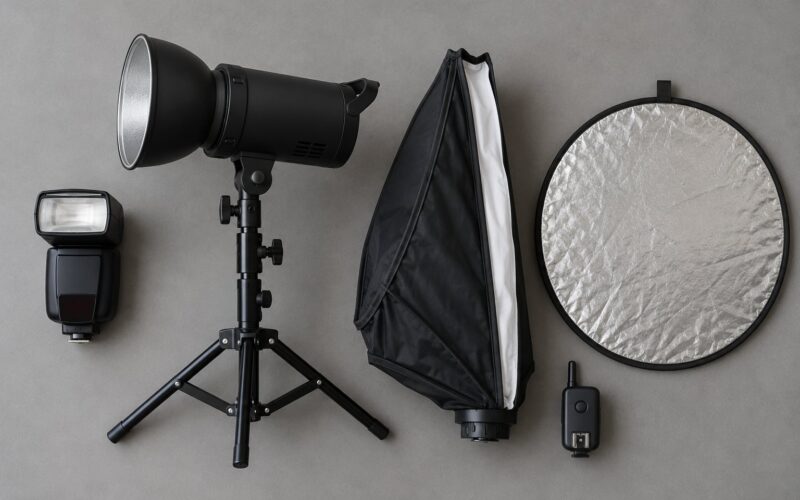
A V-flat is the only item on this list you cannot substitute with something else already in your bag. Everything else is a light, a way to hold it, and a way to measure what comes back.
The V-flat itself
Two panels hinged along a long edge so they fold flat for transport and stand in a shallow V when open. The usual sizes are around 20 by 40 inches for headshots and 40 by 80 inches when you need to cover a standing subject from the waist up. Buy or build the biggest one you can carry, because a panel that only reaches the chin is a waste of the trip.
Every decent V-flat is white on one side and black on the other. The white side reflects, the black side absorbs, and the difference between those two jobs is most of what follows. Many models also carry a narrow strip of silver foil tape along one edge, which turns part of the panel into a harder, brighter accent.
A key light
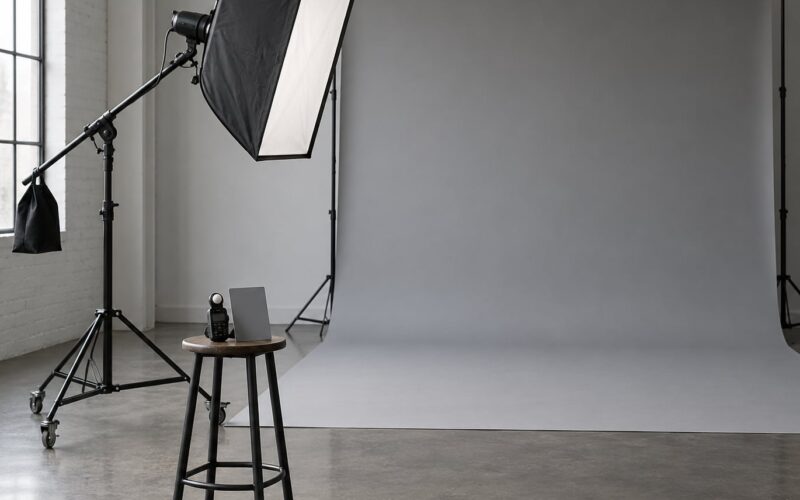
One light does the work. A studio strobe with a softbox gives the softest results, a speedlight bounced off a ceiling works at low power, and a window or an overcast sky is a perfectly good key when you are on location. Reflected fill has less power than a real light, so you can run the key brighter than you would with a two-light setup and still keep the shadow side readable.
A stand and a way to reach over the subject
A light stand holds the key. For the V-flat itself, a C-stand with an arm and a knuckle is the honest answer, because a V-flat is tall and top-heavy when open at an angle. If you use a plain stand with a wide base and set the panel against the base at a shallow lean, add a sandbag on the off-frame side so it cannot walk across the floor mid-shoot.
Support kit
- Diffusion fabric or a scrim to soften a hard key when you want wrap without a big modifier.
- Black foil or black tape for adding texture to a white face, or sealing a panel that has started to look glossy.
- A camera and a normal lens, roughly 50mm to 85mm on full frame. Longer lenses need a larger panel to fill the frame.
- An exposure tool, either a handheld light meter or the histogram and highlight warnings in your camera. Both work; the meter is faster once you know the setup.
- Grip clips or spring clamps if you plan to hang fabric off the top edge as a flag.
Matte white matters more than most listings admit. A glossy or plastic-coated face throws a hard specular highlight back at your subject, and you will spend the session trying to hide it.
Step-by-Step: How to Use a V-Flat for Portraits
Set the room up in this order and the result is repeatable: key first, V-flat second, exposure third, camera last. Build it in a different order and you will spend longer chasing a shadow than you spent placing the light.
1. Choose the V-Flat Side for the Effect You Want
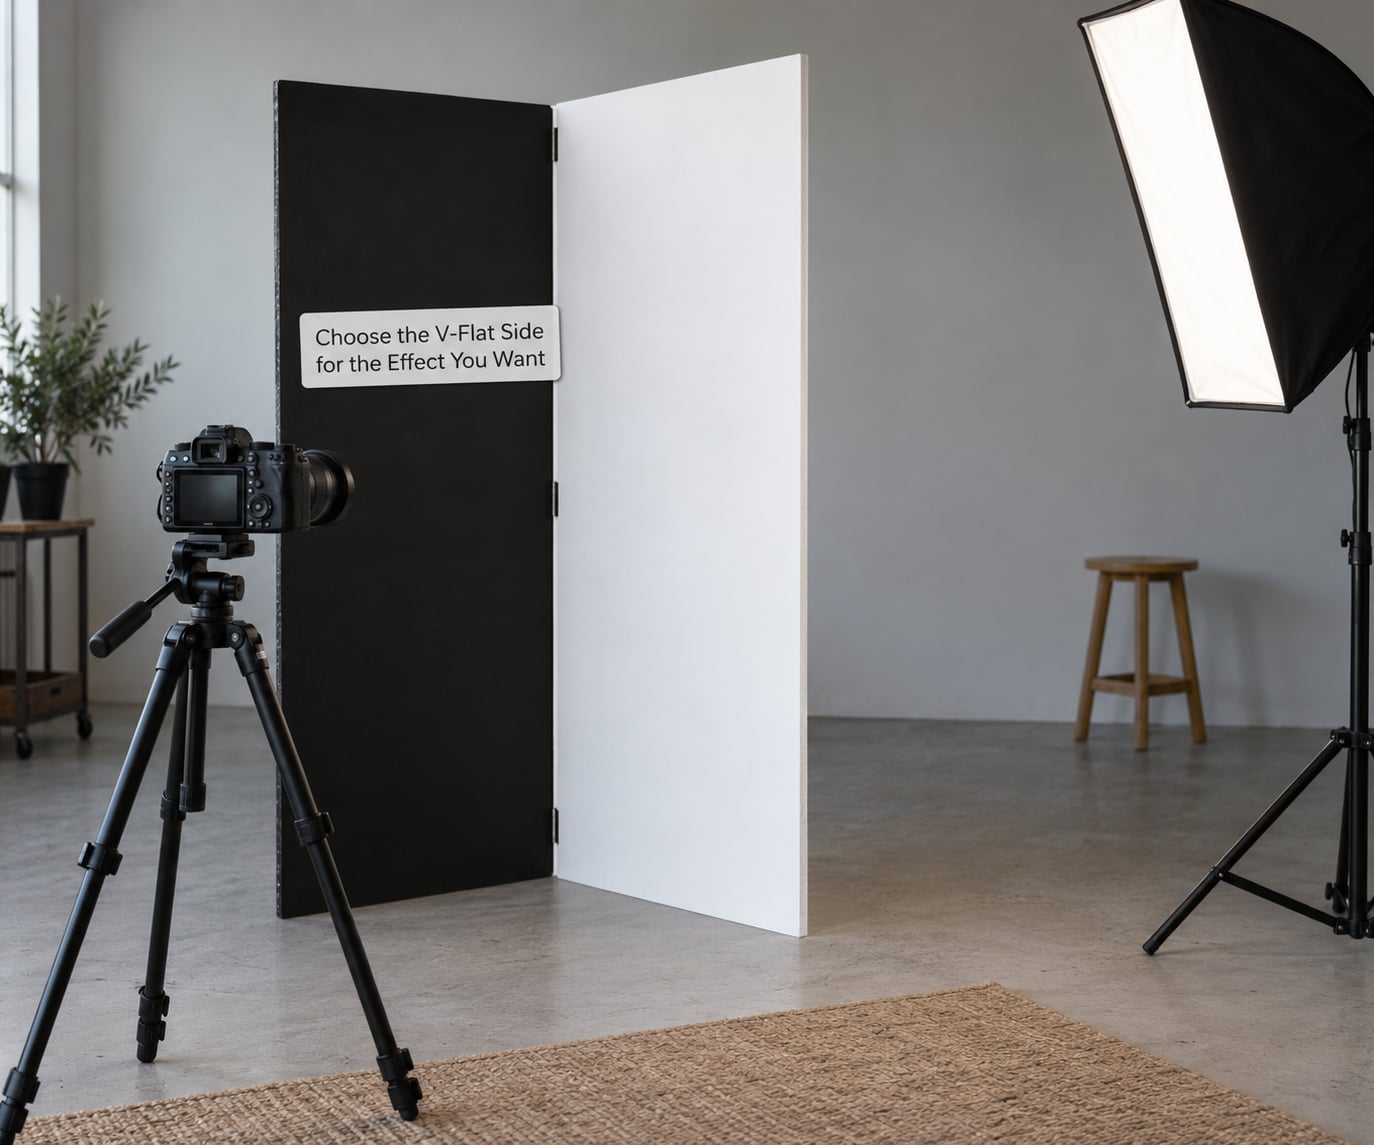
Turn the white side toward your subject when you want to lift shadows and hold onto detail in them. White is a broad, low-contrast reflector, so it returns a lot of light with a soft, gradual edge that wraps gently around the face.
Use the silver foil strip, or tape silver foil to a panel, when you want a brighter and harder accent than white gives you. It reads well for a shoulder, a cheekbone, or a product detail, and it is worth remembering that the narrower the reflective surface, the more obvious the shape of it becomes on skin.
Flip the black side toward your subject when you want depth instead of brightness. Black does not add anything. It absorbs the light that is already bouncing around the room, and in a space with white walls and a pale ceiling that stray bounce is usually what is flattening your portrait before you even start.
Translucent or diffusion panels exist as a third option on some models, but a V-flat is not a diffusion panel. Held in front of the key it softens the source, and that is a completely different job from the one you want it doing beside the subject.
2. Position the V-Flat in Front of Your Subject
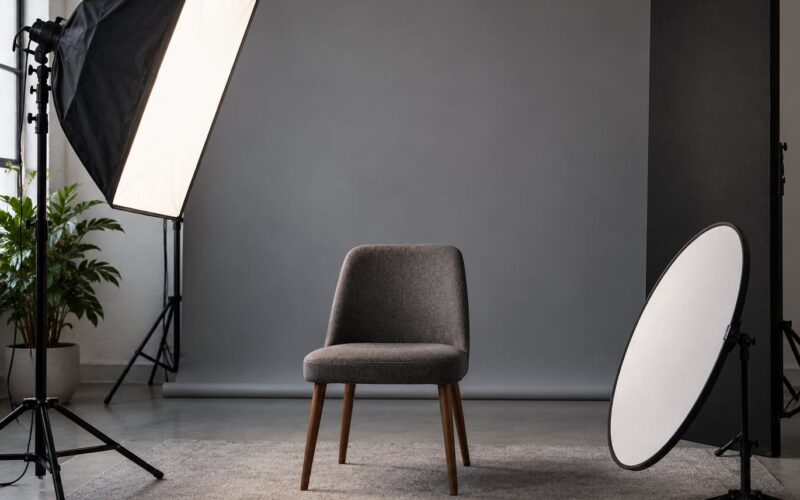
Put the V-flat on the side of your subject opposite the key, close enough that it covers most of the frame height from the waist up, and angle it 30 to 45 degrees toward the subject so it catches the key’s spill and throws it back into the shadow side of the face.
Distance is the main control. Start close, maybe a foot or two from the subject’s shoulder, and the panel wraps light around the near side of the body and gives a soft, open look that flatters most faces. Walk it farther out and the fill becomes weaker and more directional, so the shadow under the jaw and on the far cheek gets deeper and more sculpted.
That distance relationship is also why moving the panel changes your exposure. A white surface close to your subject returns noticeably more light than the same surface at a distance, so if you set the camera first and then push the V-flat back, you will need to open up. Some photographers keep the panel fixed and re-meter each time they adjust it. That is fine. Just expect the settings to move with it.
Keep the panel slightly turned in rather than square to the camera. Square means the light comes straight back at your lens, and a straight-back reflection from a large white panel shows up as a bright, hazy patch across the frame and a flat highlight in the eyes. The inward angle also keeps the panel itself out of frame on wider lenses.
3. Place Your Main Light and Turn Off Unwanted Shadows
Set the key about 45 degrees off the camera axis and a little above eye level. That position puts a small shadow on the far side of the face and on the shadow side of the nose, which is the shape most people mean when they call a portrait flattering.
Now check what the V-flat is doing. If the key is high and to one side, angle the white panel to catch light at the cheek and jaw rather than straight into the lens. If you are going for a moody portrait, turn the black side out instead and let the shadow side of the face go nearly black, keeping detail only in the eye nearest the key.
A side-light example makes the whole thing obvious. Put the key far around to one side, almost profile, and the half of the face turned away from it goes dark. Slide the white panel to fill that half and the face becomes readable while still showing a clear light-to-shadow gradient. Flip to black and the same placement turns into a low-key portrait with a lot of shape and very little detail in the dark half.
Block anything else that is spilling. A second window, a practical lamp, or a neighbour’s key light through a thin wall will undo your careful ratio without you noticing, because the panel cannot subtract light from a direction you never blocked. Use the other side of the V-flat, a foam board, or a bedsheet on a stand as a flag.
4. Set Exposure and Check the Reticle
Meter for the brightest part of the face that matters. With a V-flat feeding light back into the shadows, the histogram tends to pile up toward the middle, and the histogram is the fastest way to see whether your ratio landed where you wanted it.
Turn on highlight warnings and look for them blinking on the brightest skin. If the forehead or the brightest cheek is flashing, the V-flat is doing too much of the job, so move it a little farther back or turn it slightly away from the subject. If the shadow side is going solid black with no detail at all, move the panel closer or swing it a few degrees to catch more of the key.
Watch for the reversed case too. A white panel close to the subject can lift the fill until the ratio flattens to roughly 1:1, and then the face looks lifeless even though every setting is technically correct. Most of the time the fix is not the camera, it is the panel angle.
Make a test frame, zoom in at 100 percent, and check two things: the histogram shape and whether the catchlight in the eyes looks like a shape or a blown white dot. The catchlight tells you about the key, the histogram tells you about the ratio. Together they answer most questions in one shot.
5. Refine the Portrait with Distance, Angle, and Texture
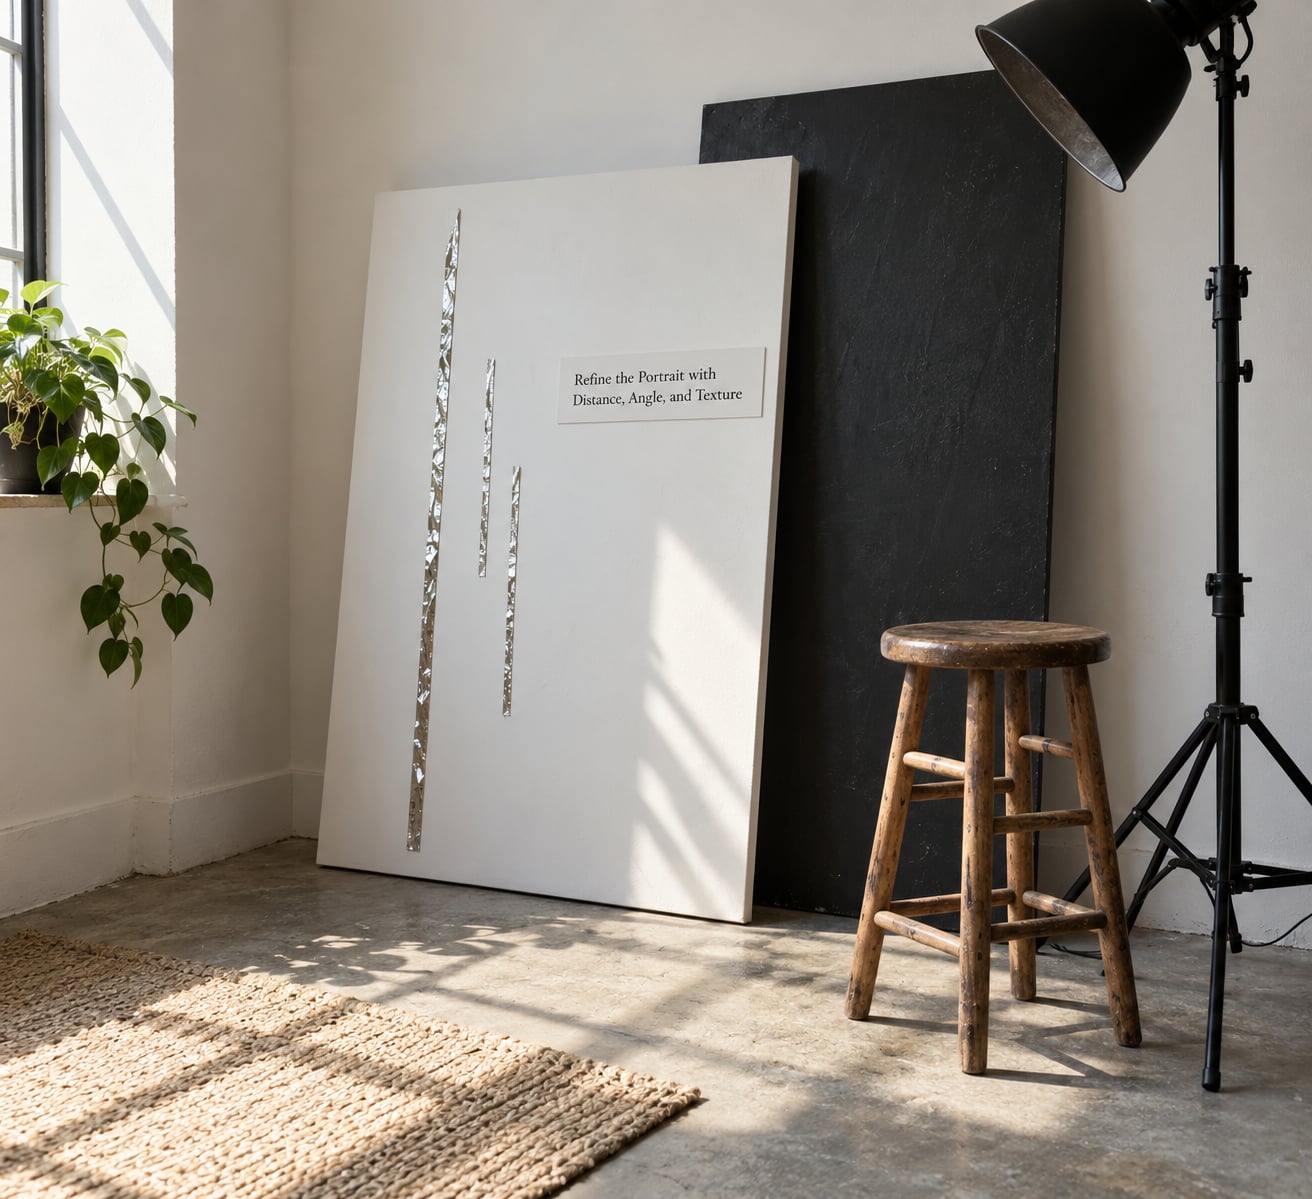
Once the basics work, you control the look by walking the panel in and out. Close gives roughly a 1:1 ratio, an even and bright look that suits high-key beauty work and younger subjects. At arm’s length you land near 2:1, which is the natural-looking default most portraits want. Farther back, especially with the panel angled more obliquely, you push toward 4:1 and the portrait turns moody and sculptural.
The eyeball test for where you are: squint at the shadow side and count how much skin detail you can still make out. Plenty of tone and texture means roughly 2:1. A hint of tone with most of the area going dark is around 4:1. No tone at all and the face has gone to a silhouette.
For more shape rather than more contrast, add texture to the white face. Torn strips of black tape, a crinkled foil accent, or a black V-flat held just outside the frame edge all darken the panel unevenly and give you something for the light to shape. Keep the texture subtle and keep it away from the side of the face you want open.
Watch the colour of the bounce. A white panel returns whatever the key is throwing, so a warm tungsten key bounced off white gives you warm fill, and a daylight key bounced into a room lit with warm bulbs gives you a colour mismatch that shows up as dull or slightly green skin. Match the key to the room, or set the panel far enough back that the fill is weak enough that the mismatch stops reading.
Common Mistakes
Almost every bad V-flat frame I have seen comes down to one of these, and each one has a specific fix rather than a general lesson.
- Holding it too close. A white panel right against the subject’s shoulder bounces light straight back into the lens and flattens the face to roughly 1:1. Back it off to a foot or two, or angle it so it no longer faces the camera square on.
- Leaving white walls to do the fill. In a small room, a pale wall and a white ceiling already provide plenty of ambient bounce, and that uncontrolled light is why the portrait looks flat. Put the black side out on the shadow side to absorb it, then decide how much fill you actually want.
- Using the wrong side. If you want more light in the shadows, white. If you want more shape, black. If you are unsure, take one frame with each and compare the shadow density on the reticle.
- Reflecting the key back into the lens. A large white panel aimed at the camera gives you veiling glare and a washed background. Turn the panel inward and keep it out of the camera’s axis.
- Ignoring colour temperature. A bounce that does not match your key leaves skin that looks flat and slightly ill, and no amount of editing fully rescues it. Match the light to the room, or weaken the fill by moving the panel back.
- Glossy surfaces. Plastic-coated or taped-over panels throw hard specular highlights onto skin that look like oily patches. Use matte board, or cover the shine with matte tape or fabric.
- Not securing it. A tall open panel leans, catches a gust on location, or walks across the floor at exactly the wrong moment. Use a C-stand arm with a knuckle, lean it against a weighted base, or sandbag the off-frame side.
- Expecting it to replace a key light. A V-flat reflects what it receives, so with no key there is nothing to bounce. It substitutes for a second light, not for the first.
- Using it as a full-body background. A standard V-flat is sized for head and shoulder or waist-up frames. For a standing full-length shot on a plain background you need a wider sweep or a paper roll, not a panel on a stand.
Quick setup tips
- Mark your favourite positions with strips of tape on the floor so repeat setups land the same way.
- Keep the panel slightly off the vertical so it does not topple when nudged.
- Carry a few spring clamps so fabric flags and diffusion can be attached without a second set of hands.
- Open the panels to a shallow V rather than folding them flat against a wall, so the hinge stiffens the structure.
- Add a rim or back light before you buy a second front light. The shape a V-flat cannot give you is separation from the background.
Frequently Asked Questions
Can a V-flat replace a separate reflector for portraits?
For fill work, yes. A white V-flat returns more light over a larger area than a collapsible silver or white reflector, so it covers a standing subject instead of just a face. What you give up is portability and the option of a harder, brighter specular bounce. Keep a small collapsible in the bag for on-the-street fills, and use the V-flat whenever you have room to stand something up.
Which side of a V-flat should I use for portraits?
White toward the subject when you want to lift shadows, soften contrast, and keep detail on the shadow side of the face. Black toward the subject when you want depth and shape, especially in a room with pale walls that are bouncing light everywhere. If you are not sure, shoot one frame each way and compare shadow density on the reticle screen before committing.
How far should a V-flat be from the subject?
Start about a foot or two from the subject and roughly the same distance the key light is away. Close gives soft wrap and an open, even look. Moving the panel farther back, especially turned more obliquely, deepens the shadow and lets you push toward a moodier ratio. Keep in mind that moving it changes your exposure too, so re-check the histogram each time you adjust distance.
Can I use a V-flat outdoors?
Yes, and on location it earns its keep. Turn the black side toward a bright wall or sky to stop ambient light from flattening the subject, or angle the white side to bounce sunlight or a strobe into a face sitting in shade. Weigh the base or sandbag the off-frame side, because wind will move a free-standing panel, and expect it to be the heaviest thing in your kit.
Does a V-flat make portraits look flat?
It can, and the usual cause is holding the white panel too close or too square to the camera. That pushes the fill to roughly a 1:1 ratio and you lose the light-to-shadow gradient that gives a face shape. Step the panel back, angle it inward, or flip to the black side for negative fill. A flat look from a V-flat is a placement problem, not a problem with the tool.
Can a V-flat be used as a diffusion panel?
Only if it is translucent. Standard foam board or polystyrene V-flats are opaque, and holding one in front of a bare strobe will block the light rather than soften it. For diffusion, hang a scrim or shoot through a white sheet a few feet in front of the source. Some V-flats are sold with a fabric diffuser that fits over the panel, and that version works, but it is a different job from fill.
Conclusion
Start with the simplest version of how to use a v flat for portraits: put your key about 45 degrees off the camera axis and above eye level, then stand the V-flat opposite it, close to the subject, with the white side turned inward at 30 to 45 degrees. Take a test frame, zoom in on the histogram, and decide whether you want more shadow detail or more shape.
From there, walk the panel closer for softer wrap or farther back for a deeper ratio, and flip to the black side whenever the room is already giving you too much bounce. Once you have the fill where you like it, the next useful addition is separation from the background, not another light on the front of the face.