Most group photos fail for three reasons, and none of them are the camera: somebody is standing behind somebody else, the back row is soft because the lens was wide open, and one person blinked at the wrong second. Learn how to shoot a group photo where everyone looks good and you fix those three things on purpose every time, whether you are holding a phone or a mirrorless body.
The whole method takes about ten minutes of prep for a group of a dozen, and the shooting itself is fast. The hard part is not the settings, it is giving people instructions they can actually hold for three seconds. This guide covers arrangement, light, focus, and the specific words that make an inexperienced group move.
Table of Contents
- What You Need
- Camera and lens
- Support
- Trigger and reflector
- Preparation, which matters most
- Step-by-Step: How to Shoot a Group Photo Where Everyone Looks Good
- How to shoot a group photo where everyone looks good: plan the shot first
- How to arrange people so every face is visible
- How to light a group without harsh shadows
- How to set focus and camera settings
- How to direct expressions and capture the best moments
- How to review the results and improve on the next attempt
- Common Mistakes
- Frequently Asked Questions
- How to get everyone in focus in a group photo?
- What aperture should I use for a group photo?
- How do you look great in group photos?
- How do I take a group photo with myself in it?
- How many rows do you need for a group of 20 people?
- What is the 20-60-20 rule in photography?
What You Need
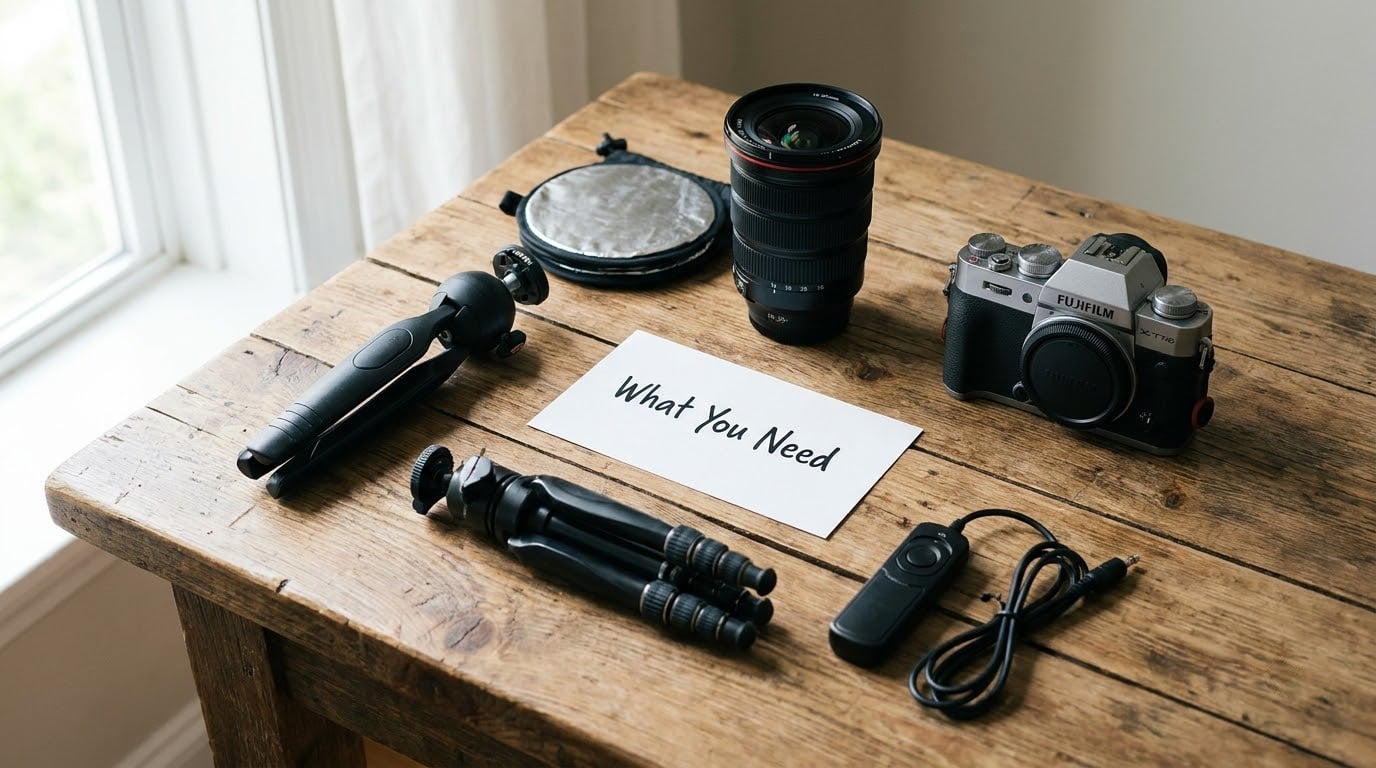
A phone camera handles groups of five or six perfectly well. You are limited by the fixed wide lens, so you will stand further back than you want, but focus, exposure and timing all work the same way. Everything below applies to either.
Camera and lens
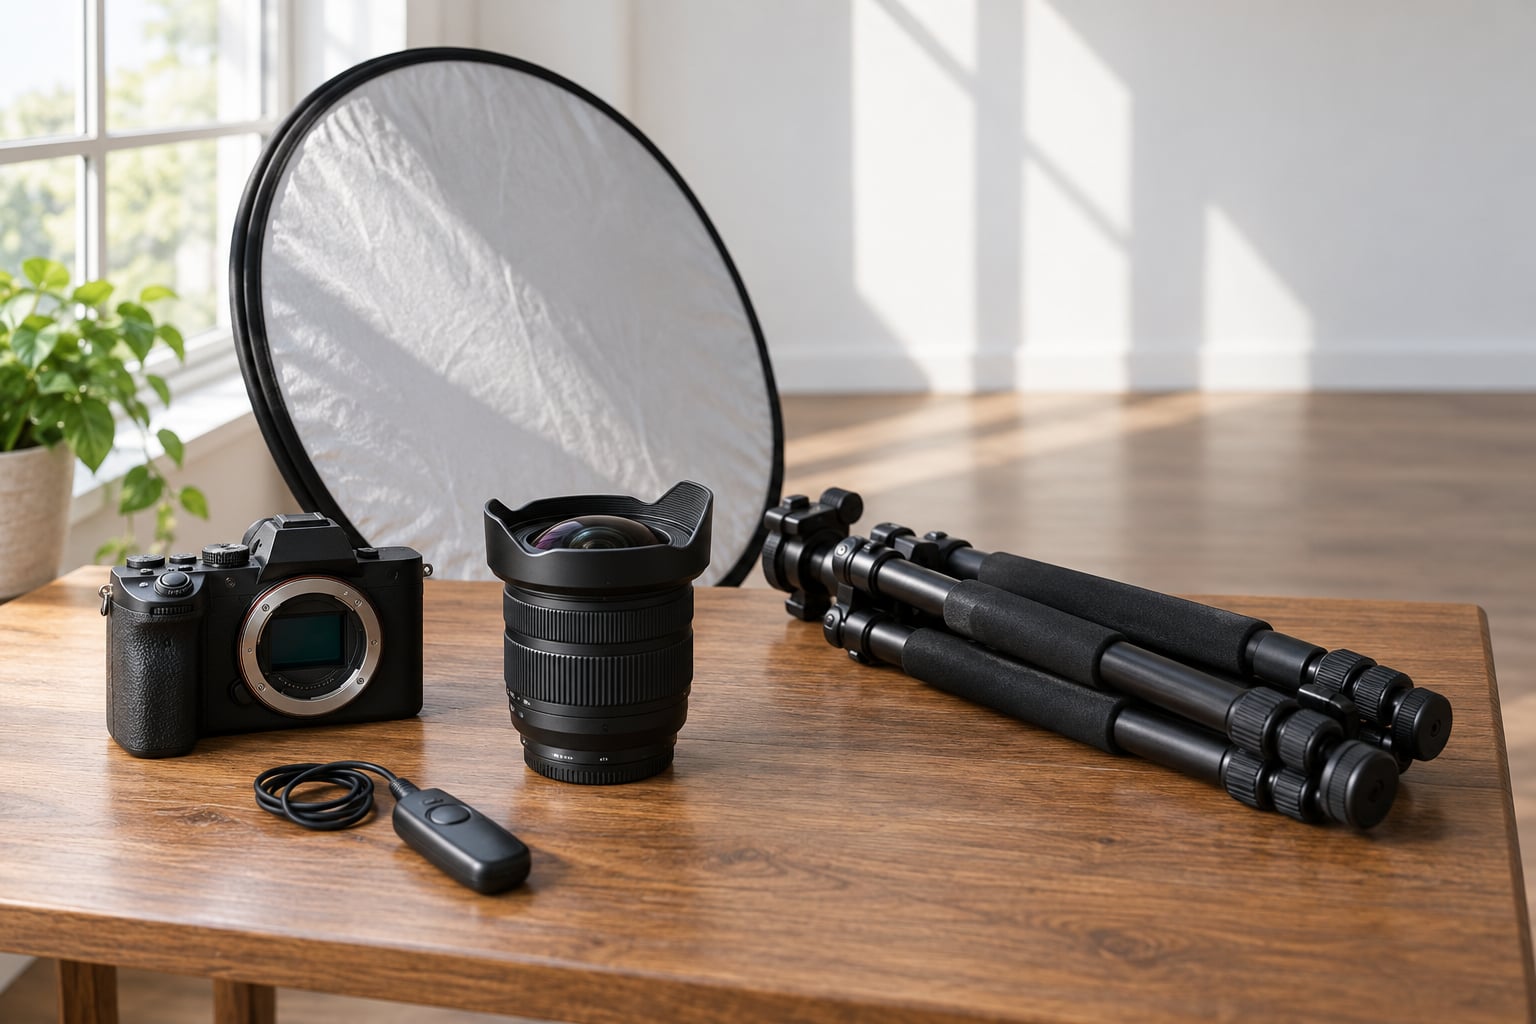
You want the widest lens you can get away with, because a group has to fit in the frame and a longer lens from further away compresses faces into odd overlaps. A 35mm lens handles about six people, a 24mm lens handles roughly fifteen, and a 16 to 24mm lens covers a large group. This is the single most common gear mistake: shooting a group of ten on a 50mm lens means standing across the room with light falling off and heads colliding.
Support
A tripod matters more for groups than it does for portraits, because a slow shutter speed from small hand movement blurs the whole frame at once. If you have no tripod, a solid railing, a wall, or a tree works nearly as well. Brace your elbows into your ribs, put both feet flat and slightly apart, and lean your weight forward into the camera before you shoot.
Trigger and reflector
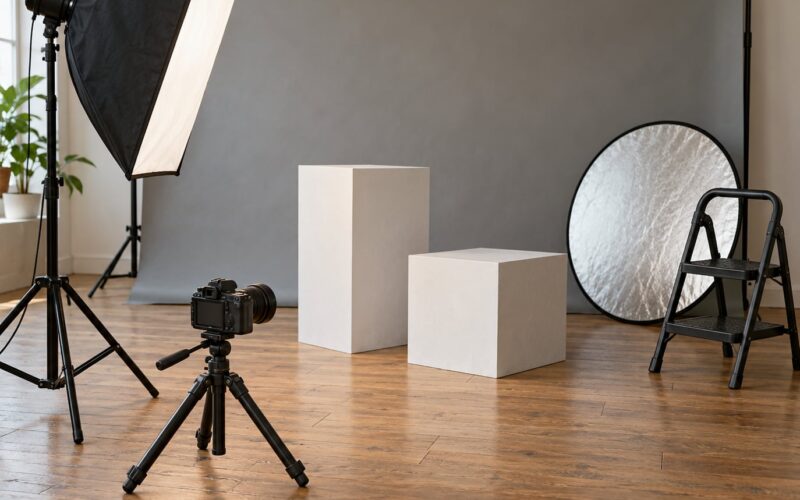
A two-second self-timer or a wireless remote release lets you step into the frame, which is how most people end up in their own group photos. A reflector is the cheap fix for harsh light: a 5 dollar white foam board or a piece of white card bounces shadowed faces back into the light. Skip it indoors and use a bounced flash instead.
Preparation, which matters most
The best equipment in the world cannot rescue a group arranged in a straight line under a tree at noon. Before anyone arrives, know where you are shooting, which way the light is coming from, and how many groupings you want before anyone moves. That is the part people skip, and it is the part that decides the photo.
Step-by-Step: How to Shoot a Group Photo Where Everyone Looks Good
How to shoot a group photo where everyone looks good: plan the shot first
Walk the location before anyone arrives and pick the background, not the people. Look for a spot where the light falls evenly on the spot where faces will be, then check what is directly behind it. Poles, door frames, half a tree and parked cars are the usual offenders, and moving the group ten feet solves all of them faster than any lens change.
Then decide the shape of the shot before the first person stands down. A group of eight usually works as two rows of four with a gentle curve. A group of twenty needs four or five rows, and above about thirty people you should expect to split into smaller groups rather than fight a single frame.
Note where the light is coming from and put your back to it. If the sun is behind a building, you have open shade, which is the most forgiving light there is. If the sun is behind your subjects, you have backlight, which is beautiful but needs faces lifted with a reflector or exposure compensation.
How to arrange people so every face is visible
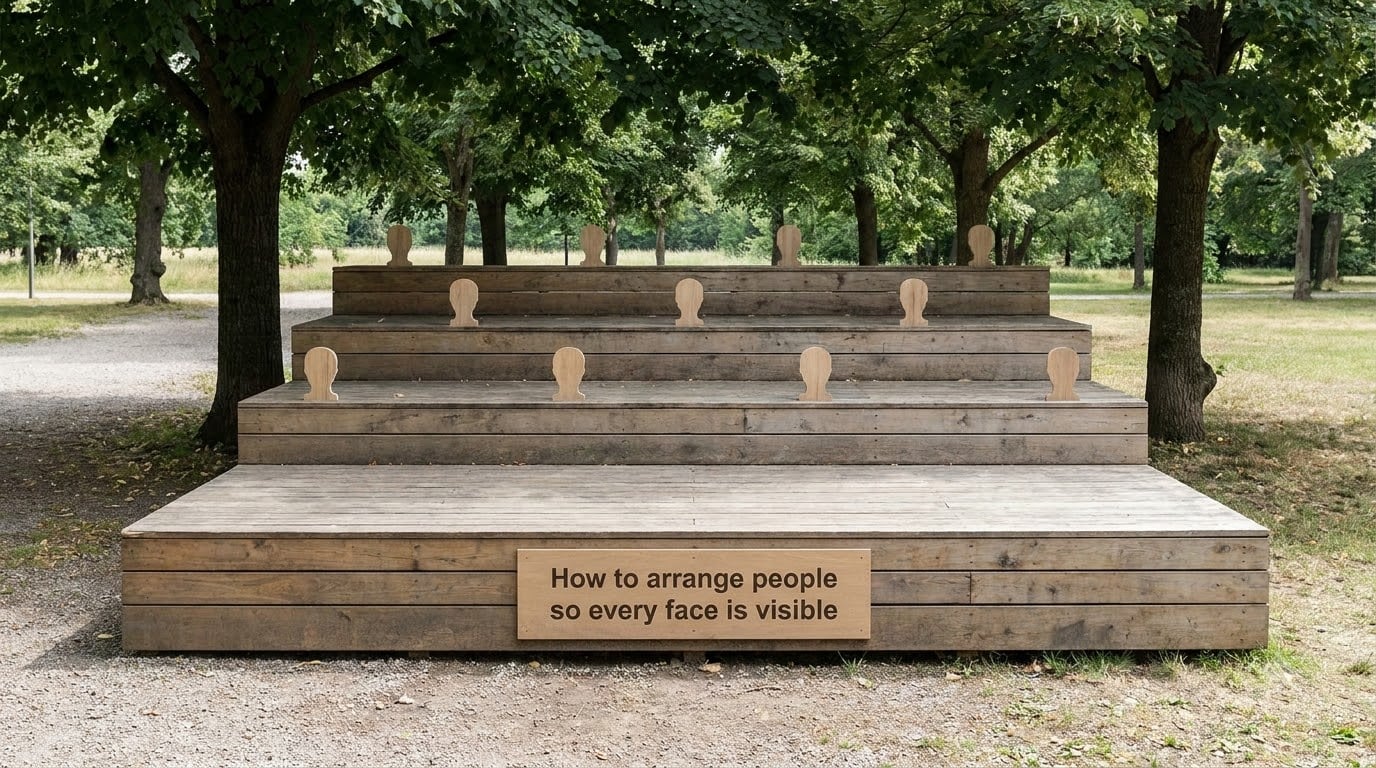
Arrange by height, not by arrival order, and put the shortest people at the front. Then do the thing that separates a decent group photo from a bad one: stagger the heads. Nobody should sit directly behind anybody else. Each person in the back row should stand in the gap between two people in front, so every face has clear air around it.
Ask the group to step in close. Rows separated by a foot of daylight create a visible dark band across the middle of the photo, and the back row ends up looking detached. Compress the rows until the shoulders nearly touch, then check for overlap by squinting at the arrangement from your shooting position. Squinting removes colour and detail, which is exactly how the camera sees heads merging.
Curve the formation rather than lining it up flat. Have the ends of the front row step forward a foot or two toward the camera, which gives the frame a subtle arc and stops the middle of the group from looking like a wall.
Vary heights on purpose. Kids should sit on the ground or on a low step, and taller adults should stand behind them, because the front row of a family photo is naturally a mix of adults and children anyway. Keep heads out of a straight line even in one row; someone standing a few inches higher breaks the pattern nicely.
Get the camera to eye level. Shooting up from waist height makes people look short and wide, and it is the fastest way to make a group look unflattering. Stand on a step, a rock, or a low wall for ten people or more so the lens sits at the height of the middle row rather than below everyone’s chin.
How to light a group without harsh shadows
Turn the group toward the light and put yourself between the light and the people, so the light falls across their faces instead of behind them. Open shade under a building overhang or a large tree on a sunny day gives soft, even light with no squinting, and it is the situation to hunt for when you have a choice.
Avoid midday sun. Light straight down drops shadows into eye sockets and under chins, and it makes everyone look like they are scowling. If midday is the only option, move the group into shade, or open a doorway or car boot to create a large soft source overhead.
Watch for shade lines. When half the group stands in sun and half in shadow, you get two exposures in one frame, and one of them will be wrong. Reposition so the light falls on the entire group or on none of it.
Backlight is the exception worth knowing. Shooting into a low sun gives rim light around hair and shoulders and a warm glow, and you hold up the shadows with a reflector below the group or about one and a half stops of exposure compensation. Just do not put the sun directly through a face.
How to set focus and camera settings
Stop the lens down to f/8 for a group of up to about fifteen people, or f/11 for a large group, and focus on a face in the front third of the group. Depth of field is what keeps the back row sharp, and a wide-open lens such as f/1.8 leaves only a thin slice of the group in focus. That single setting causes more group photo failures than any other choice you make.
Use single-point autofocus and put the point on a face near the front of the group, then check the far end of the row with zoom before you commit. On a camera with back-button focus, set the point on the front face and press the button to lock it, then step back and shoot without refocusing.
Shoot in burst mode for the actual capture. Blinks are a timing problem, not a luck problem, and five to ten frames in one burst makes a blink-free frame close to certain. Give the instruction, wait a beat, then hold the burst through the peak of the movement rather than firing it at random.
| Group size | Aperture | Shutter speed | Focal length | Rows |
|---|---|---|---|---|
| 3 to 6 people | f/5.6 to f/8 | 1/250s | 35 to 50mm | 1 to 2 |
| 7 to 15 people | f/8 | 1/250s | 28 to 35mm | 2 to 3 |
| 16 to 30 people | f/8 to f/11 | 1/320s | 24 to 28mm | 3 to 4 |
| More than 30 | f/11 | 1/320s | 16 to 24mm | 4 or more, or split the group |
Those numbers assume good light. Indoors or at a night event, open the aperture as far as you can while keeping faces exposed, raise ISO rather than dropping shutter speed below what the movement needs, and accept a little background blur. A grainy sharp photo beats a clean blurry one every time.
For moving subjects, and that means kids, keep the shutter speed at 1/250s or faster. Let ISO climb to whatever the camera needs rather than dropping to 1/60s, because a sharp frame of a blurry child is still blurry.
How to direct expressions and capture the best moments
Tell the group one thing at a time, then shoot. Constantly adjusting individuals between frames makes everyone freeze in a different pose and nobody looks relaxed. Set the arrangement once, give one direction, and shoot the whole burst after the last person has settled.
Give cues people can act on instead of telling them to relax, which nobody knows how to do. These work:
- Put your weight on your back foot and let your front knee bend slightly.
- Chin forward and down, not straight at the lens.
- Hands behind your back or in your pockets, thumbs showing.
- Shoulders back, away from your ears.
- Look just beside the camera, not into it.
That last cue fixes a surprising number of blank stares. Eyes go slightly past the lens and the expression relaxes into something natural.
For the smile, ask for something that causes a smile rather than the smile itself. Say the name of someone not in the shot, ask the group to take one step forward together, or tell them to squeeze into the middle at the same moment you fire the burst. Do not count down from three, because everyone performs on three.
Somebody in the group will not smile. Do not fight it. A neutral face in the middle of a genuinely laughing group reads far better than a forced grin, and you can often get the natural frame by pretending the shot is over and shooting while they relax.
How to review the results and improve on the next attempt
Zoom in on the front and back rows of every frame before you move on. Check three things: is the far row sharp, are there any closed eyes, and do any heads merge into each other? If the back row is soft, stop down one f-stop or move a step closer. If heads merge, fix the arrangement and shoot again.
Culling a large burst takes discipline. Look for the frame where eyes are open and faces are not mid-blink, then check the whole row rather than judging one face at close range. Ten frames of the same burst usually contain one keeper.
Then get the sub-groups. Professionals shoot the full group first, then immediately break it into grandparents with grandchildren, siblings, cousins and couples. Those smaller frames are where people actually look good, and they are the shots families remember.
If you are in the frame too, set the camera on the tripod, frame the shot, then use the two-second self-timer and walk into position. Give yourself three counts to get in and hold still, or use a wireless remote release and shoot the burst as you settle. A mirror left near the lens, or a phone propped inside the frame, works when there is no tripod at all.
Common Mistakes
Lining everyone up flat. A single row of equal-height heads looks like a mugshot and hides every face after the fourth person. Curve the formation, stagger the heads, and add a second row as soon as you have more than five people.
Shooting wide open. A 50mm at f/1.8 looks beautiful for one person and turns a group of eight into three sharp faces and five soft ones. Stop down to f/8 and step back.
Shooting from the waist. Shooting up shortens people and exaggerates whatever they feel self-conscious about. Get the lens to eye level, and climb onto something for groups of ten or more.
Taking one frame and moving on. A single shot is a single chance at a blink, a squint and a wandering eye. Burst mode is free insurance.
Adjusting people one at a time. The group resets every time you touch somebody, and the frame you finally take catches four people mid-adjustment. Make all the changes, then shoot.
Vague posing instructions. Saying relax or look natural produces the opposite. Say chin forward and down, weight on the back foot, look just beside the lens.
Ignoring the background until afterwards. A strong shot of twelve people still fails on a bin and a road sign. Choose the background before you position anyone.
Standing in harsh overhead sun. Faces end up in shadow and everyone squints. Open shade beats direct sun at almost any hour of the day.
Forgetting the shot list. With a big group, sessions end with somebody saying we never got a photo with just us. Agree on ten to twelve groupings in advance and work through them.
One last habit: after every successful group frame, take one more. Groups drift, expressions pass, and the second or third variation of a good arrangement is usually the frame you print.
Frequently Asked Questions
How to get everyone in focus in a group photo?
Stop down your aperture to f/8 for groups up to about fifteen people, or f/11 for larger ones, and focus on a face in the front third of the group. A wide-open lens like f/1.8 only keeps a thin slice sharp. Use single-point autofocus, check the far row by zooming before you shoot, and keep your shutter speed at 1/250s or faster so nobody moves during the frame.
What aperture should I use for a group photo?
Start at f/8. It gives you enough depth of field to hold a group of roughly fifteen people sharp from the front row to the back without making the image so soft that you need a tripod. Push to f/11 for twenty or more people, and stay at f/5.6 for groups of five or fewer if the light is good enough. Inside or at night, open up and raise ISO rather than losing sharpness.
How do you look great in group photos?
Put your weight on your back foot with the front knee slightly bent, take your chin forward and down rather than straight out, and pull your shoulders back away from your ears. Keep hands behind your back or in pockets with thumbs visible so nobody fidgets. Look just beside the lens rather than into it, and squeeze toward the middle a beat before the shutter fires.
How do I take a group photo with myself in it?
Put the camera on a tripod and use the two-second self-timer, or hold a wireless remote release in the group. Frame the shot, run to your position, and start the burst as you settle instead of firing on the timer alone. With no tripod, prop the camera on a railing or wall and use a longer timer. Practise the timing once before you ask twenty people to hold still.
How many rows do you need for a group of 20 people?
Plan on four rows for twenty people, five people per row, with the shortest at the front and every head in a back row sitting in the gap between two people in front. Close the rows together until the shoulders nearly touch, and keep the lens at eye level by standing on something. Above about thirty people, stop trying to make one frame work and break the group into sub-groups instead.
What is the 20-60-20 rule in photography?
It is a composition guideline rather than a group photo technique: roughly 20 percent of the frame for the main subject, 60 percent for the supporting elements, and 20 percent of empty space to give the eye somewhere to rest. In a group portrait the supporting element is usually the arrangement itself, and the empty space is the background around the outer edges. Use it to decide how much breathing room the group gets, not as a hard grid.
Start with the arrangement, because it is the part that cannot be fixed in editing. Sort by height, stagger the heads, close the rows, put your back to the light, then set f/8 and shoot a burst. Everything else in this guide is a refinement on those five moves, and once they are habit the photo stops being a coin flip.