Knowing how to dress clients for a portrait session is a system, not an opinion. You agree on the look in advance, pick two or three coordinating colours, choose solid textured fabrics that hold their shape, check the fit, and keep one backup ready. Do that before the client arrives and the session runs on time and the finished portraits look like them on a good day.
Wardrobe gets overlooked because the face is what everyone looks at first. But clothing fills most of the frame, sets the mood of the image, and decides whether a client can stand still or fidget. An outfit that photographs badly undoes an hour of good lighting and an hour of careful retouching.
This guide is written for the photographer doing the styling, and it works for individual portraits, headshots, families, couples, boudoir and maternity sessions alike. If you have ever lost twenty minutes to a client standing in a doorway saying, “Is this okay?”, the system below is for you.
Table of Contents
- What You Need
- How to Dress Clients for a Portrait Session: Step-by-Step
- 1. Define the Portrait Style and Location
- 2. Choose Colors That Work with the Background
- 3. Build an Outfit Around Comfort and Movement
- 4. Check Fit, Texture, and Photographability
- 5. Add Accessories Deliberately
- 6. Prepare Backup Options
- 7. How to Dress Clients on the Day of the Session
- Common Mistakes
- Frequently Asked Questions
- Should a photographer tell the client exactly what to wear for a portrait session?
- What colors photograph best for portraits?
- Should clients wear makeup for a portrait session?
- What shoes should a client wear to a portrait session?
- How many outfit changes should a portrait client bring?
- Can a photographer help style a client during the session?
- Conclusion
What You Need
Gather these before the planning call, not on the morning of the shoot.
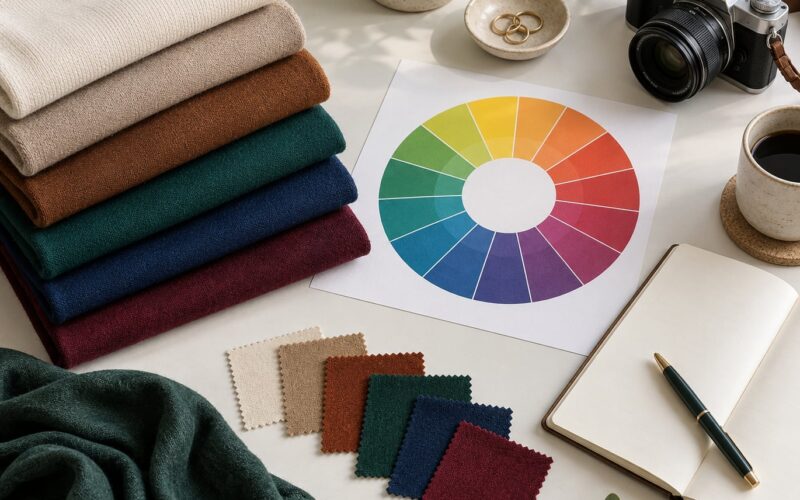
- A colour shortlist. Two or three shades that work with your backdrop and location, written down so you can hand them to the client without guessing.
- Fabric examples. A few swatches or a photo board showing matte cotton, wool, denim and linen against something shiny, so the difference is obvious.
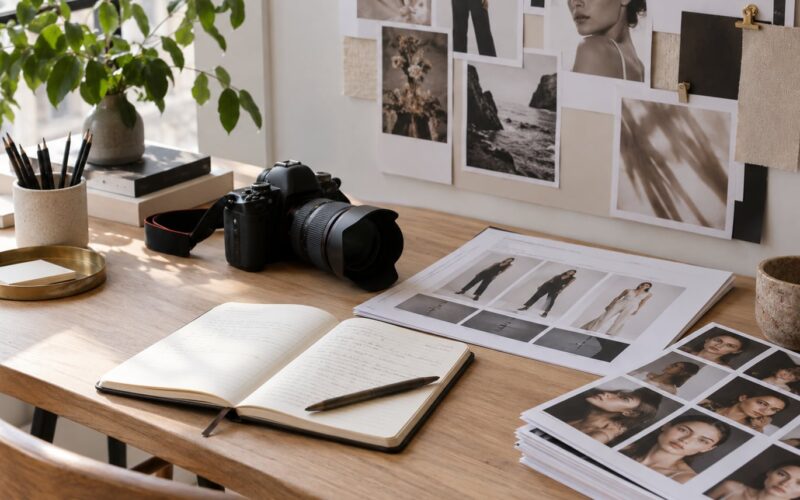
- A reference board. A shared board of five to eight images that show the mood you are going for. Five is enough. Twenty gives a client too much to argue with.
- Underlayer notes. A line about bra straps, shapewear and camisoles that will not show through the chosen top.
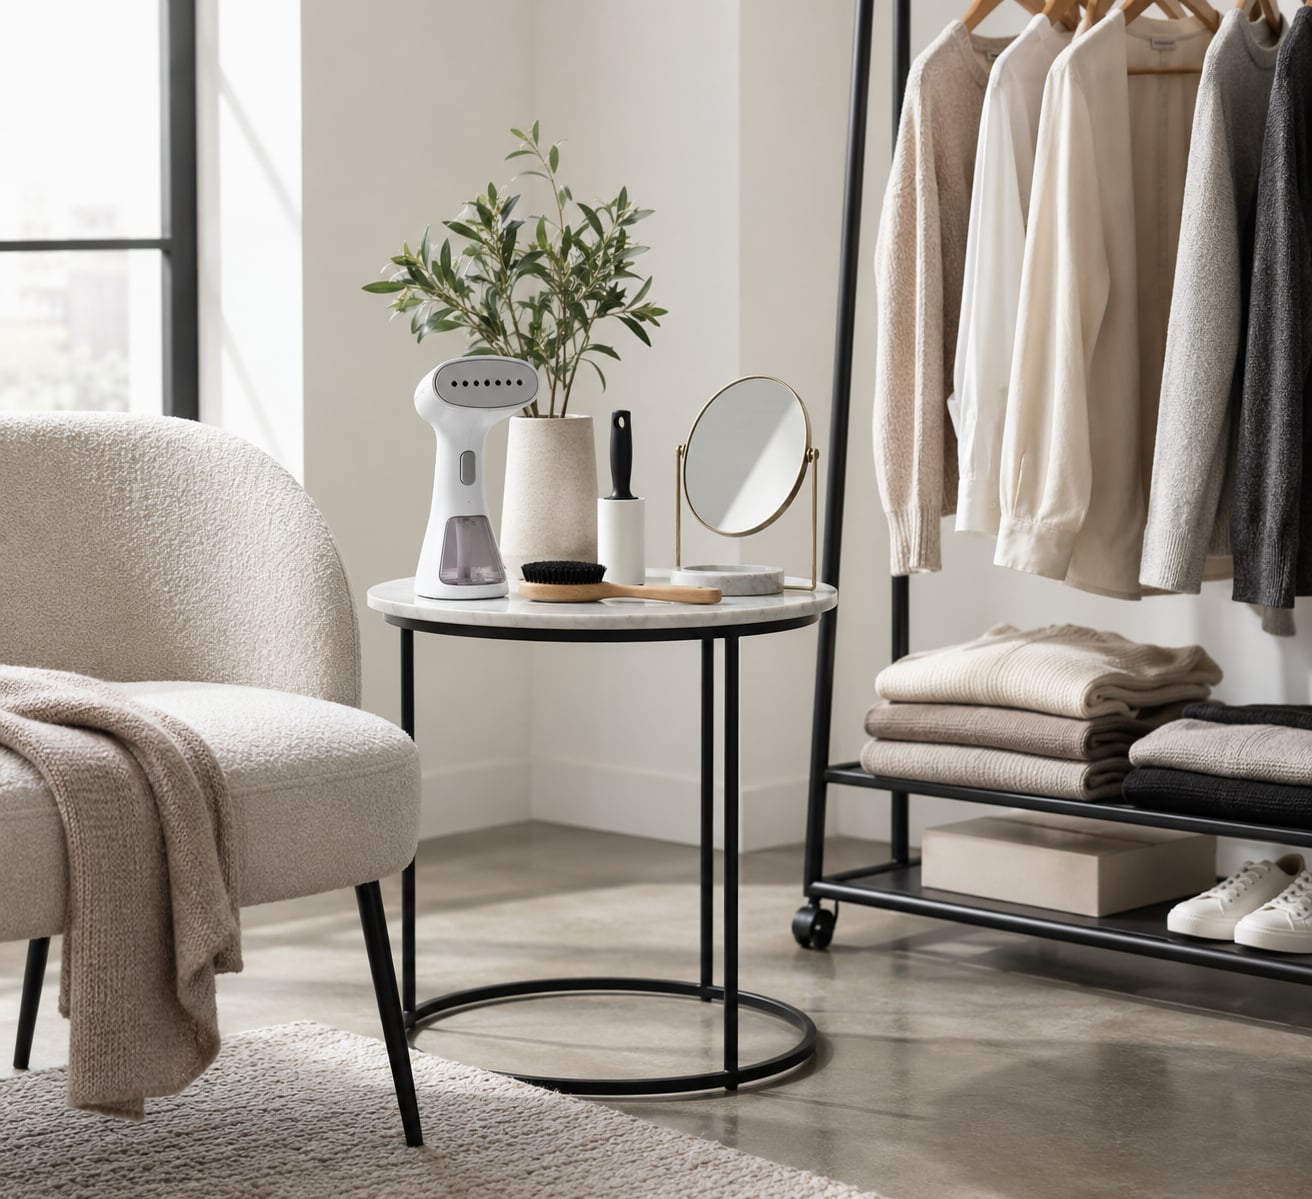
- An on-set kit. A clothing steamer, lint roller, garment brush, stain pen, small mirror, safety pins, double-sided tape and a few neutral accessories.
- A backup outfit. Yours, not theirs. A plain top and trousers in a neutral tone covers most wardrobe emergencies.
How to Dress Clients for a Portrait Session: Step-by-Step
1. Define the Portrait Style and Location
Start by writing one sentence describing the finished image: a relaxed family afternoon in warm evening light, or a sharp corporate headshot on a grey backdrop. The client cannot choose well against a vague brief, and neither can you.
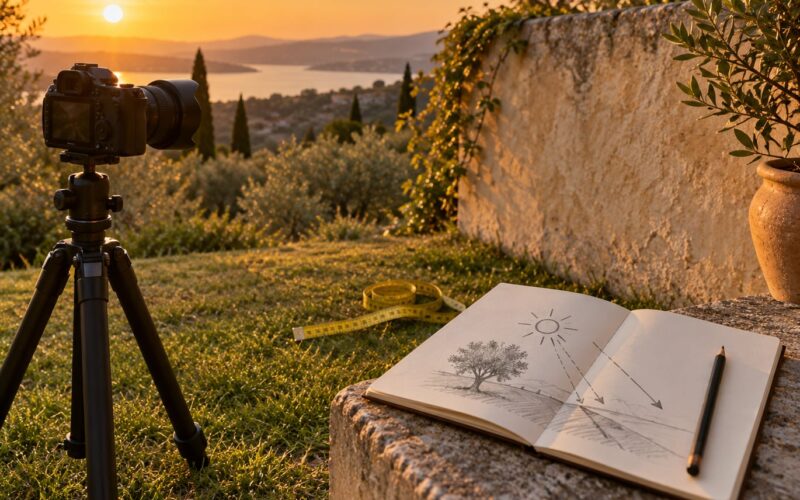
Then name the location, the backdrop and the time of day. Golden hour on a beach and a two-light studio setup want different clothing, and the difference shows up in the file. Know this first, because everything after it depends on it.
2. Choose Colors That Work with the Background
Light colours draw the eye and dark colours recede, so shade matters more than hue. Against a dark wall, mid tones and warm neutrals hold separation; against pale sand or a white sweep, deeper colours stop the client from dissolving into the background.
Give the client a palette rather than a single colour. Two coordinating tones plus one texture or accent reads as considered; four unrelated colours read as busy.
- Cream, oatmeal, camel, soft grey read as calm and timeless in most light. Use caution with pure white, which blows out and shows every crease.
- Navy, deep green, burgundy and charcoal separate cleanly from light backgrounds. Jet black flattens skin and pulls at lint.
- One muted jewel tone on an otherwise neutral outfit adds a focal point without noise. Skip neon and high-saturation shades, which shift hue under studio strobes.
- Two to three shades from the same family keep the frame tidy. Large logos, slogans and busy prints read as texture noise at any distance.
Colours do look different in photos. Bright daylight and warm LED both push colour warmer and softer than the eye expects, so ask for the truest shade you can find and check it in the frame before you commit.
3. Build an Outfit Around Comfort and Movement
Ask the client to try the outfit on at home, sit down, stand up, cross their arms and turn. If they tug at a hem or keep pulling a sleeve, it will show in every frame.
Favour pieces with room to move: a wrap dress, a straight-cut trouser, a soft knit over a simple top. For plus-size clients, the fit advice is the same as for everyone else: give the garment a chance to hang properly rather than clinging, and let the client choose where the visual interest sits.
Keep it budget-friendly by working with the wardrobe the client already owns. Most people already own a plain tee, a well-fitting jean, a solid knit and a clean overshirt. That is a complete portrait outfit, and it photographs better than something new and unfamiliar.
4. Check Fit, Texture, and Photographability
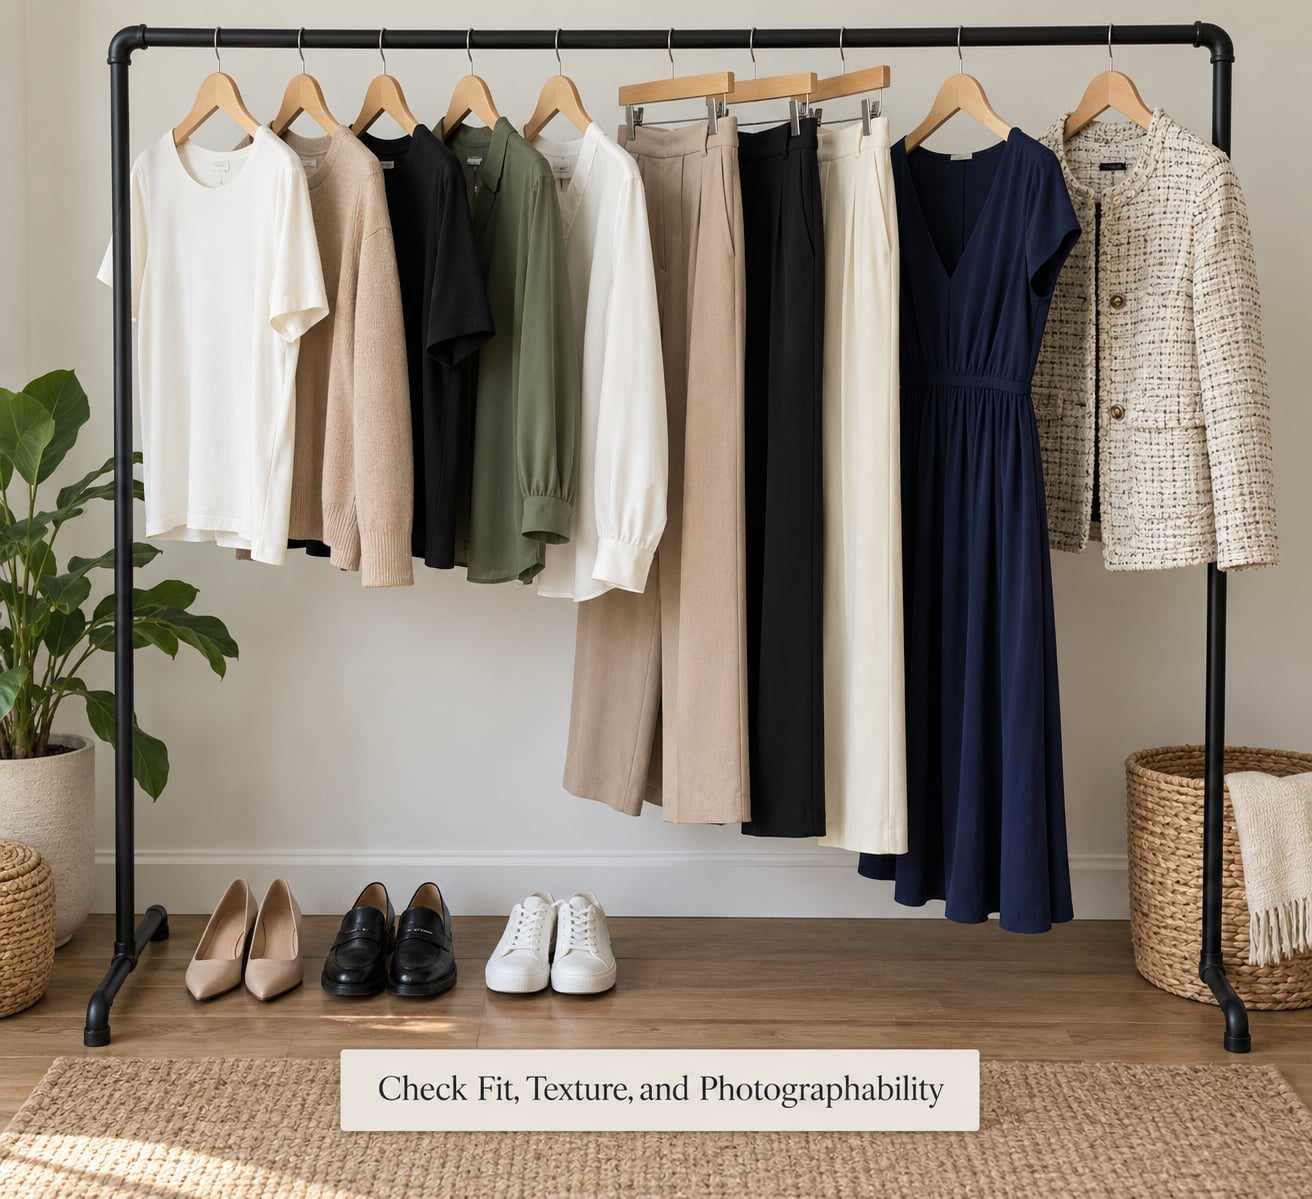
Fit is the thing clients get wrong most often, because they own what fits their daily life rather than what photographs well. Shoulders should sit at the shoulder seam. Trouser hems should break once across the shoe. Nothing should pull across the torso when the arms lift.
Then check fabric. Matte cotton, wool, denim and linen hold their shape and hold light evenly. Silk, satin, chiffon and fine jersey go shiny and thin under a hard key light, and thin fabric shows every line underneath. A textured jacket, a ribbed knit or a raw denim layer adds depth without adding a pattern.
Necklines and sleeves frame the face, so treat them as portrait decisions. A V-neck draws the eye down and lengthens the neck; a high crew neck closes it in. Three-quarter sleeves usually flatter more arms than a long sleeve or a bare shoulder. Wrinkled linen can be steamed, but deep creases across a bodice cannot.
5. Add Accessories Deliberately
Accessories should support the concept without competing with the face. One statement piece works, whether that is a pair of earrings, a textured scarf or a single bold necklace. Two loud accessories fighting each other is the same visual problem as two patterns.
Shoes matter more than most people expect, because a full-length portrait usually includes them. Clean leather, simple trainers or a low-profile heel all work; worn-out sneakers and anything with a large logo do not. Ask the client to bring the shoes they will actually wear, not the ones they think they should wear.
Glasses, watches and rings deserve one decision too. Lenses catch reflections of your light, and a large watch face pulls attention at the wrist. Clear the wrist or turn the watch face inward before the first frame.
6. Prepare Backup Options
Tell clients to bring one complete change of clothes plus a simple second top. Not because you expect a problem, but because the outfit they love is not always the outfit that photographs best, and they deserve the choice in the room rather than an argument.
Ask them to pack the undergarments that go with each outfit. A dark top needs a dark bra. Maternity and boudoir sessions need options that allow movement and quick adjustments without a full change.
Keep your own backup within reach. A neutral tee and a plain pair of trousers in a bag solves a spill, a stain, an unexpected cold morning or a client who simply decides they do not like what they chose.
7. How to Dress Clients on the Day of the Session
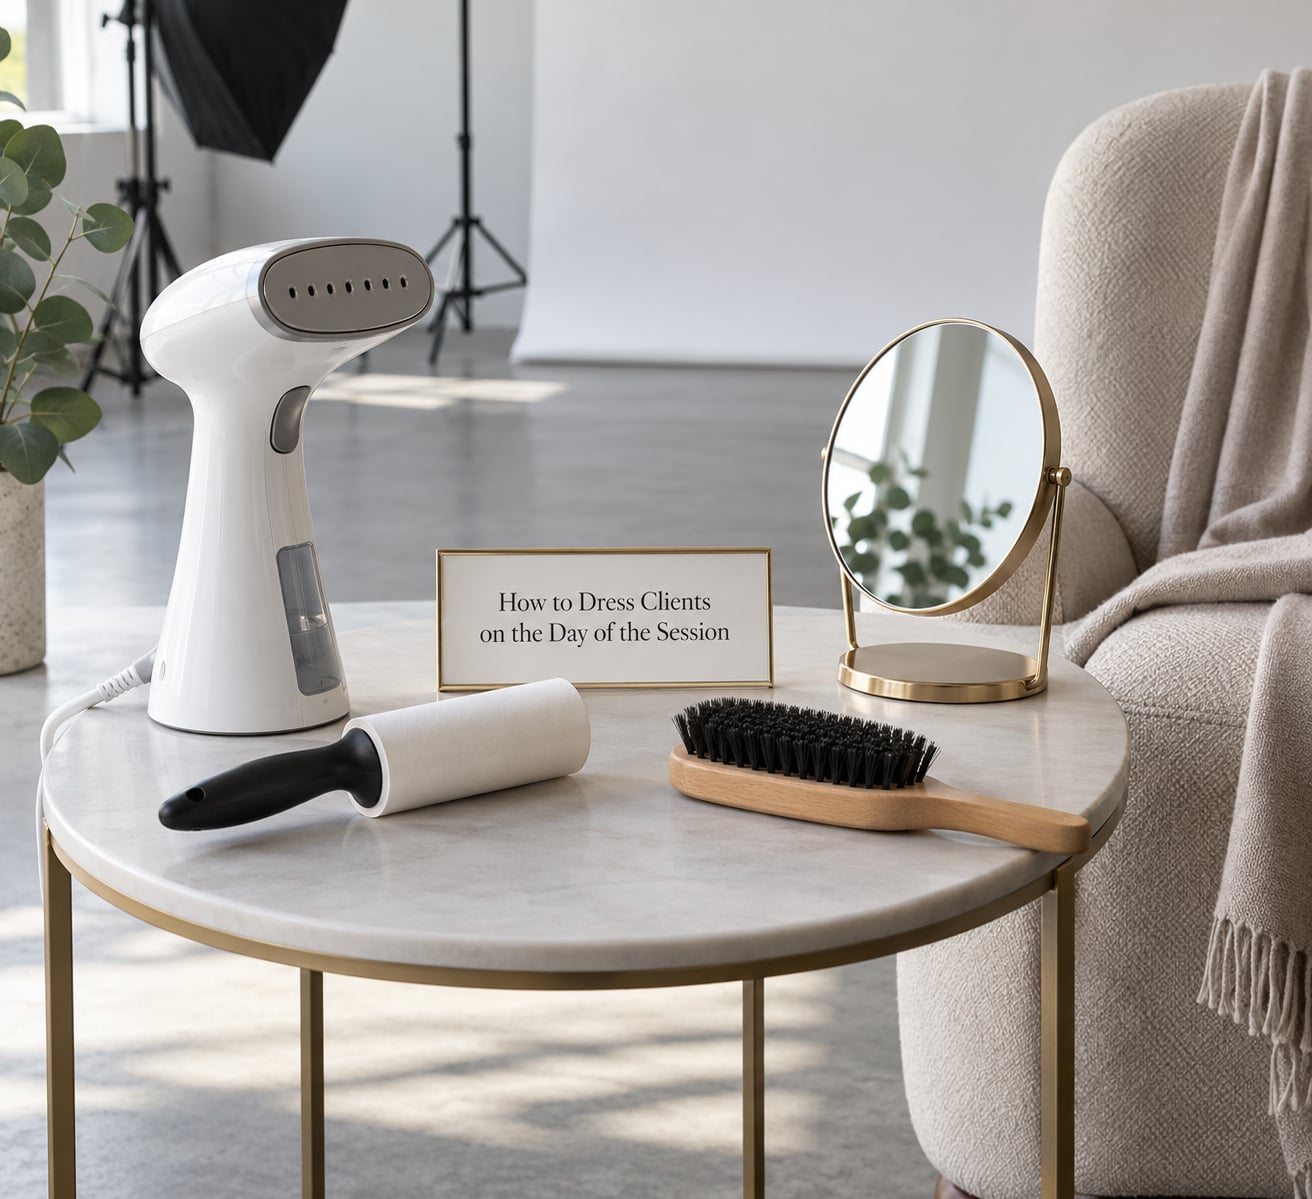
Allow five minutes at the start of the session for the wardrobe check, and build it into your booking template rather than treating it as an extra. Look at the outfit in the mirror with the client standing, not sitting.
Run the lint roller over dark trousers and jackets. Steam anything creased. Check that no bra strap, waistband, watch or necklace is drawing the eye before you turn the lights on.
Photograph the outfit quickly on your phone at the start. You can see problems in a small preview that you miss at full size: a colour that has gone flat against the backdrop, a sleeve sitting oddly, a hem that reads as unfinished. Adjust now, in daylight, not after an hour of frames.
If something genuinely will not work, redirect it without criticism. Name the problem, offer two options and let the client decide: “This top is very shiny, and it will pick up the window. We have the linen shirt or the knit here. Which do you prefer?” That framing keeps the relationship intact and takes about twenty seconds.
Common Mistakes
Wearing logos and slogans. They shift with every pose and often read as text on screen. Correction: ask for clean, unbranded pieces, or have the client turn the logo away from the camera.
Ill-fitting garments. A jacket two sizes too big makes a confident person look uncertain. Correction: bring a backup that fits and treat it as a styling decision, not a criticism.
Too many patterns competing. A patterned dress with patterned trousers plus patterned shoes becomes visual static. Correction: keep the pattern, make everything else solid.
Over-accessorising. Multiple statement pieces pull the eye away from the face. Correction: keep one focal accessory and remove the rest for the shoot.
Wrong shoes. Worn sneakers or heavy logos undercut an otherwise polished outfit. Correction: ask for the second-best pair in the bag before the day starts.
No outfit test. The most common failure is skipping the trial. Correction: a photo of the outfit on the client’s phone, taken standing, costs nothing and prevents the on-set argument.
Matching a family too tightly. Identical outfits read as a uniform and flatten individual personalities. Correction: pick one inspiration piece and coordinate the others around it in related shades, assigning a colour family to each unit so the group still reads as a group.
Ignoring the light. An outfit planned for a studio can fail completely outdoors, and the reverse is true too. Correction: factor the time of day and the direction of the light into the palette before the client shops.
Frequently Asked Questions
Should a photographer tell the client exactly what to wear for a portrait session?
Tell them what to wear, but give a palette and a fit standard rather than a single prescription. Most clients own something that already fits the brief once they know the colours, the fabric and the level of formality you are after. Offer a short list with a few options and one example image, and leave the final choice with them.
What colors photograph best for portraits?
Mid-tone and warm neutral colours such as cream, camel, soft grey and navy are the safest all-rounders. They separate from most backdrops without competing with skin tones and they do not date quickly. Avoid pure white, which blows out and shows every crease, and jet black, which flattens skin and pulls at lint. One muted jewel tone adds a focal point.
Should clients wear makeup for a portrait session?
Yes, but with the right priorities. Ask for a base that matches their everyday skin tone, brows filled in, and a lip colour that stays visible in a wide shot. Skip heavy contouring, because directional studio light already shapes the face and strong contour lines can read as shadows. Tell them to bring a powder for shine between setups.
What shoes should a client wear to a portrait session?
Clean, simple shoes in good condition. For most portraits that means leather shoes, low-profile trainers or a modest heel, in a solid colour. Avoid worn-out sneakers, anything with a large logo and shoes with heavy straps, all of which pull attention away from the face. Ask the client to bring the pair they will actually wear, not a nicer pair they never wear.
How many outfit changes should a portrait client bring?
One complete change plus one simple extra top is usually plenty for a session booked for an hour. For a family or a session where you expect two looks, ask for two full outfits and build the extra time into your schedule. Every planned change should be photographed and styled before the lights go on, not discovered halfway through.
Can a photographer help style a client during the session?
Yes, and you should plan five minutes for it at the start. Check fit in a mirror with the client standing, steam creases, roll lint from dark trousers and remove anything drawing the eye to the wrist or chest. If you want to redirect an outfit the client already loves, name the photographic problem and offer two options instead of issuing a correction.
Conclusion
The first thing to do is agree on the portrait concept and send the clothing guidance before the session, not on the day. Send a palette, a fit note, a short reference board and one backup outfit, then trust the client to bring it.
A quick checklist to run on the day:
- The palette matches the backdrop and the light.
- Fabrics are matte and hold their shape.
- Shirt seams and trouser hems sit where they should.
- One accessory, clean shoes, no large logos.
- Lint removed, creases steamed, straps hidden.
- A backup top and your own spare outfit are in the room.
Get those six things right and knowing how to dress clients for a portrait session stops being the awkward part of the day and turns into the reason the portraits work.