A 50mm lens is one of the most forgiving focal lengths for portraits because it shows roughly what your eyes see, with almost none of the nose-and-ears stretching you get from something wider. To shoot well with one, you need four things in the right order: a subject about 1.5 to 3 metres away, an aperture between f/1.8 and f/4, a shutter speed of at least 1/125s, and focus placed on the eye closest to you. Get those four right and the rest is refinement.
This guide is for anyone who has just picked up a 50mm prime and keeps coming home with frames that feel flat, soft, or a little too tight. Most of the trouble people run into with this lens is not the lens. It is standing too close, shooting wide open by default, and pointing the background at something busy.
A whole portrait session indoors with a 50mm takes about twenty minutes once you know the workflow, and beginners usually need a couple of sessions before posing stops feeling awkward. The steps below are the ones I return to every time.
Table of Contents
- What You Need
- Step-by-Step: How to Shoot a Portrait with a 50mm Lens
- Set Up the Location and Background
- Choose the Right Camera Settings
- Focus on the Near Eye
- Direct the Pose and Expressions
- Make the Light Work
- Take the Shot and Refine It
- Common Mistakes and How to Fix Them
- Blurry or hunting focus
- One eye sharp, the other soft
- Background brighter than the face
- Harsh shadows across the face
- Chopped hands and feet
- Skin looks green or orange
- Flat or lifeless expressions
- Frequently Asked Questions
- Is a 50mm lens good for portraits?
- What is the best aperture for portraits with a 50mm lens?
- Is 50mm or 85mm better for portraits?
- How far away should I stand for a 50mm portrait?
- What is the most flattering focal length for portraits?
- Conclusion
What You Need
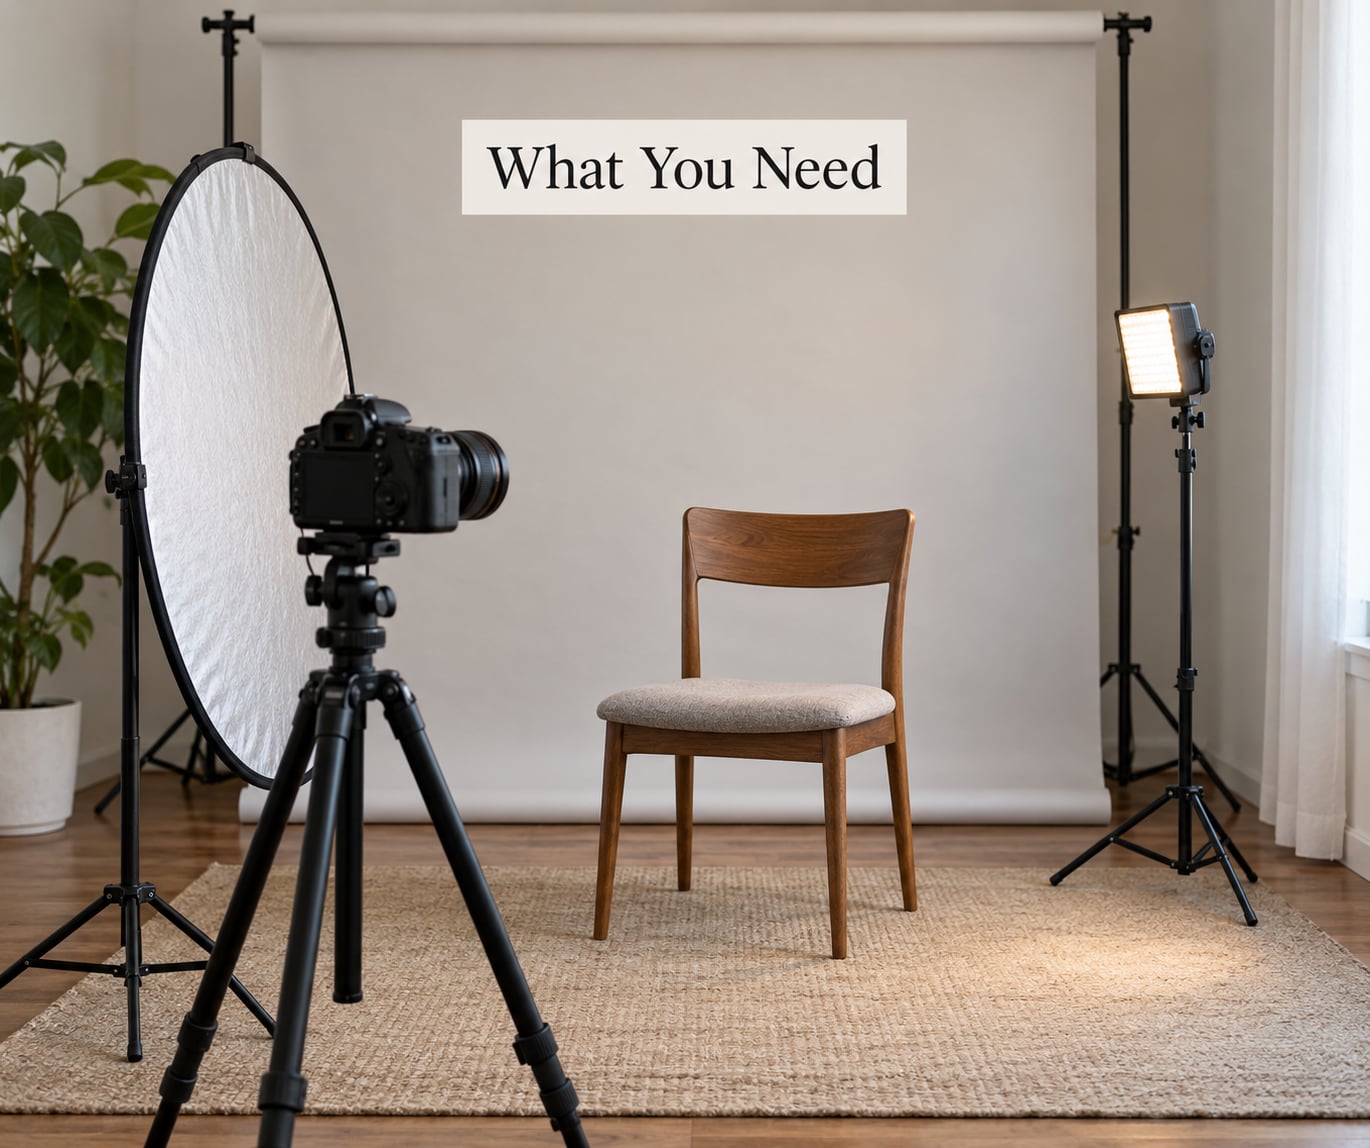
A 50mm portrait setup is small. You can do it in a living room, and most of what people buy for this never gets used.
- A camera body. Any mirrorless or DSLR with a 50mm mount. The lens matters more than the body here, so a five-year-old body with a good prime beats a new body with a kit zoom.
- A 50mm prime. Most affordable versions are f/1.8, which is the sweet spot for portraits and the one this guide assumes. An f/1.4 gives you a little more light and a shallower background; an f/2.8 is sharper wide open and lighter in the hand.
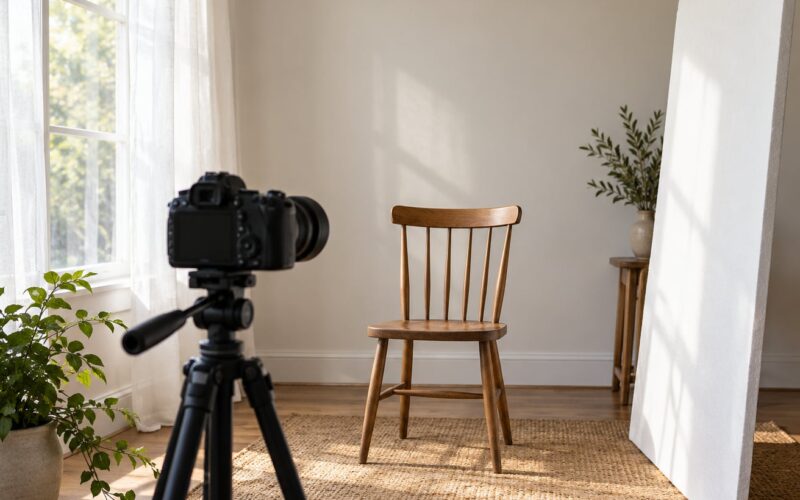
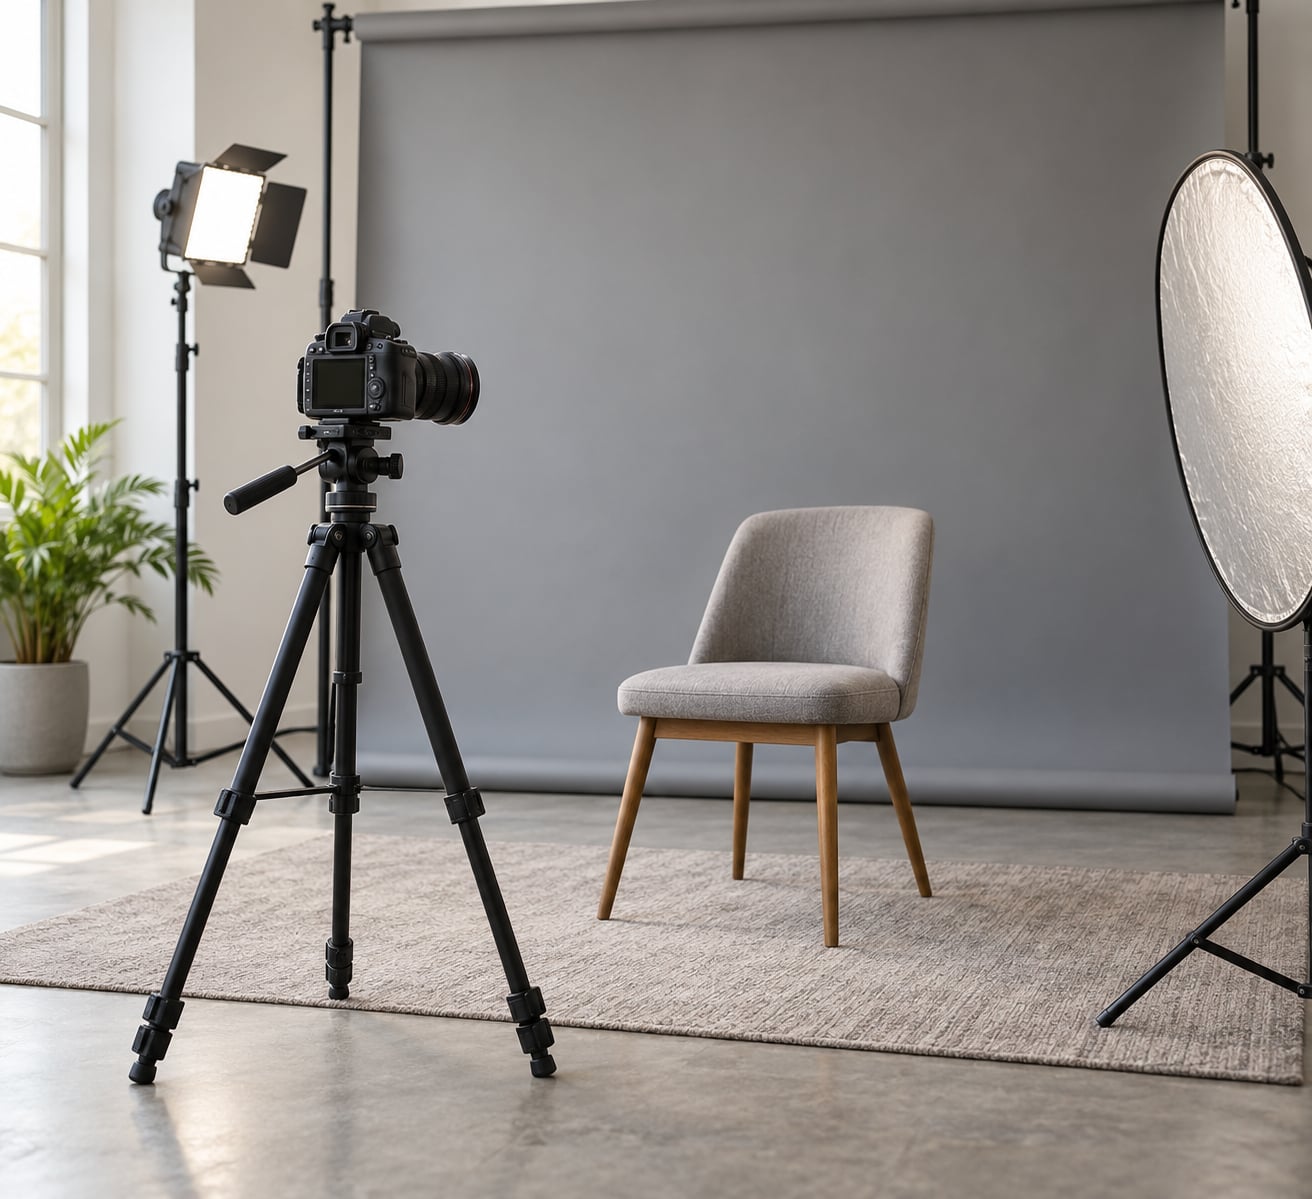
- One light source. A window with a sheer curtain is genuinely enough. A small LED panel or a bounced flash works too, and you only need one.
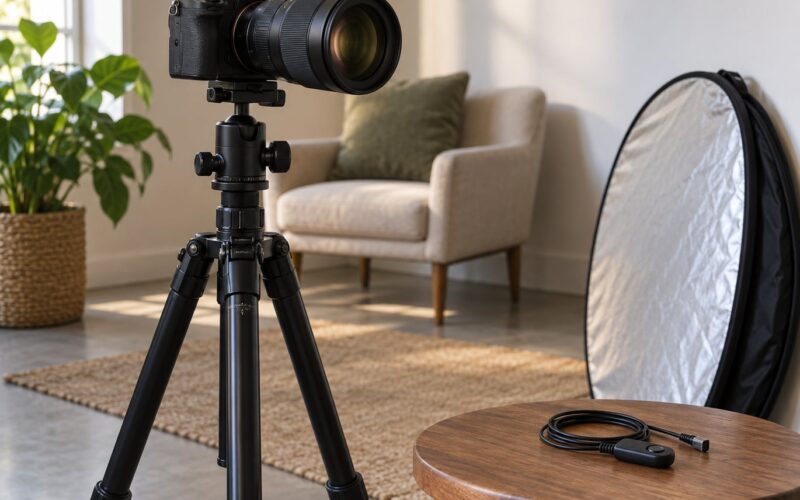
- A reflector or white card. A 5 dollar piece of foam board on a chair fills the shadow side of a face. Without it, half-lit portraits look like a mistake.
- A plain background. A wall, a sheet, or a door. Distance between the subject and that wall matters more than the wall’s colour.
- Optional extras: a tripod, a remote or two-second timer, and your phone on a chair so you can watch the frame from eye level while you stay in the shot.
Step-by-Step: How to Shoot a Portrait with a 50mm Lens
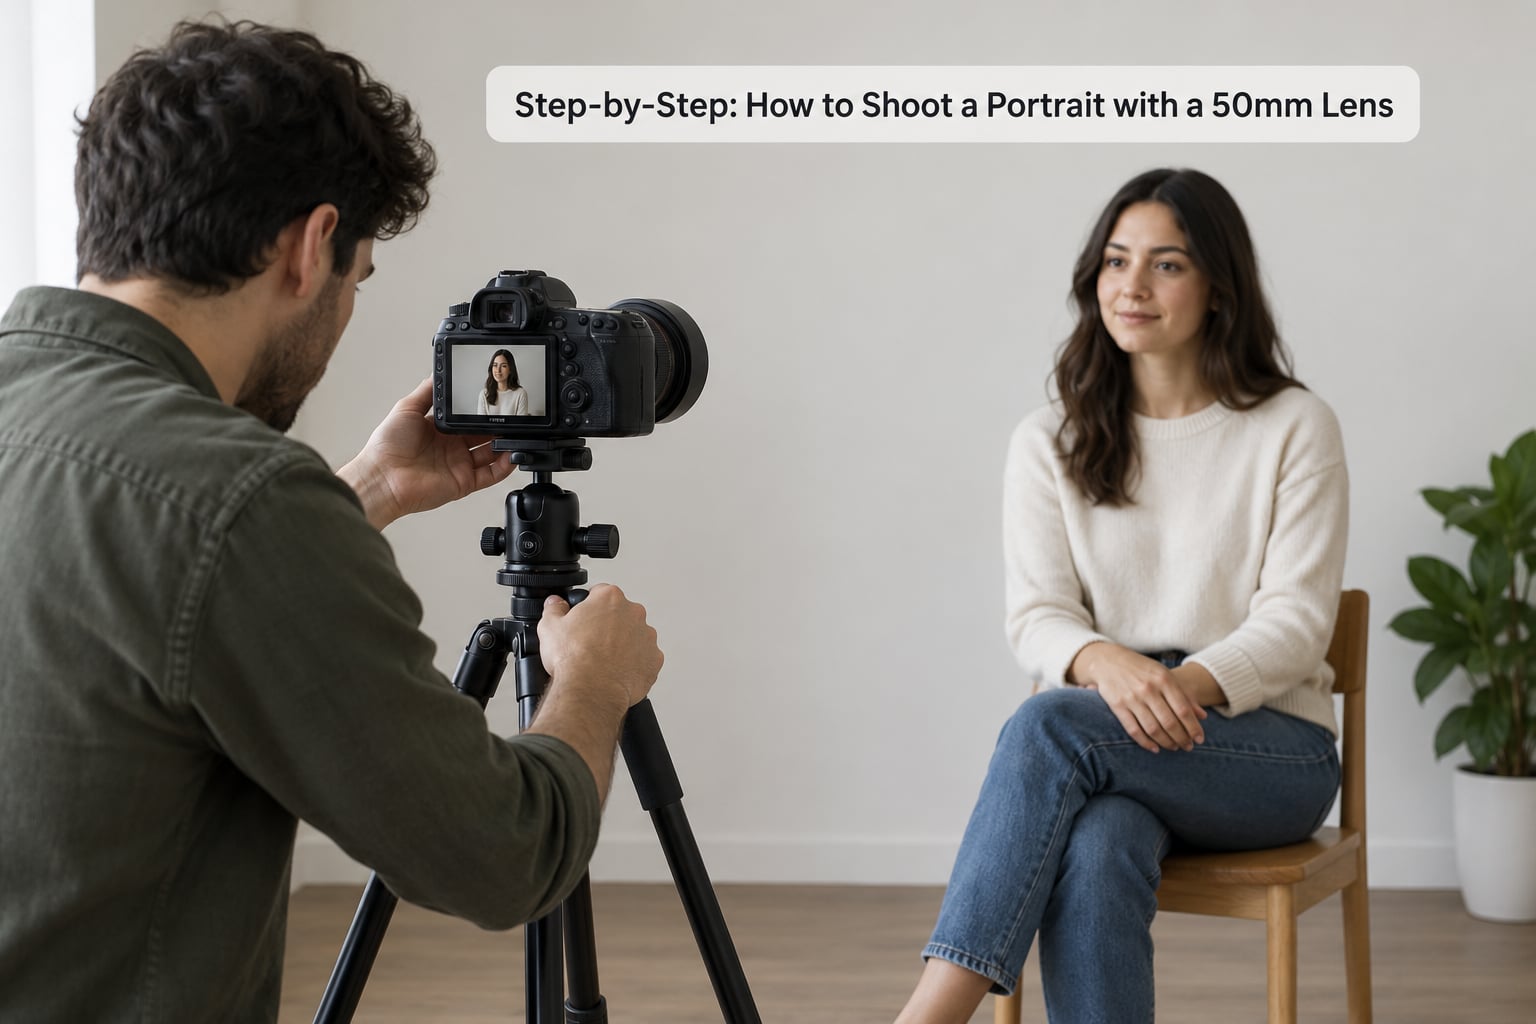
The workflow below runs in the order that saves the most time. Setting up light and background first means you are not re-shooting with a new position halfway through.
Set Up the Location and Background
Put the subject 1.5 to 3 metres from a plain wall, then place yourself 1.5 to 3 metres from them. That gap is the single biggest factor in whether the background blurs, and a 50mm only shows you this is a problem after you take the shot.
Turn the subject about 45 degrees away from the wall rather than flat against it. The angle both hides the wall’s edges and catches light on the face instead of flattening it.
Work out the light direction before anything else. Have your subject stand where the light comes from one side, not into it. Check the histogram after the first frame, and if the background is brighter than the face, move the subject closer to the wall until it sits a little darker than their skin.
Choose the Right Camera Settings
Start in Aperture Priority, pick an aperture, set a shutter speed that matches how much the subject moves, and let the camera choose ISO. This gives you a reliable starting point in about five seconds.
For a still adult, 1/125s is the floor. Children who fidget need 1/250s, and anyone dancing, running, or working needs 1/500s or faster. When in doubt, raise the shutter speed and accept a higher ISO, because a sharp noisy frame beats a clean blurry one every time.
Aperture is a choice about how much background you want gone, not a prestige setting. At f/1.8 the depth of field is thin enough that you can focus on the near eye and lose the far eye entirely. At f/2.8 you usually get both eyes sharp with a background still soft enough to separate the subject. At f/4 the frame is safe for group shots and harder light.
Here is a workable starting point for each combination. Distances are measured from the camera to the subject.
| Crop type | Full-frame distance | APS-C distance | Aperture | Shutter | ISO ceiling |
|---|---|---|---|---|---|
| Head and shoulders | 1.5 m | 1.8 m | f/2.8 | 1/125s | 1600 |
| Waist up | 2 m | 2.5 m | f/2.8 | 1/125s | 1600 |
| Full length | 3 m | 3.5 m | f/4 | 1/250s | 3200 |
| Two people close together | 2.5 m | 3 m | f/4 | 1/250s | 3200 |
| Child, active | 2.5 m | 3 m | f/2.8 | 1/500s | 3200 |
White balance is the setting most people leave on auto and regret. Set it to a fixed value or use a custom white balance card, because auto white balance will shift colour between frames as the subject moves out of the light.
Focus on the Near Eye
Focus on the eye nearest the camera, every time. On a 50mm at f/1.8 the depth of field is thin enough that the far eye can go soft from a few centimetres of head turn, and the near eye is the one that reads as contact.
Use single-point autofocus or eye detection if your camera has it. If you rely on the lens’s own autofocus, switch it to manual focus and set the distance once. Manual focusing sounds fussy, but a 50mm has a narrow enough depth of field that it is faster than hunting for AF in dim light.
Most 50mm primes focus to about 45 centimetres, or roughly 1.5 feet. That is the closest you can get, and at that distance a face fills the frame and starts to distort slightly. If the lens is searching and clicking, you are inside its minimum focus distance and the only fix is to step back.
Check sharpness before you shoot a burst: take one frame, zoom to 100 percent on the near eye, and confirm. Better still, shoot a bracket of a few frames and pick the sharpest one in review.
Direct the Pose and Expressions
Perspective distortion is governed by how far the camera sits from the subject, not by the lens. A 50mm used at arm’s length is far too close for a head, which is why wide-angle lenses make noses look big. Standing back and filling the frame with a longer lens avoids the whole problem.
Ask the subject to turn their shoulders about 45 degrees toward the light, then bring the head back toward you. That single adjustment slims the shoulders and gives the face some structure.
Hands are the part people forget. Give them something to do: a pocket, a chin, the strap of a bag, or fingers resting on a chair back. Hands hanging loose at the sides read as stiff, and stiff reads as uncomfortable.
Keep the chin forward and slightly down. A tucked chin sharpens the jawline, and a subject who looks straight into the lens without blinking for a few seconds relaxes naturally once you start talking between shots rather than counting down.
Make the Light Work
One light at 45 degrees, slightly above eye level, is enough for a full portrait. Put the subject’s face in the light, not their back, and you have solved most of what makes home portraits look flat.
For window light, place the subject about 1 metre inside the window with the light at 45 degrees. A sheer curtain softens it; a bare window gives you hard-edged shadows. Turn the window off if you need more control, or use a reflector opposite the window to lift the shadow side by about one stop.
For off-camera flash, aim it at a white wall or ceiling instead of straight at the subject. That single bounce turns a hard, shiny flash into something close to soft window light. Start around one sixteenth of full power on a typical ISO and adjust from there.
Mixed light is the usual reason faces look wrong indoors. Turn off every overhead bulb that is not part of your setup, otherwise the camera balances for one light and the other leaves colour casts under the eyes.
Take the Shot and Refine It
Run a short session, not a long one. Five minutes of settling in, then a tight crop, a waist-up frame, and a full-length frame, and you have covered the edit. A 50mm does not zoom, so each of those is a step forward or back rather than a twist of the barrel.
Vary one thing at a time. Shoot a set at f/2.8 and a set at f/4, or a set facing the light and a set turned 30 degrees away from it, and keep the rest identical so you can see what changed.
Watch for three things in review: blown highlights on skin, a background that is brighter than the face, and any frame where the eyes are not sharp. Those three account for most of the unusable shots from a first session.
Then edit with restraint. Pull highlights down, lift the shadows on the shadow side, and add a touch of warmth. If you needed the crop to fix a chopped hand, go back and reframe wider rather than trying to patch it in software.
Common Mistakes and How to Fix Them
Every one of these comes up in almost every beginner session I have watched. They are listed in the order they tend to happen.
Blurry or hunting focus
The lens is inside its minimum focus distance, or the shutter speed is too slow for movement. Step back until focus locks, then raise the shutter speed to at least 1/250s for anything that moves.
One eye sharp, the other soft
You shot at f/1.8 with the subject’s head turned far from the lens. Focus on the near eye and stop down to f/2.8 or f/4; that is usually the whole fix.
Background brighter than the face
Move the subject closer to the wall, or move the wall out of the light, or add fill from the reflector side. Exposing for the face instead also works, as long as the wall is far enough away to stay under the highlight limit.
Harsh shadows across the face
Direct window light is too strong or too close. Move the subject 1 to 2 metres further from the glass, put a sheer curtain over it, or turn the light 45 degrees so it falls across rather than straight onto the face.
Chopped hands and feet
You framed as tight as possible at the minimum focus distance. Take one step back and re-frame; the resolution you gain is worth more than the tighter frame.
Skin looks green or orange
Auto white balance is mixing sources, or you are shooting under a mixed bulb and daylight. Turn off the other lights, then set white balance manually rather than leaving it on auto.
Flat or lifeless expressions
You gave a countdown instead of a conversation. Shoot after you have talked for a minute, ask them to think of a specific person, and take frames between the words rather than only on the last syllable.
Two habits cover most of these before they start. Check the histogram after the first frame rather than the last, and shoot a duplicate of every keeper. The second one is how you find the frame that actually worked instead of the frame you hoped for.
Frequently Asked Questions
Is a 50mm lens good for portraits?
Yes, for most portrait work a 50mm is one of the best first lenses you can buy. It shows close to a natural field of view, so faces are not stretched, and at 1.5 to 3 metres it gives enough background blur to separate the subject from a busy scene. On APS-C bodies it behaves like a flattering 75 to 80mm equivalent. Its limits are tight framing for headshots and the need to back up indoors.
What is the best aperture for portraits with a 50mm lens?
Start at f/2.8 on an f/1.8 lens. That keeps both eyes sharp while the background still melts away, which is the balance most portrait work needs. Use f/1.8 when the light is poor or you want maximum separation, and stop down to f/4 or f/5.6 for group shots, tight framing, or bright light. Sharpness usually peaks a couple of stops down from wide open.
Is 50mm or 85mm better for portraits?
Choose 50mm for full-length, waist-up, and environmental portraits, and for working close to people in small rooms. Choose 85mm when you need a tight head-and-shoulders crop or want a wider working distance that flatters the face. A 50mm f/1.8 is also cheaper and typically sharper wide open than an 85mm f/1.8 at the same tier, so it is the stronger beginner value.
How far away should I stand for a 50mm portrait?
About 1.5 metres for a head-and-shoulders frame and around 3 metres for a full-length one on a full-frame body. APS-C cameras need roughly 20 to 30 percent more distance for the same framing, so plan for 1.8 metres and 3.5 metres instead. If the lens will not focus, you are closer than its roughly 45 centimetre minimum focus distance and need to step back.
What is the most flattering focal length for portraits?
There is no single answer, because perspective depends on the distance between camera and subject, not the lens. In practice, 50mm to 135mm on full frame, or roughly 35mm to 90mm on APS-C, is the flattering range. Those lengths let you back up, fill the frame, and keep the face in natural proportion. Below about 35mm, faces distort at close range.
Conclusion
Start with the boring version and only add complexity once it works. Pick a plain wall, stand 2 metres back, set f/2.8 at 1/125s, let the camera pick ISO, and put focus on the near eye. Then fix the two things that will actually improve the frame: turn the shoulders 45 degrees to the light, and put a reflector on the shadow side.
Shoot a tight crop, a waist-up, and a full-length in one pass, check the histogram after the first frame, and review for sharpness before you finish. Once those five things are automatic, the 50mm will keep up with far more expensive glass.