To scout a location for portraits, work through six checks in order: define the look you are going for, read the setting from a distance, track where the sun and shadows fall, test backgrounds and angles, confirm access and permissions, then record a primary and a backup spot. A solid scout takes 60 to 90 minutes in person, plus an hour of remote research. Do it before you commit the date, not the week of.
Most bad portrait sessions are not lighting failures. They are scouting failures. A spot looked perfect on a phone screen at noon, and by 6 pm the wall behind your subject is a mess of signs, parked cars and air-conditioning units. Scouting is the boring part that decides whether the creative part works.
The steps below work for a first shoot, a mini session, or a spot you use every season.
Table of Contents
- What You Need
- Step-by-Step: How to Scout a Location for Portraits
- 1. Define the portrait look and subject needs
- 2. Check the location from a distance
- 3. Track the light and shadow direction
- 4. Test backgrounds, angles, and compositions
- 5. Confirm access, safety, comfort, and permissions
- 6. Create a backup plan and record the scout
- Common Mistakes
- Frequently Asked Questions
- How far in advance should I scout a location for a portrait shoot?
- Do I need a permit to photograph portraits in a public park?
- What is the best app for scouting photography locations?
- How do I scout a location I have never been to?
- What should I bring when scouting a portrait location?
- How do I keep track of the locations I scout?
- Conclusion
What You Need
You can scout with very little, but these nine items are the difference between a useful visit and a wasted one.
- A map or satellite view of the spot, so you can find it before you park and see how far you will walk with a full kit.
- A compass or a sun-tracking app such as The Photographer’s Ephemeris or PhotoPills, to know the sun’s position and shadow direction for the exact date and time you plan to shoot.
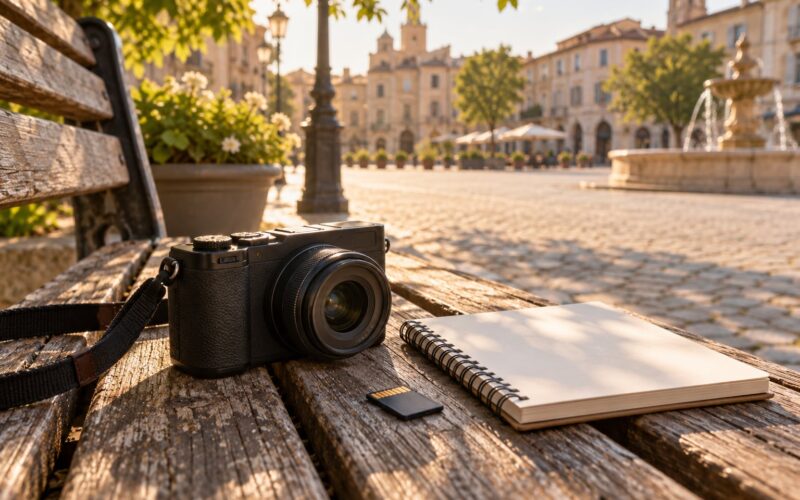
- Your actual camera with a charged battery and a card with space on it. Test frames matter here, not on shoot day.
- A notebook and pen, even if you photograph everything else. Notes typed later are notes you will never write.
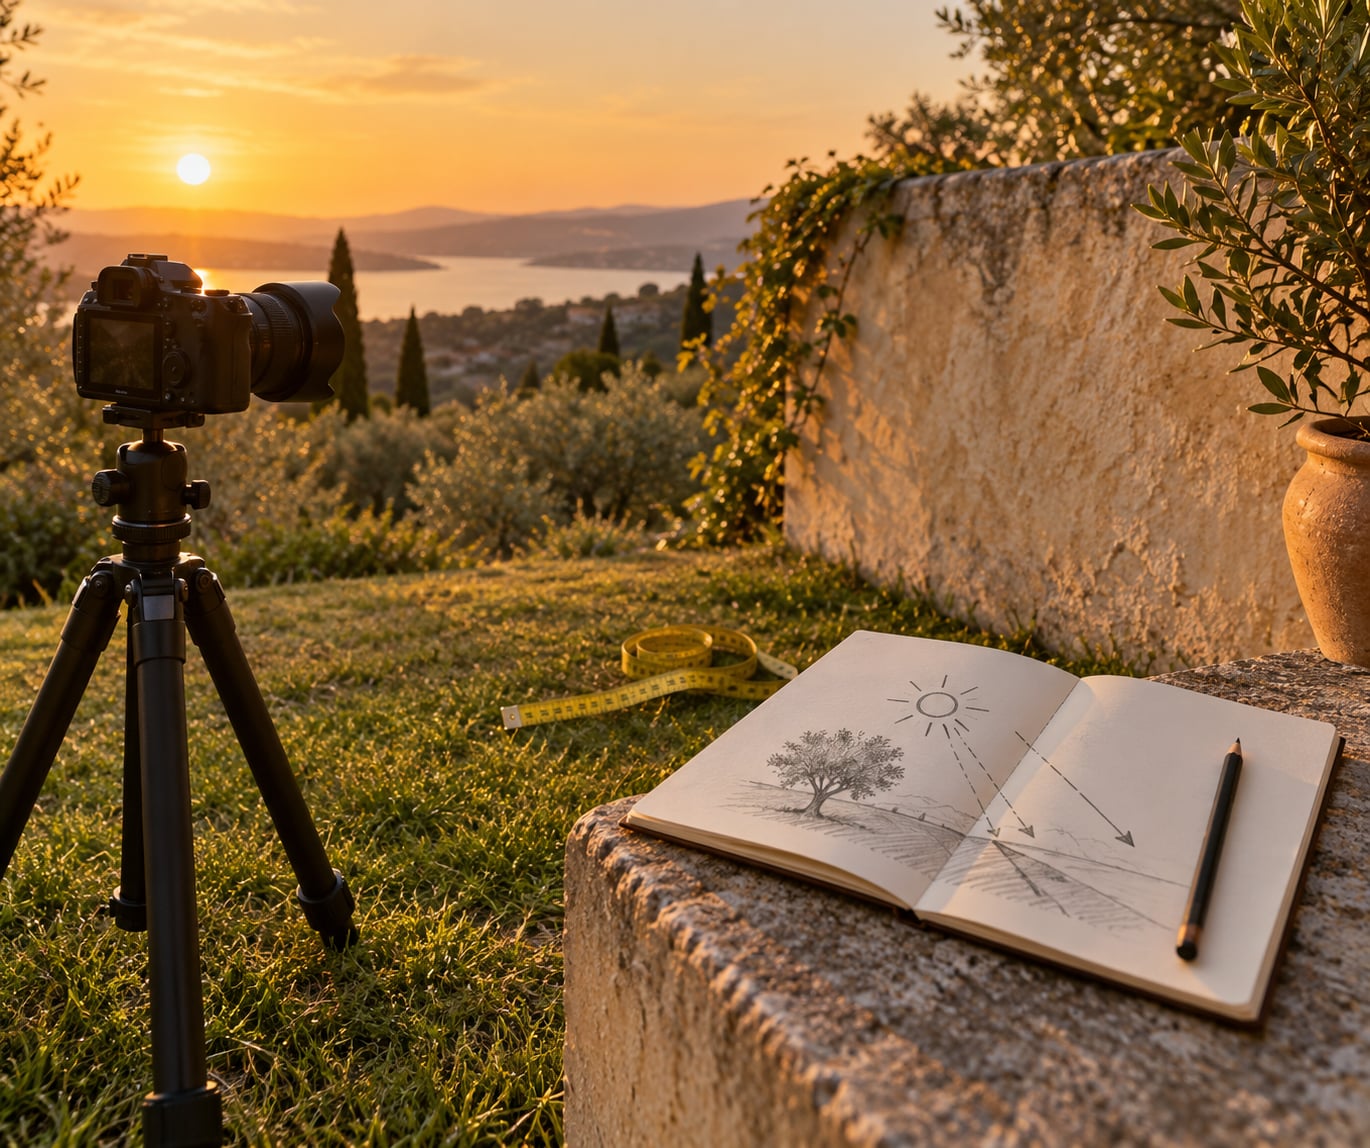
- A small measuring tape, for walking the subject-to-background distance you want to reuse.
- Permission requirements, checked in advance — whether the city needs a permit, whether it is private property, and who you need to email.
- Weather information for the date, plus the hourly forecast, not just the daily high.
- Comfortable shoes you can walk a quarter mile in.
- Water and a snack if the spot is remote. Bring other people if you go alone.
Bring the lens you expect to shoot with. A 50mm behaves nothing like an 85mm against a cluttered background, and you cannot judge background separation from the middle of a parking lot.
Step-by-Step: How to Scout a Location for Portraits
1. Define the portrait look and subject needs
Start with the session, not the location. Decide the mood, the clothing colors, the age and mobility of your subject, and the poses you actually see yourself using.
A senior in a wheelchair needs firm, level ground. A couple who plans to walk and hold hands needs a path, not a cliff edge. Dark clothing against a dark hedge is a problem; the same clothes against a light stucco wall is a gift. Clothing and background should be opposites, not twins.
Then name the type of location you need — open field, urban wall, tree grove, staircase, waterfront, interior with windows. You will know you got it right when you can say what the finished frame looks like before anyone arrives. Photographers on camera forums keep coming back to this point: understand the client’s goal and your own style first, or you will fall in love with a pretty background that fights the picture.
2. Check the location from a distance
Park, or stop at the nearest public place, and look at the whole site before you walk into it.
Look at the horizon line, the surrounding buildings, the road and its traffic, and anything vertical that will end up behind your subject’s head. Find the nearest distraction: a dumpster, a utility pole, a bus stop, a chain-link fence, a swing set.
Zoom in with your lens and check the far background too. A spot that passes at 35mm can collapse at 135mm, because the compression brings a parking lot into the frame. If the location works only wide, you are committing to a single look for the whole session.
You know this check passed when you can point at two or three different backgrounds in the same place and none of them has a problem you cannot fix by moving.
3. Track the light and shadow direction
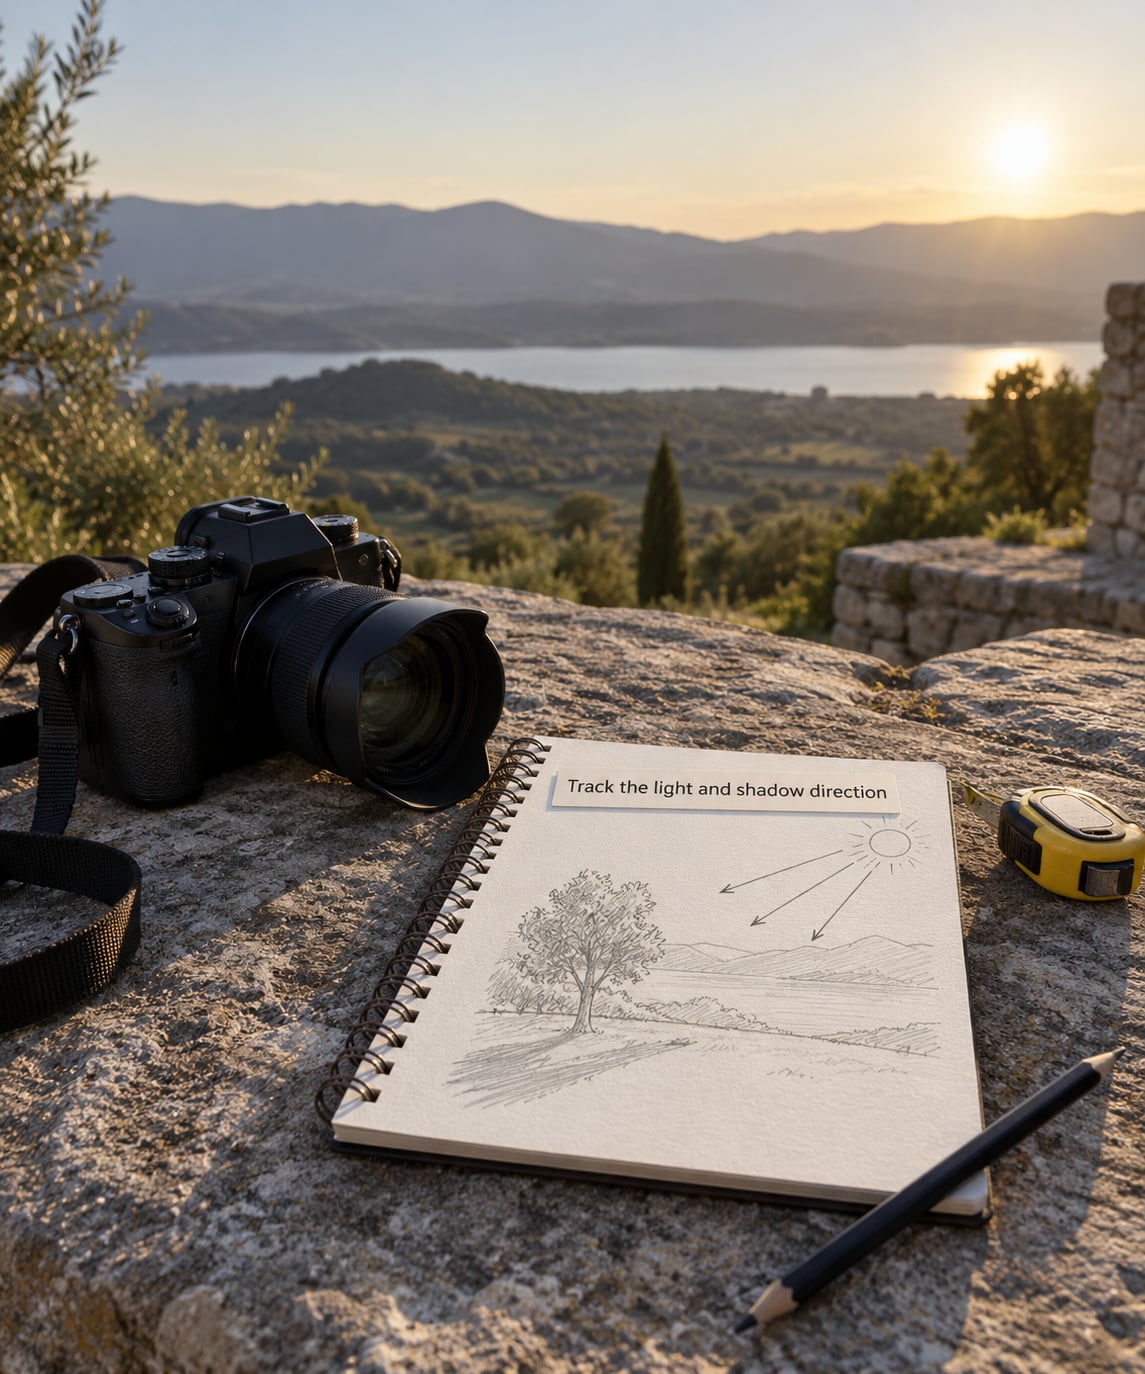
Light decides more than any other variable, so assess it at the same time of day you plan to shoot, not whenever you happen to visit.
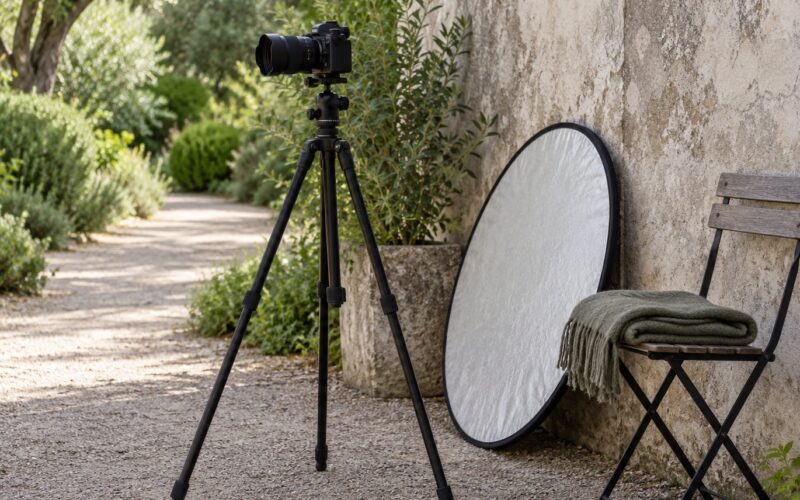
Stand where your subject will stand and note where the shadows fall. Shadows pointing at you mean backlight, which is flattering but means you are working with a reflector or fill on the face. Shadows falling across the subject’s face mean open shade, which is the safest light of the day and the reason many portrait photographers schedule around it.
Check the background too. A wall lit evenly is dull. A wall with a patch of sun and a patch of shade gives you contrast and a place to put your subject’s head. Also watch for reflected light off pale concrete or a white car, which can fill shadows with an orange or green cast you will fight in editing.
Note the sun’s height too. Low sun means long shadows that reach right across your subject. High sun means light straight down that hollows out eyes. Use your sun-tracking app to check the exact date: a spot that works at 7 pm in April is a different animal at 7 pm in November.
This check passes when you can name the direction the light comes from, the time it holds, and one place to move to if the subject is uncomfortable.
4. Test backgrounds, angles, and compositions
Now move. Put your feet where you will stand, then walk the location in a circle at several heights — kneeling, standing, on a step if there is one.
Turn in four directions from the subject’s position. The frame behind them changes completely every 90 degrees, and one of those directions is almost always the one you want.
Measure the subject-to-background distance. Two to three feet of separation with a wide aperture will dissolve most backgrounds; fifteen feet keeps a wall legible and gives you the option of a wider lens later. Write the distance down so you can walk straight back to it.
Look for what intrudes when you change angle: a branch at head height, a window frame, a railing, a line of tourists. Ten seconds of testing here saves twenty minutes of directing on shoot day.
You know it works when you have three to five camera positions written down with a note about what each one is good for.
5. Confirm access, safety, comfort, and permissions
Now switch from photographer to logistics. Walk from the car to the shooting spot with your bag on and count the minutes. Check whether you can park legally, whether you can park at all at the intended time, and how far the nearest restroom is.
Look at the ground. Uneven or sloped terrain is fine for a model session and a real problem for a mobility-limited subject. Note steps, curbs, wet grass and exposed roots.
On safety: who else is there, is there cell service, is there traffic nearby, and how dark does it get at the end of the session in winter. Remote spots deserve a shared plan — a check-in text, a partner, a charged phone. People photographing in woods and empty areas raise this constantly, and it is the part most scout checklists forget.
On permissions: a public park usually requires a permit for a paid portrait session, and many have a separate rule for tripods and lighting stands. Private property needs the owner’s written permission, and for a session that includes someone’s home or business you will want a property release. Tribal land and some protected areas have their own rules that photography alone does not cover. Contact the city parks department, the film office, or the property owner before the date, and keep the reply.
Pass means the session can actually happen, and your subject will not be standing on a curb for twenty minutes.
6. Create a backup plan and record the scout
A location with no plan B is a location that will fail once. Before you leave, mark an alternate area — ideally nearby, with similar light direction, reachable in under ten minutes by car.
Decide in advance what triggers the switch. Rain, a cloud bank that kills the light, a construction crew, a full parking lot, an event at the park. Writing the trigger down keeps it from being a judgment call in front of a client in a wet field.
Record the visit properly. Photograph the spot at the shooting time of day, shoot one frame standing where your feet will be, and save a reference photo of the background alone so you can spot the exact tree or door later. Note arrival and departure times, parking, restrooms, permit status, the camera positions you found, and the best time window. Photographers on forums describe doing this with phone photos saved by date or a shared album, because relying on memory is how you end up scouting the same park twice.
Then re-scout the same spot each season. Foliage, mud, construction, crowds and opening hours all change, and a favorite location from last fall can be a completely different place by March.
Common Mistakes
Checking the light only at noon. Midday light is the least flattering of the day and almost never what you will book. Visit at the shooting time, and visit twice if the window is short.
Ignoring the background. A good subject cannot rescue a frame with a fire hydrant behind their shoulder. Test the background alone before you add a person to it.
Not confirming permissions. Being allowed to stand somewhere is not the same as being allowed to shoot a paid session there. Email the parks department or the property owner, and put the answer in your notes.
Scouting at the wrong time of year. Blossoms, fall color, snow cover and crowd levels all shift. A location scouted in October tells you very little about January.
Choosing somewhere that is hard to reach. A ten-minute walk with gear, a stroller or a senior subject turns a relaxed session into a hard one. Park close and confirm level ground before you commit.
Skipping the backup. Weather changes and so do locations. Decide the alternate and the trigger while you are still calm and standing there.
On time cost: photographers in photography forums report spending a couple of hours scouting and weighing angles before a location portrait shoot. For a session you will be paid for, an hour of scouting is a reasonable investment. For a casual shoot with friends, fifteen minutes at the right time of day is enough.
Frequently Asked Questions
How far in advance should I scout a location for a portrait shoot?
Scout a first time two to three weeks ahead so you have time to request permission and line up a backup. Then return about a week before the session, at the same time of day you plan to shoot, to check that nothing has changed. A full seasonal re-scout each year keeps your records accurate.
Do I need a permit to photograph portraits in a public park?
For a paid portrait session, most cities require a permit from the parks or recreation department, and many add separate rules for tripods and lighting stands. Casual personal snapshots are usually fine without one. Check the specific park’s rules in writing before the shoot and keep the confirmation with your scout notes.
What is the best app for scouting photography locations?
Most photographers use a mix rather than one. The Photographer’s Ephemeris or PhotoPills handles sun position and shadow direction by date, Google Maps and Street View show parking and access from home, and a note app or spreadsheet stores your findings. Google Earth’s terrain view helps when the spot is far away or unfamiliar.
How do I scout a location I have never been to?
Work in layers. Start on Street View for parking, entrances and the shape of the space, then use a sun-tracking app to learn where the light falls on your date. Check the parks listing for restrooms and access rules, then visit in person at the intended time of day before you commit a client to it.
What should I bring when scouting a portrait location?
Bring your actual camera with a charged battery, the lens you expect to shoot with, a notebook, a pen, a small measuring tape, and a way to check the sun’s position. Add water, comfortable shoes and a phone with a plan. Wear or bring the colors your subject will wear so you can test contrast against the background.
How do I keep track of the locations I scout?
Keep one note per location and never rely on memory. Record the date and time of your visit, the best shooting window, sun direction, parking, restroom distance, permit status, two or three camera positions and a reference photo of each background. Save it to a shared album or spreadsheet so the information is there when a client calls.
Conclusion
Scouting is a checklist, not an inspiration session. You decide the look, read the site from a distance, check the light at the hour you will actually shoot, test the backgrounds, confirm you can park, walk and be allowed to be there, and write it all down with a backup attached.
Start with one thing today: pick a location you already use, and go back at the same time of day you shoot. Note the sun direction, the background, and the walk from the car. Once you have that record, every session after it gets shorter and better.