To calibrate a monitor for photo editing, you measure the light your screen actually emits with a hardware colorimeter, then let calibration software build an ICC profile that corrects it to a known standard. The whole job takes about 15 minutes once the display has warmed up, and the accuracy you get is good enough to judge skin tones and print-ready color.
The process breaks into three parts, and you do them in this order:
- Prepare the environment and the screen — warm the display up, cut ambient light, reset it to factory settings, and switch off any feature that changes color on its own.
- Pick your target settings — white point, gamma and brightness, matched to the color space your photographs will be used in.
- Run the measurement and save the profile — hang the colorimeter on the screen, let the software read a long series of patches, then name and save the resulting ICC profile.
If you skip part one and jump straight at the sensor, the profile will be built on a display that was still shifting and still fighting a warm light bulb. That is where most disappointing calibrations come from.
Table of Contents
- What You Need Before You Calibrate a Monitor for Photo Editing
- How to Calibrate a Monitor Step by Step
- 1. Prepare Your Monitor
- 2. Set the Monitor to Its Ideal Resolution and Refresh Rate
- 3. Choose the Right Brightness for Photo Editing
- 4. Adjust Contrast and Gamma Correctly
- 5. Set the White Point and Color Temperature
- 6. Create and Save the Display Profile
- 7. Validate the Calibration
- 8. Maintain and Recalibrate the Display
- Common Mistakes That Ruin a Calibration
- Frequently Asked Questions
- What brightness should my monitor be for photo editing?
- Can I calibrate a monitor for photo editing without a colorimeter?
- Should I calibrate to sRGB or Adobe RGB?
- How often should I recalibrate a monitor for photo editing?
- Do laptop screens need calibration for photo editing?
- Why did my colors change after a Windows or macOS update?
- Start With the Basics, Then Recalibrate Monthly
What You Need Before You Calibrate a Monitor for Photo Editing
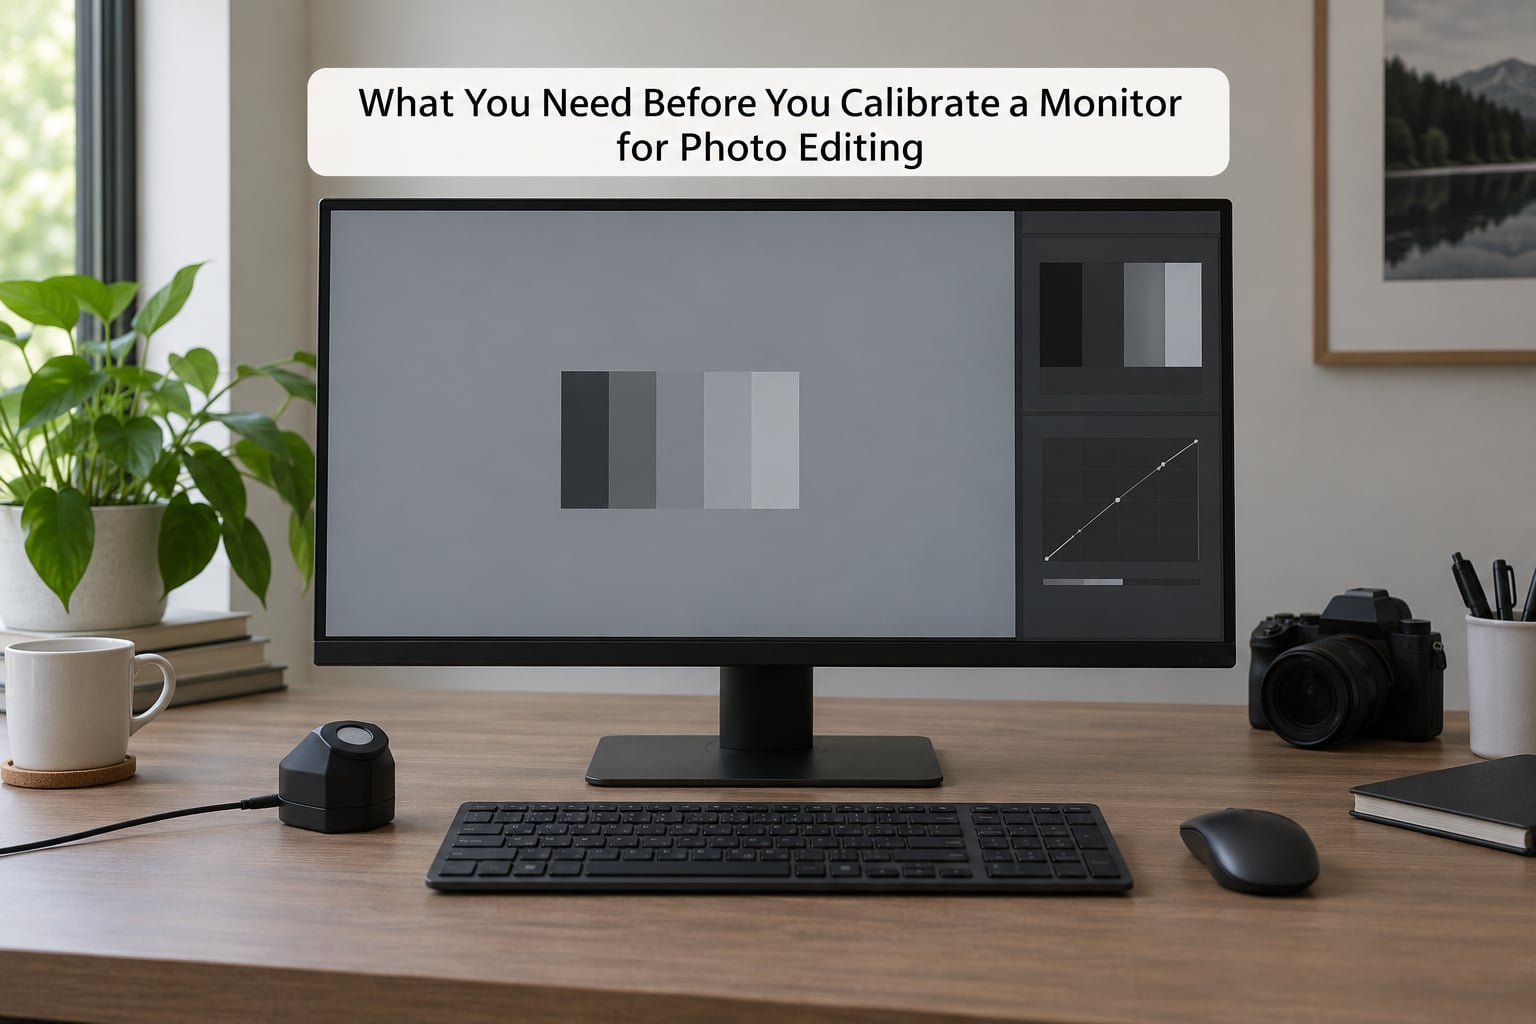
You need four things, and only one of them costs money.
- A hardware colorimeter. A small puck-shaped sensor that sits flat against the screen and reads the color of each patch. Colorimeter makers include Datacolor, Calibrite and X-Rite; any of the current desktop models measures well enough for photo work. This is the single tool that turns a guess into a measurement.
- Calibration software. Some colorimeters ship with their own profiler, such as SpyderX software or Calibrite Profiler. DisplayCAL is the free and open-source alternative, and it drives most third-party colorimeters.
- A display profile that gets used. The ICC file the software writes is the actual deliverable. If your operating system or editing application is not pointed at it, you did nothing.
- A controlled room and reference material. A neutral gray image, a grayscale ramp and a set of color patches to check the result against, plus a room where you can control stray light.
A monitor hood is worth adding if your desk faces a window. It does not change accuracy, but it removes the moving ambient light that makes a profile go stale within weeks.
Software-only calibration exists and it is worth doing as a baseline. Windows has a built-in display calibration wizard and macOS has a Calibration Assistant, and on a decent monitor the built-in tools move gamma and white point into a much more sensible place than the factory default. Users on photography forums generally treat them as better than nothing, not as a replacement for measurement.
How to Calibrate a Monitor Step by Step
1. Prepare Your Monitor
Turn the display on and leave it alone for at least 30 minutes. Panels drift as they warm, and backlight output settles later than most people expect.
Next, work through the on-screen display menu. Reset the monitor to its factory defaults, then turn off anything that changes output automatically: brightness sensors, dynamic contrast, eco modes, adaptive brightness and any vivid or saturation boost. On Windows, turn off Night Light. On macOS, disable True Tone and Night Shift. Leave Night Light off permanently if you edit photos, because it silently shifts color temperature as the day goes on.
Give the screen a wipe with a microfiber cloth. Fingerprints and dust scatter light in ways that make both your eyes and the sensor unhappy.
2. Set the Monitor to Its Ideal Resolution and Refresh Rate
Set the display to its native resolution and its highest stable refresh rate before you calibrate. Changing resolution or scaling afterwards changes how pixels map to the panel, and the profile you saved no longer describes what the panel is doing.
Then close it. Editing at 100 percent pixel scaling on a high-resolution panel gives you the sharpest and most faithful result, because Windows and macOS both scale through interpolation otherwise.
3. Choose the Right Brightness for Photo Editing
Set brightness to roughly 100 to 120 cd/m2 for a normally lit room. Most colorimeters and profiles can lower their own luminance target below your monitor’s own slider, so set the monitor brightness fairly high and let the software do the fine control.
Do not judge brightness by the black point alone. A screen that looks comfortable in a dark room will look glaring in daylight, and highlights that clip on a dim screen still clip when you brighten the room later.
Match the room to the target instead. If you work in a dim room, calibrate to a lower luminance, around 80 to 100 cd/m2, so the display and the surroundings sit at similar brightness. Blazing highlights in a pitch-black room is how photographers end up with contrasty, over-graded edits.
4. Adjust Contrast and Gamma Correctly
Set the monitor’s own contrast control to its default position and leave it there. Hardware contrast sliders fight the software, and the calibration becomes a tug-of-war where every measurement triggers a new adjustment.
Let the profiler set gamma. For nearly all photo work, gamma 2.2 is the target, with a black point of zero. Anything higher crushes shadow detail; anything lower lifts blacks and makes skin tones look flat and hazy.
You will see some profilers offer a native versus adjusted contrast choice. Adjusted contrast clips a little black and white to hit tighter targets, which suits print work. Native contrast preserves every shade and is the safer default for general retouching.
5. Set the White Point and Color Temperature
For sRGB editing, web delivery and screen delivery, target D65, which is about 6500K. This is the default in nearly every profiler and it is what most people should use.
Photographers working toward printed output sometimes see D50, roughly 5000K, suggested to them. D50 matches the paper white under a daylight-balanced viewing light, and it is a legitimate choice for soft-proofing. It also makes your screen look noticeably warmer than other displays, which annoys a lot of people who then abandon it.
Pick one and stick with it. Trying to make your monitor match your laptop, your phone and a client’s screen is not achievable, and chasing that is the most common way people end up with a worse setup than the one they started with.
6. Create and Save the Display Profile
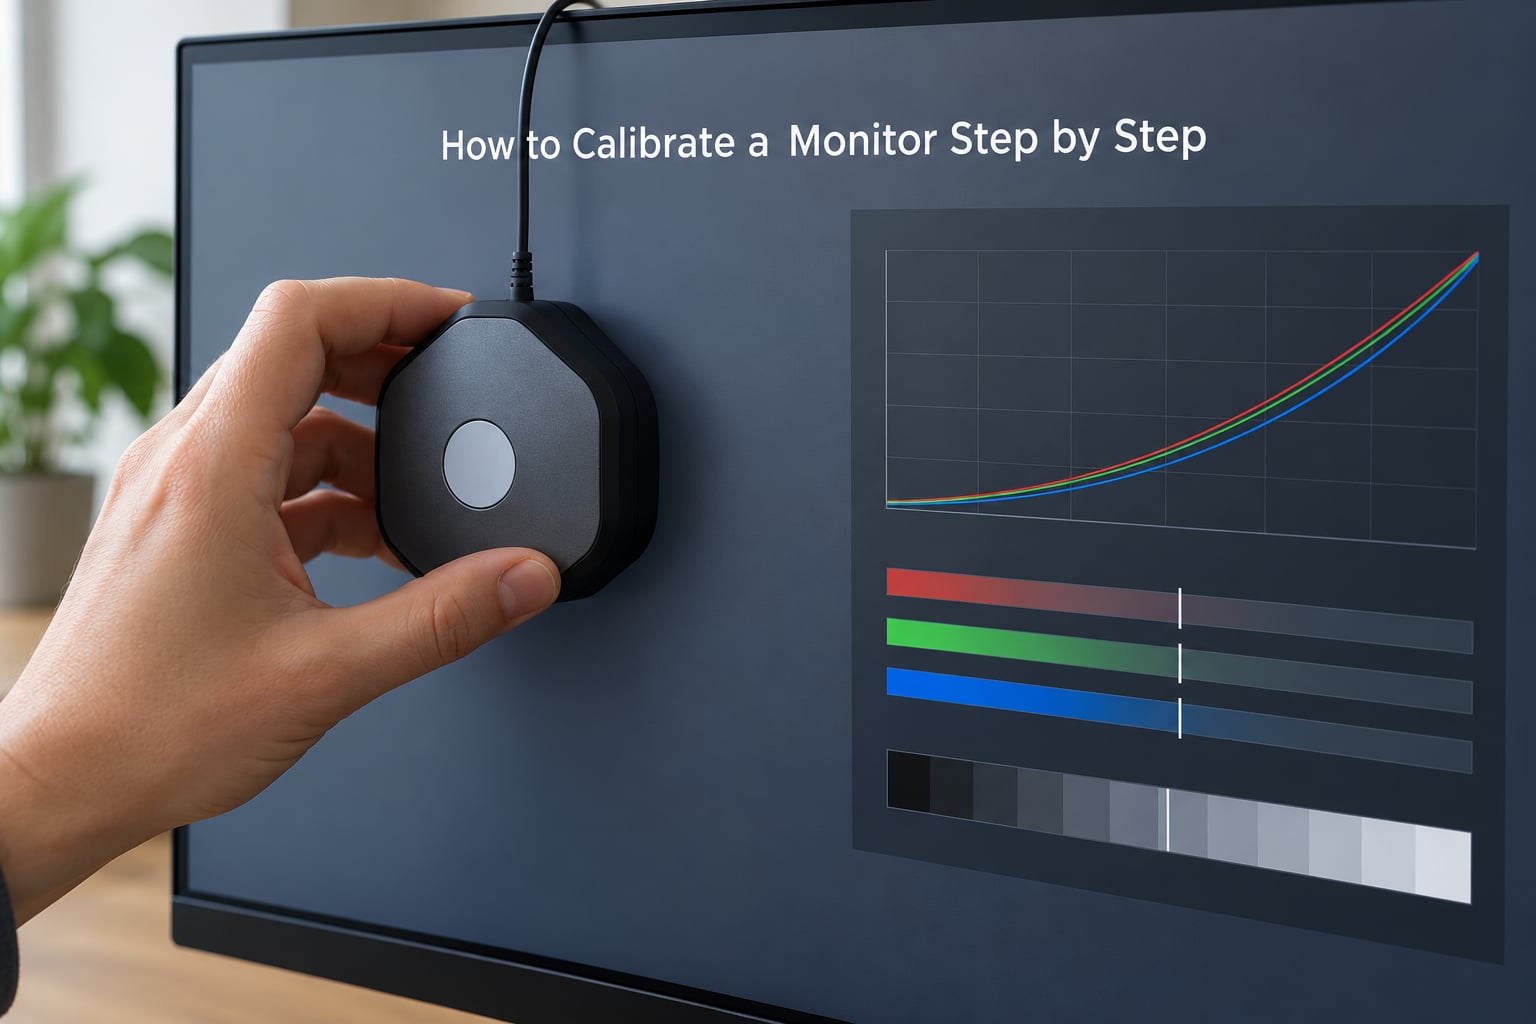
Open the profiler and connect the colorimeter to the computer. Most profilers want the sensor connected before launch so they can find it on the USB bus.
Place the sensor flat against the middle of the screen. It has to sit flush, in the shade of its own hood, with the room dark enough that no light spills onto the filter.
Run the measurement. Depending on the profile quality you chose, the software will show a long series of red, green, blue and grayscale patches, some of them deliberately larger than life to keep clipping out of the average. It can take anywhere from a minute to twenty minutes.
When it finishes, the report shows your white point, gamma, luminance and an average color error, usually expressed as a delta E figure. Name the profile something you will recognize later, with the date, then save it.
Now point the software at it. On macOS the profile needs to live in the ColorSync profiles folder and then be selected for the display in System Settings, Displays, Color. On Windows, install the ICC file so it appears in Color Management and is set as the device profile for that monitor. In Lightroom Classic it sits under Develop, Profile, and Photoshop picks it up through Color Management or its own proofing setup.
That last paragraph is where most guides stop and where most problems actually live. People calibrate, the report looks good, and the colors never change. The profile was never assigned.
7. Validate the Calibration
Open a grayscale ramp and look for banding in the darkest and lightest sections. Visible steps mean either the panel is only 8-bit, in which case no profile will fix it, or the profile is not applied.
Check color patches for a tint. A neutral gray patch that reads faintly green or magenta usually means the profile is loaded but set to the wrong display, or two monitors of different brightness are being judged side by side.
Look at photographs you already know well, ideally skin tones and a landscape with a wide range of color. Your edits should look neutral, not obviously flat and not obviously punchy.
Finally, read the delta E figure in plain language. It is the average distance between what the panel emitted and the target value, and anything under about 2 is invisible to almost everyone. Values in the low single digits are normal and fine. A figure above 5 usually points at a setup problem rather than a bad sensor.
8. Maintain and Recalibrate the Display
Recalibrate monthly as a habit. Photographers on CloudyNights and dpreview forums report a two to four week rhythm in a shared studio, and monthly is a reasonable cadence for a single desk.
Recalibrate sooner if you notice a change: after a major operating system update, after you move the desk near a window, if you switch between the built-in laptop panel and an external monitor, or if shadows start looking flat without you having touched anything.
Panels fade slowly, so the white point drifts a little every few months. Software updates are the more common culprit in practice, because a new graphics driver can quietly replace your profile.
Keep a small record: the date, the monitor model, the serial number, the target settings and where you saved the profile. When a client calls about a color shift six months later, that note answers most of the question in ten seconds.
Common Mistakes That Ruin a Calibration
Calibrating in a bright, uncontrolled room. Stray light lands on your face, your clothing and the desk, and the profiler warns you about it for a reason. Use a room with controlled light and turn off anything that flickers or shifts, such as cheap LED bulbs on a dimmer.
Using the wrong ICC profile. Every display gets its own profile, and the profiles are specific to that panel. A profile saved on the laptop screen will actively distort a separate monitor, and a profile from the same monitor model on a different unit is still a guess.
Setting brightness before the display warms up. Ten minutes is not thirty. The measurement itself takes time, so start early and let the clock run.
Leaving Night Light, True Tone, HDR or auto-brightness on. These are helpful features for everyday use and enemies of consistent color. HDR in particular changes the tone curve and brightness in ways that quietly undo your target settings.
Judging the result from the monitor’s own colors. A monitor cannot show you its own error. Print the test image or compare against a physical reference under matched light.
Expecting one profile to cover every display. Two monitors matched to the same target still will not match each other perfectly, and matching that residual difference is what hardware calibration LUTs in the monitor menu are for. Most people never need them.
Two limits are worth stating plainly. Calibration does not fix uneven brightness across a panel, IPS glow in the corners, or banding on an 8-bit display without dithering. If you see those problems, the answer is hardware, not software. No profile on earth repairs a panel that is physically uneven.
It also does not make your photographs better. It makes your decisions about them repeatable, which is what actually matters when a wedding client or a print lab sees the file on hardware you have never touched.
Frequently Asked Questions
What brightness should my monitor be for photo editing?
Aim for 100 to 120 cd/m2 in a normally lit room, and roughly 80 to 100 cd/m2 in a dim or dark one. Match the display to the room so your eyes are not constantly readjusting. Set the monitor’s own brightness slider fairly high and lower the luminance from inside the calibration software, where the control is precise.
Can I calibrate a monitor for photo editing without a colorimeter?
Yes, but only approximately. Windows has a built-in display calibration wizard and macOS ships a Calibration Assistant, and both adjust gamma, white point and brightness against visual test images. They are a genuine improvement over factory defaults and worth running as a baseline. They cannot measure anything, so the accuracy ceiling is low and results vary between attempts.
Should I calibrate to sRGB or Adobe RGB?
For web, social media and client delivery, calibrate to sRGB at a D65 white point. Adobe RGB needs a wide-gamut monitor covering about 90 percent of P3, and it earns its keep mainly in commercial print and product work. Most photographers should stay in sRGB, and a wide-gamut workspace also needs an sRGB mode for checking how images look online.
How often should I recalibrate a monitor for photo editing?
Monthly is a good habit, and every two to four weeks makes sense in a shared studio where other people adjust the desk. Recalibrate sooner after an operating system or graphics driver update, after moving the desk near a window, or if your edits start looking flat with no change on your end. Panels fade slowly, so drift is gradual rather than sudden.
Do laptop screens need calibration for photo editing?
They benefit from it, but expect less. Laptop panels are usually glossy or semi-glare, many lack a hardware brightness control, and battery power changes the output. Keep the machine plugged in and on a fixed brightness while editing. If you mostly judge images on a larger external monitor, calibrate that one and treat the laptop screen as a preview device.
Why did my colors change after a Windows or macOS update?
Updates often reinstall or replace display profiles, reset ColorSync, or push new graphics drivers that change how the panel is driven. Open your color settings and check which profile is assigned to that display. If it is a generic sRGB profile rather than your dated custom one, reinstall your saved ICC file and set it again. Recalibrating also settles it.
Start With the Basics, Then Recalibrate Monthly
If you do nothing else this week, run your operating system’s built-in calibration tool on your main display. It takes ten minutes, it moves gamma and white point into a far more sensible place than the factory setting, and it tells you immediately whether your editing setup is even in the right ballpark.
From there, get a colorimeter, warm the display for half an hour, target D65 and gamma 2.2 at 100 to 120 cd/m2, measure, and make sure the profile is actually assigned in your operating system and your editing application. Then set a monthly reminder, because that is the part everyone forgets.