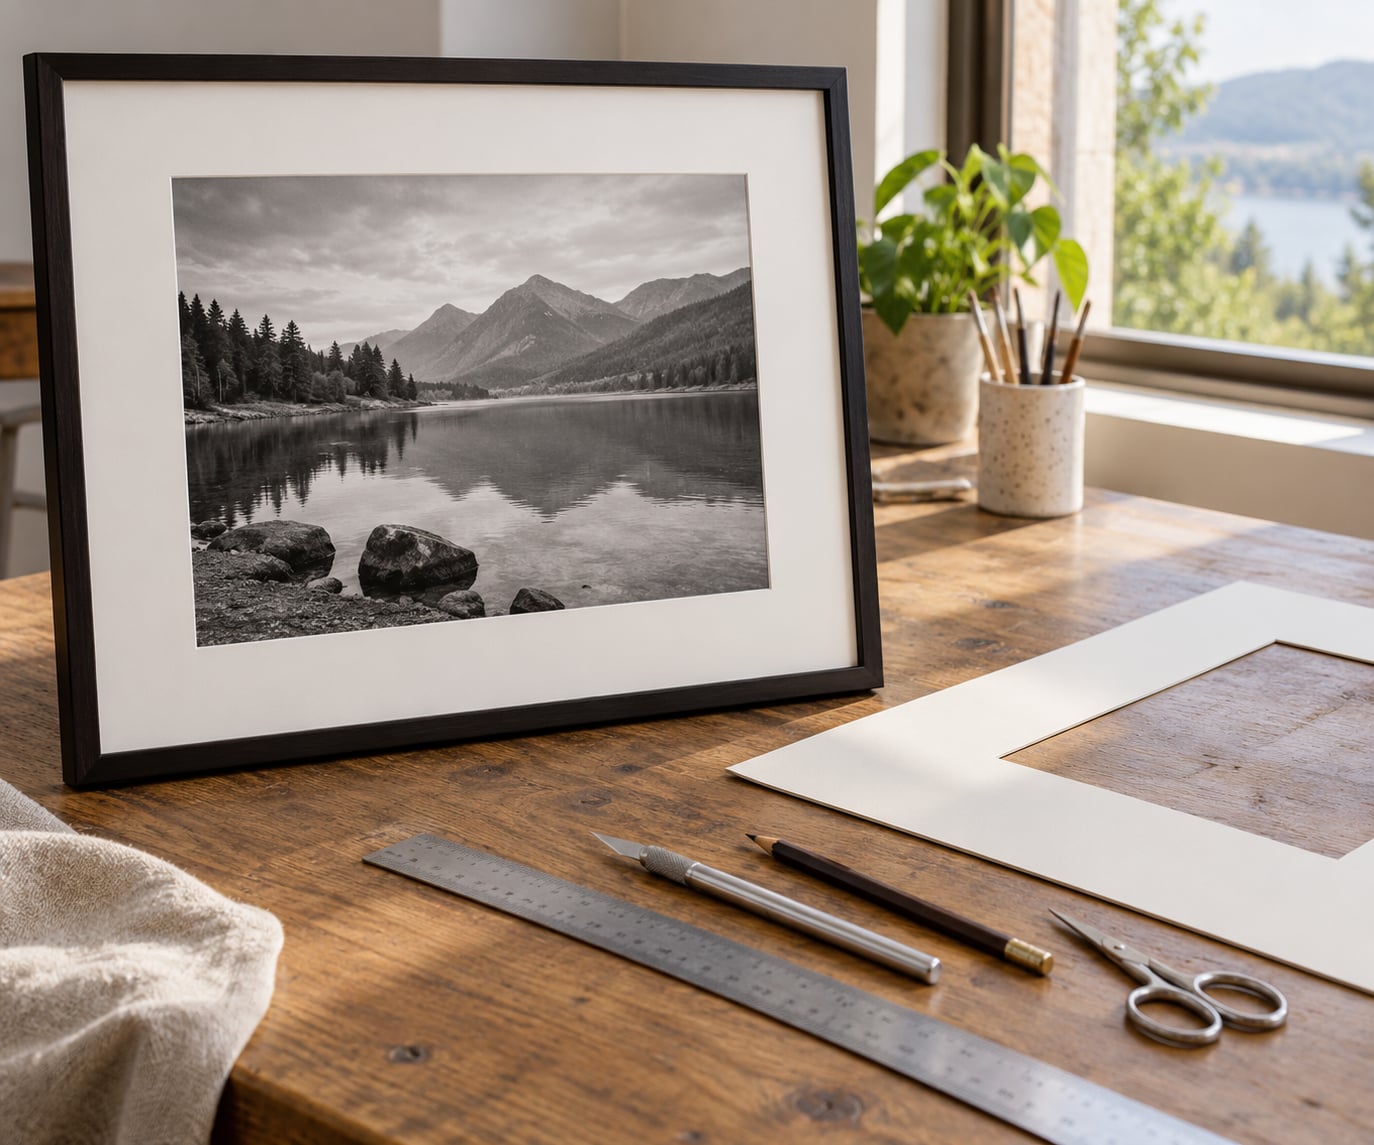
How to frame and mat a photograph comes down to five moves: size the frame to the print, cut an acid-free mat window a little larger than the image, mount the print reversibly, build the glass-mat-print-backing stack in that order, and hang it at eye level. A beginner can finish in about 90 minutes with a craft knife, a metal ruler and a sheet of mat board.
Matting is what separates a print taped to a wall from a photograph that looks finished. The border gives your eye somewhere to rest, and it stops the print from ever touching the glazing, where moisture and sticking do real damage. Framing adds the moulding, the glazing and the hardware that holds the package on a wall.
Here is the whole process in order before we break it into detail:
- Measure the print and add an even mat border on all four sides.
- Order or pick a frame whose opening is 2 to 3 inches larger than the print, so the mat hides inside it.
- Cut the mat board to the frame opening, then cut the window opening in the centre.
- Mount the print to the backing with archival hinge tape or photo corners, never household tape.
- Stack glazing, mat, print and backing into the frame and secure it with glazier points or turn buttons.
- Seal the back with kraft paper, fit hanging hardware by weight, and hang the centre about 57 inches from the floor.
Here is a worked example you can scale to any size. The border is the visible mat edge, and the frame opening must cover the mat exactly.
| Print size | Border | Mat window | Mat board size | Frame opening |
|---|---|---|---|---|
| 8 x 10 in | 2 in | 12 x 14 in | 16 x 18 in | 16 x 18 in |
| 11 x 14 in | 1.5 in | 14 x 17 in | 17 x 20 in | 17 x 20 in |
| 13 x 19 in | 1.5 in | 16 x 22 in | 19 x 25 in | 19 x 25 in |
| 16 x 20 in | 1.5 in | 19 x 23 in | 22 x 26 in | 22 x 26 in |
Two inches of border on a small print makes an 8 x 10 look substantial on a wall. On a 24 x 36, drop to about 1 inch or the white starts competing with the image.
Table of Contents
- What You Need
- The basic DIY kit
- What conservation framing adds
- Step-by-Step: How to Frame and Mat a Photograph
- 1. Choose the Photograph and Intended Display Position
- 2. Select a Frame and Mat With Proportion in Mind
- 3. Measure and Mark the Mat Opening
- 4. Cut the Mat Board and Window Mat
- 5. Prepare the Photograph and Backing Materials
- 6. Layer, Secure, and Display the Photograph
- Common Mistakes
- Frequently Asked Questions
- Can I frame my own pictures?
- What is the 2/3 rule for hanging pictures?
- How wide should a mat be on a photograph?
- Should I use glass or acrylic for a photograph?
- Can I cut mat board without a mat cutter?
- What tape should I use to frame photos?
- Conclusion
What You Need
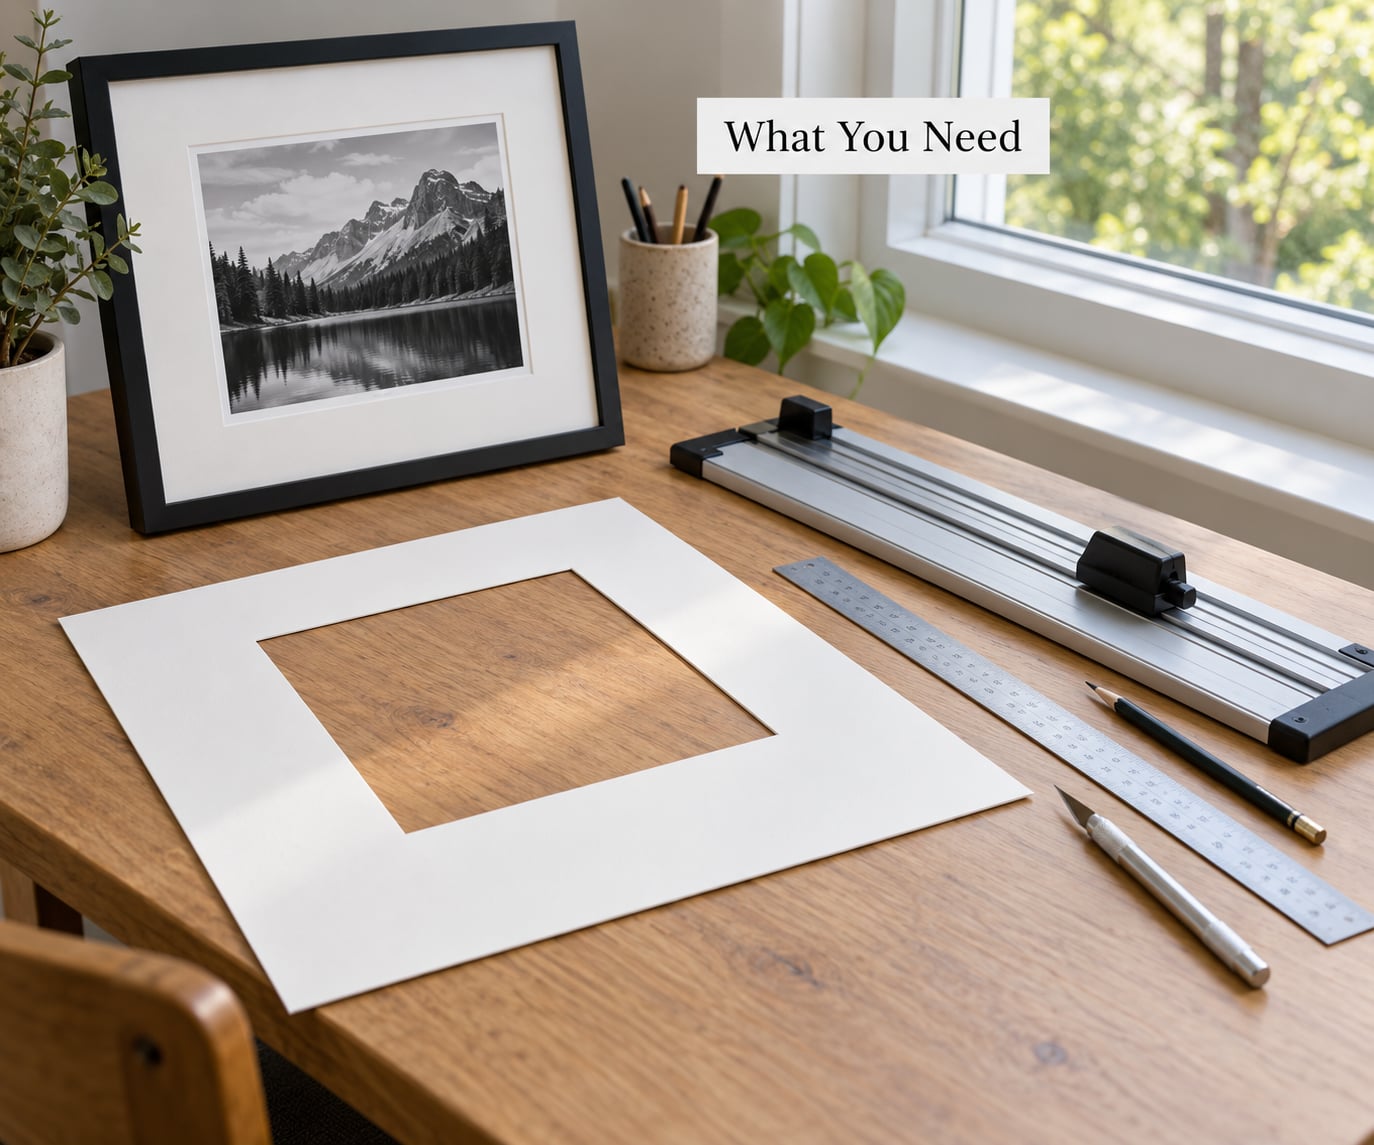
Three board terms get tangled early, so sort them out now. The mat board is the visible border in front, with a window cut in it. The mount board, also called backing or foam board, is the flat panel the print attaches to. The glazing is the glass or acrylic that goes in front of everything.
The basic DIY kit
- Acid-free mat board in 4-ply or 8-ply, one sheet bigger than your print plus border on all sides.
- Acid-free mount board, cut to the mat board size.
- Metal straightedge and a craft knife with fresh blades. Never cut board on a bare table.
- Self-healing cutting mat, or at minimum a thick scrap of cardboard under the board.
- Pencil, ruler and a small right angle for marking square corners.
- Microfiber cloth and glass cleaner for the glazing.
- Craft knife or dedicated mat cutter, plus cotton gloves or clean dry hands.
What conservation framing adds
For a signed limited edition print or anything you intend to keep for decades, the extra materials are not fussiness. Look for lignin-free alpha-cellulose or cotton rag board, conservation hinging tissue with a reversible adhesive, archival photo corners, and UV-filtering glazing. A board labelled acid-free can still yellow if its core contains lignin, and the way to check is simple: trim a small corner sliver and look at the cut edge. White or off-white means good, yellow or brown means walk away.
Hanging hardware depends on weight. Sawtooth hangers work below about 10 pounds, D-rings handle 10 to 25 pounds, heavy D-rings cover 25 to 50 pounds, and anything past that wants a French cleat screwed into studs.
Step-by-Step: How to Frame and Mat a Photograph
1. Choose the Photograph and Intended Display Position
Decide where the frame will live before you buy anything, because that fixes the size budget. A print seen from across a room needs a wide mat. A small print you will read at arm’s length can get away with a narrow one.
Orientation follows the image. Panoramic and square photographs break the usual rules, and they need custom matting since no precut mat matches them. Know the ratio before you plan the border.
You will know this step worked when you can state the final framed outer size without opening a calculator later.
2. Select a Frame and Mat With Proportion in Mind
Two frame numbers matter and beginners constantly mix them up. The opening size is the hole in the front of the moulding, and the mat has to fit that. The outer size is the full outside edge, and it is what the hanging hole measures from. If you are working out how to frame and mat a photograph for one specific print, get these two numbers straight and the rest is arithmetic.
A single-mat frame needs an opening equal to the mat board size. A double mat gives depth: a wider board in back and a thinner one in front, so the visible border is the front mat minus the overlap.
Stick with a white or off-white mat for almost any photograph. It reads neutral against warm and cool images alike, and experienced framers reach for it every time.
3. Measure and Mark the Mat Opening
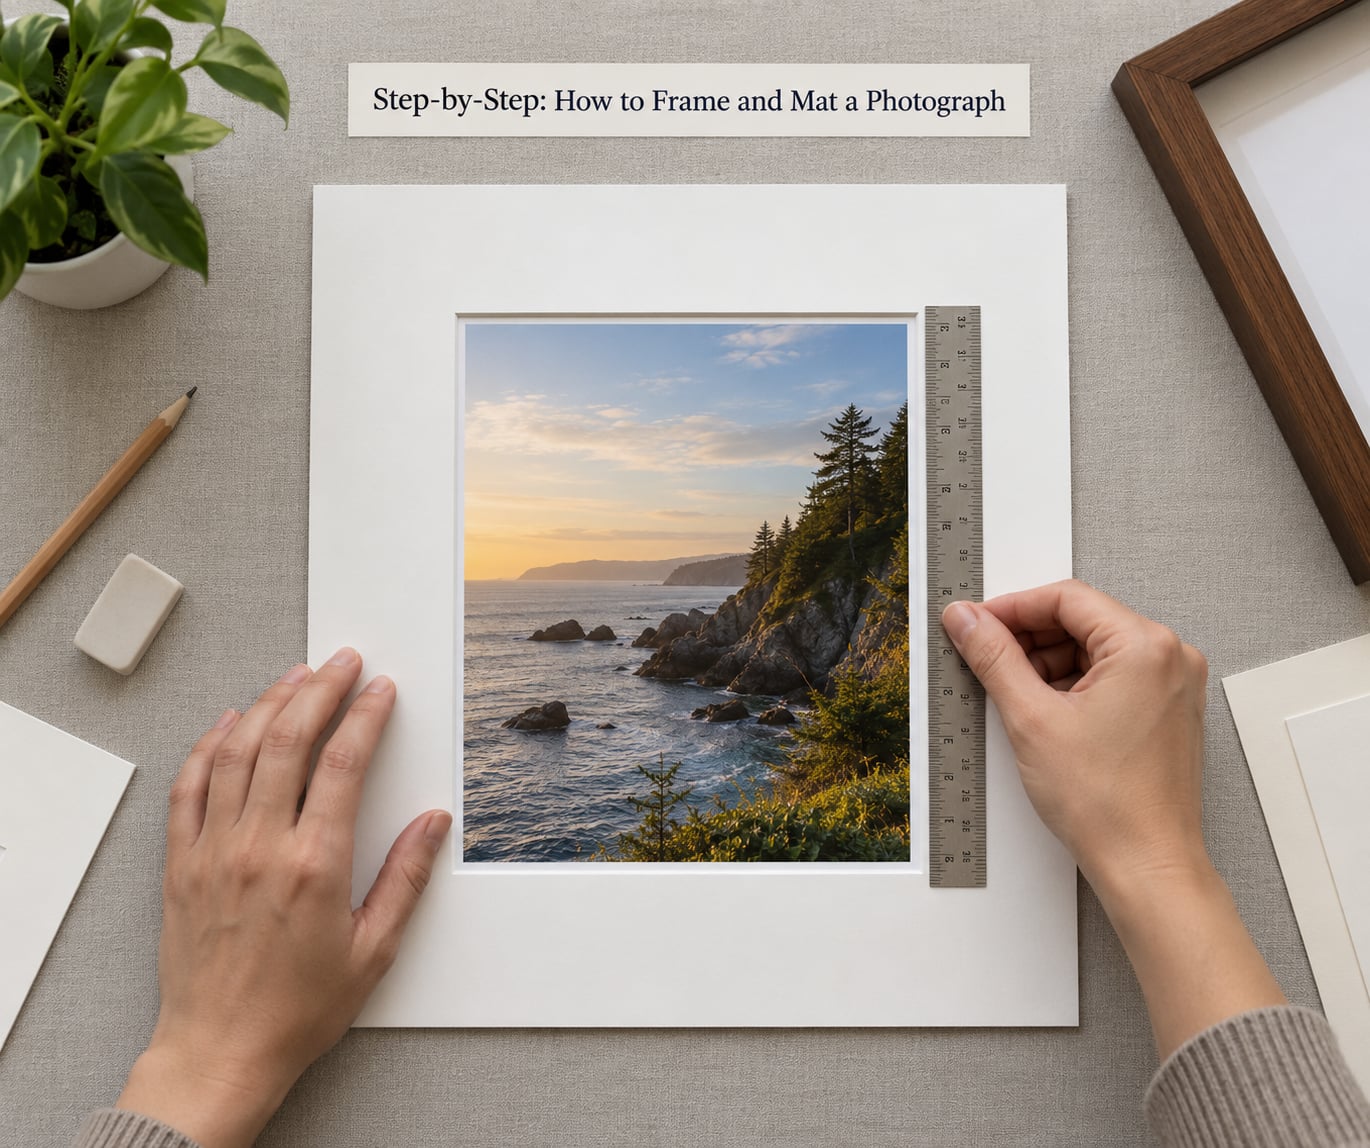
Measure the print, then add your chosen border to each side to get the window. The window is always larger than the print, by about a quarter inch all round, so the board grips the edges instead of leaving a gap.
For an 8 x 10 print with a 2 inch border, the window is 12 x 14. Add the border again to get the mat board at 16 x 18, which is also your frame opening size.
Mark the window on the back of the board in pencil, measure every line twice, and mark square corners by measuring in from two edges rather than eyeballing. You will know it worked when all four border widths measure the same and the print centres inside the window with equal air on all four sides.
4. Cut the Mat Board and Window Mat
With a mat cutter, you lay the board, align the window guide, and cut all four sides in one pass. Push the handle away from you on every stroke and use even pressure, not force. Replace the blade when it starts tearing fibres rather than slicing them.
Without a mat cutter, a sharp craft knife and metal straightedge works fine. Score the outer board size first, then lay the board on a self-healing mat, pin the straightedge with one hand and draw the blade toward you in long single strokes. Never saw back and forth, it leaves a ragged bevel.
The window corners are where hand-cut mats go wrong. Stop your cut about half an inch short of the full corner line on every side, then slice the remaining corner material off diagonally. You end up with a mitred-looking bevel and no overshoot into the border.
Slide the print under the finished window before you mount anything. If it is centred and the border looks even, the cut is good.
5. Prepare the Photograph and Backing Materials
Handle the print by the edges with clean dry hands or cotton gloves, and never touch the emulsion. Check the surface in angled light for dust, then brush it off with a clean soft brush or a blower. A fingerprint now is a permanent fingerprint under glass.
Choose reversible mounting. Archival hinging tissue along the top edge with a small T-hinge at the bottom lets the print expand and contract and come out later without tearing. Photo corners are the second option, and the third, dry mounting film, is permanent, so save it for prints you will never swap.
Do not use masking tape, Scotch tape or any household adhesive. They yellow, and the adhesive creeps into the paper.
If the print is bowing or has a curl, sandwich it between two sheets of glassine at even pressure for a day. The mat board will then hold it flat for years.
6. Layer, Secure, and Display the Photograph
Build the stack front to back: glazing first, then mat, then print, then backing board. Clean the glazing last before it goes in, using a lint-free cloth and a cleaner that leaves no residue, and handle the edges only.
Slide the package into the frame’s rabbet, the inner lip, and secure it around the back with glazier points and a point driver, or with turn buttons. Work on a padded surface, alternate sides so the frame stays square, and fit the dust cover of kraft paper over the back with a little tape on the flap.
Hang the frame so its centre sits about 57 inches from the floor, or at roughly eye level for anyone shorter. For a group of photographs, use the two-thirds rule: keep the total width of the arrangement around two-thirds of the furniture or wall it sits above, and keep the bottom edge of the lowest frame 6 to 8 inches clear of that furniture.
Check the finished piece from an angle. Reflections that looked fine on the table show up badly across a room.
Common Mistakes
Buying the frame before the mat. The most common error, and the most expensive. Measure the print, work out the window, then add twice the border to get the frame opening. Buying by outer size is how people end up with a print crammed into a rabbet.
Uneven borders. A mat cut a few millimetres off on one side is visible from across the room. Mark from two edges on every side rather than measuring once and eyeballing the rest.
Glazing touching the print. If the window is the same size as the print, the two surfaces touch and stick, and the image picks up a permanent haze. Always overlap the print by about a quarter inch under the mat.
Household tape. Masking and Scotch tape yellow within a few years and can be impossible to remove. Use archival hinging tissue or photo corners.
Cheap board with a coloured core. Cut a corner sliver and check. A yellow or brown core means lignin, and the board will yellow around the print eventually. A white core means you are fine.
Photo corners showing through the window. Mount them so they sit under the mat overlap, or switch to hinge mounting on a print you intend to keep.
Hanging at your own standing eye level. That is 20 to 30 inches too high for most people. Centre the piece at 57 inches.
Dust and fingerprints under the glass. The one regret almost every beginner reports. Clean the glazing and the print immediately before assembly, and work in a room without carpet dust in the air.
Oversized borders on a large print. Past about 24 x 36, drop to a 1 inch border. Anything wider starts to look timid.
Frequently Asked Questions
Can I frame my own pictures?
Yes, and most people get a clean result the first time. The job is mostly measuring and cutting straight lines, both of which are easier than they look. Allow about 90 minutes for a first frame and work on a table you can clear. If the print is valuable, signed or part of a limited edition, a professional framer is worth it for the archival materials alone.
What is the 2/3 rule for hanging pictures?
The two-thirds rule says the total width of a grouped arrangement should be roughly two-thirds of the width of the furniture or wall it hangs above, and it should be centred on that piece. The same guide applies to wall spacing: leave a gap between frames equal to a consistent fraction of a frame width rather than guessing per frame. The result reads as one block instead of scattered pictures.
How wide should a mat be on a photograph?
Use 2 inches for prints up to 8 x 10, 1.5 to 2 inches for sizes between 8 x 10 and 16 x 20, and about 1.5 inches from 16 x 20 up to 24 x 36. Above 24 x 36, narrow to 1 inch. Wider borders on a small print make it look more substantial on a wall, while a wide border on a large print gives the white too much visual weight.
Should I use glass or acrylic for a photograph?
Glass gives the sharper, reflection-free clarity most photographers want, but it shatters and is heavy, so it is the wrong choice for a large print or a rental. Acrylic is shatter resistant, weighs about half as much and filters UV, but it scratches easily and looks hazy if cleaned carelessly. Use conservation or UV-filtering glass for archival work and acrylic for oversized pieces.
Can I cut mat board without a mat cutter?
Yes. A sharp craft knife and a metal straightedge will cut 4-ply board cleanly, always with the board resting on a self-healing mat or thick scrap cardboard. Cut in single long strokes rather than sawing, and stop short of the full corner on each side of the window, then trim the corners diagonally. Change the blade often, since a dull one crushes the core.
What tape should I use to frame photos?
Use archival hinging tissue, a rice paper tape with a reversible wheat starch adhesive, or archival photo corners for prints you may want to remove later. Never use masking tape, Scotch tape or ordinary cellophane tape, since those adhesives yellow within a few years and can soak into the paper. To remove a taped print later, cut around its edges from the back with a craft knife.
Conclusion
In how to frame and mat a photograph, three decisions do most of the work. Measure the print, decide the border width, and buy the frame by opening size rather than outer size. Cut the window with an overlap of about a quarter inch, mount with reversible archival materials, and stack the package in the order glazing, mat, print, backing.
Hang the centre at 57 inches and leave 6 to 8 inches above a console or dresser. Get those proportions right before the blade touches the board, and the finished frame will look like it was done by someone who does this every week.