How to use powder on set for portraits comes down to restraint and checking the finish on the camera monitor before anyone calls the setup done. The powder should hold the makeup in place and take the shine off the T-zone, then quietly disappear. If you can see the powder sitting on the skin in the monitor, it is too much.
On a portrait set, powder shows up in two very different jobs, and the difference matters more than the product itself. Setting powder is applied to the face to control shine and hold a base in place through a long shoot. Brightening or color-correcting powder is applied in small amounts to shape and lift. Both sit on the surface of the skin, so both can go patchy, gray or cakey within minutes under hot lights.
What follows is the sequence I walk our team through before a sit-down session: pick the powder to match the look, test it under the real lighting, apply a thin layer only where the base needs setting, then check the result on the monitor at the focal length you are actually shooting at. Whole process takes a few minutes per look once you have done it twice.
Table of Contents
- What You Need
- How to Use Powder on Set for Portraits, Step by Step
- Step 1: Choose the Powder for the Look
- Step 2: Test the Product Under the Shoot Lighting
- Step 3: Apply Primer Only Where Needed
- Step 4: Apply a Thin Layer After Foundation
- Step 5: Shape and Brighten Select Areas
- Step 6: Check the Finish Before Each Setup Change
- Step 7: Reset Between Looks and Final Takes
- Common Mistakes
- Frequently Asked Questions
- Should I use translucent or colored setting powder for portraits?
- What is the best tool for applying powder on set?
- Do I need primer and powder for a portrait shoot?
- How do I keep setting powder from looking gray or ashy?
- How can a photographer prevent powder from looking too white in flash?
- How often should makeup artist touch up powder between portrait shots?
- Conclusion
What You Need
You need very little, and every item earns its place by solving a specific on-set problem.
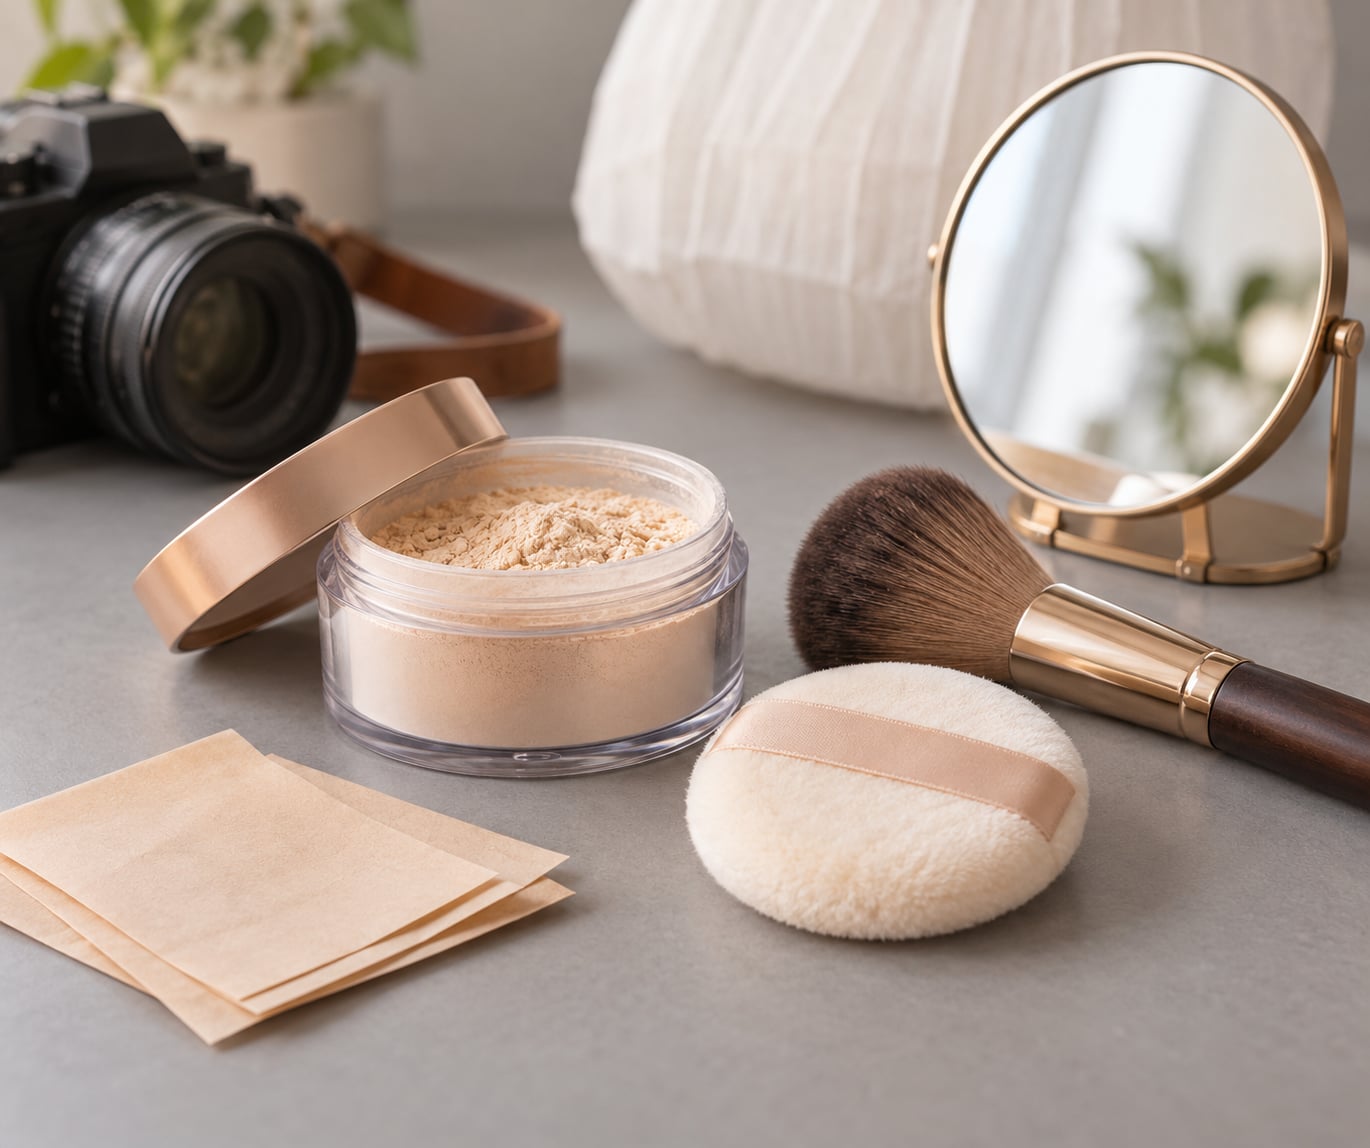
- Powder matched to the finish you want. Translucent for a soft matte look on most complexions, color-matched when you want the powder to disappear into the base, brightening or color-correcting when you need lift or neutralization on a specific area.
- A clean puff or a soft round brush. A powder puff presses product into place for a set finish. A loose, fluffy brush lays a lighter veil down when you want to preserve skin texture.
- Primer, only where the base needs help. Primer is not a substitute for powder and it is not required across the whole face.
- A light setting mist or a fan. Both melt a freshly pressed powder layer into the base so it stops looking like powder and starts looking like skin.
- Blotting papers. These remove oil without disturbing the base, which is the whole difference between a clean touch-up and a patchy one.
- A portable mirror with decent daylight-balanced light if possible. Bathroom hotel light will lie to you about color.
Match the powder to the look first, then to the skin tone, then to the light. A soft matte camera look under a beauty dish and a dewy skin look on an open window portrait need different powders and different amounts, sometimes from the same session when you change setups.
How to Use Powder on Set for Portraits, Step by Step
Before the photographer picks up the camera, agree on two things out loud: how much product goes on and what the finish should look like. A makeup artist working to an unspoken brief ends up either underdoing it or baking the face to fix shine that was never going to appear at that focal length.
Here is the short comparison that decides most of the choices. Each powder type behaves differently on camera, so pick deliberately rather than reaching for the compact that happens to be open.
| Powder type | What it does | Watch out for |
|---|---|---|
| Translucent | Sets shine without adding a visible color cast | Reads gray or ashy on deeper complexions and in cool light |
| Color-matched | Blends into your base so the set layer disappears | Needs a good match to the foundation in daylight |
| Brightening or color-correcting | Lifts the high points or neutralizes a specific patch of discoloration | Builds fast, so a loaded brush leaves a visible edge |
Step 1: Choose the Powder for the Look
Start from the finish you promised the client, then work back to the product. Translucent powder is the workhorse for a soft matte camera look because it cuts shine without adding a layer of color. It does not correct discoloration, though, so a red patch stays red under it, and on deeper complexions a pale translucent powder can read gray rather than neutral.
Color-matched powder disappears into an existing base, which makes it the safer choice when the coverage is light and you want natural skin texture to survive. Brightening or color-correcting powder is a tool, not an all-over product: it belongs on the high points of the face or on one specific area that needs neutralizing, never as a full-face layer.
Step 2: Test the Product Under the Shoot Lighting
Put a small amount on the jawline or the center of the forehead, let it settle for a minute, then look at it in the actual light you are shooting in at the exposure you plan to use. Not the bathroom, not the makeup chair, the light on set.
This is where lighting earns its keep. Daylight renders powder close to its true color, tungsten adds a warm shift that can make a neutral powder look yellow, LED panels vary widely in output, and a direct flash or beauty dish picks up surface texture and any reflective particles far more than ambient light does. The same powder can pass a window-light test and fail badly the moment a strobe fires at it.
Step 3: Apply Primer Only Where Needed
Primer and setting powder do different jobs. Primer sits under the base and gives foundation or cream color something to grip so it does not slide or separate over a long shoot. Setting powder goes on top and absorbs surface oil.
Use primer where the base actually needs help, such as around the nose, chin or hairline, or across areas that tend to wear off first. Skip it where you want skin texture to read honestly, because a strong film across the whole face becomes visible the moment it is powdered unevenly. Patchy primer shows up as patchy powder, and the two problems get blamed on each other on set. Give the primer time to set before the base goes over it.
Step 4: Apply a Thin Layer After Foundation
Load a small amount on a clean puff, knock off the excess against the back of the hand, then press rather than swipe. Pressing deposits product where you want it and leaves the rest of the skin alone. Start with the T-zone: forehead, nose, chin, and the area between the brows.
Less product with repeated checks beats one heavy application. An overloaded puff leaves a chalky white cast in the creases around the nose and mouth, and it settles into pores and fine lines until the skin looks older than it is. Watch the monitor and add a second pass only to the areas that still reflect light.
Step 5: Shape and Brighten Select Areas
Once the base is set, a small amount of lightly warmed or brightening powder goes on the high points: under the eyes, down the center of the nose bridge, on the chin, on the cheekbone tops just below the outer corner of the eye.
Keep it feathered. The edge of a brightening powder applied too close to the jaw or too far under the eye reads as a stripe the moment the light rakes across it. Blend the boundary until you cannot find it with your eyes closed, then stop. In beauty and editorial portraits where skin texture is part of the look, powder under the eye can flatten the cheek, so less is usually better.
Step 6: Check the Finish Before Each Setup Change
Look at the finish on the camera monitor at the focal length you are shooting, not on the mirror. A wide aperture and a longer lens change how much skin texture you see, so the only honest check happens on the actual screen.
When shine comes back between takes, blot first. Press blotting papers onto the T-zone, lift, and look again. Blotting removes oil without pulling the base apart. Adding more powder on top of oil leads to caking, and you end up fighting a heavier layer than you started with.
If powder looks too white or too visible after a lighting or flash change, that is a light problem as much as a product problem. Reducing flash power, moving the light higher, or adding a diffuser will do more than any amount of additional powder, and they protect the skin texture at the same time.
Step 7: Reset Between Looks and Final Takes
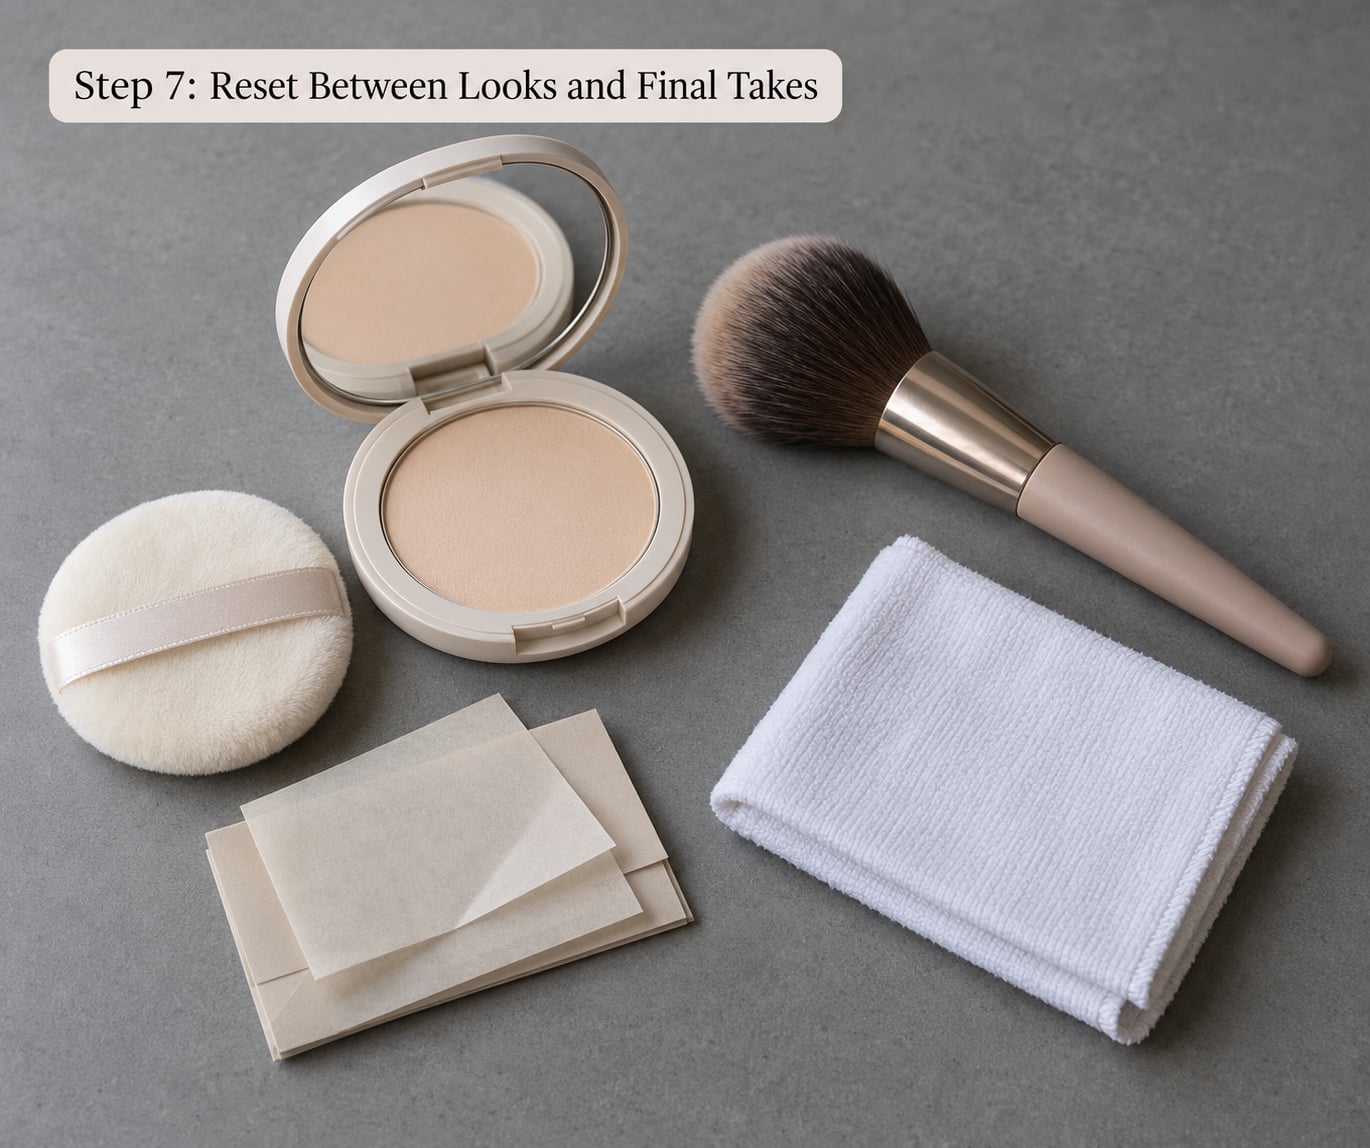
Between looks, take the surface powder off rather than building on it. Press a clean puff or a folded tissue lightly over the face, or mist and let it settle, so the base underneath stays where it was. Rubbing removes makeup as well as powder, and it pushes product back into the lines you were trying to keep soft.
Keep the product order the same every time so the sequence is boring and repeatable: skin care, primer where needed, base, concealer, a thin powder pass, color work, then the touch-up products used between setups. Boring is the point. A set runs faster when nobody has to work out what order things go in.
Common Mistakes
Almost every powder problem on set traces back to amount, pressure or timing. These are the ones I see most and what corrects them.
- Over-powdering. The face looks chalky and dry, and skin texture disappears. Correct it by misting, letting it settle, and blotting the excess rather than adding more product.
- Gray or ashy result. A pale translucent powder on a deeper complexion, or powder tested in cool light and shot in warm light. Correct it by switching to a color-matched powder and retesting on set.
- Patchy application. Uneven primer underneath, or a puff touched once in the middle of the face after it was loaded with a different shade. Correct it by using one clean puff per shade and finishing with a light mist to melt the edges.
- Caking in pores and fine lines. Too much product over an area that is already dry. Correct it by pressing rather than rubbing, and by using a slightly coarser powder only where oil is a problem.
- Uneven flashback. Reflective particles catching the flash on some areas only, often where SPF, mineral or silica-based powder sits heaviest. Correct it by testing with the flash before the shoot and keeping those products off the areas facing the light.
- Shine returning too quickly. Usually an oil control problem rather than a powder problem. Correct it by blotting between setups and reserving the puff for the areas that still reflect light.
- Disturbing the makeup while blotting. Dragging paper across the skin. Correct it by pressing and lifting straight up, never rubbing sideways.
- Applying with an overloaded tool. A brush or puff loaded to the point where the first stroke deposits a visible stripe. Correct it by tapping the tool on the back of the hand before every pass.
A few set habits prevent most of this. Agree on the amount and the finish before the first frame. Take one test shot before you change a light or a lens. Keep every powder product in its own compact with a clean puff per shade so nothing is shared. Add product gradually, and check the monitor more often than feels necessary, because ten seconds of looking is cheaper than a reshoot.
Frequently Asked Questions
Should I use translucent or colored setting powder for portraits?
Translucent powder sets shine without adding color, which works well for a soft matte look on light to medium complexions. It does not correct discoloration and can read gray or ashy on deeper skin. Color-matched powder blends into your foundation, so it disappears better and preserves natural skin texture. Choose translucent for maximum shine control, color-matched when coverage is light and the skin should stay visible.
What is the best tool for applying powder on set?
A clean powder puff gives the most control because pressing deposits product exactly where you press. Tap off the excess against the back of the hand before every pass. A soft, loose round brush works when you want a lighter veil and want to keep skin texture. Keep one dedicated puff per shade so you never transfer color mid-session, and replace puffs between looks on long shoots.
Do I need primer and powder for a portrait shoot?
You rarely need both across the whole face. Primer helps foundation or cream products grip where they tend to wear off, such as around the nose and hairline. Setting powder controls shine on top. On a long shoot, use primer only where the base needs it and powder only where light reflects. Using both everywhere often creates an uneven surface that powders unevenly and looks patchy.
How do I keep setting powder from looking gray or ashy?
Gray usually comes from a pale translucent powder on a deeper complexion, from a shade that does not match the base, or from testing under cool light and shooting under warm light. Switch to a powder matched to the base, test on the jawline in the actual shoot lighting, and check on the camera monitor at your shooting exposure. Mist lightly to melt the powder into the skin rather than leaving it sitting on top.
How can a photographer prevent powder from looking too white in flash?
Take one test frame with the flash firing before the look is finished, then adjust from there. Reduce flash power, move the light higher, or add a diffuser rather than adding powder, since more product only increases the white cast and flattens texture. Keep reflective SPF, mineral and silica-heavy products away from areas facing the light, and choose a color-matched powder over a pale translucent one.
How often should makeup artist touch up powder between portrait shots?
Check the monitor at the start of each setup and after any lighting change, not on a fixed timer. When shine appears, blot the T-zone with blotting papers and look again. Add powder only to the areas still reflecting light, and expect one clean pass every 30 to 45 minutes on a long shoot. Between looks, lift surface powder with a mist or a clean puff instead of building another layer.
Conclusion
Start with one powder, chosen for the finish you want rather than for the compact that is easiest to reach. Test it on the jawline under the light you will actually shoot in, check it on the monitor at the exposure you will actually use, then press a thin layer onto the areas that reflect light and nothing more.
The best portrait powder is the one you stop noticing. It supports the base and the skin texture instead of covering the face in a visible layer, and it lets a photographer change the light without rebuilding the makeup from scratch.