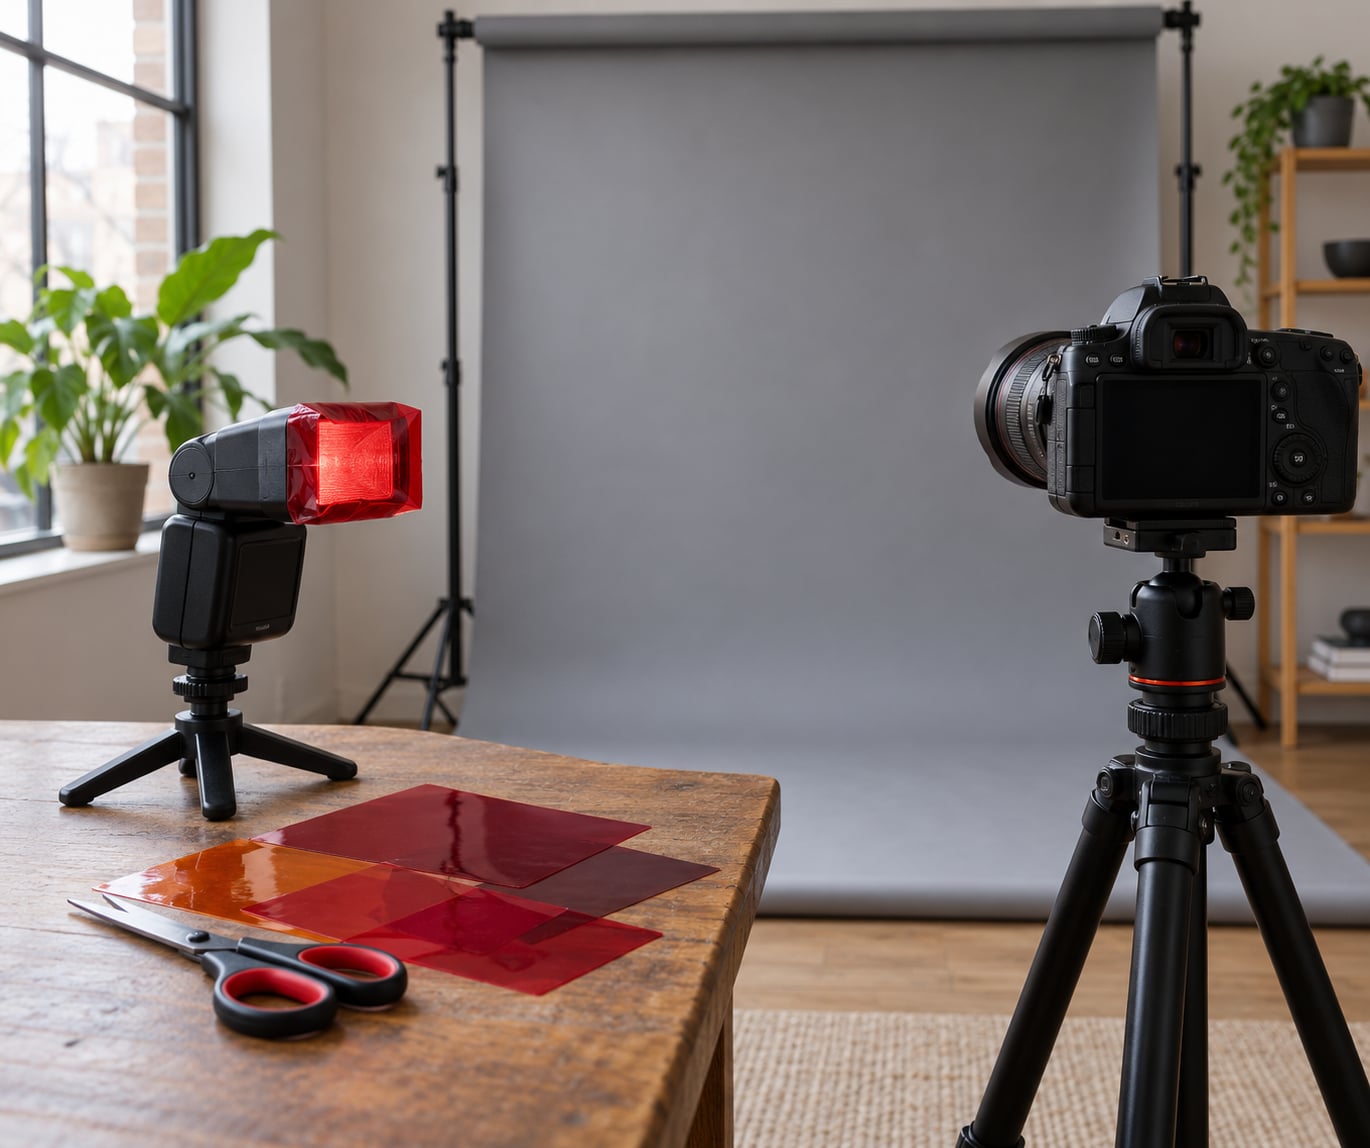
Gelling a flash means taping a thin sheet of heat-resistant colored plastic over the flash head, or inside its modifier, so every bit of light leaving the light arrives already tinted. That is the entire technique. If you want to know how to gel a flash for creative color, you pick a gel, cut it to size, cover the reflector completely with gaffer’s tape, move the light off the camera axis, and expose for the color instead of fighting it.
It sounds small because it is. A sheet of gel and five minutes of taping turn a plain white speedlight into something closer to a color fixture, which is why this trick shows up on wedding and portrait sets that otherwise own only one or two lights. This guide walks through the whole process, from choosing a gel format to the white balance decision afterward, with the mistakes that flatten most first attempts.
Table of Contents
- What You Need
- Step-by-Step: How to Gel a Flash for Creative Color
- How to Gel a Flash for Clean, Repeatable Color
- Choose a Color Combination
- Position the Flash Away from the Camera
- Set the Flash and Camera Exposure
- Darken or Reposition the Background
- Make a Test Shot and Refine
- Common Mistakes
- Tips for More Creative Color
- Frequently Asked Questions
- What color gel should I use for a flash?
- Can I combine two gels to create a different color?
- How far should a gelled flash be from my subject?
- Should I set a custom white balance when using a gel?
- How do I stop colored flash from making the background too bright?
- Can I use colored gels with more than one flash?
- Conclusion
What You Need
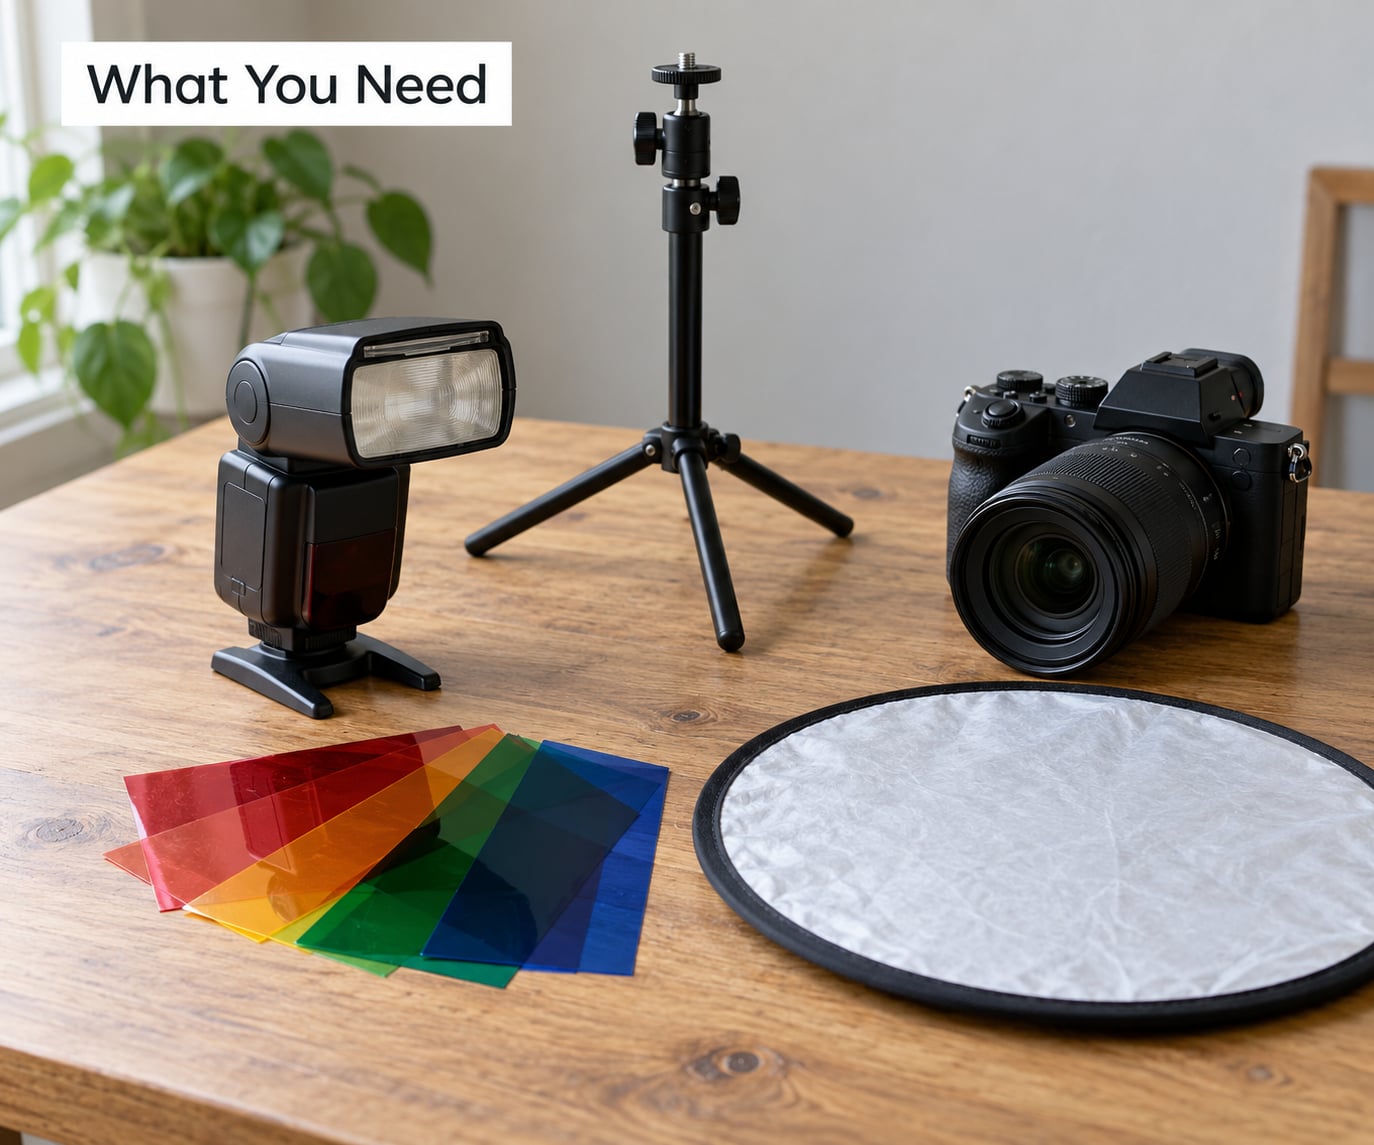
The light matters less than you would think. Any speedlight with a removable reflector, any bare strobe, and any monolight with a standard reflector will work, because the gel sits against the front of the head in every case. A bare reflector head is the easiest surface to tape to, which is why so many people start there before moving on to softboxes.
For the gel itself you have two formats to choose from. Pre-cut kits come ready-made in sizes that match common round flash heads and softboxes, and they are the fast option if you shoot events and want gels that survive being shoved in a bag. Sheets, usually sold in a 20×24 format from brands like Rosco, cost less per color and let you cut whatever shape you need, including custom patterns for gobo effects. One sheet of a single color will carry you a long way.
Use heat-stable gel. That means polycarbonate rated not to soften or discolor near a flash tube or modeling lamp, which is the difference between a material made for lighting and a piece of colored acetate you found in a craft drawer. This is the one safety point worth taking seriously: anything that is not rated for heat can curl, discolor, or smoke if it sits close to the bulb, and gel in a hot light is a mess you do not want near your camera bag.
Gaffer’s tape is the attachment method almost everyone lands on. It is matte, so it does not bounce light back into the frame, and it tears off cleanly instead of leaving residue on the reflector. Double-sided tape peels paint and adhesive off plastic reflectors, and ordinary duct tape leaves a sticky film that traps dust and flattens the color under bright flash.
Cutting needs nothing more than scissors or a craft knife and a cutting mat. Add a small stand and a trigger if you are shooting off camera, and a piece of black card for flagging spill. A reflector is optional but useful, since bouncing a gelled light back into a white card gives you a softer, more colored result than the direct beam.
Step-by-Step: How to Gel a Flash for Creative Color
- Pick the gel you actually want, corrective or creative.
- Cut it about an inch larger than the reflector on every side.
- Tape it on with gaffer’s tape, edges sealed, no gaps.
- Keep it behind any grid, or inside a softbox near the bulb.
- Fire a test frame and check brightness and falloff.
- Set a custom white balance, then refine flash power.
How to Gel a Flash for Clean, Repeatable Color
Start by being clear about which of the two categories you are using. Corrective gels exist to match a flash to the light that is already in the room, which is why photographers on the dpreview forums describe gelling first as a color temperature tool rather than a look. Creative gels are the saturated reds, blues, greens and everything in between that you put on a light when the color is the point.
Cut the sheet so it extends roughly an inch past the reflector on every side. That overhang is what lets you seal the edges without the tape riding up onto the curved surface. Lay the gel flat across the front face with no wrinkles or creases, because a crease catches flash as a bright line straight across the color.
Tape the edges with strips of gaffer’s tape working around the perimeter, and press the tape down onto the reflector rather than onto the gel alone. The most common failure in this whole process is a gap at an edge where bare white light leaks out, which is why the advice from the Jake Hicks video of taping at the very end so the gel hangs flat and closes is worth following exactly. If you see white light in your test frame, that is the first thing to fix.
Placement depends on the modifier. Over a bare reflector or grid, the gel goes on the reflector face with the grid still attached, so the grid narrows the already-colored beam. Inside a softbox, put the gel near the bulb rather than stretched across the front panel, which is the placement people repeatedly ask about on photography forums. Gel on the front panel of a softbox sits far from the source, catches creases, and gets lit directly by the flash.
Then take one test frame before you change anything else. Judge the color, the brightness, and the falloff across your subject before you start adjusting power.
Choose a Color Combination
One gel is enough for most work, and it is the honest place to start. A full-strength red gel over the reflector gives you saturated red, a blue gel gives you a cold cinematic wash, and a green gel does the same for a sci-fi or music-video look. Filmmakers on r/Filmmakers warn that a single full-strength color can read as artificial when it is the only light on the subject, which is usually a sign to pull back and try a partial strength instead.
Two gels stack, and stacking is a subtractive process rather than an additive one. Each sheet absorbs light, so adding a second gel makes the result darker and more saturated rather than brighter. Red over green gives a warm amber that a single gel cannot hit precisely, and layering is how you approach a specific tint when you have an image in mind.
Opposite colors are the trap. Red over cyan, or blue over orange, blocks most of the spectrum, and you get a very dim light rather than a neutral mix. When you want a mix, aim for partial coverage or use lighter overlapping gels, not two full-strength opposites.
| Gel type | What it does | Typical use | Where it goes |
|---|---|---|---|
| CTO (Color Temperature Orange) | Warms the light toward tungsten | Matching flash to a warm window or indoor ambient | On the light that hits your subject |
| CTB (Color Temperature Blue) | Cools the light toward daylight and shade | Balancing flash against blue sky or open shade | On the light that hits your subject |
| Fractional CTO or CTB, 1/8 and 1/4 | Shifts color slightly | Hair light separation, a touch of warmth on skin | On a hair or accent light |
| Full-strength color, red, blue, green and so on | Adds a creative hue | Background washes, rim light, duotone looks | Usually on a background or accent light |
Color temperature and gel color are not the same measurement. Kelvin describes the warmth of the light, while gel color is a broad hue, so a CTO in full strength takes daylight all the way to tungsten while a quarter CTO only nudges it. Choosing by the look you want rather than by the kelvin number is the more useful habit once you are past the correction stage.
Position the Flash Away from the Camera
A gelled flash on the hot shoe axis looks flat no matter what color you put on it, because the light comes from exactly where the lens is looking. Move the light off camera and the color gains shape: shadows pick up the gel’s hue on the side away from the light, textures read, and your subject separates from the background because the light no longer flattens everything it touches.
Side placement at roughly 45 to 70 degrees from the lens is a solid starting point for portraits. Raise the light above your subject’s eye level and angle it down for a more dramatic shape, or drop it below and shoot upward for a harder, more editorial result. Height changes the shadow pattern, and with color in the mix the shadows become part of the effect rather than a problem to avoid.
Behind the subject, a gelled flash becomes a rim or hair light. That is the most forgiving placement to experiment with, because the color lands on the edges of hair and shoulders while the face stays clean and easy to expose. Keep in mind the practical version of how to gel a flash for creative color: the gel is doing the same work whether it is on a key or an accent, but the mistakes show up differently in each position.
Set the Flash and Camera Exposure
Work in manual flash power rather than TTL when you are chasing a specific color, because TTL meters for the light coming back at you and a colored wall will send it chasing. Start somewhere conservative such as 1/16 output and adjust with the camera’s flash exposure compensation, changing one variable at a time until the brightness looks right.
Keep the shutter speed at or below your camera’s flash sync speed, commonly 1/200 or 1/250, and use the aperture to set how much of the background stays sharp. Widening to f/2.8 throws the backdrop out of focus and lets the colored light read as a soft pool; stopping to f/8 keeps the gel pattern crisp. ISO handles the ambient exposure on your side of the equation, and a common approach is ISO 200 with the aperture doing the work.
Account for light the gel absorbs. Density costs you exposure, and how much depends on the color, with light tints giving up a fraction of a stop and dark saturated gels costing considerably more. Expect to open up or raise flash power after the gel goes on, and expect to open the aperture further if you are metering off a dark background.
Watch the inverse square law as you move. Doubling the distance from the flash to your subject costs roughly two stops, so small moves matter, and colored falloff across a body is a positioning problem before it is a power problem.
Darken or Reposition the Background
The most frequent complaint I hear about colored flash is that it brightens the background more than the subject. Light spills, and a wide beam will paint a patch on the backdrop that competes with your subject for attention.
Move the light closer to your subject and further from the background. The falloff works in your favor because the background gets the weaker end of the inverse square curve. Flagging with black card is the surgical fix when you cannot move the light, and adding a grid narrows the spread in the same way.
For deliberately lighting the background, a separate gel on the background light is the cleaner answer, and it lets you choose a color that works with your subject’s clothing rather than whatever the key happens to spill. Control the ambient too: a darker room gives the colored pool more room to be the brightest thing in the frame. If daylight is fighting you, a neutral density filter on the background lets you pull the exposure down while holding the color.
Make a Test Shot and Refine
Judge the result on the frame, not on the set. The color on the back of your hand is not what the camera recorded, and a look that seems weak in person often needs less flash power than you think.
Check four things in order: the color, the brightness, the falloff across your subject, and the white balance. Fix the color first, because a color you dislike means every other value is a guess. Then check for hot spots, which are usually bare white light leaking around a gel edge rather than a power problem.
Set a custom white balance from the frame itself. The camera sees light that is now heavily tinted and compensates for it by pushing the opposite color, which is why gelled shots often come out muddy by default. A custom white balance taken from a neutral part of the scene keeps the gel you chose instead of fighting it, and shooting RAW gives you the latitude to change it later.
Once the look holds, write down the gel, the distance, the power and the aperture. The second setup with the same values will match the first, which is the difference between a look you can repeat and one you got lucky with.
Common Mistakes
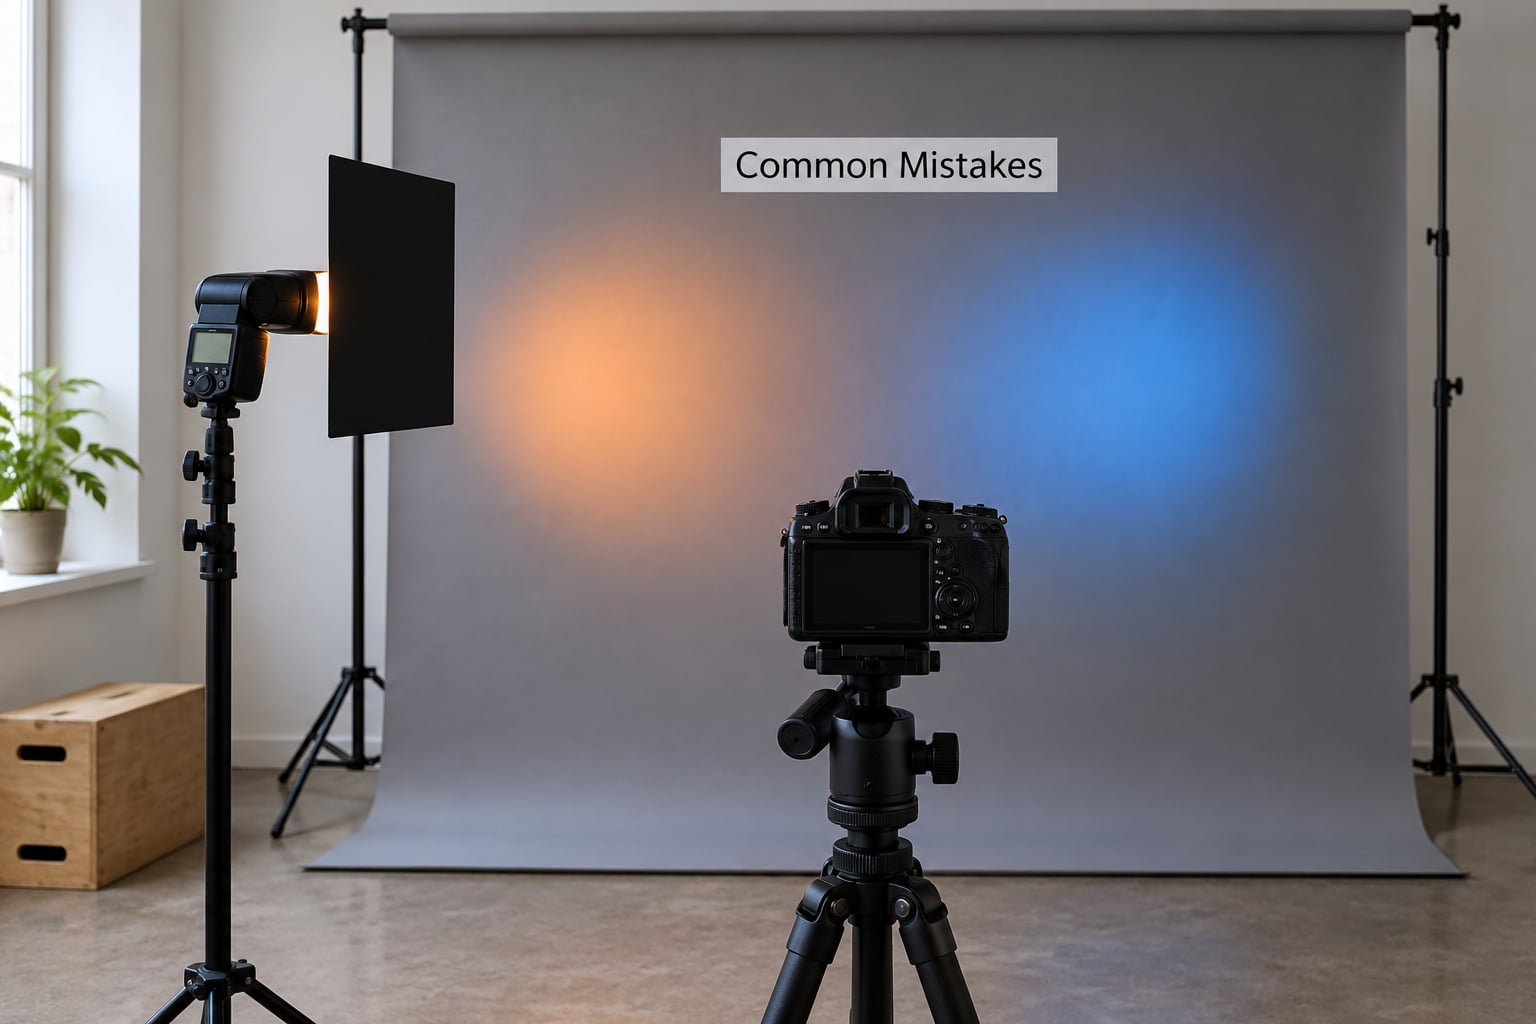
Incomplete coverage. White light leaking around the reflector edge is the number one reason color reads as weak and washed out. Cut the gel larger than the head and seal every edge with tape pressed onto the reflector.
Muddy mixed colors. Two full-strength gels that fight each other block most of the light and give you a dull result. Stack compatible colors, or use one gel at partial strength.
Overpowering the subject. Once the gel absorbs light, you naturally push the power up, and it is easy to blow out skin before you notice. Adjust with flash exposure compensation in small steps instead of jumping output levels.
Visible hot spots. Creases, wrinkles and tape ridges catch flash and draw bright lines across the color. Flatten the sheet before taping and keep tape on the perimeter, not across the middle.
Unwanted color spill. A gelled key that lands on the backdrop sends your color onto the subject’s white shirt and the wall behind. Flag it, grid it, or move the light closer to your subject so falloff does the work.
Forgetting white balance. Leaving the camera on auto WB makes the camera cancel the color you added. Set a custom white balance or plan to correct it in RAW.
Gelling the wrong surface. Tape on the front of a softbox or over a grid and you get creases, flapping in a breeze, and a less efficient light. Gel goes on the reflector, and inside a softbox it goes near the bulb.
Cheap unrated plastic. Colored acetate from a craft drawer can discolor or curl near the source. Use gel rated heat stable and keep it off the glass of the flash tube.
Tips for More Creative Color
Layer for saturation rather than brightness. When a color still looks thin in the file, a second sheet of the same color deepens it, even though you lose light. Watch your aperture as you do it.
Bounce instead of blasting. Aiming a gelled light into a white reflector or a nearby wall spreads it into something softer and usually more saturated in the midtones than a direct beam.
Use a second light for the background. Gelling only the background light lets you put a cool color behind a warm subject, which reads far stronger than tinting the subject light itself.
Try additive mixing across lights. Three close sources with red, green and blue gels produce white where all three overlap and colored shadows where one is blocked, a technique described on r/photography that is worth building a setup around.
Cut your own patterns. Black card between the gel and the subject turns a plain color into stripes, foliage, or hard-edged shapes, and it costs nothing to test.
Save your presets. Once a gel, distance and power combination works, note it in your phone and reuse it. Repeatability is what turns a lucky color into a signature look, and the video side of this topic is worth watching too, since KelbyOne’s hot shoe flash gel series shows the cutting and taping technique in a way that is hard to pick up from text alone.
Frequently Asked Questions
What color gel should I use for a flash?
It depends on the job. For matching existing light, use corrective gels: CTO to match warm indoor or tungsten light, CTB to match daylight, blue sky or open shade. For looks, use a full-strength creative color chosen to contrast with your subject, such as red gel on a subject wearing gray or blue. Start with one gel and one light before adding combinations.
Can I combine two gels to create a different color?
Yes, and stacking is subtractive, so a second sheet makes the result darker and more saturated instead of brighter. Red over green gives a warm amber that one gel cannot hit precisely. Avoid pairing full-strength opposites such as red over cyan, which block most of the light and produce a dim, muddy result rather than a clean mix.
How far should a gelled flash be from my subject?
Roughly one to two meters indoors works well for portraits, and closer gives harder shadows with more visible color. Because of the inverse square law, doubling the distance costs about two stops of light, so small moves change the exposure a lot. Move closer to your subject and further from the background when you want to darken the backdrop.
Should I set a custom white balance when using a gel?
Usually, yes. Shoot RAW and set a custom white balance from a neutral part of the frame, otherwise the camera sees the heavy color cast and compensates by pushing the opposite color, which is a common cause of muddy results. For two-light setups you can also gel the second light back toward neutral so both sources match.
How do I stop colored flash from making the background too bright?
Move the light closer to your subject and further from the background so falloff works for you, then flag any remaining spill with black card. Adding a grid narrows the spread in the same way. If you want the background colored on purpose, put a separate gel on a dedicated background light instead of letting the key spill.
Can I use colored gels with more than one flash?
Yes, and multiple lights give you the most control. Gel one for the background and leave the key neutral, or use red, green and blue gels on three close sources so overlaps read as white and blocked areas as colored shadows. Keep each gel on its own light and control each head separately through your trigger for the cleanest result.
Conclusion
How to gel a flash for creative color comes down to four things: pick the gel, cover the reflector completely with no gaps, move the light off the camera axis, and set a custom white balance so the camera stops cancelling your color. Everything else is refinement.
Start with a single sheet on one light. Tape it on, place the flash to the side and slightly above your subject, take one test frame, and adjust power until the color reads the way you want. Write down the gel, the distance and the aperture so you can repeat it. Once that one recipe is solid, adding a second light or a second layer of color is easy.